
Today’s guide is all about the Crochet Mitered Granny Square, a motif built from concentric rounds of double crochet clusters that bloom outward from a flower centre into a crisp, structured square with an airy lace-like border. Gather your hook and your favourite colour stack, and let this become the motif you return to again and again.
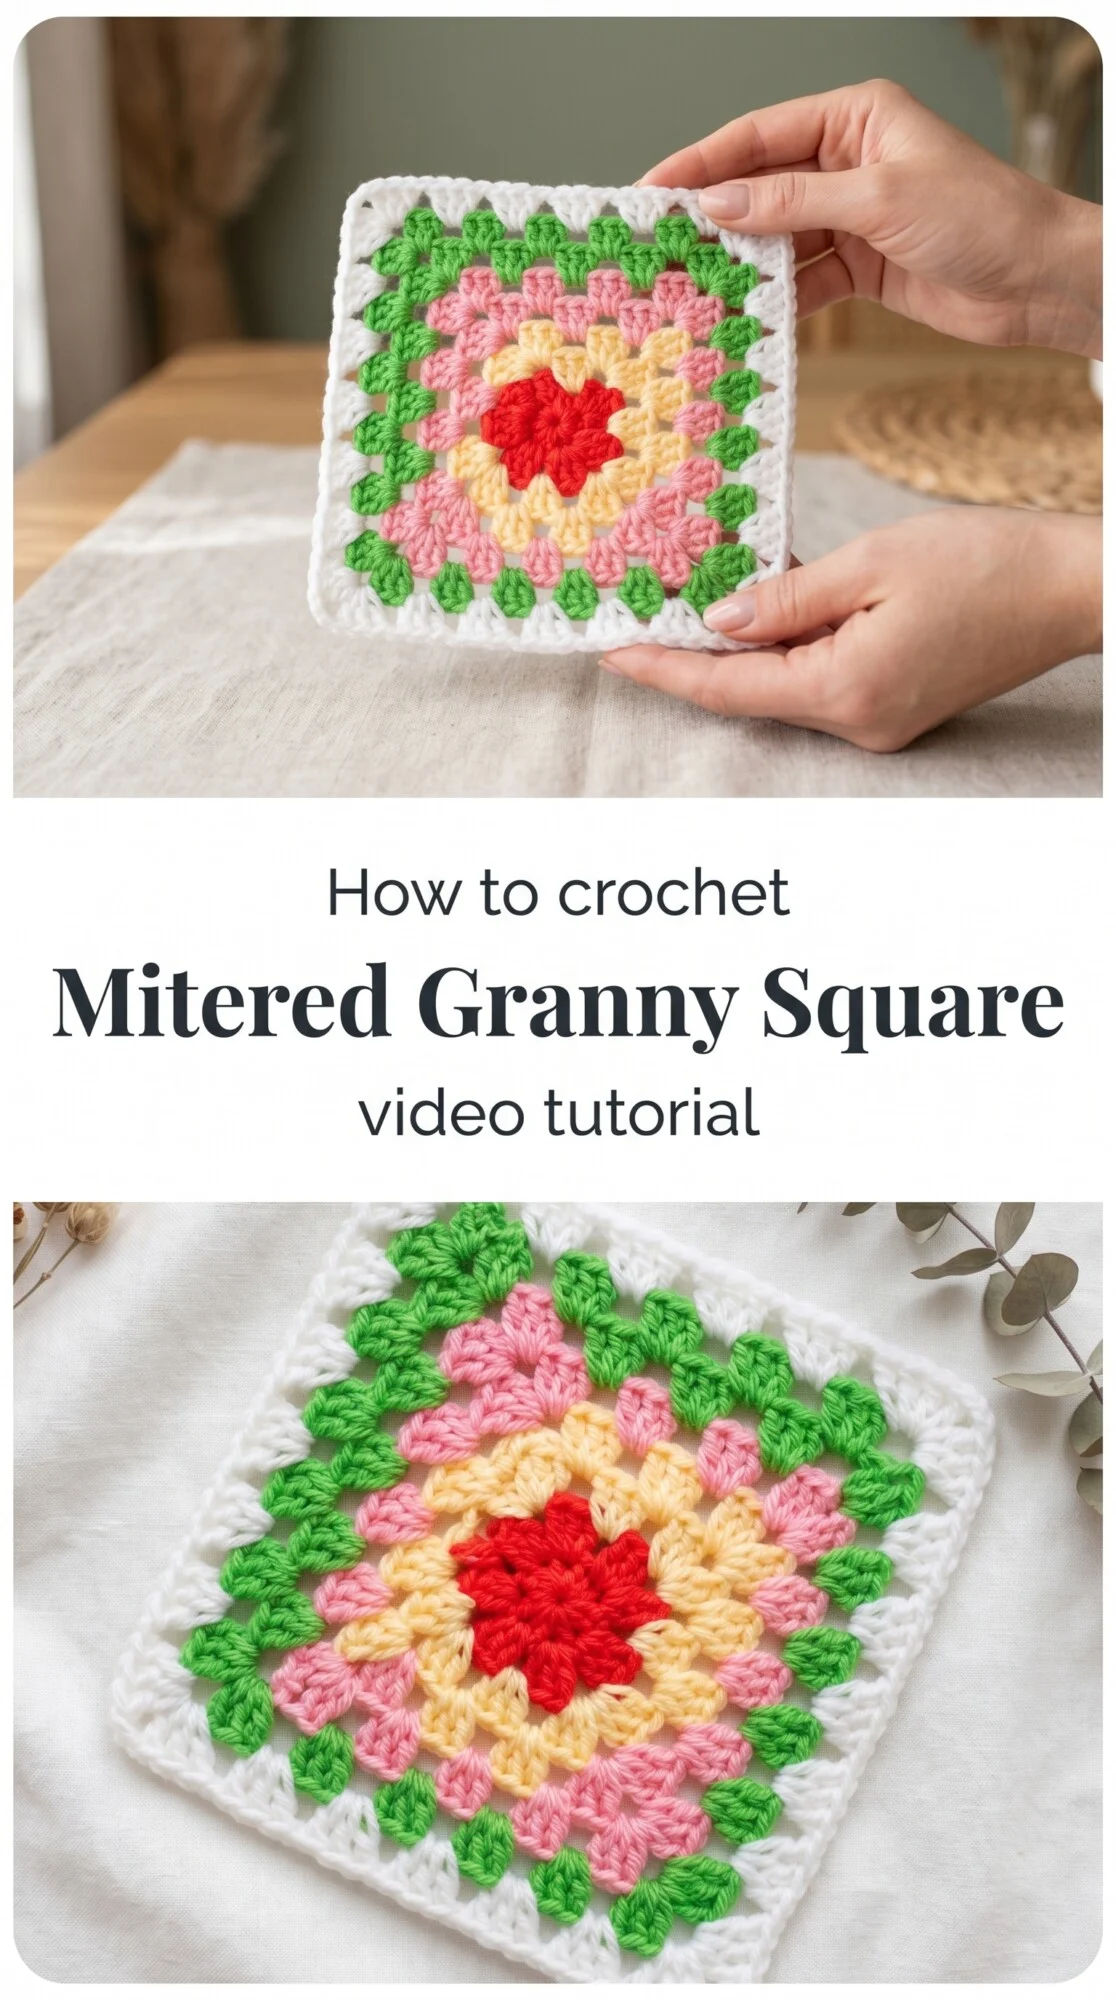
The Mitered Granny Square
The Crochet Mitered Granny Square is one of those motifs that feels at once nostalgic and entirely fresh, the kind of square your grandmother might have made but that looks completely at home draped over a modern linen sofa. It grows round by round from a tight central flower, each ring of DC clusters fanning outward in a satisfying diagonal shift that gives the piece its characteristic mitered geometry. The result is airy yet structured, a flat square with just enough negative space to catch the light and show off every colour change. It suits anyone who loves colour play, from the beginner finding their rhythm to the intermediate crocheter who wants something small but deeply rewarding.
Granny Square Related Posts:
- Crochet Market Tote: A Practical Everyday Essential
- Crochet Mini Heart: A Sweet and Charming Keepsake
- Crochet Stitch Fabric: A Quick and Simple Foundation
- Crochet Lace Doily: A Delicate Decorative Accent
A single Crochet Mitered Granny Square can hold up to four or five distinct colours, and the classic combination of red, yellow, pink, green, and white seen in Jayda’s tutorial feels like a cottage garden pressed flat into yarn. You could just as easily work it in three tones of dusty sage, rust, and oat for something earthy and modern, or choose a single self-striping DK yarn and let the colour decisions make themselves. These squares stack beautifully into blankets, bags, and wall hangings, so your palette becomes the real design choice.
Materials and Tools
For the Crochet Mitered Granny Square, a worsted weight yarn gives the cleanest stitch definition and the most satisfying drape for a motif this size, though DK weight works wonderfully if you want a slightly finer, lighter square. Cotton or a cotton-acrylic blend is ideal here, as the smooth fibre lets each DC cluster sit crisply against its neighbour without the fuzz that can blur the mitered lines. A 4mm crochet hook is the right match for most worsted cotton yarns and will give you a square that measures roughly 15 to 18 centimetres across once blocked. Keep a yarn needle close by from the start, because weaving in those colour change ends as you go makes the finishing stage genuinely painless.
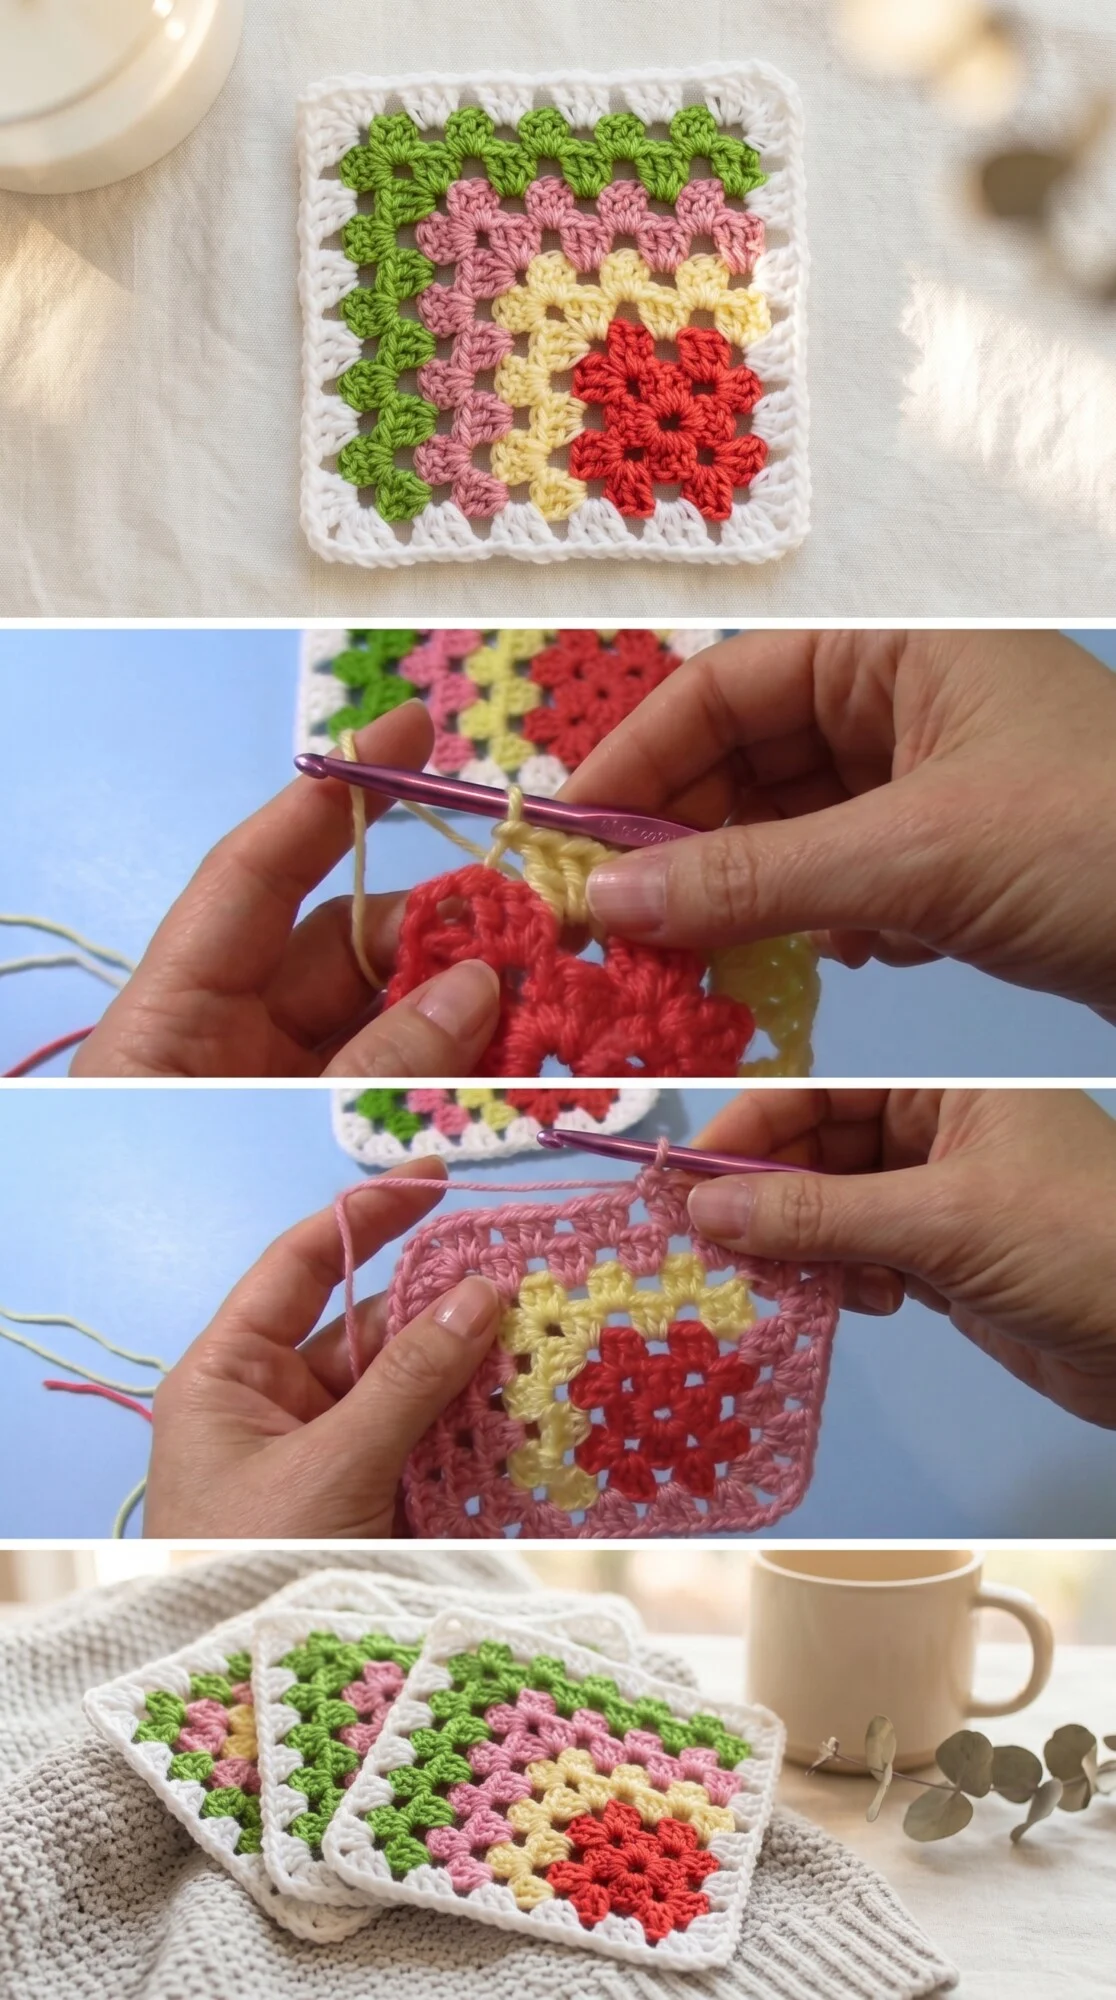
Stitch by Stitch
The Crochet Mitered Granny Square uses a small, friendly vocabulary of stitches that you will memorise within the first round.
BULLET:CH (chain stitch) The foundation of every round and the bridge that creates the open corner spaces so characteristic of granny square construction.
BULLET:DC (double crochet) The workhorse stitch of this motif, worked in clusters of three to build the solid, rounded sections between the chain spaces.
BULLET:SC (single crochet) Used selectively in the border round to tighten and define the outer edge, giving the square its clean, flat finish.
BULLET:SL ST (slip stitch) Joins each round invisibly and allows you to travel to the next starting position without adding visible bulk.
There is a meditative rhythm to working cluster after cluster in a single colour before swapping to the next ring, and most makers find they have finished several rounds before they even notice the time passing.
Construction
The square begins in the round, starting with a magic ring and the first set of DC clusters arranged around a central chain space to form the flower at the heart of the motif. Each subsequent round expands outward, with the corner spaces growing wider and the colour bands getting slightly longer, which is what produces that beautiful mitered, diagonal striped effect across each side. The full step-by-step pattern is walked through clearly in Jayda InStitches’ video tutorial, which shows every join and colour change up close so beginners can follow along without any guesswork. Once you are comfortable with the basic construction, you can customise the finished size simply by adding extra rounds in any colour you choose before working the final white border.
Wearing Your Mitered Granny Square
A single finished Crochet Mitered Granny Square makes a sweet brooch base or a pocket appliqué stitched onto a denim jacket, while a set of four joined together becomes a cheerful coin purse or cosmetics pouch. Work up enough squares and you have the building blocks for a lightweight summer tote, a patchwork cushion cover, or a full throw blanket that grows one satisfying motif at a time. Every time you finish a square, the next project possibility opens up a little wider.
Blocking and Caring for Your Granny Squares
Cotton and cotton-blend squares respond beautifully to wet blocking: simply soak the finished motif in cool water for ten minutes, press out the excess water gently in a towel, and pin it to a blocking mat to dry flat, coaxing each corner into a crisp right angle. This single step transforms a slightly uneven square into something that looks professionally finished and lies completely flat when joined with others. For washing finished projects made from your Crochet Mitered Granny Squares, a cool gentle machine cycle in a mesh laundry bag will keep the stitches intact and the colours bright. Store blankets and larger pieces folded loosely rather than compressed, so the clusters keep their rounded shape between uses.
Every square you finish is proof that small, repeated acts of making add up to something genuinely beautiful and entirely your own. Save this guide to your crochet board on Pinterest and share your finished squares with the tag so the community can celebrate your colour choices with you.
Follow us on Pinterest and subscribe to the Newsletter so you don’t miss a thing!
Tutorial and photos of this mitered granny square by: Jayda InStitches.