
Time to dig into that yarn stash. You know the one. Those beautiful cotton skeins in warm sunset shades you have been saving for "the right project"? This is it.
Get the Ad-Free PDF Pattern
You can find the free pattern below, or you can purchase the ad-free printable PDF from my shop.
Get the Printable PDF →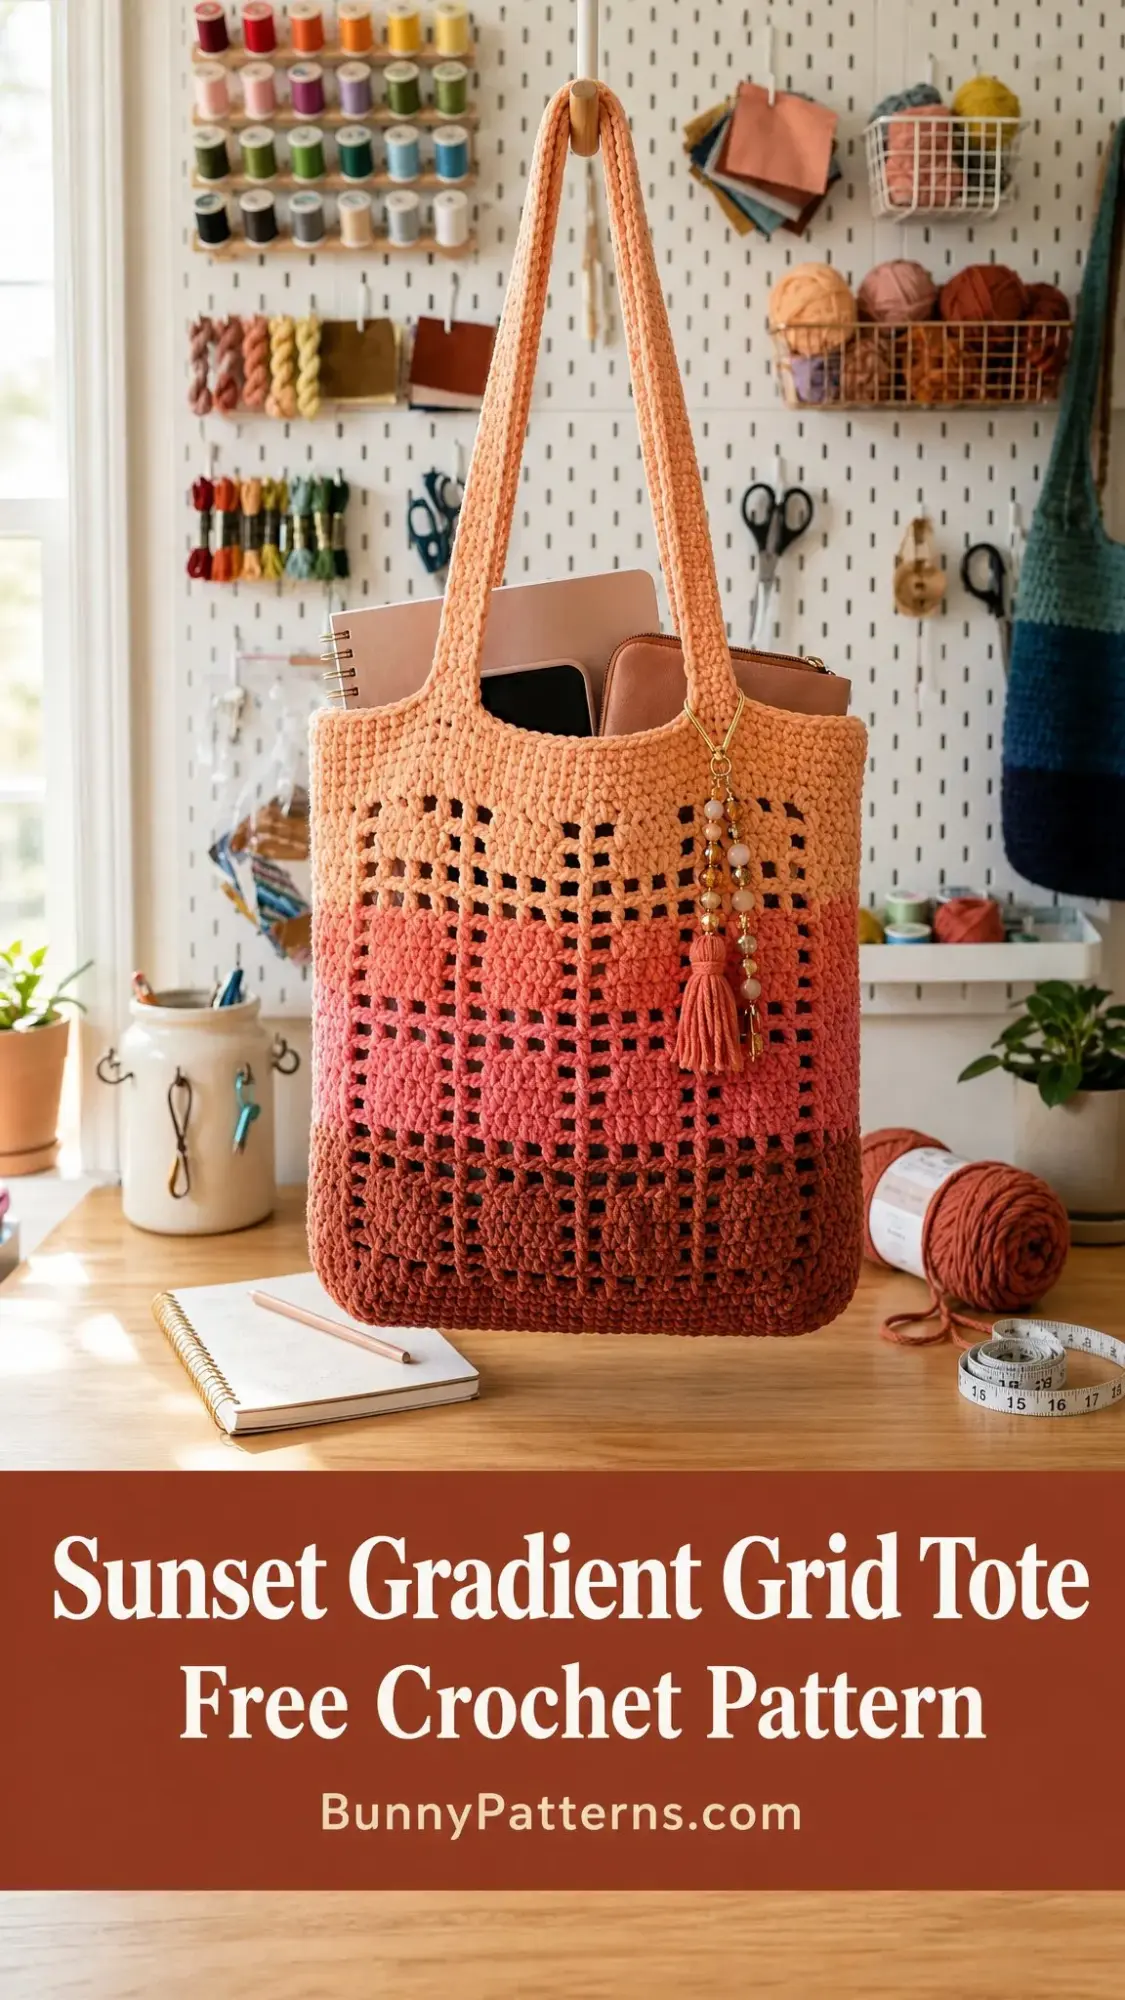
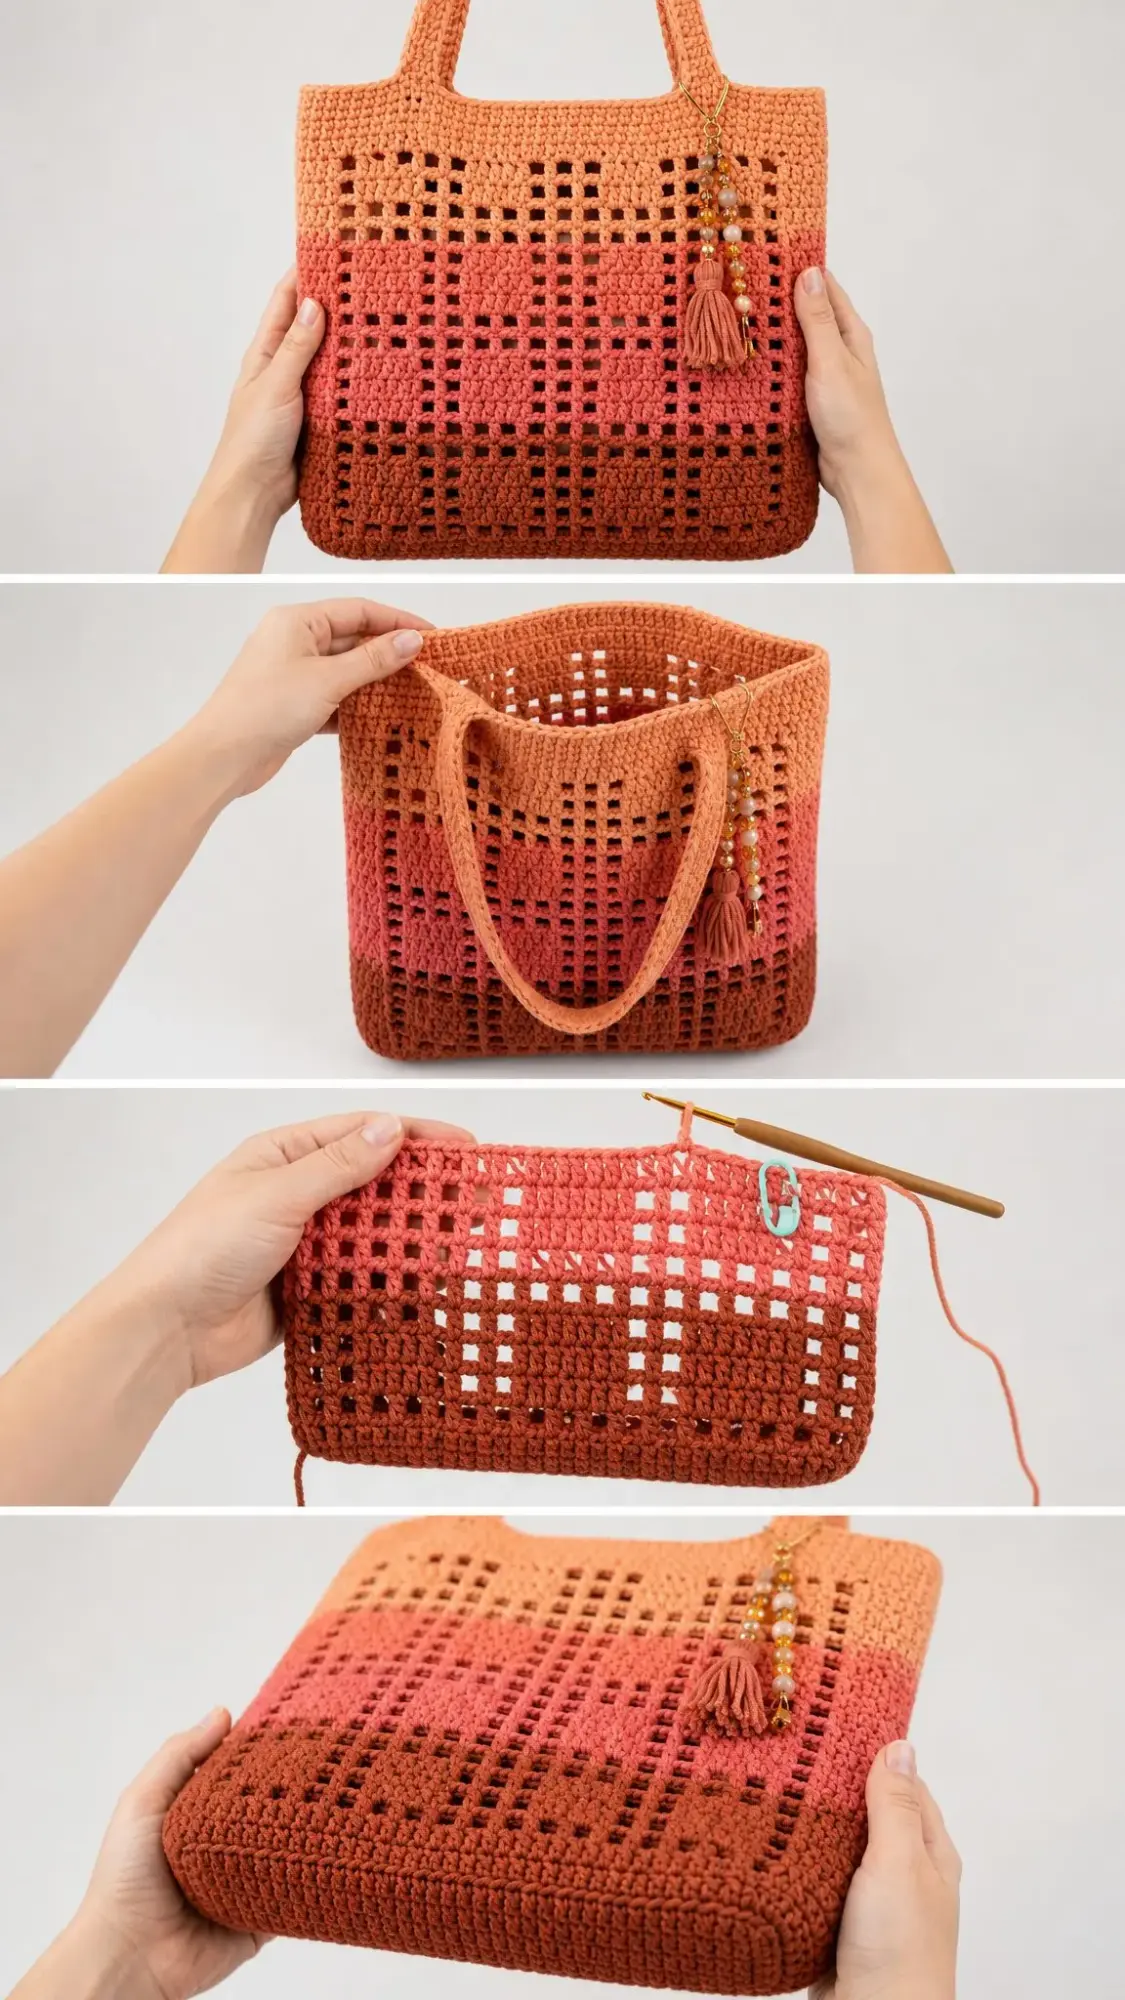
The Sunset Gradient Grid Tote combines a classic filet-style window grid with bold color blocking that fades from rust through coral to peach. The construction is straightforward once you understand the rhythm. You will work a flat base, build up the sides in the round, and finish with sturdy sewn straps.
If you have worked basic single crochet and double crochet before, you can handle this. The pattern is rated confident beginner to easy intermediate. The stitches themselves are simple, but the open grid requires careful counting and marker placement. Take your time and trust the process.
About This Pattern
This cheerful tote measures approximately 12 inches wide across the front, 10.25 inches tall, and 3 inches deep. The strap drop sits at about 10.5 to 11 inches after blocking, making it comfortable over the shoulder.
The airy window-grid texture gives the bag a light, summery feel while the solid cotton construction keeps it practical for everyday use. Whether you are headed to the farmers market, the library, or just running errands, this tote has you covered.
The gradient color blocking creates that beautiful sunset effect you see in the photos. Working from the bottom up, you will start with a deep rust, transition to a warm coral in the middle, and finish with a soft peach at the top and straps.
Materials You Will Need
Yarn: Worsted weight or aran weight cotton or cotton-blend yarn, approximately 420 yards total
Hook: US H/8 (5 mm), or size needed to achieve gauge
Notions:
Recommended Yarns
Lion Brand 24/7 Cotton works beautifully here. It gives you firm stitch definition and clean filet openings.
Paintbox Cotton Aran offers a wide color range, perfect for achieving a smooth sunset palette.
WeCrochet Dishie provides durable cotton with practical everyday structure.
When substituting yarn, choose a smooth worsted cotton or cotton-acrylic blend. Very soft yarn may stretch over time. Very bulky yarn may close up the windows and create a larger bag than intended.
Gauge
16 single crochet (sc) and 14 rows equals 4 inches (10 cm) in blocked single crochet with your main hook.
In the window-grid pattern, 4 repeats and 8 rounds measure approximately 4.75 inches wide by 2.25 inches tall.
Please make a swatch and adjust your hook size before starting. A firm fabric helps the tote hold its shape and prevents excessive stretching during use.
Abbreviations and Stitch Guide
This pattern uses US crochet terms throughout.
UK Crochet Term Conversions
If you typically work from UK patterns, here are the conversions:
Special Stitches
Window Repeat (over 6 base units): Double crochet (dc) in next 2 stitches, chain 4, skip 4 stitches or chains. One repeat uses 6 units and keeps the round at 120 units total.
Bar Round: Chain 1, single crochet in each dc and 4 sc in each chain-4 space around. Join with slip stitch to first sc. This restores the full 120 sc for the next window round.
Invisible Color Join: Fasten off after the final slip stitch. Thread the tail onto a tapestry needle. Insert the needle under both loops of the first stitch, then back into the center of the last stitch. Snug gently to close the gap invisibly.
Reverse Single Crochet Edging: Working left to right (the opposite direction from normal), insert hook in the previous stitch, yarn over, pull up a loop, yarn over and pull through both loops. This creates a nice corded edge.
Before You Begin
After completing the setup round, place four stitch markers to divide your work:
Move these markers up as you work each round. They will help you keep track of your position and ensure your pattern stays aligned.
Pattern Instructions
Base Rectangle (Color A)
Row 1: Chain 49. Single crochet in the 2nd chain from hook and in each chain across. Turn. (48 sc)
Rows 2 through 12: Chain 1, single crochet in each stitch across. Turn. (48 sc)
Checkpoint: Your base should measure approximately 12 inches wide and 3 inches deep after light blocking.
Setup Round Around Base
Do not turn after Row 12. Chain 1.
Setup Round: Single crochet in each of 48 stitches across Row 12, place marker. Work 12 sc evenly down the first side edge, place marker. Work 48 sc across the foundation edge (the bottom of your starting chain), place marker. Work 12 sc evenly up the second side edge, place marker. Join with slip stitch to first sc. (120 sc)
Your markers now divide the tote into front 48, side 12, back 48, side 12.
Lower Solid Band (Color A)
Rounds 1 through 4: Chain 1, single crochet in each stitch around. Join with slip stitch to first sc. (120 sc)
Checkpoint: Your work should begin to stand upright, with crisp corners forming at the side markers.
Tip: Keep the first and last stitches of each round snug. Joining in the same place each time creates a discreet seam along one side edge.
Lower Rust Grid (Color A)
Round 5: Chain 3 (counts as first dc), dc in next stitch, chain 4, skip 4. Dc in next 2 stitches, chain 4, skip 4. Repeat from * around. Join to top of chain-3. (20 dc pairs plus 20 chain-4 spaces equals 120 units)
Round 6: Chain 3, dc in next dc, chain 4, skip chain-4 space. Dc in next 2 dc, chain 4, skip chain-4 space. Repeat from * around. Join. (120 units)
Round 7: Chain 1, sc in each dc and 4 sc in each chain-4 space around. Join. (120 sc)
Round 8: Repeat Round 5. (120 units)
Round 9: Repeat Round 6. (120 units)
Round 10: Repeat Round 7. (120 sc)
Round 11: Repeat Round 5. (120 units)
Round 12: Repeat Round 7. Fasten off Color A with invisible color join. (120 sc)
Checkpoint: After Round 12, your bag should measure approximately 5.5 inches from the bottom edge, including the base depth. You should see a lower band of open squares with horizontal bars between them.
Counting Guide: Each 6-unit repeat creates one open window group. The front has 8 repeats, each side has 2 repeats, and the back has 8 repeats.
Middle Grid (Color B)
Join Color B in any side-edge stitch.
Rounds 13 and 14: Repeat Window Round 5 and Window Round 6. (120 units each)
Round 15: Repeat Bar Round 7. (120 sc)
Rounds 16 and 17: Repeat Window Round 5 and Window Round 6. (120 units each)
Round 18: Repeat Bar Round 7. (120 sc)
Rounds 19 and 20: Repeat Window Round 5 and Window Round 6. (120 units each)
Rounds 21 and 22: Repeat Bar Round 7. Fasten off Color B after Round 22. (120 sc each)
Upper Grid and Top Band (Color C)
Join Color C in any side-edge stitch.
Rounds 23 and 24: Repeat Window Round 5 and Window Round 6. (120 units each)
Round 25: Repeat Bar Round 7. (120 sc)
Rounds 26 and 27: Repeat Window Round 5 and Window Round 6. (120 units each)
Round 28: Repeat Bar Round 7. (120 sc)
Rounds 29 through 34: Chain 1, single crochet in each stitch around. Join. (120 sc each)
Round 35: Chain 1, half double crochet in each stitch around. Join. (120 hdc)
Round 36: Reverse single crochet in each stitch around. Join and fasten off. (120 reverse sc)
Checkpoint: After Round 36, your tote body should measure approximately 10.25 inches tall from base bottom to top edge. The top edge should be firm and not wavy.
Straps (Make 2 in Color C)
Row 1: Chain 89. Single crochet in the 2nd chain from hook and in each chain across. Turn. (88 sc)
Rows 2 through 5: Chain 1, single crochet in each stitch across. Turn. (88 sc)
Edging: Chain 1, work single crochet evenly around all four strap edges, placing 2 sc in each corner. Join and fasten off.
Each strap should measure approximately 22 inches before attachment.
Attaching Straps
Flatten your tote with the side markers at the folds.
On the front panel, count 8 stitches in from the left side edge. Pin one strap end across stitches 9 through 14. Pin the other end of the same strap across stitches 35 through 40.
Repeat on the back panel with the second strap.
Sew each end securely through the top band using a rectangle-and-X seam pattern for maximum durability. Keep all sewing below the reverse sc edge so the top stays neat.
Optional Tassel Charm
Cut ten strands of Color B or C, each 8 inches long. Fold them through a small clasp. Wrap the neck tightly with additional yarn. Trim the ends evenly. Add beads above the tassel if desired. Clip the finished charm near one front strap base.
Finishing, Blocking, and Care
Weaving In Ends
Weave your tails along solid stitches rather than across the open windows where they might show. For strap ends, weave in multiple directions for extra strength since these areas will bear weight.
Blocking Your Tote
1. Soak or lightly mist the tote until damp
2. Insert a folded towel or blocking board inside to square the base and sides
3. Pin the front and back so the window grid opens evenly
4. Let dry fully before attaching the optional charm
Care Instructions
Hand wash in cool water with mild soap. Roll in a towel to remove moisture. Reshape and dry flat. Avoid hanging while wet, as cotton can stretch.
Results Tip: Cotton relaxes with use. For a firmer everyday tote, work the top band and straps slightly tighter than the open grid body.
Troubleshooting Common Issues
Grid leans to one side: Start each new color at a side edge and keep your joins snug.
Top edge ripples: Work the top single crochet rounds with firmer tension, or go down one hook size for those rounds.
Windows look too small: Block the tote thoroughly and use pins to open each chain-4 space while drying.
Bag stretches with use: Use firm cotton yarn, match gauge carefully, and consider lining the tote if you plan to carry heavy items regularly.
Customizing Your Tote
Width: Add or subtract 6 stitches from the base width so the window repeat remains even. For example, begin with 55 chains for a 54-stitch base width.
Depth: Add or subtract side rows in multiples of 3 when possible. Keep the full setup round divisible by 6.
Height: Add or remove complete 3-round grid sets (two window rounds plus one bar round).
Strap length: Add or subtract chains before Row 1. Keep both straps identical.
Quick Progress Points
| Milestone | Target |
|---|---|
| Base complete | 48 sc wide x 12 rows, approximately 12 x 3 inches |
| Setup round | 120 sc with markers at 48, 12, 48, 12 |
| After Round 22 | Lower and middle color bands complete, 120 sc |
| After Round 36 | Approximately 10.25 inches tall, 120 edging stitches |
Final Thoughts on This Sunset Gradient Grid Tote Crochet Pattern
This project takes approximately 8 to 12 relaxed hours to complete, plus blocking and drying time. It is the kind of project you can work on over a week of evenings or knock out in a dedicated weekend.
The combination of warm sunset colors and that beautiful open grid texture makes this tote a real head-turner. Every time you use it, you will get compliments. And you can honestly say you made it yourself.
Thank you so much for choosing this pattern. I hope you love making your Sunset Gradient Grid Tote as much as I loved designing it. If you complete one, I would absolutely love to see it! Feel free to share photos on Instagram or Facebook.
If this pattern made your creative heart happy, go ahead and save it to your Pinterest boards so you can find it again later. And please drop a comment below if you make one. I love hearing how your projects turn out and seeing the color combinations you choose!
Want a Quick & Easy Printable Version?
Get a clean, beautifully formatted PDF of this pattern — easy to follow step by step, ready to print or save on any device. No scrolling, no distractions, just the pattern.
Get the Printable PDF →You Might Also Like
- Champagne Gold Bell Sleeve Crochet Top Free Pattern
- Coral Peach Tie Front Crochet Cardigan Free Pattern
- Ocean Waves Ombre Granny Square Blanket Free Crochet Pattern
- Lavender Sunflower Drawstring Backpack Free Crochet Pattern