
Today’s guide walks you through creating a crochet table runner that carries the weight of slow, intentional making, where rows of granny stitch clusters build into something airy yet structured, soft grey and turquoise blue resting together like a quiet afternoon. Pull up your hook and let your hands find the rhythm.
The Table Runner
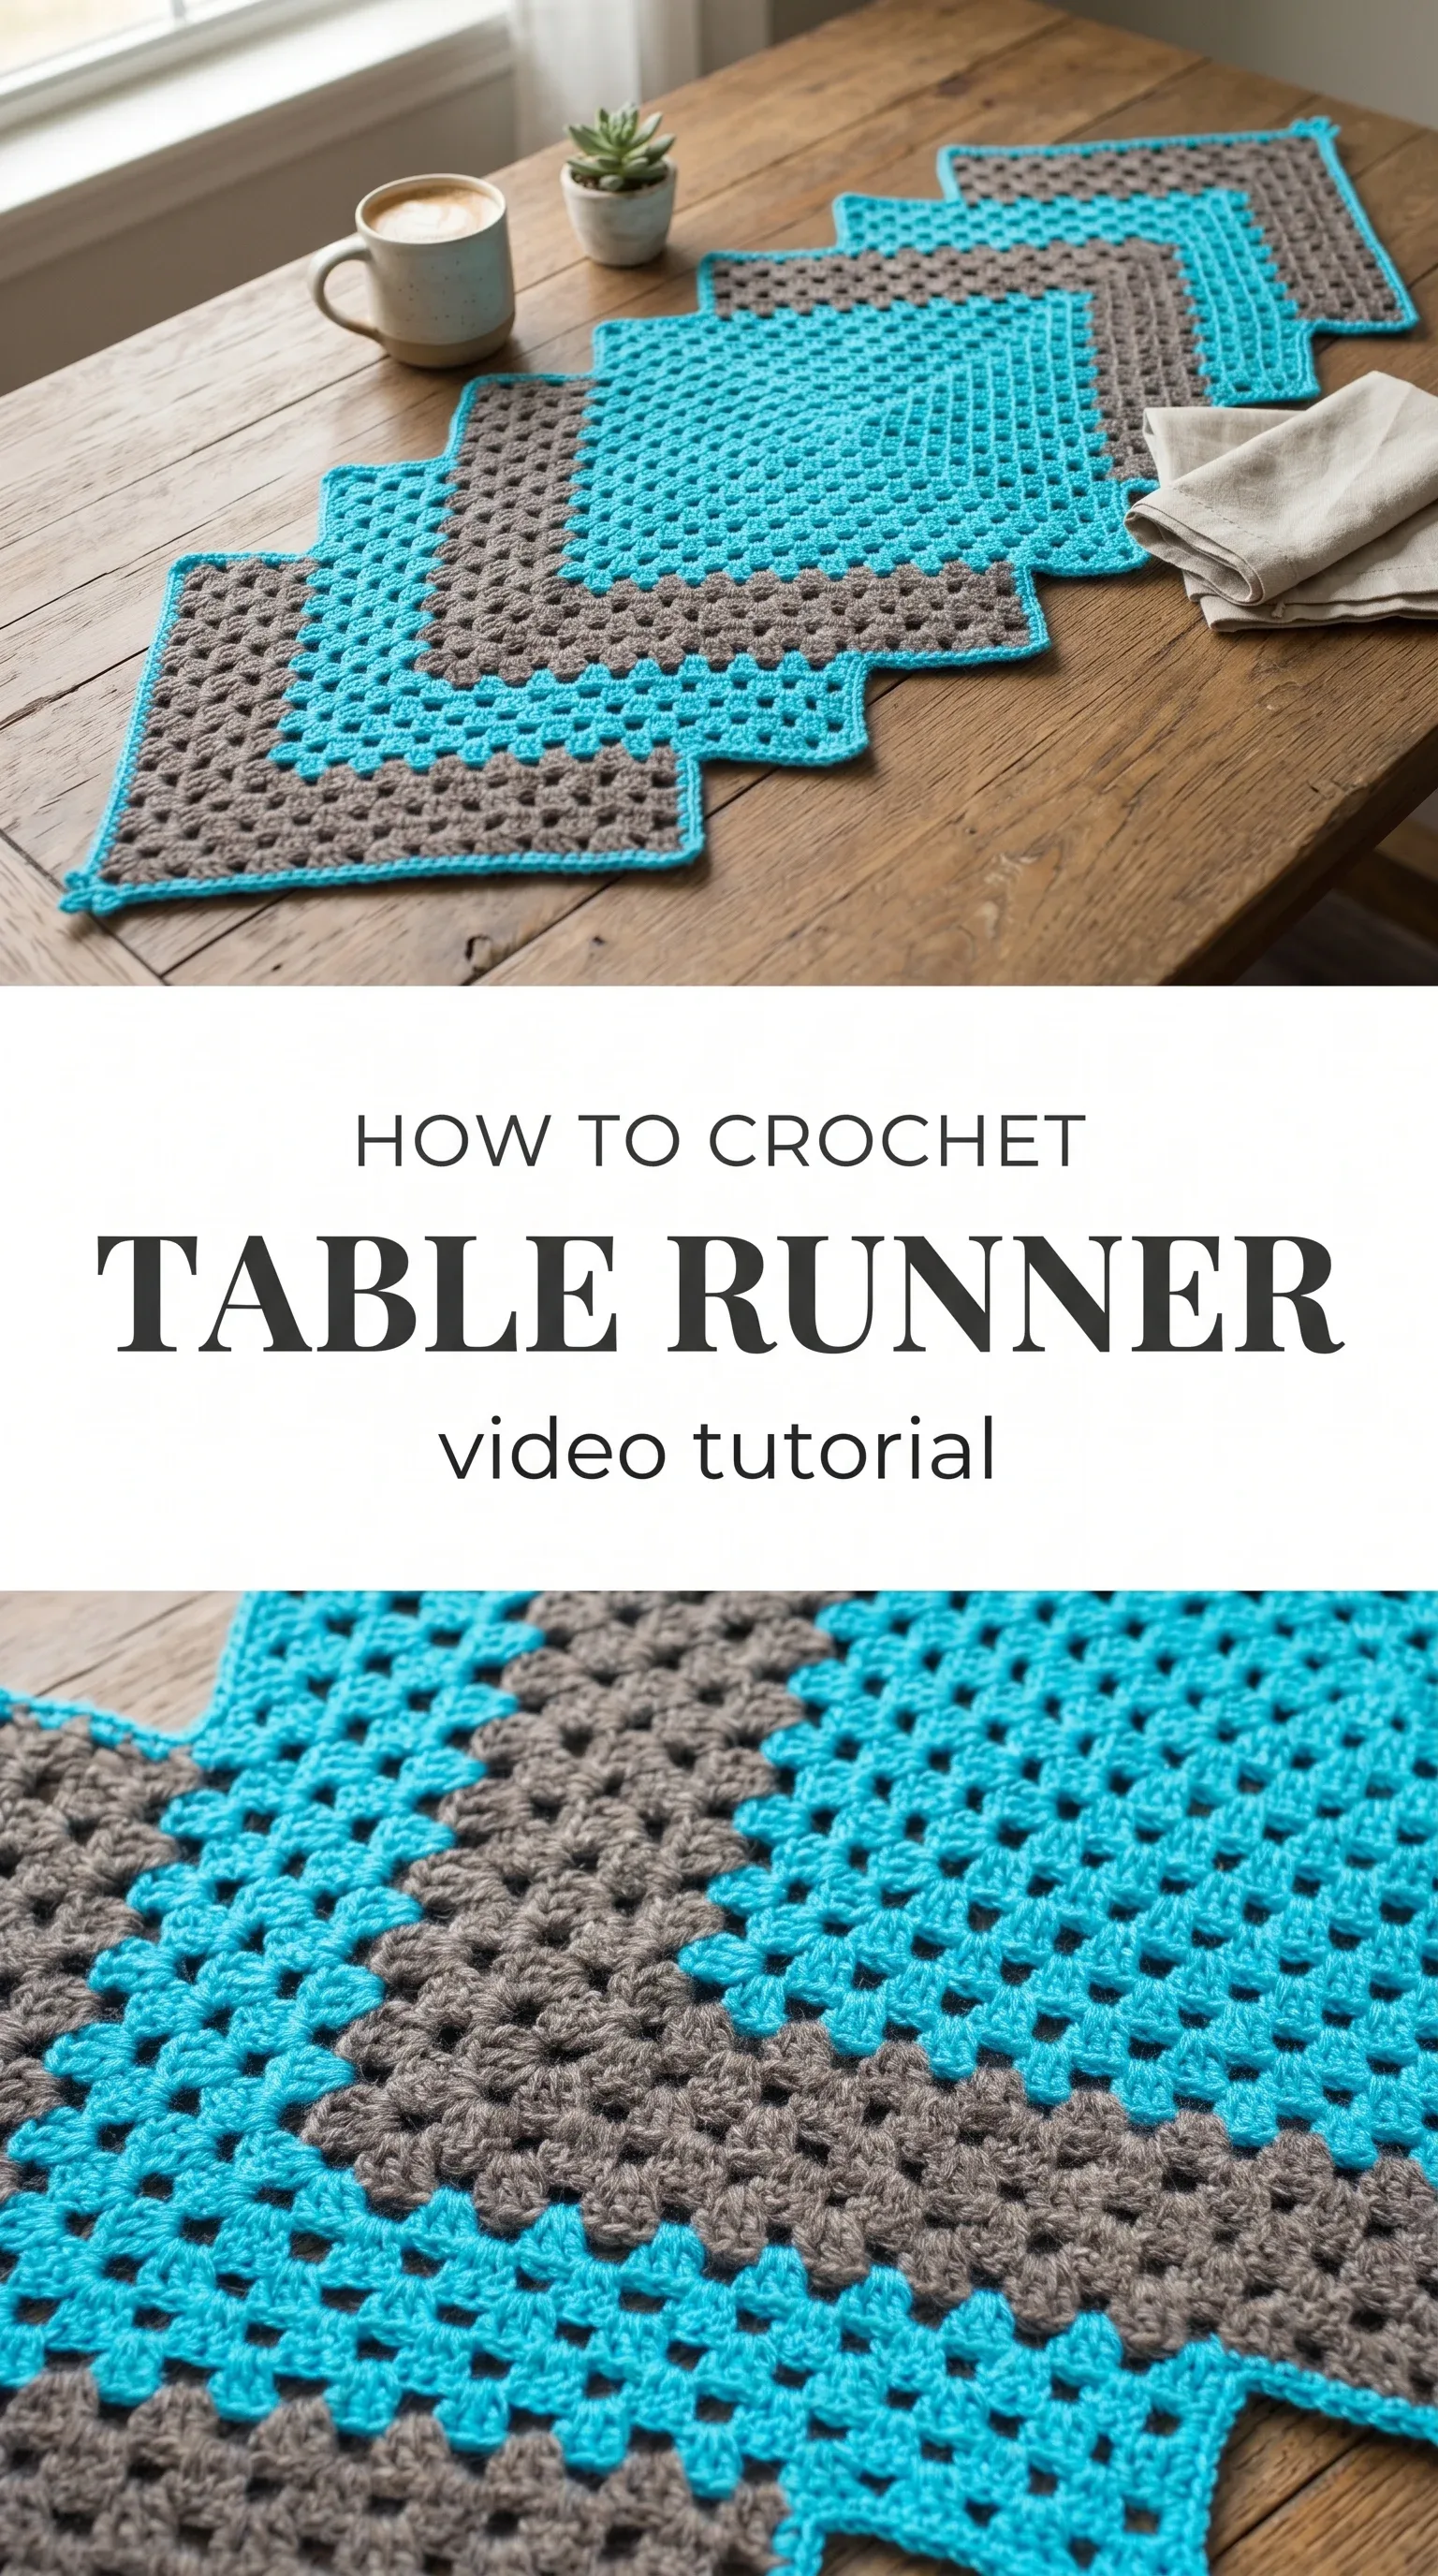
A crochet table runner is one of those pieces that transforms an ordinary surface into something worth pausing over. The design shown here works in a large granny square format, panels of warm grey clusters edged and accented with a vivid turquoise border that feels both modern and nostalgic at once. It sits flat and confident on a table, the open spaces between each DC cluster letting candlelight or afternoon sun pass right through. This is a piece for the maker who wants something that looks considered, composed, and handmade in the most beautiful sense of the word.
Table Runner Related Posts:
- Crochet Heirloom Tablecloth: A Timeless Home Treasure
- Crochet Floral Mandala: A Stunning Decorative Piece
- Crochet Lace Motif: A Beautiful Delicate Design
- Crochet Textured Stitch: A Stunning and Simple Design
The grey and turquoise combination here is bold yet grounded, the kind of palette that works equally well on a linen dining table or a rustic wooden farmhouse surface. If you want something softer, try sage and cream, or dusty rose against warm oatmeal. A crochet table runner in a single tonal colour, perhaps a deep teal or a natural undyed wool, would feel equally striking and perhaps even easier to pair with a changing seasonal table setting.
Materials and Tools
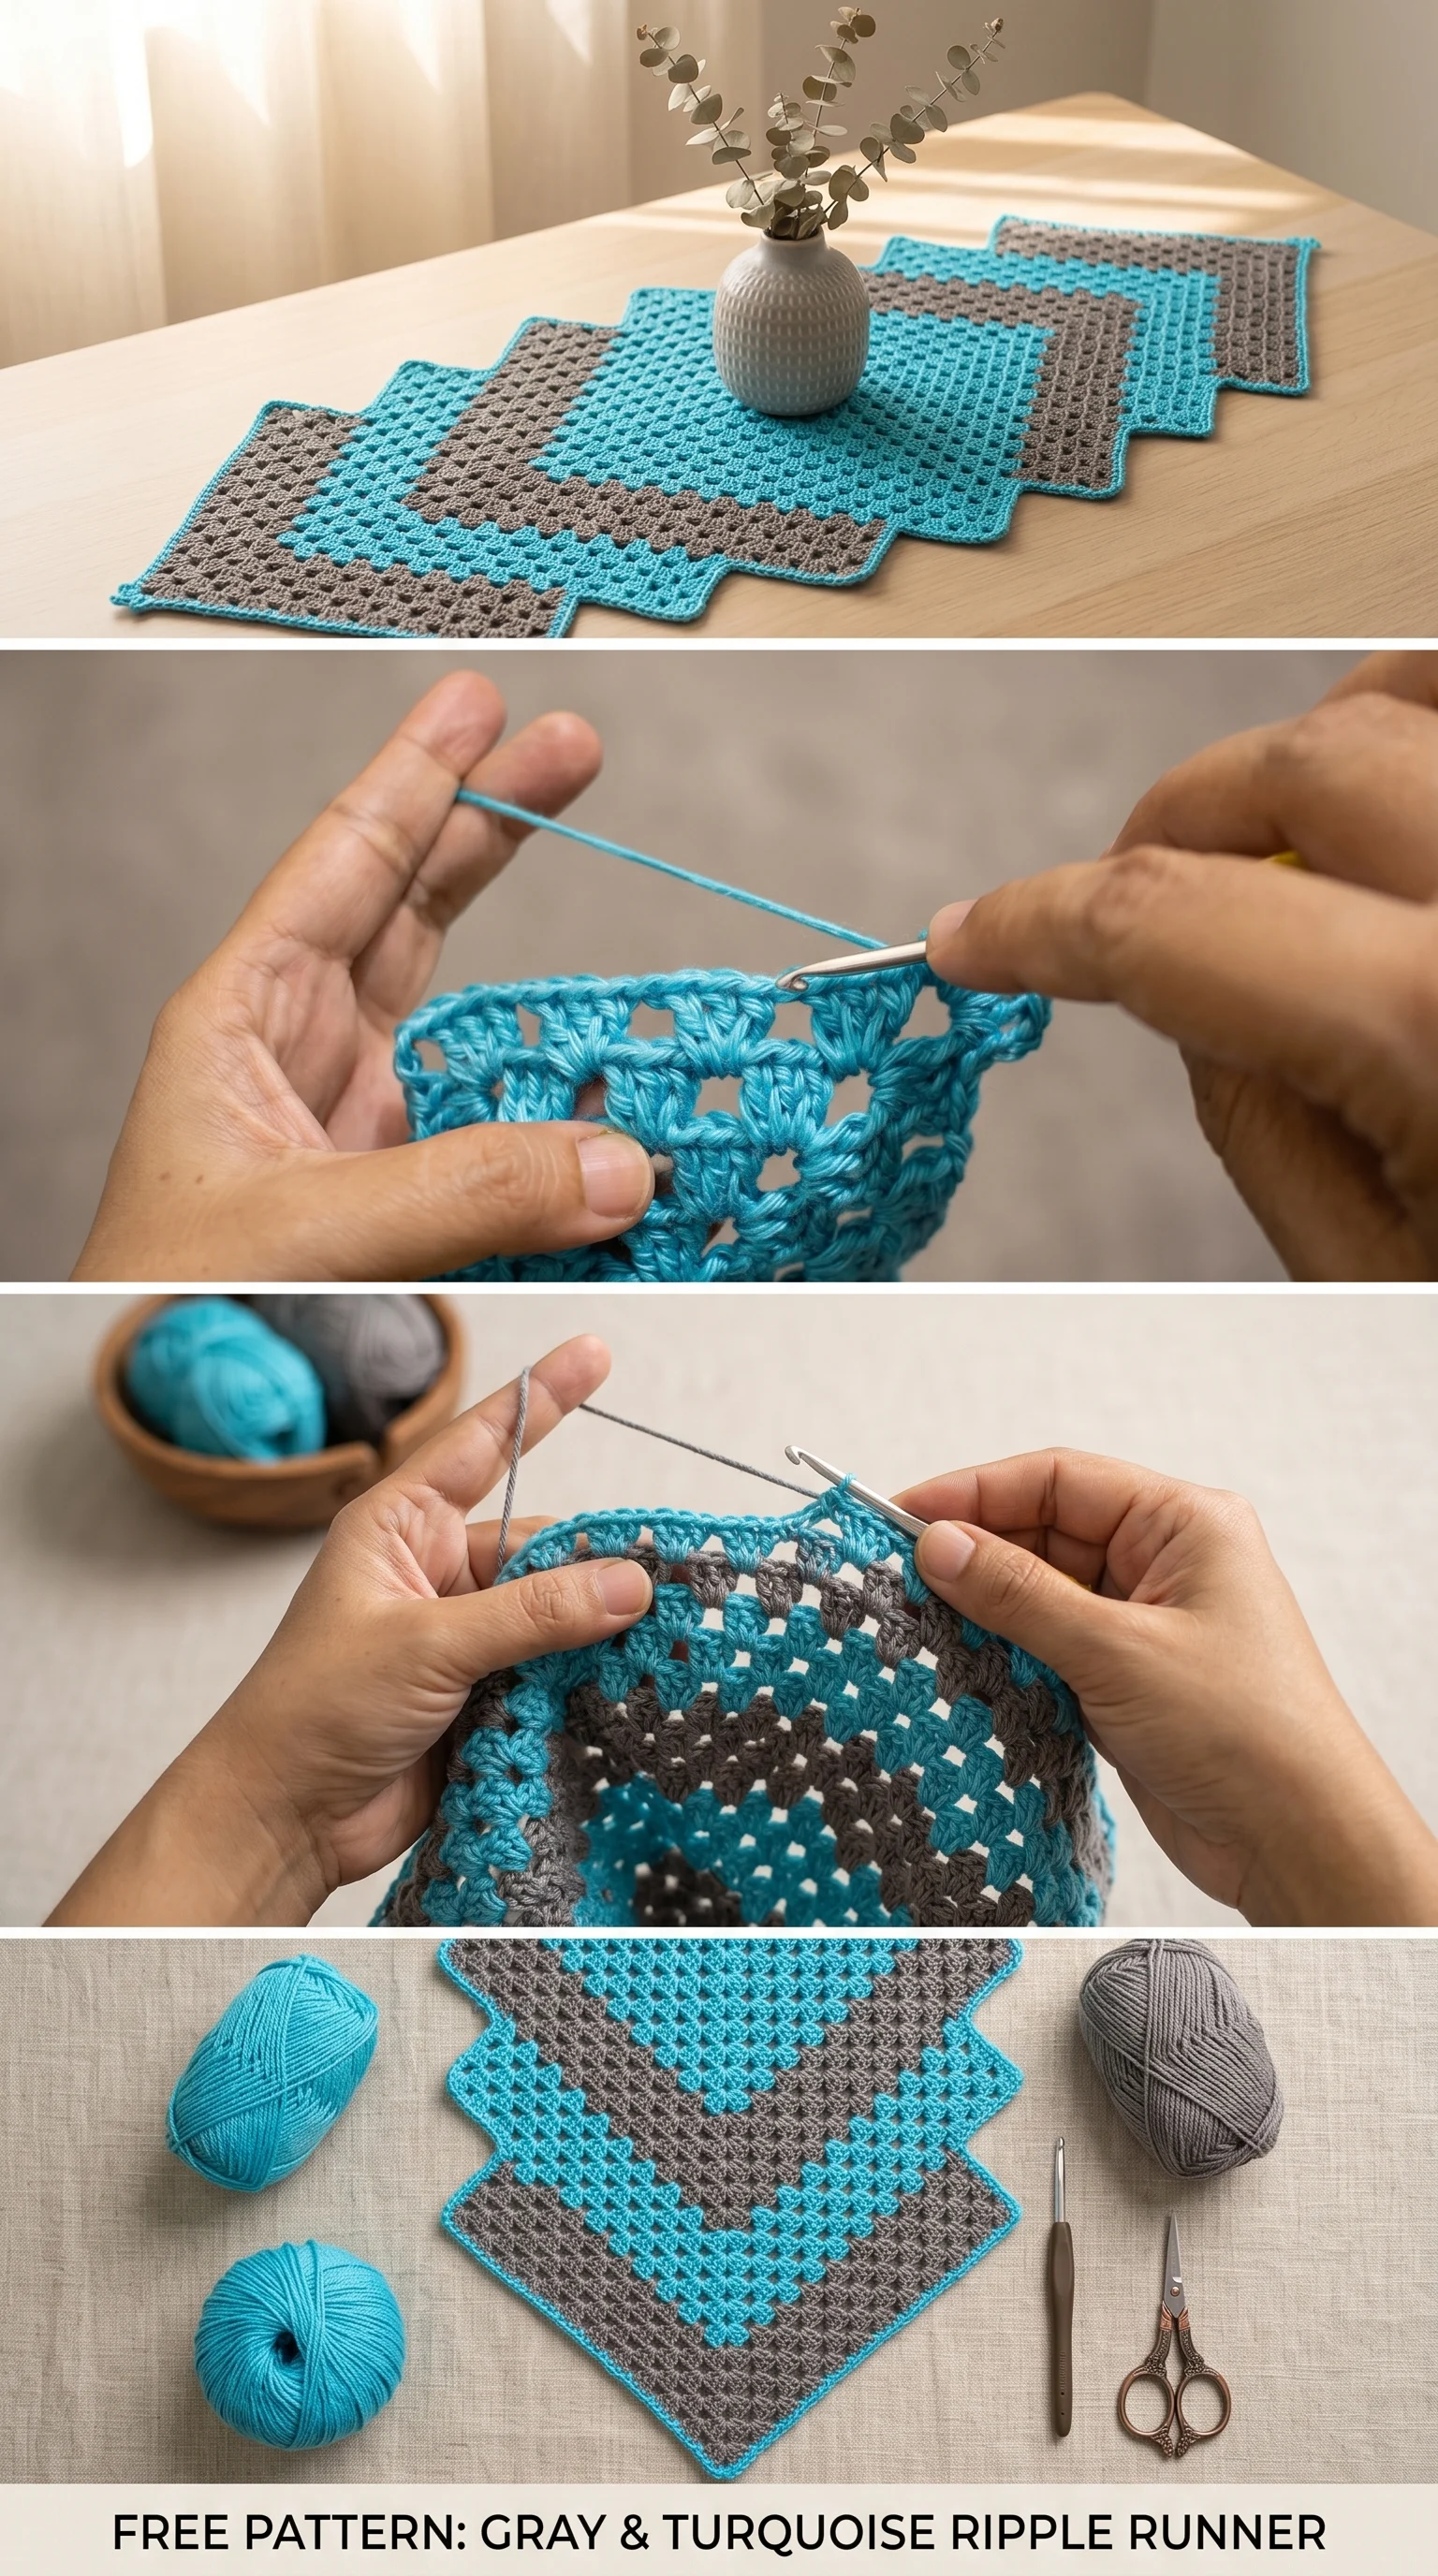
For this crochet table runner, you will want a worsted weight yarn in two colours, one for the main body of the granny panels and one for the border and joining rows. The original uses a smooth, matte grey and a vivid turquoise, and the contrast is everything. A worsted weight in a wool-acrylic blend gives you enough structure to hold the open granny stitch pattern without going limp, while staying soft enough to handle across a long project. Reach for a 5mm crochet hook for the main body, and keep a blunt tapestry needle nearby for weaving in the ends between panels.
Stitch by Stitch
This pattern draws on a small, confident handful of crochet stitches that repeat in a satisfying and reliable sequence.
BULLET:CH (Chain) The foundation of every row and the bridge between cluster groups, the chain stitch creates the open spacing that gives this runner its lacy, breathable quality.
BULLET:DC (Double Crochet) The core stitch of the granny cluster, worked in groups of three to build each rounded shell that tiles across the surface of the runner.
BULLET:SC (Single Crochet) Used along the border edge to anchor the turquoise outline and keep the perimeter neat and flat against the table.
BULLET:SL ST (Slip Stitch) The invisible connector between rounds and corner points, keeping joins clean and the overall silhouette smooth.
Once your hands learn the pattern of three DC, CH, three DC, the work moves into a meditative rhythm that almost removes the need to count, the stitches guiding themselves forward row after row.
Construction
The crochet table runner shown in the reference images is built from rectangular granny-style panels worked flat, each one growing outward from a central cluster foundation. The panels are then laid side by side and joined, with the turquoise border worked around the entire assembled piece to unify everything into one cohesive length. The stepped, zigzag silhouette along the edges is a natural result of the granny construction and adds a charming handmade texture to what could otherwise be a plain rectangle. To customise the length, simply add more panels or work additional rounds on each square before joining.
Wearing Your Table Runner
Lay your finished crochet table runner down the centre of a dining table set with candles and ceramic plates, and the meal feels like an event worth sitting down for. Drape it along a console table in a hallway with a potted plant and a few books, and it becomes a quiet decorative anchor. It also makes a genuinely thoughtful housewarming gift, the kind of handmade piece that people keep and use for years.
Keeping Your Table Runner Fresh and Flat
Once your crochet table runner is complete, a light wet blocking will coax the granny clusters into their best shape and encourage the piece to lie perfectly flat. Soak it briefly in cool water, press out the excess gently in a towel without wringing, and pin it to measurements on a foam mat before leaving it to dry. For everyday care, a gentle hand wash in cool water is ideal for a wool-acrylic blend, and laying it flat to dry will prevent any distortion in the open stitch pattern. Store it rolled rather than folded to avoid permanent crease lines through the clusters.
You made something with your hands that will sit on a table in someone’s home, perhaps yours, and be seen and touched every single day. Follow along with the full video tutorial linked here for the complete pattern guidance, and share your finished crochet table runner on Pinterest to inspire the next maker who finds it.
Follow us on Pinterest and subscribe to the Newsletter so you don’t miss a thing!
https://www.youtube.com/watch?v=sD3ZSelcVrI