
Today’s guide is all about crafting a crochet slipper sole, that quiet, grounding foundation of every beloved house slipper, worked in a satisfying oval shape that feels as solid and warm underfoot as it looks. Pull out your hook and your softest yarn, because this one is ready to be made.
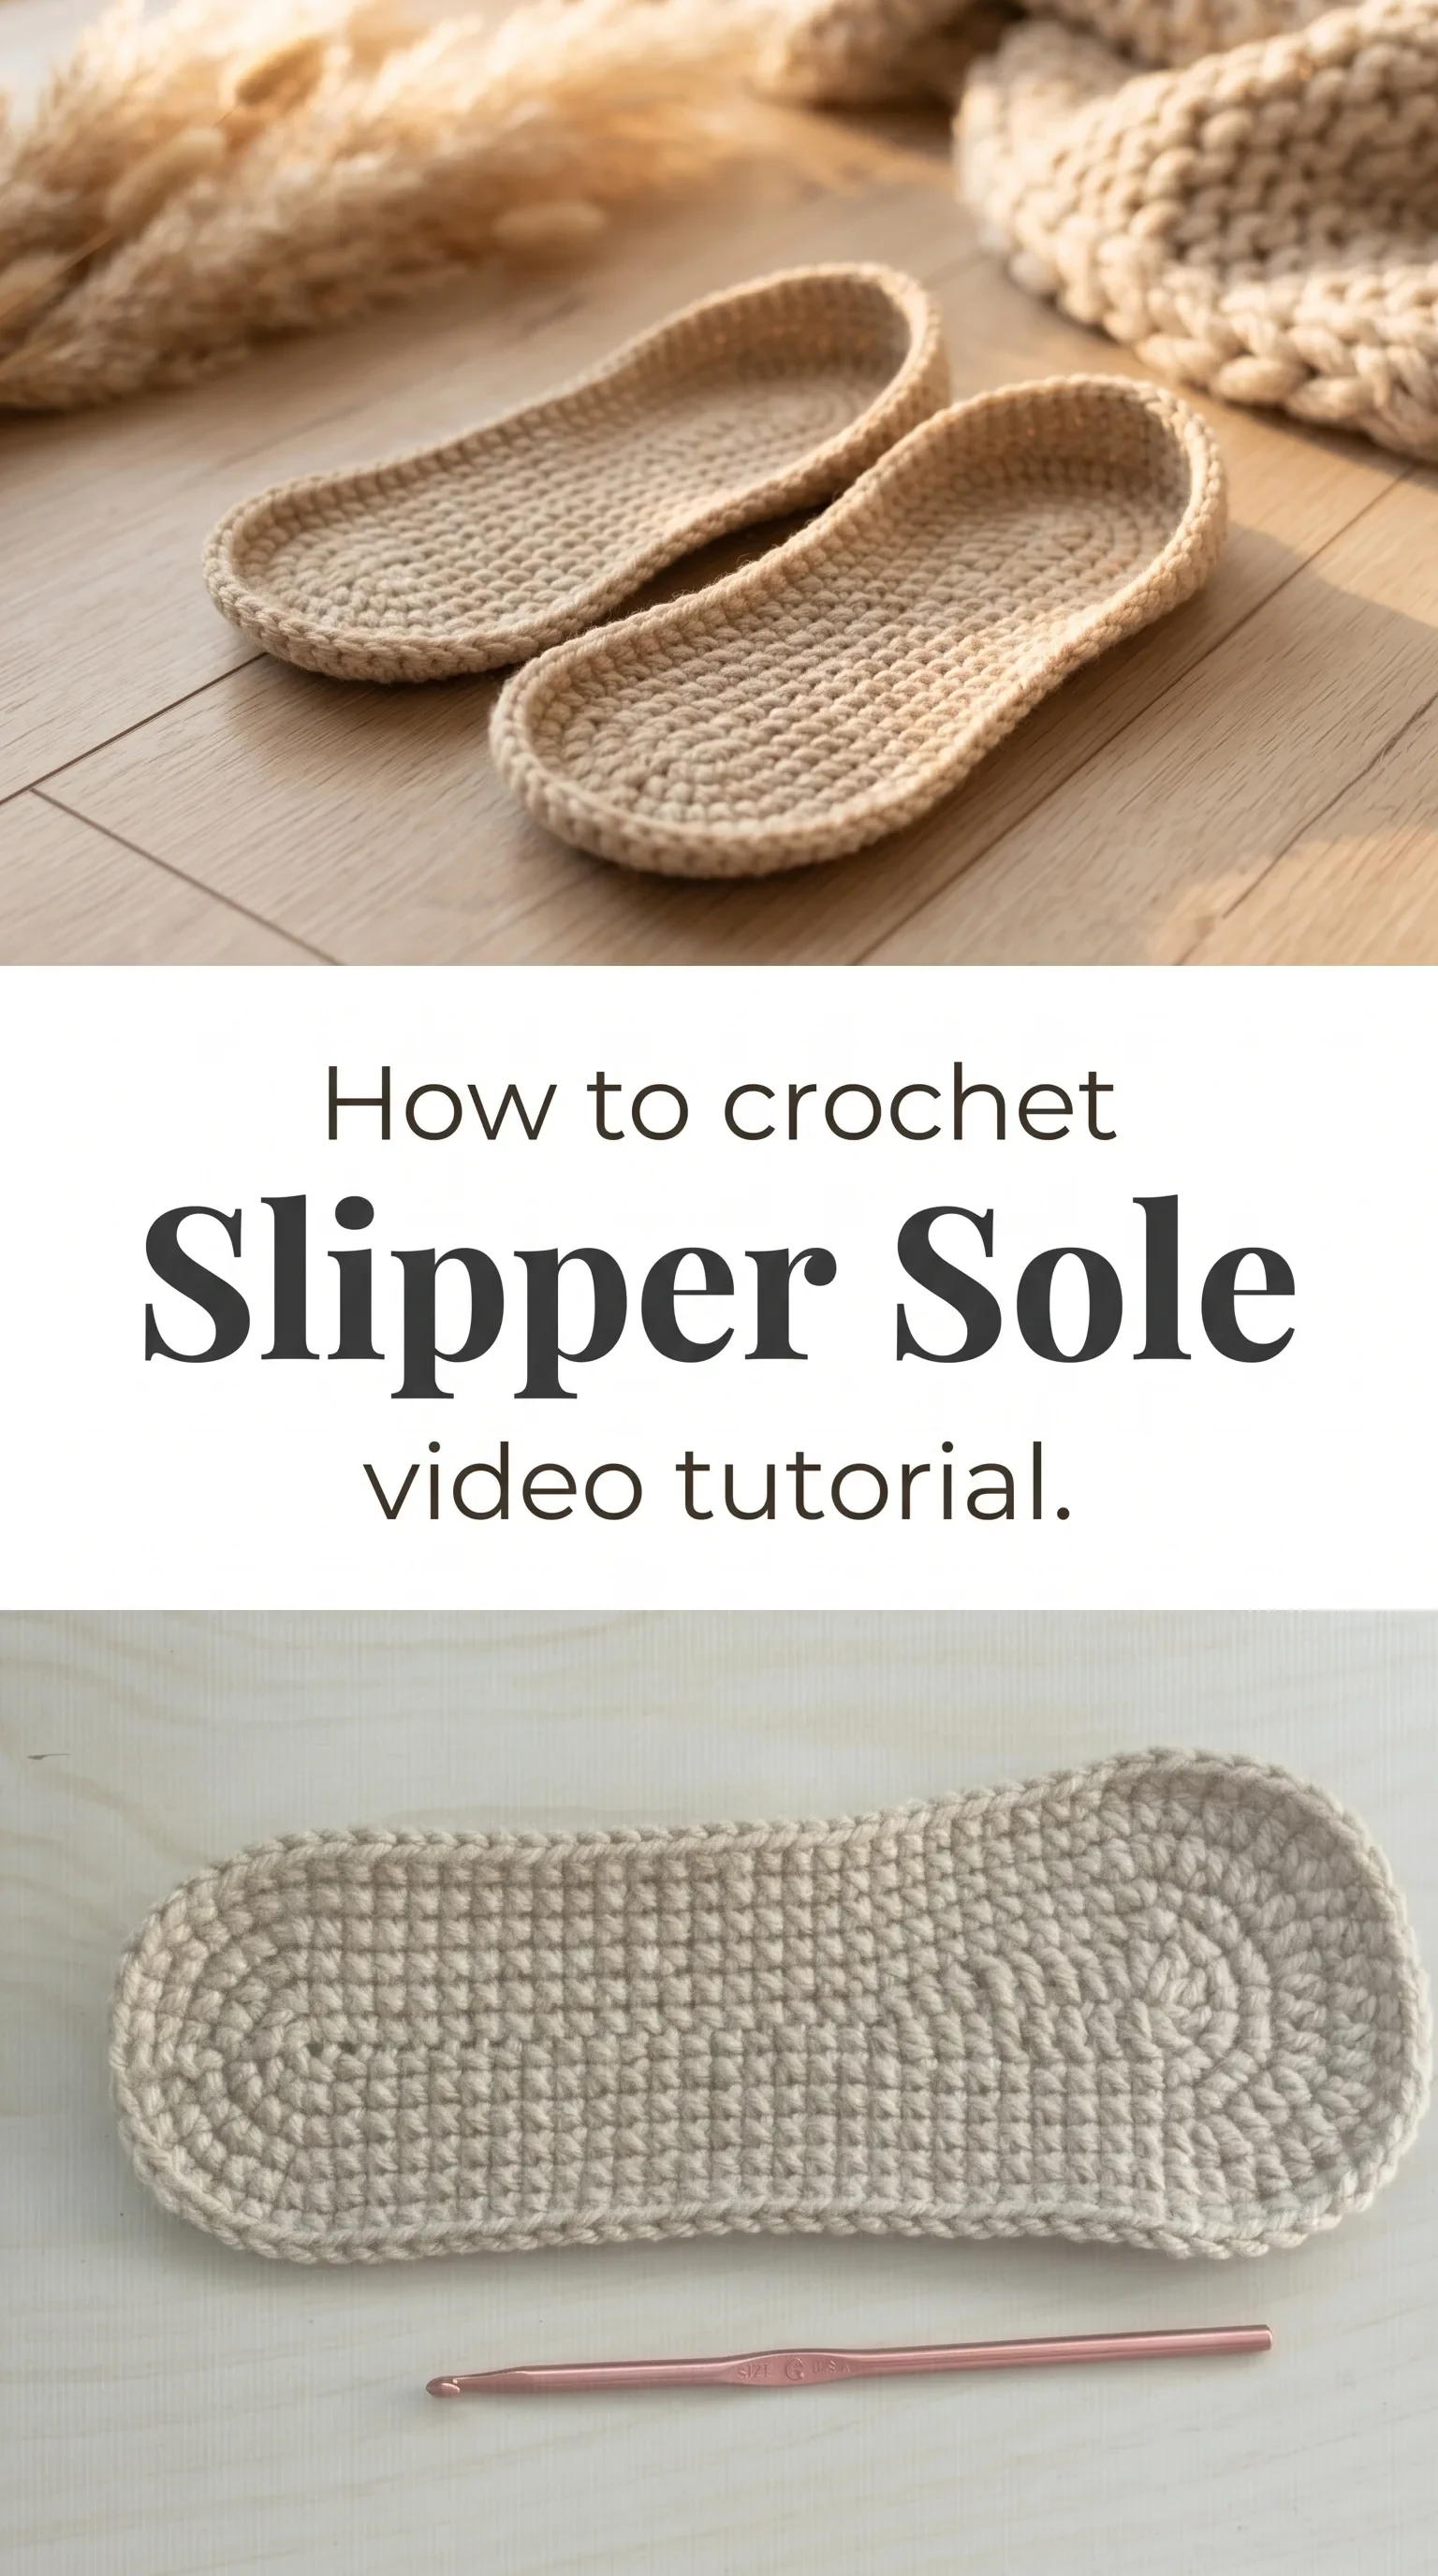
The Slipper Sole
A crochet slipper sole carries a kind of humble beauty, the sort of thing you hold in your hands and immediately understand the purpose of. It is dense and cushioned, worked in tight single crochets that build a fabric sturdy enough to carry weight yet soft enough to cradle bare feet on cold mornings. This is a project for anyone who has ever wanted to give something handmade and deeply useful, whether for themselves, a child, or someone they love. The oval shape grows outward in rounds, and watching it expand feels almost like watching something breathe.
Slipper Sole Related Posts:
- Crochet Oreo Bag: A Playful Statement Piece
- Crochet Lace Doily: A Delicate Handcrafted Treasure
- Crochet Summer Blouse: An Incredible Warm Weather Essential
- Crochet Solid Granny Square: A Timeless Classic
In natural oatmeal, warm sand, or undyed wool tones, the crochet slipper sole looks like something pulled from a slow-living mood board. It pairs beautifully with contrasting upper colors if you plan to build a full slipper, or holds its own as a neutral base that lets texture do all the talking. If you are feeling bolder, dusty rose, clay, or deep slate all bring a quiet personality to something worn only at home.
Materials and Tools
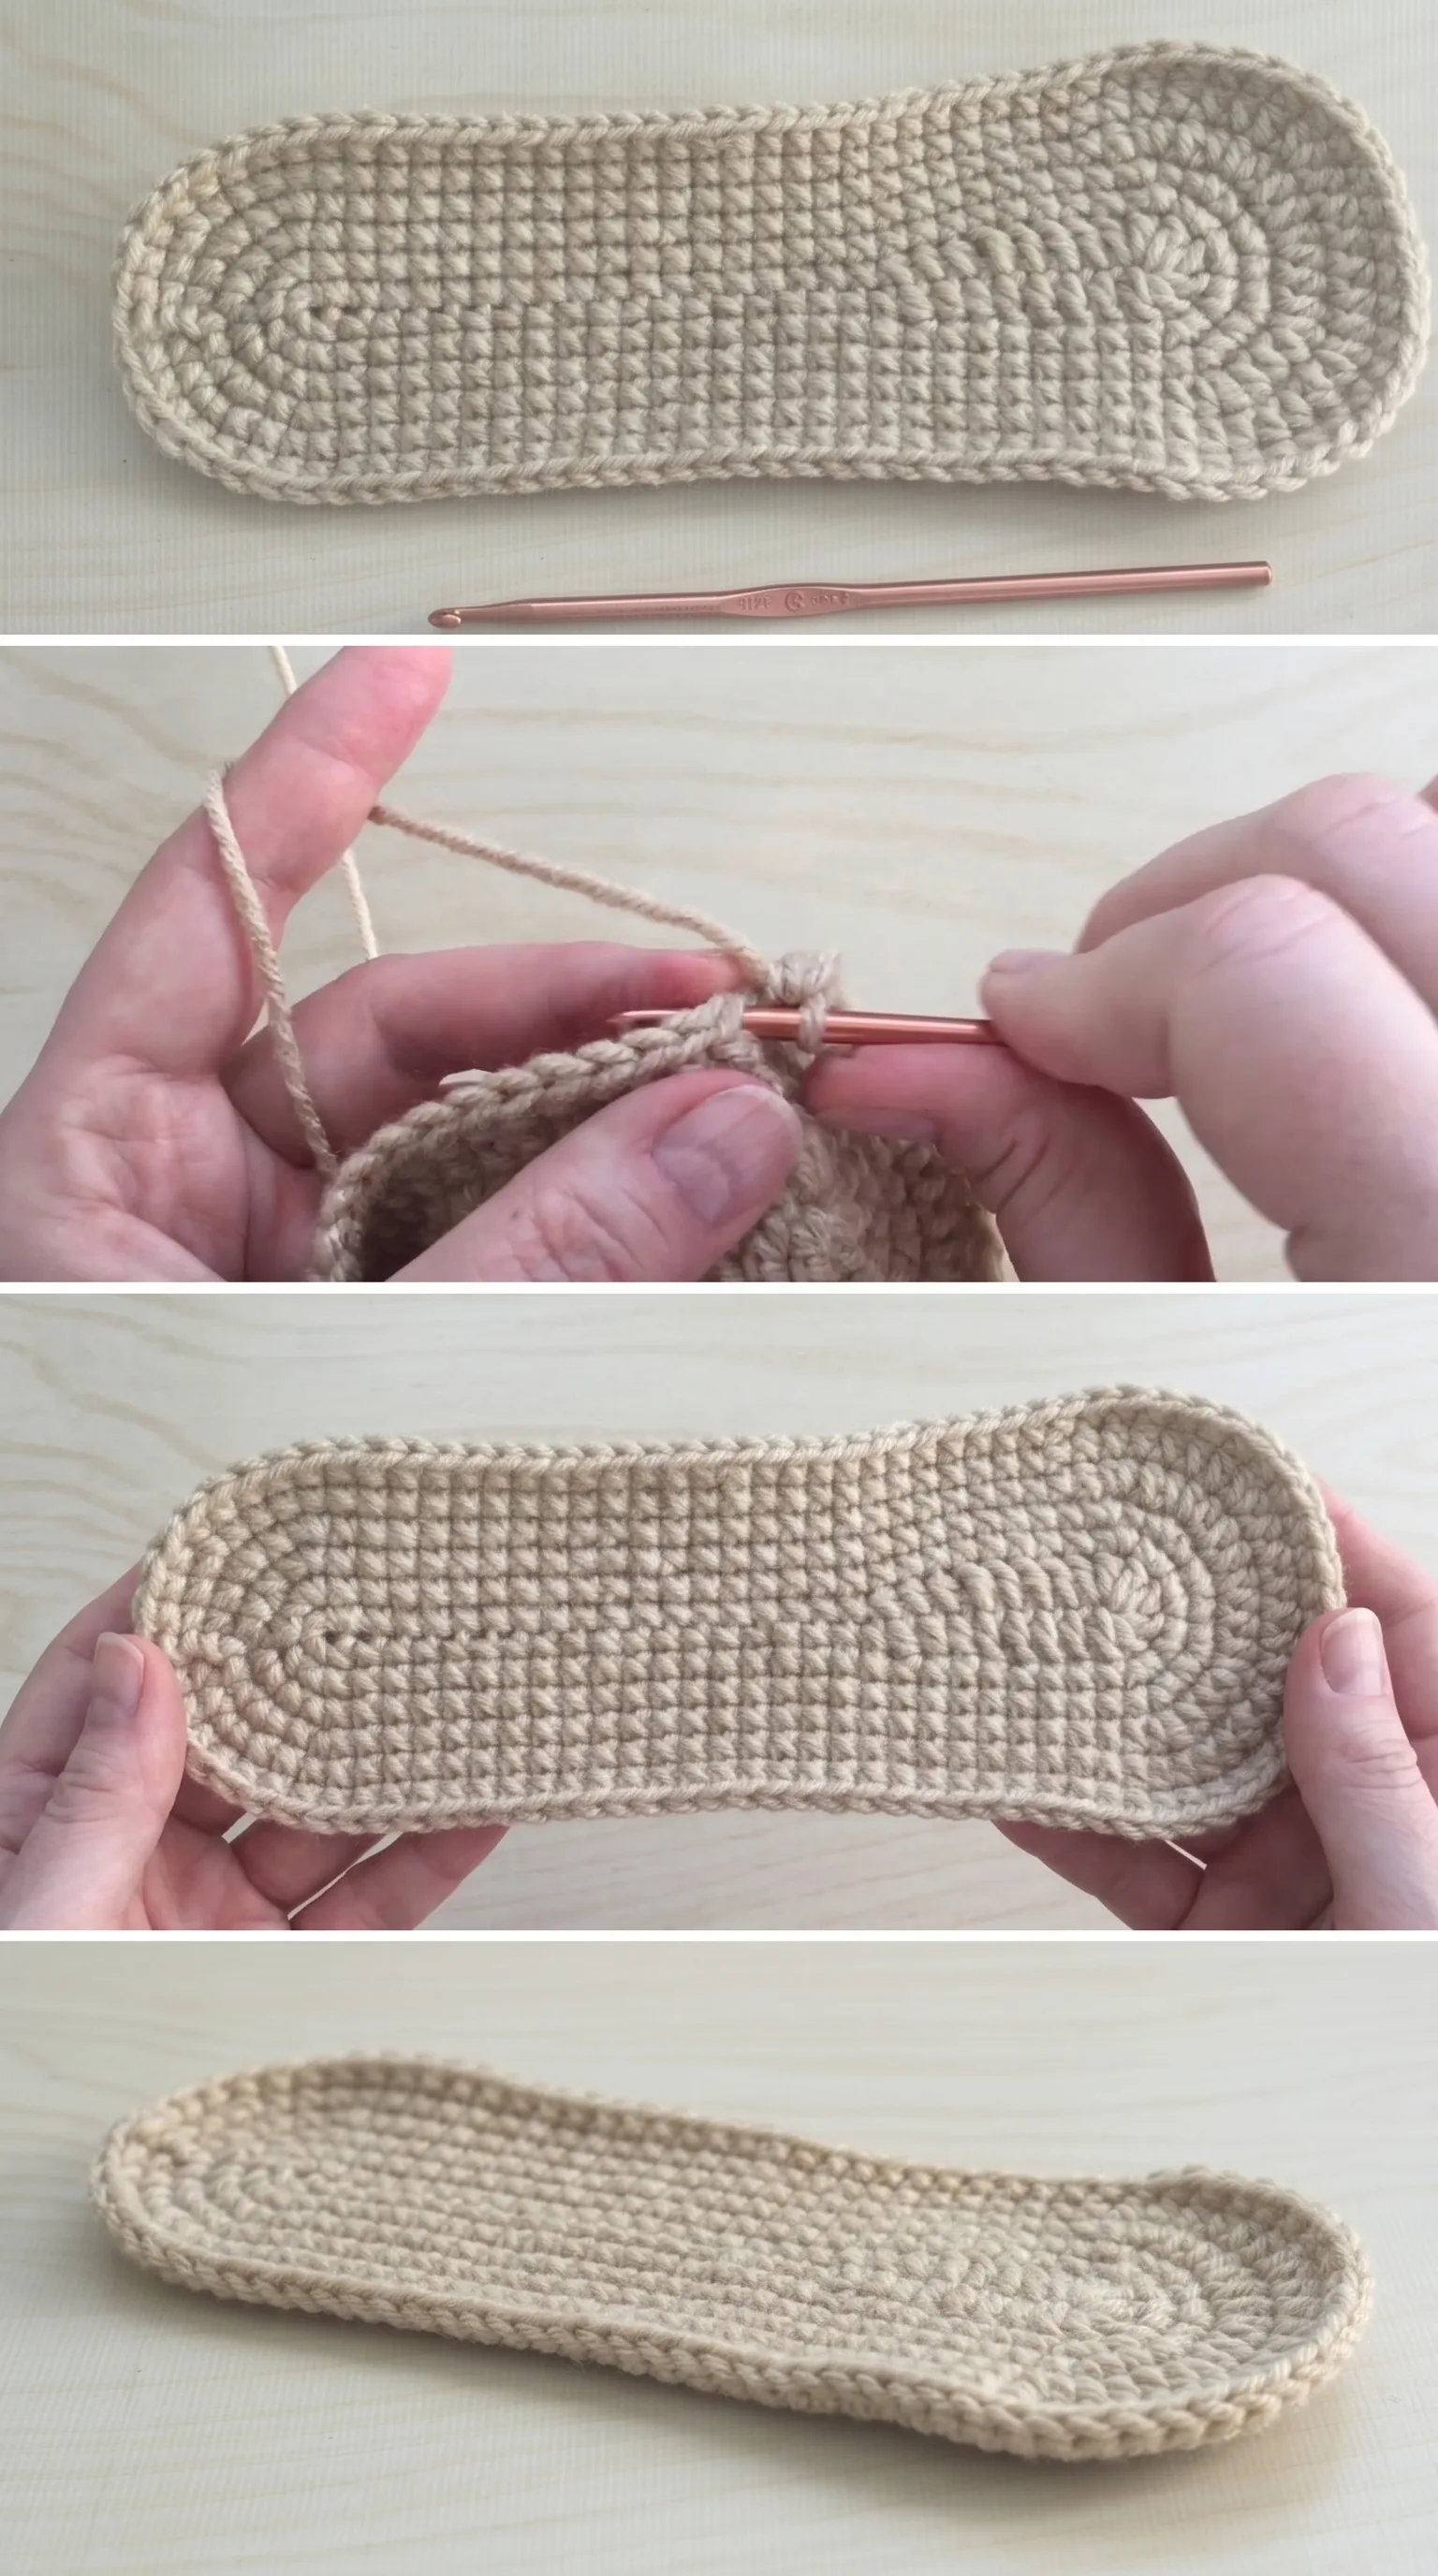
For a crochet slipper sole with real structure and lasting durability, reach for a worsted weight yarn in a wool or wool-blend fiber, something that will felt slightly with wear and hold its shape over time. Cotton-acrylic blends also work beautifully for warmer climates or those who prefer easy machine care. A size G (4mm) crochet hook, like the rose-gold aluminum one seen in the tutorial, gives you a tight, firm gauge that prevents the sole from stretching out of shape underfoot. You will also want a yarn needle for weaving in ends and a stitch marker to keep track of your rounds as the oval grows.
Stitch by Stitch
The crochet slipper sole relies on a small, honest collection of stitches that come together in a meditative rhythm.
BULLET:SC (Single Crochet) The primary stitch of the sole, worked in continuous rounds to create a dense and even fabric with excellent structure.
BULLET:Inc (Increase) Two single crochets worked into the same stitch, used at the curved ends of the oval to shape the toe and heel naturally.
BULLET:Sl St (Slip Stitch) Used to join rounds cleanly or to move across stitches without adding height, keeping the fabric neat and flat.
BULLET:Ch (Chain) The foundation chain that determines the length of the sole before you work outward in rounds from both sides.
There is something quietly satisfying about the repetition of SC rounds on this project, each stitch settling into place with a soft click of the hook, the oval growing rounder and more deliberate with every pass.
Construction
The crochet slipper sole begins with a foundation chain, and from that single line of chains, you work single crochets along both sides to form the oval base, increasing at each end to create the rounded heel and toe. From there, additional rounds are worked continuously outward, with strategic increases placed at the curves to keep the piece lying flat and true. The tutorial shows 26 SC at one stage of construction, which gives you a helpful reference point for checking your stitch count as you go. If you want to adjust the size, simply start with a longer or shorter foundation chain, and the rest of the construction follows the same logic.
Wearing Your Slipper Sole
Once your crochet slipper sole is complete, it becomes the foundation for a full pair of cozy house slippers that you will want to wear from the first cool morning of autumn straight through to spring. Work a simple upper in a contrasting yarn weight and attach it to the finished sole for a complete slipper, or use the sole as the base for a moccasin-style design with a gathered top. Either way, the finished pair feels like a small daily luxury, the kind you slip on before the kettle boils.
Washing and Storing Your Slipper Soles
If you have worked your crochet slipper sole in a wool or wool-blend yarn, hand washing in cool water with a gentle wool wash is the kindest option, pressing the water out carefully without wringing to preserve the shape. Lay flat to dry on a towel, reshaping the oval gently while it is still damp so it dries true and even. For acrylic or cotton blends, a delicate machine cycle in a mesh laundry bag works well and saves time. Store finished slippers flat or loosely stacked, away from direct sunlight, so the fibers keep their color and softness through many seasons of wear.
The slipper sole is proof that the most useful things are often the most satisfying to make, and every SC worked is a small act of care for whoever will wear them. Save this to your Pinterest boards and share your finished soles with the hashtag so the whole community can see what you have made.
Follow us on Pinterest and subscribe to the Newsletter so you don’t miss a thing!
Tutorial and photos of this slipper sole by: Stephanie Zed.