
When the air turns crisp and the light goes golden, a Crochet Autumn Beret is the answer your wardrobe has been quietly asking for. In this article, you will discover everything you need to bring this chic, structured hat to life, from materials to construction to care.
The Autumn Beret
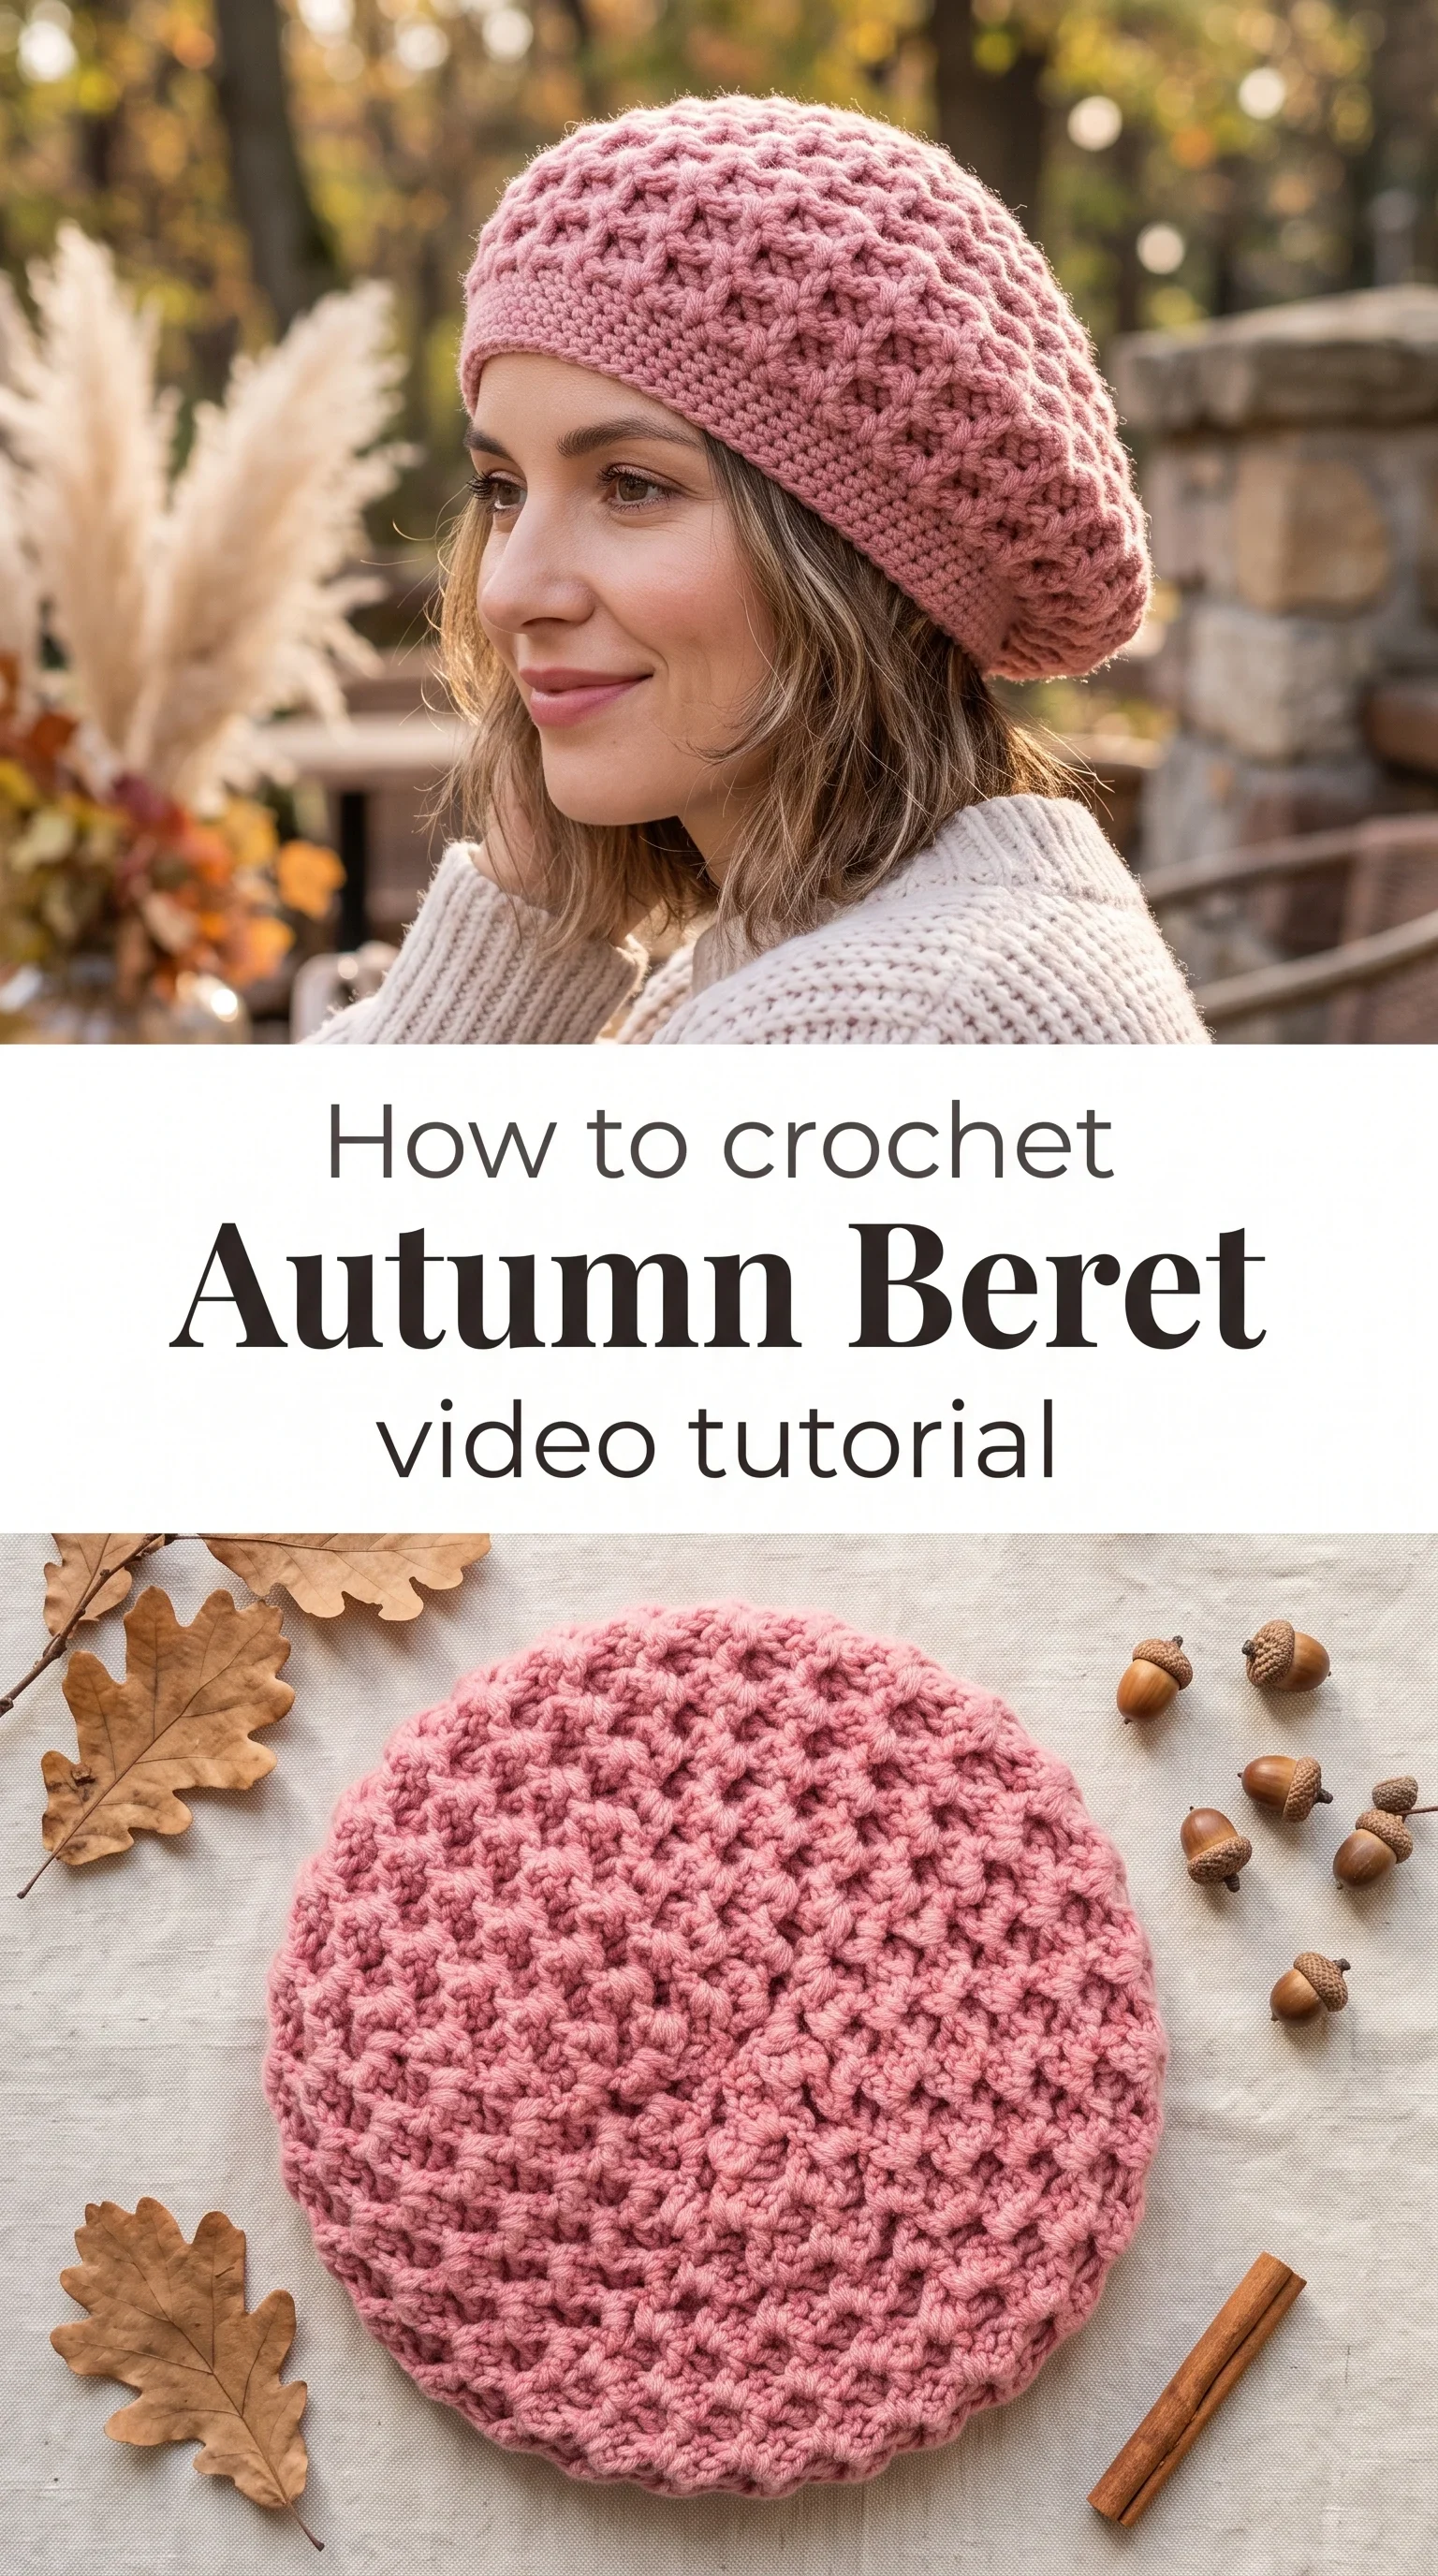
This Crochet Autumn Beret is one of those pieces that feels like it has always belonged to you, round and generous in shape, with a surface texture that catches the light in the most satisfying way. It sits with that rare quality of being airy yet structured, draping softly over the crown while holding its beautiful beret silhouette. Made for anyone who loves handmade fashion with a quiet confidence, this hat speaks to the slow-fashion lover, the weekend market wanderer, the person who wraps a scarf twice and means it. It is at once classic and current, the kind of accessory that photographs like something from a French countryside morning.
Autumn Beret Related Posts:
- Crochet Lace Scarf: A Delicate and Timeless Accessory
- Crochet Granny Square: A Timeless Classic Design
- Crochet Knit Vest: A Chic Summer Essential
- Crochet Slipper Sole: A Comfortable Foundation Essential
For color, think of everything autumn offers: dusty rose, warm terracotta, oat cream, deep forest green, or the muted mauve shown in the tutorial from Vasilya Knits. A single skein in a tonal or semi-solid colorway lets the texture do all the talking, while a bold harvest mustard or burnt sienna makes the beret a true statement piece. Wear it tilted to one side with a linen coat, or pulled down snug over your ears on a cold morning walk.
Materials and Tools
To make your own Crochet Autumn Beret, you will want to reach for a worsted weight yarn, which gives the fabric its satisfying density and beautiful stitch definition without feeling too heavy on the head. A natural fiber like merino wool, alpaca blend, or a wool-acrylic mix is ideal, offering warmth, drape, and the slight halo that makes this hat look so rich in photographs. You will work with a 5mm crochet hook, which pairs beautifully with worsted weight to create that firm but flexible fabric seen in the finished piece. A yarn needle for weaving in ends and a stitch marker to track your rounds are all you need beyond that.
Stitch by Stitch
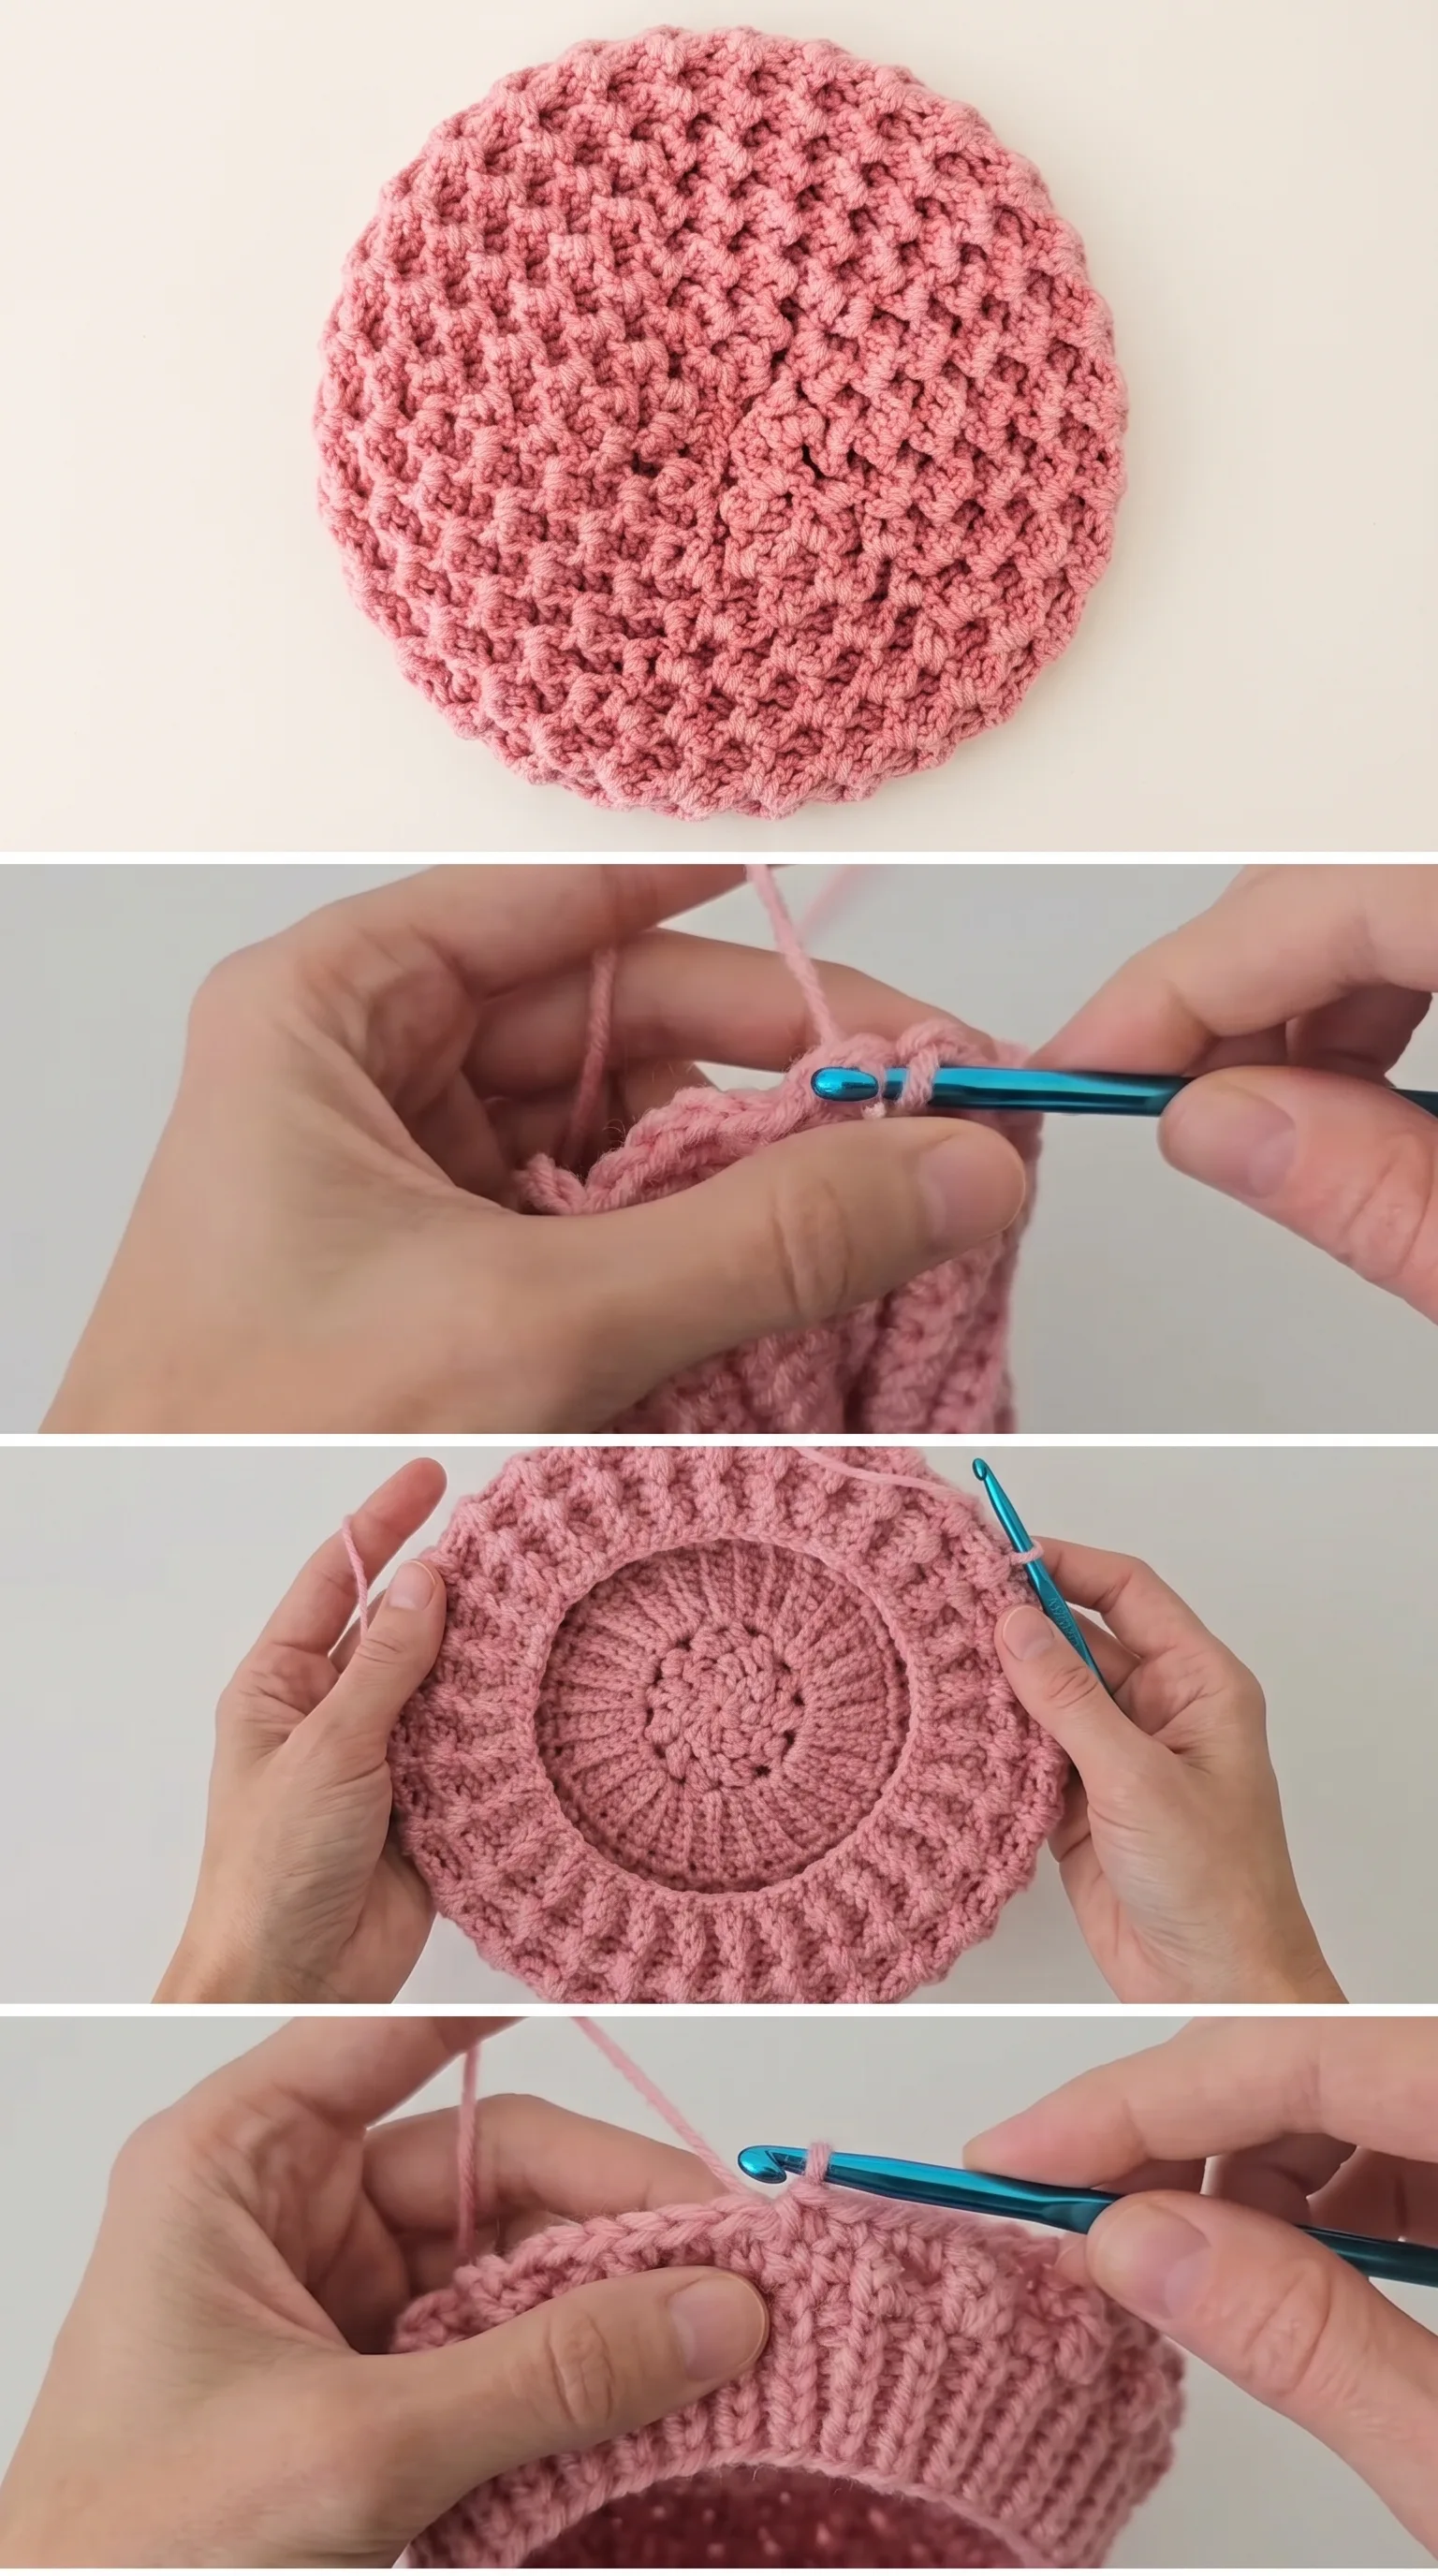
This beret relies on a small, satisfying collection of stitches that build into a wonderfully dimensional fabric.
BULLET:MR (Magic Ring) The foundation of the beret, this technique starts the crown from the very center with a tidy, hole-free beginning.
BULLET:SC (Single Crochet) Used in shaping rounds near the crown and brim, SC creates a tight, clean fabric that holds the beret’s structure.
BULLET:DC (Double Crochet) The workhorse stitch of the body, DC builds height quickly and creates the open, lofty texture across the hat’s widest section.
BULLET:CH (Chain) Chains are worked between stitches in certain rounds to create the airy negative space that gives the beret its woven, lattice-like surface.
Once you settle into the meditative rhythm of working in the round, each row feels like a small reward, the fabric growing in a perfect spiral beneath your hands as the shape of the hat reveals itself stitch by stitch.
Construction
The Crochet Autumn Beret is worked entirely in the round from the top down, beginning at the crown with a magic ring and expanding outward with evenly spaced increases until the hat reaches its full, generous width. The fabric then works straight for several rounds to create the body of the beret, before decreasing back in to form the fitted band that sits at the brow. For beginner-friendly guidance through each phase, the full video tutorial by Vasilya Knits walks you through every round with clear close-up footage of the hook placement and stitch technique. If you want a deeper, more slouchy beret, simply add one or two extra rounds before beginning the decrease section.
Wearing Your Autumn Beret
Pull this beret on over loose waves with a chunky knit sweater and wide-leg trousers for a look that feels effortless and intentional all at once. It pairs just as beautifully with a trench coat and ankle boots for city walks as it does with a cozy flannel shirt on a woodland trail. Finishing this project means you will have a wearable piece of handmade art ready for every cool-weather occasion between now and the first snow.
Keeping Your Beret in Beautiful Shape
Wool and wool-blend berets respond wonderfully to wet blocking, which is well worth doing once your hat is complete. Soak the finished beret in cool water with a drop of wool wash, gently press out the excess water in a towel, and then stretch it over a dinner plate or round balloon to dry, coaxing it into that perfect circular shape. Once dry and stored, keep it folded loosely or placed flat in a drawer rather than hung, which can distort the brim over time. For washing going forward, always hand wash in cool water and lay flat to dry to preserve both the fiber and the shape.
Every Crochet Autumn Beret you make carries something no shop-bought hat ever could, the warmth of your own hands and the quiet pride of having made something beautiful from scratch. Save this article to your Pinterest boards and share your finished beret with the handmade community, because your version deserves to be seen.
Follow us on Pinterest and subscribe to the Newsletter so you don’t miss a thing!
Tutorial and photos of this autumn beret by: Vasilya Knits – Вяжем крючком.