
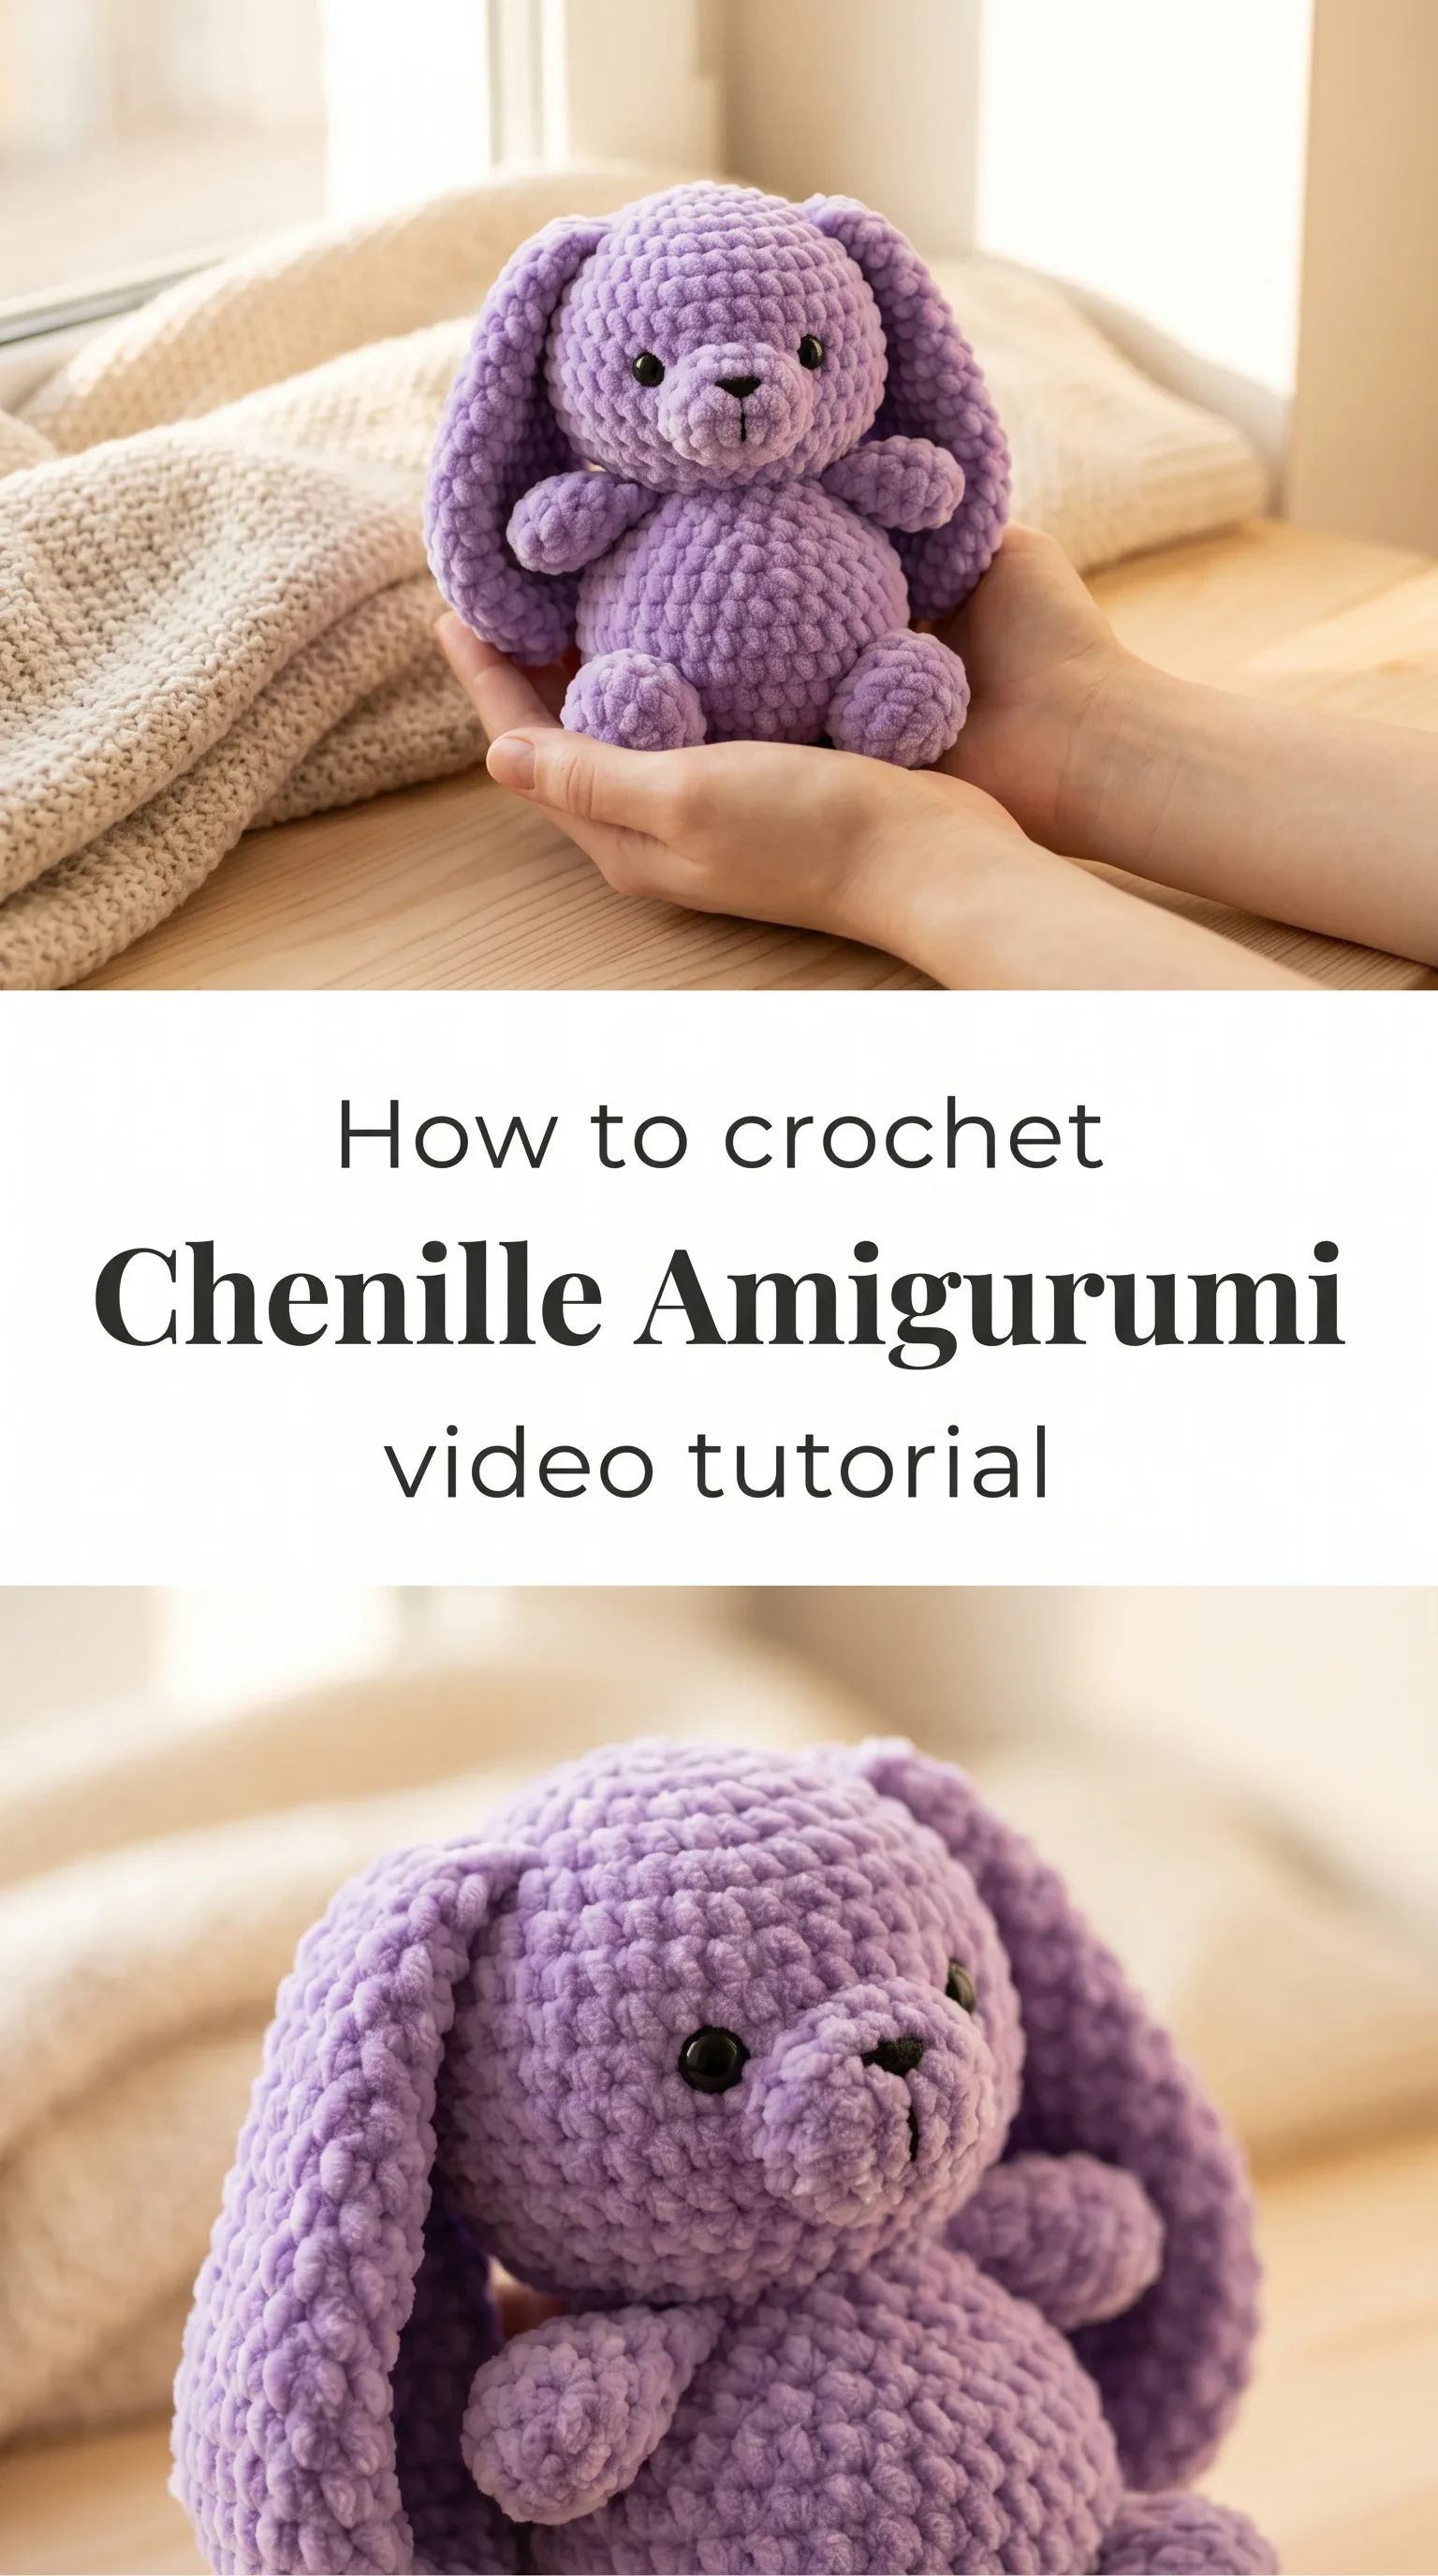
Crochet Chenille Amigurumi is the answer when you want a handmade figure that feels as good as it looks, impossibly soft against the palm and full of quiet, plush charm. In this article, you will discover the materials, stitches, and techniques that bring these velvety little creatures to life.
The Chenille Amigurumi
Crochet Chenille Amigurumi sits somewhere between sculpture and comfort object, a small figure that carries an almost irresistible softness the moment you pick it up. The chenille yarn gives each shape a rounded, cloud-like surface that hides nothing and forgives everything, making each SC tight enough to hold the stuffing firmly while still feeling impossibly gentle to the touch. These are pieces made for the hands that need something tender, for the child who wants a companion or the adult who places one on a shelf as a reminder that slow-made things matter. Whether you are crocheting your first figure or your fiftieth, chenille transforms the familiar amigurumi silhouette into something that feels entirely new.
Chenille Amigurumi Related Posts:
- Crochet Summer Blouse: An Incredible Warm Weather Essential
- Crochet Bear Coaster: A Charming Home Accent
- Crochet Marshmallow Basket: A Fluffy and Charming Storage Solution
- Crochet Comfort Socks: A Cozy Handmade Essential
Lavender and dusty rose are the natural homes for Crochet Chenille Amigurumi, as seen in the soft lilac palette of the tutorial, but sage green, warm cream, and dove grey each carry their own quiet beauty in this fiber. Because the yarn is so tactile and the shapes are compact, these figures move easily between nursery shelves, café tables, and gift boxes without ever feeling out of place. Think of a blush bunny tucked beside a candle, or a sky-blue bear wrapped in tissue paper and tied with ribbon.
Materials and Tools
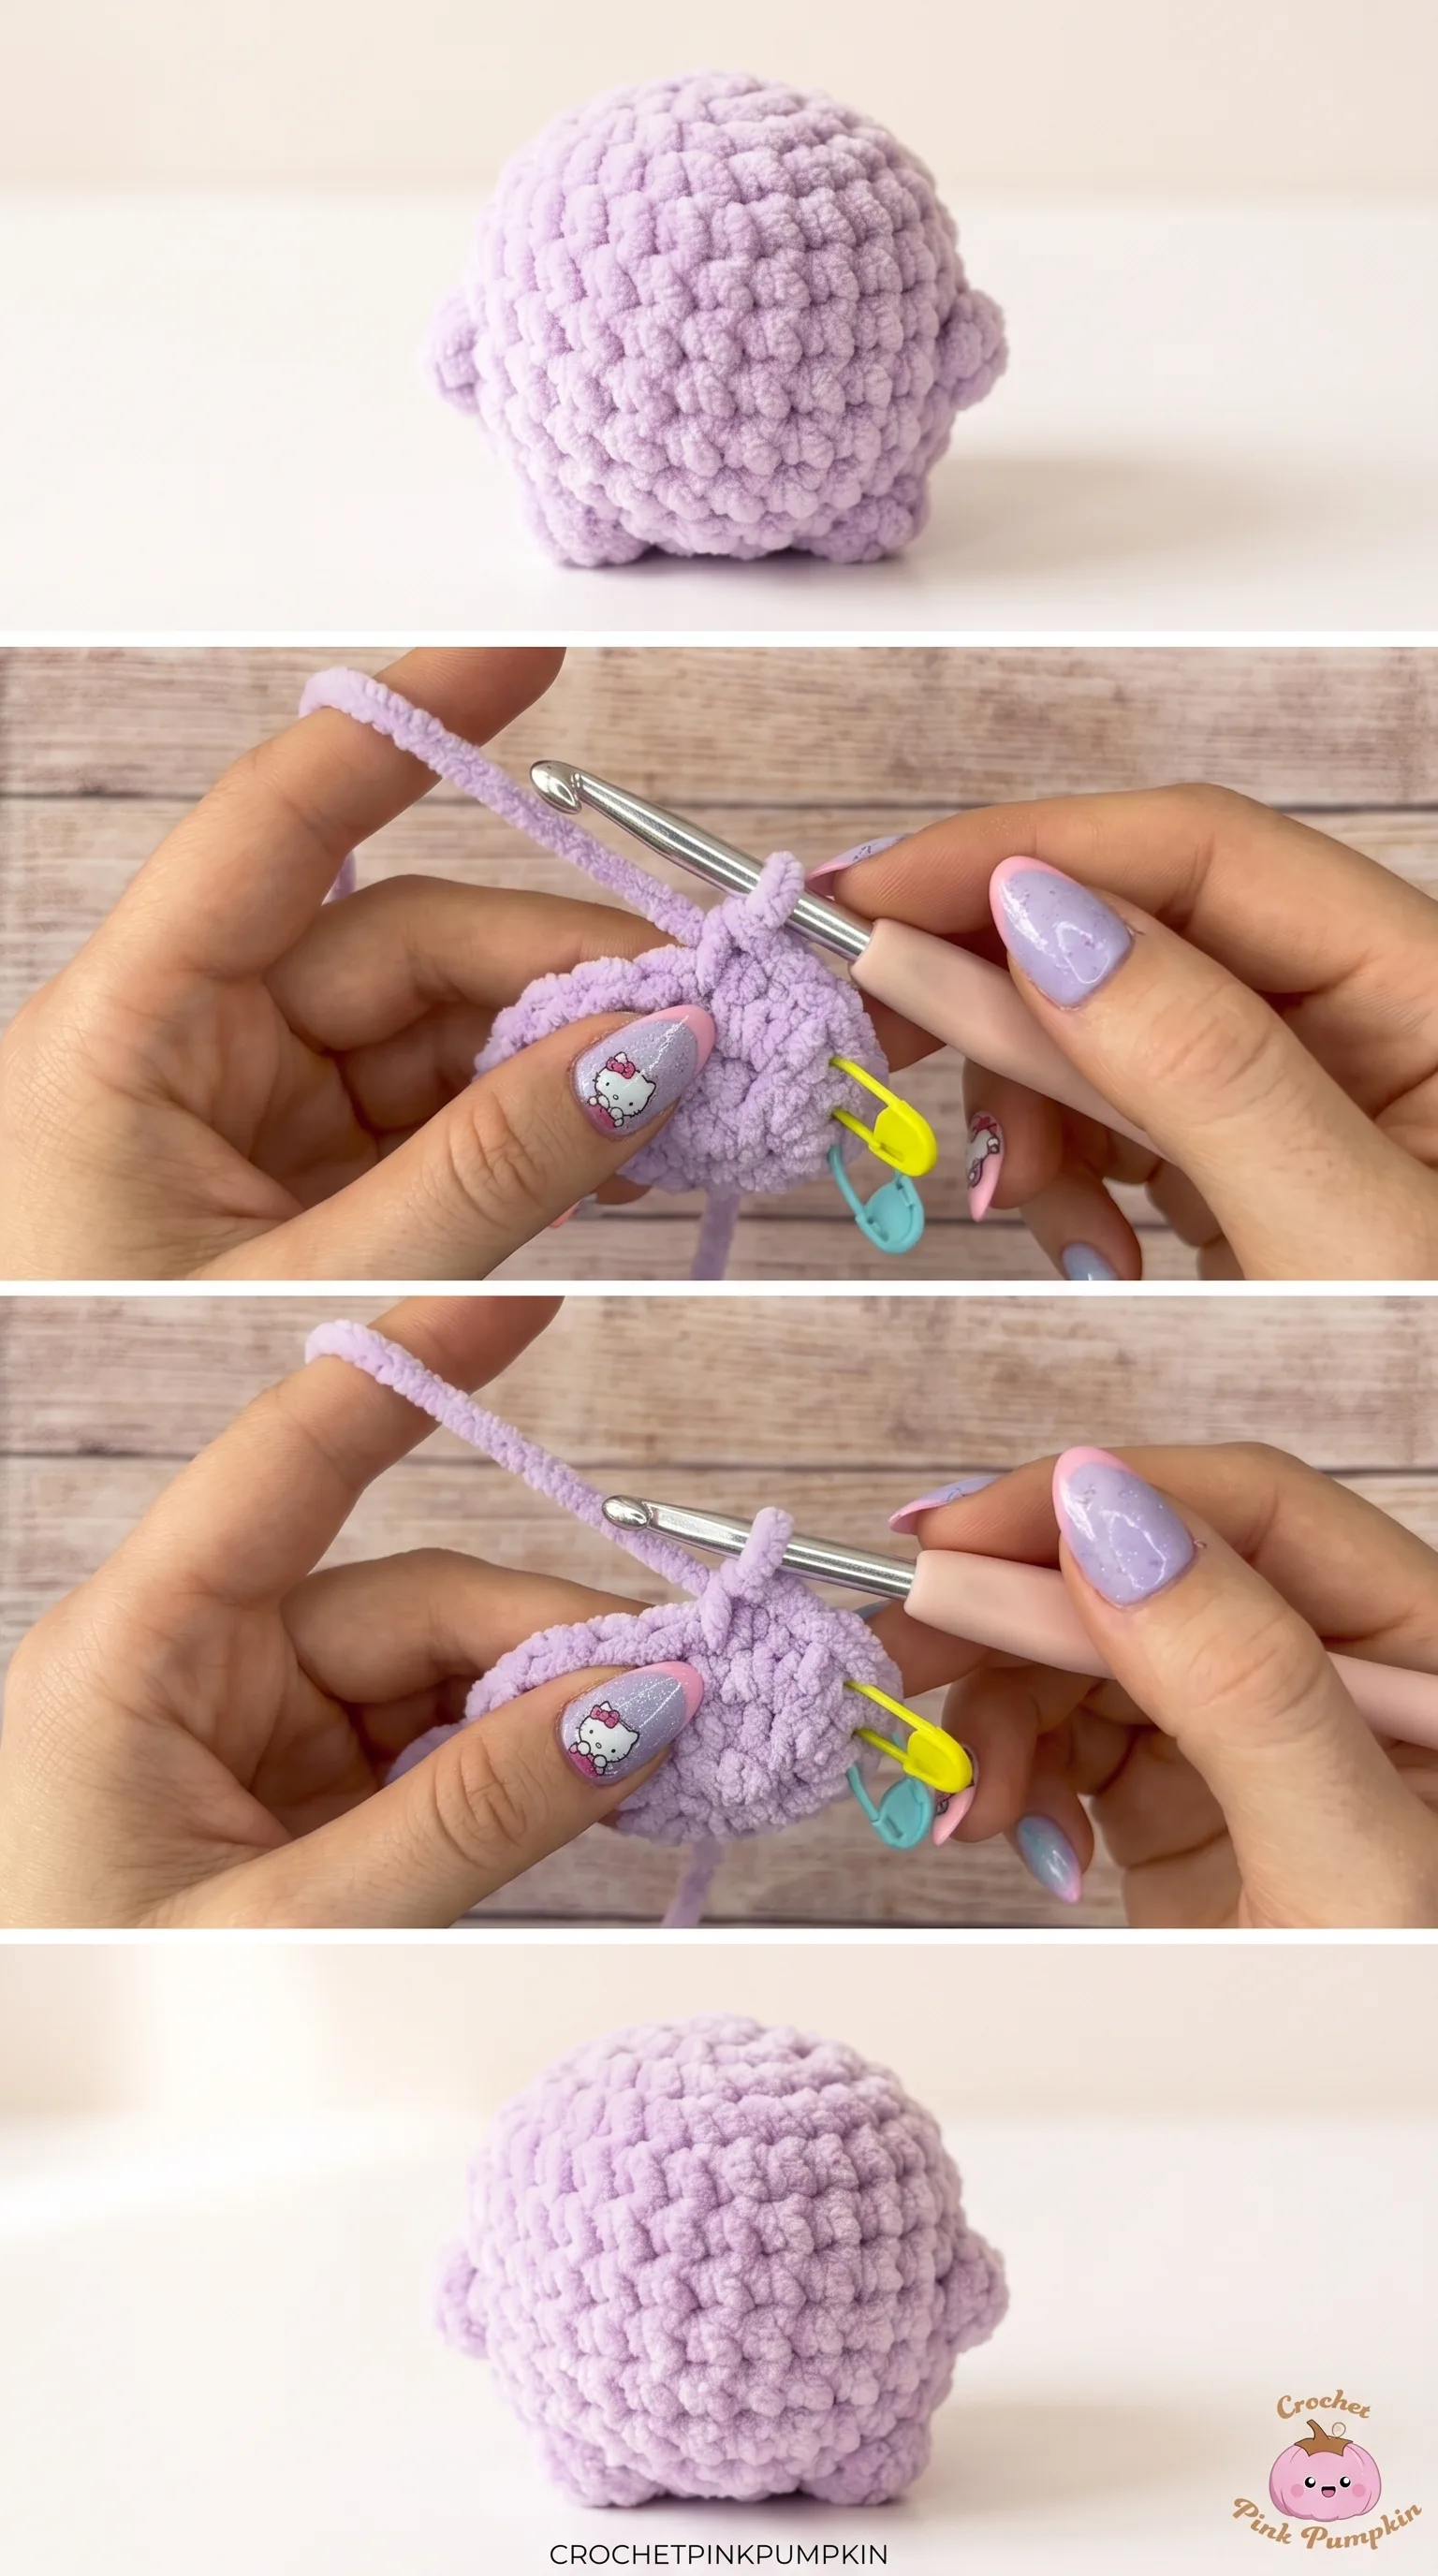
The yarn you reach for here matters deeply, and chenille velvet yarn in a bulky or super bulky weight is the one that will give your figures their signature plush density. Look for 100% polyester chenille fiber, which holds its shape after stuffing and maintains that soft, even pile wash after wash without pilling or flattening. A 5mm or 5.5mm crochet hook works beautifully with most chenille velvet yarns at this weight, giving you stitches that are snug enough to prevent stuffing from showing through the fabric. Keep a set of colorful stitch markers nearby, because with chenille the rounds can blur together in the fluffiness, and marking each round is what keeps your count clean and your figure symmetrical.
Stitch by Stitch
Crochet Chenille Amigurumi relies on a small and dependable vocabulary of stitches that work together to build organic, rounded shapes.
BULLET:MR (Magic Ring) The foundation of nearly every amigurumi piece, the magic ring lets you close the center of your first round tightly so no gap appears at the top of the head or body.
BULLET:SC (Single Crochet) The primary building stitch of this project, worked tightly through both loops to create a dense, firm fabric that holds its shape once stuffed.
BULLET:INC (Increase) Two SC worked into the same stitch, used to expand your rounds outward as you shape the head, body, and limbs into their rounded forms.
BULLET:DEC (Invisible Decrease) A decrease worked by inserting the hook through the front loops of two stitches simultaneously, creating a smooth, barely visible reduction that keeps the surface of your figure clean.
Working round after round of SC in chenille settles into a meditative rhythm quickly, the hook finding each stitch almost by feel, the fabric growing soft and full in your hands with every pass.
Construction
Every part of a Crochet Chenille Amigurumi is worked separately in the round, starting from a magic ring and expanding outward with increases before tapering back in with decreases to close each section. The head and body are typically the largest pieces and are stuffed firmly with polyester fiberfill before seaming, while the ears, limbs, and tail are often left lightly stuffed or worked flat and sewn directly onto the surface. As a beginner-friendly note, the colorful stitch markers visible in the video tutorial are not just decorative but genuinely essential here, because chenille hides its stitches under that velvety pile and markers are what keep each round legible. For a personal touch, you can embroider the facial features with a contrasting yarn color or use safety eyes of different sizes to shift the character’s expression from sleepy to wide-eyed and curious.
Wearing Your Chenille Amigurumi
These figures are as much about display and gifting as they are about play, and a finished Crochet Chenille Amigurumi looks genuinely beautiful propped against a stack of linen books or nestled in a woven basket with dried flowers. Gift one wrapped in a square of kraft paper to a new parent and it will likely become the softest thing in the nursery. Finish a set in coordinating colors and arrange them together as a shelf moment that makes any corner of a room feel warmer and more intentional.
Keeping Your Chenille Amigurumi Soft and Shape-Ready
Polyester chenille velvet is wonderfully low-maintenance, but a gentle hand wash in cool water with a mild detergent will always be kinder to the figure than a machine cycle, especially around the sewn seams and embroidered features. Press the figure gently between two clean towels to remove excess water and reshape it by hand while it is still damp, coaxing the head and body back into their intended roundness before leaving it flat to dry away from direct heat. Avoid wringing or twisting, as this can distort the stuffed interior and cause the seams to pull. Store finished figures away from direct sunlight, which can slowly fade even the deepest chenille colors over time.
Every figure you finish in chenille is proof that your hands know how to make something worth keeping, and Crochet Chenille Amigurumi made slowly and with care will outlast trends and seasons by years. Save this article to your Pinterest boards and share your finished figures with the hashtag so the community can see the creatures you bring to life.
Follow us on Pinterest and subscribe to the Newsletter so you don’t miss a thing!
Tutorial and photos of this chenille amigurumi by: Crochet Pink Pumpkin.