
Learn to crochet a Crochet Ribbed Beanie that wraps your head in soft, structured warmth with every satisfying ridge. Wear it pulled low over your ears on a frost-bright morning, gifted to someone you love, or layered over a chunky scarf for full winter ease.
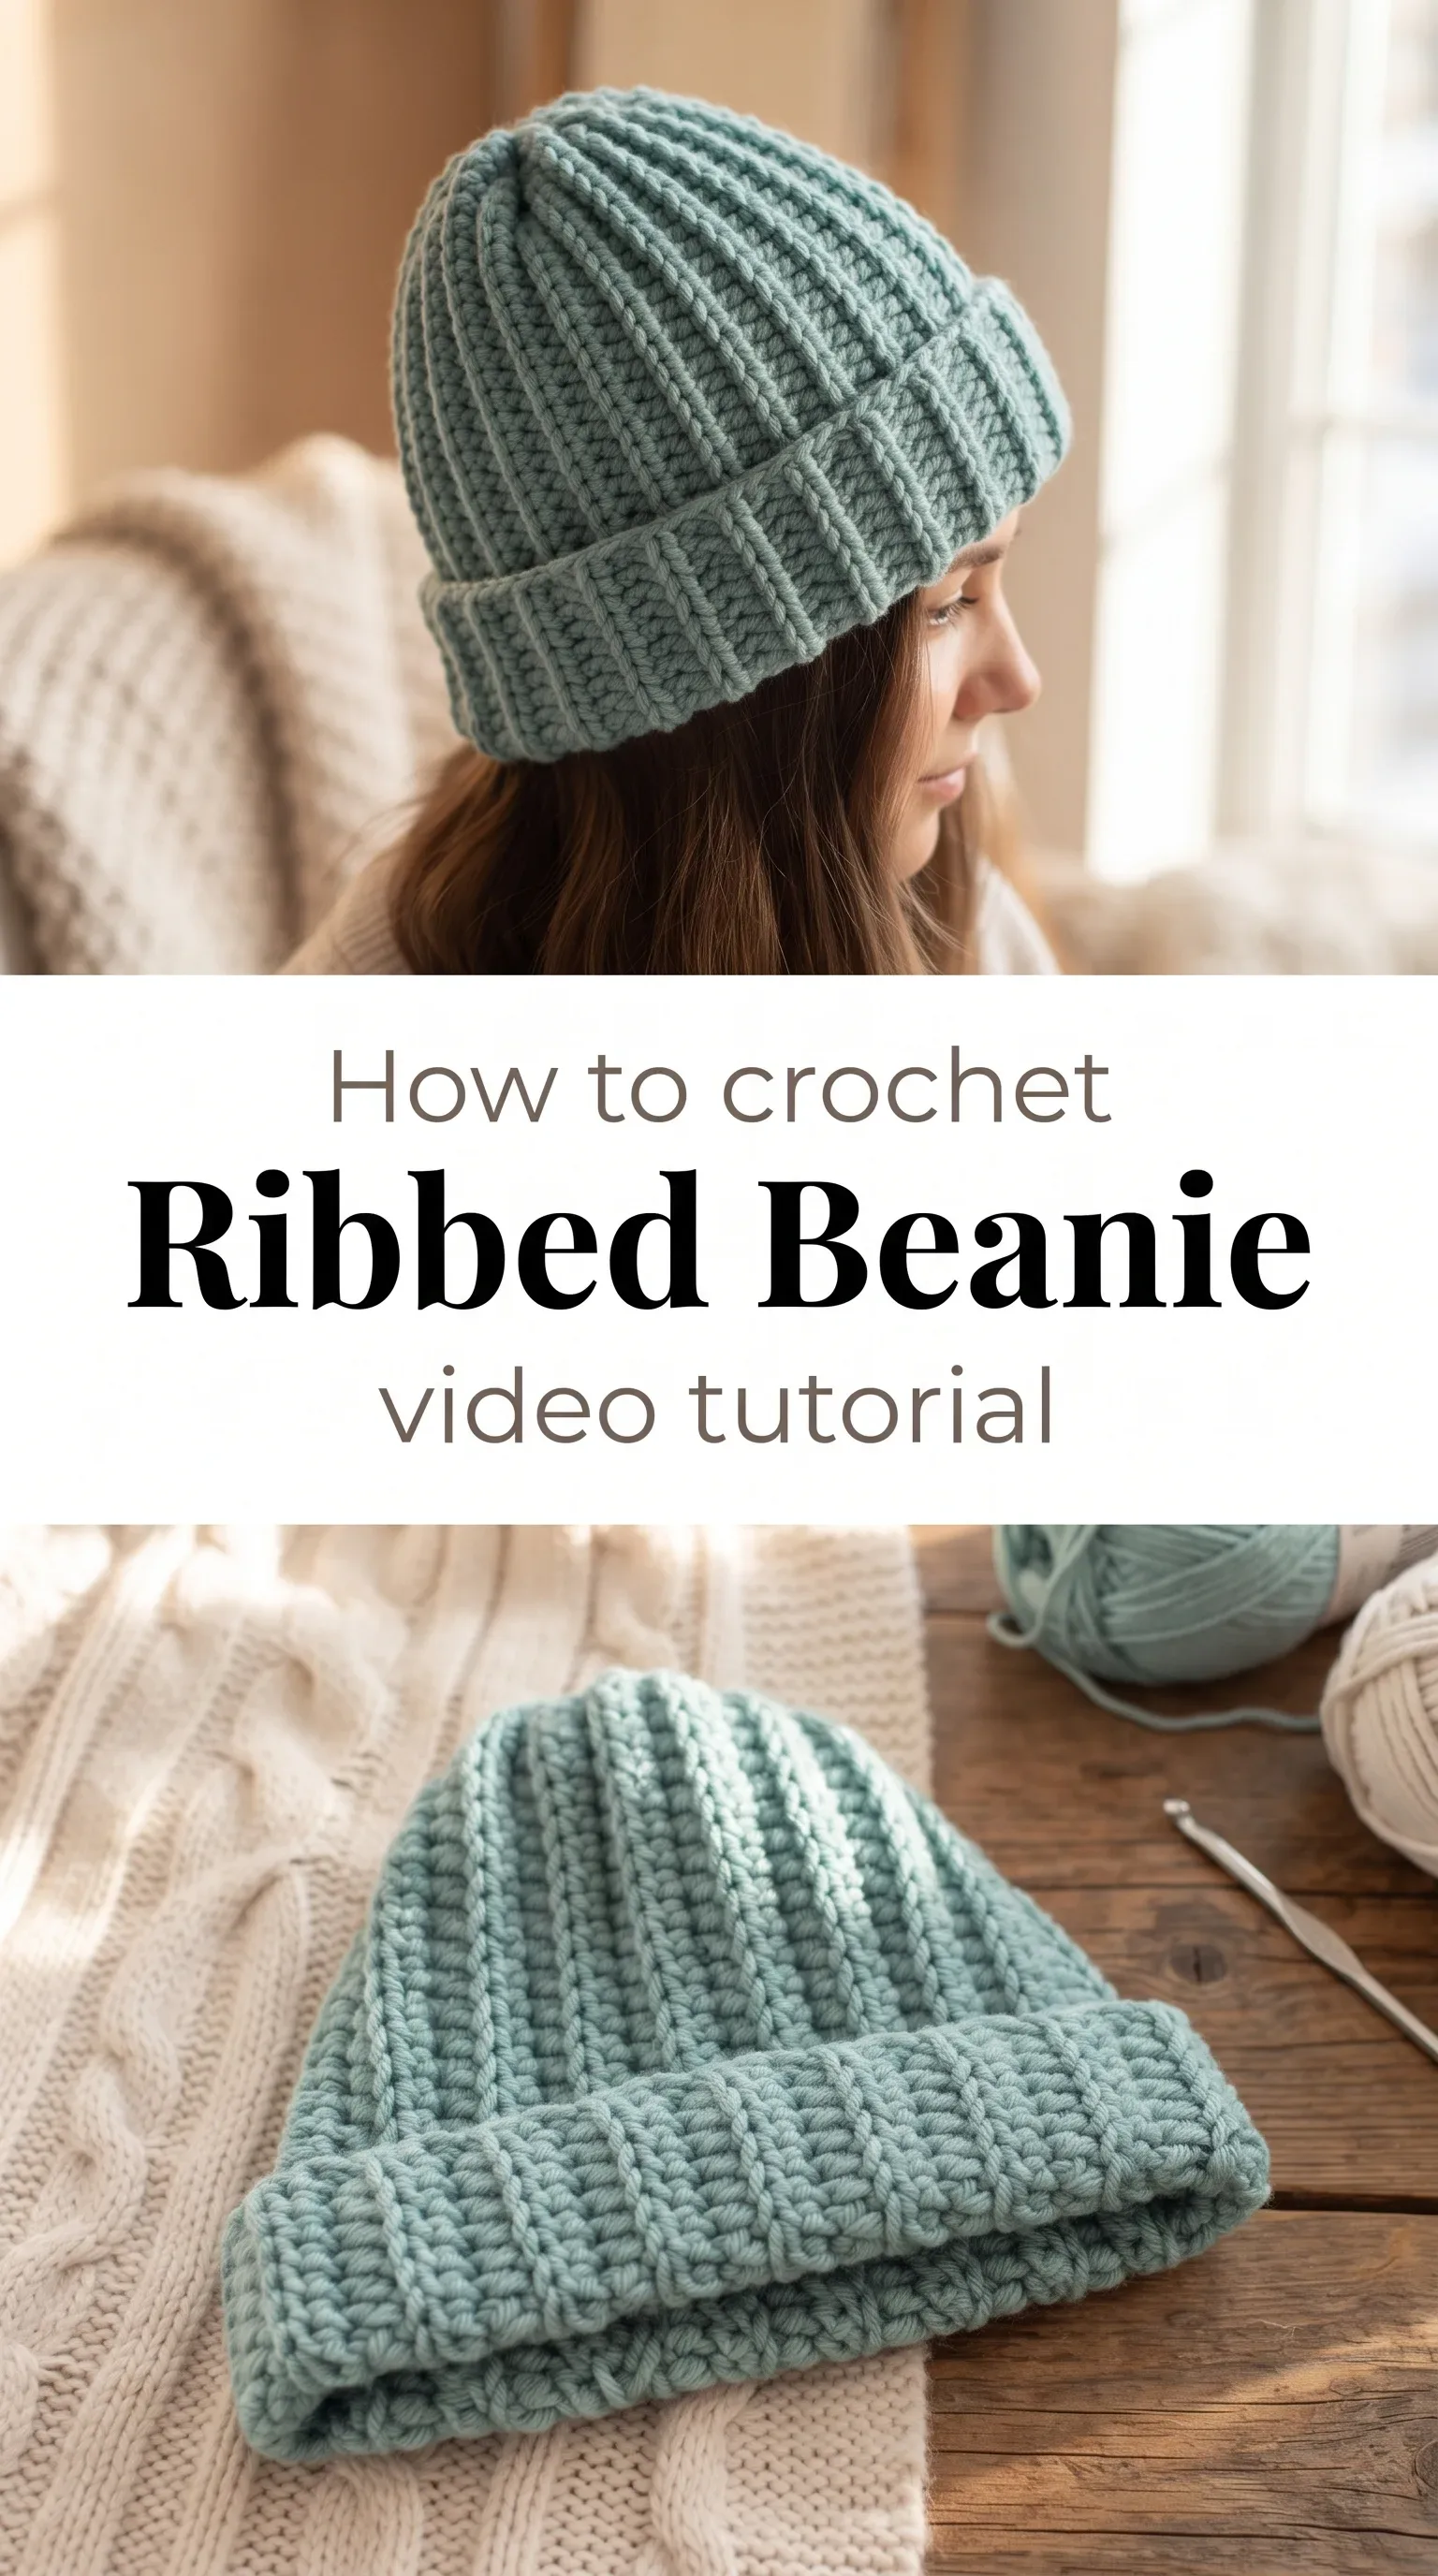
The Ribbed Beanie
The Crochet Ribbed Beanie is one of those pieces that feels like it was made specifically for you the moment you put it on. Its vertical lines of ribbing create a structure that is airy yet fitted, with a gentle stretch that hugs without gripping. This is a hat for the person who appreciates handmade things without fuss, who wants something that looks polished but still carries the warmth of being made by hand. The folded brim adds a finishing touch that gives the whole piece a quiet, considered look.
Ribbed Beanie Related Posts:
- Crochet Table Mat: A Charming Decorative Essential
- Crochet Versatile Stitch: A Universal Design Element
- Crochet Knit Vest: A Chic Summer Essential
- Crochet Heirloom Tablecloth: A Timeless Home Treasure
In the teal colorway shown in Vasilya Knits’ tutorial, the beanie has a fresh, wintery feel that pairs beautifully with cream, camel, and charcoal tones. The same pattern in a warm oatmeal or ivory becomes almost sculptural, letting the ribbed texture do all the speaking. Whether you choose a bold pop of color or a soft neutral, this beanie works with almost everything in a cold-weather wardrobe.
Materials and Tools
To make your own Crochet Ribbed Beanie, you will want to reach for a bulky or super bulky weight yarn that has some natural give to it. The tutorial by Vasilya Knits uses Alize Superlana Maxi, a wool-acrylic blend that gives the ribbing its beautiful definition while remaining soft against the skin. A 6mm crochet hook is the sweet spot for this yarn weight, giving you a fabric that is dense enough to hold its shape but still has that essential stretch. A yarn needle for weaving in your ends is all you need beyond that to finish the piece cleanly.
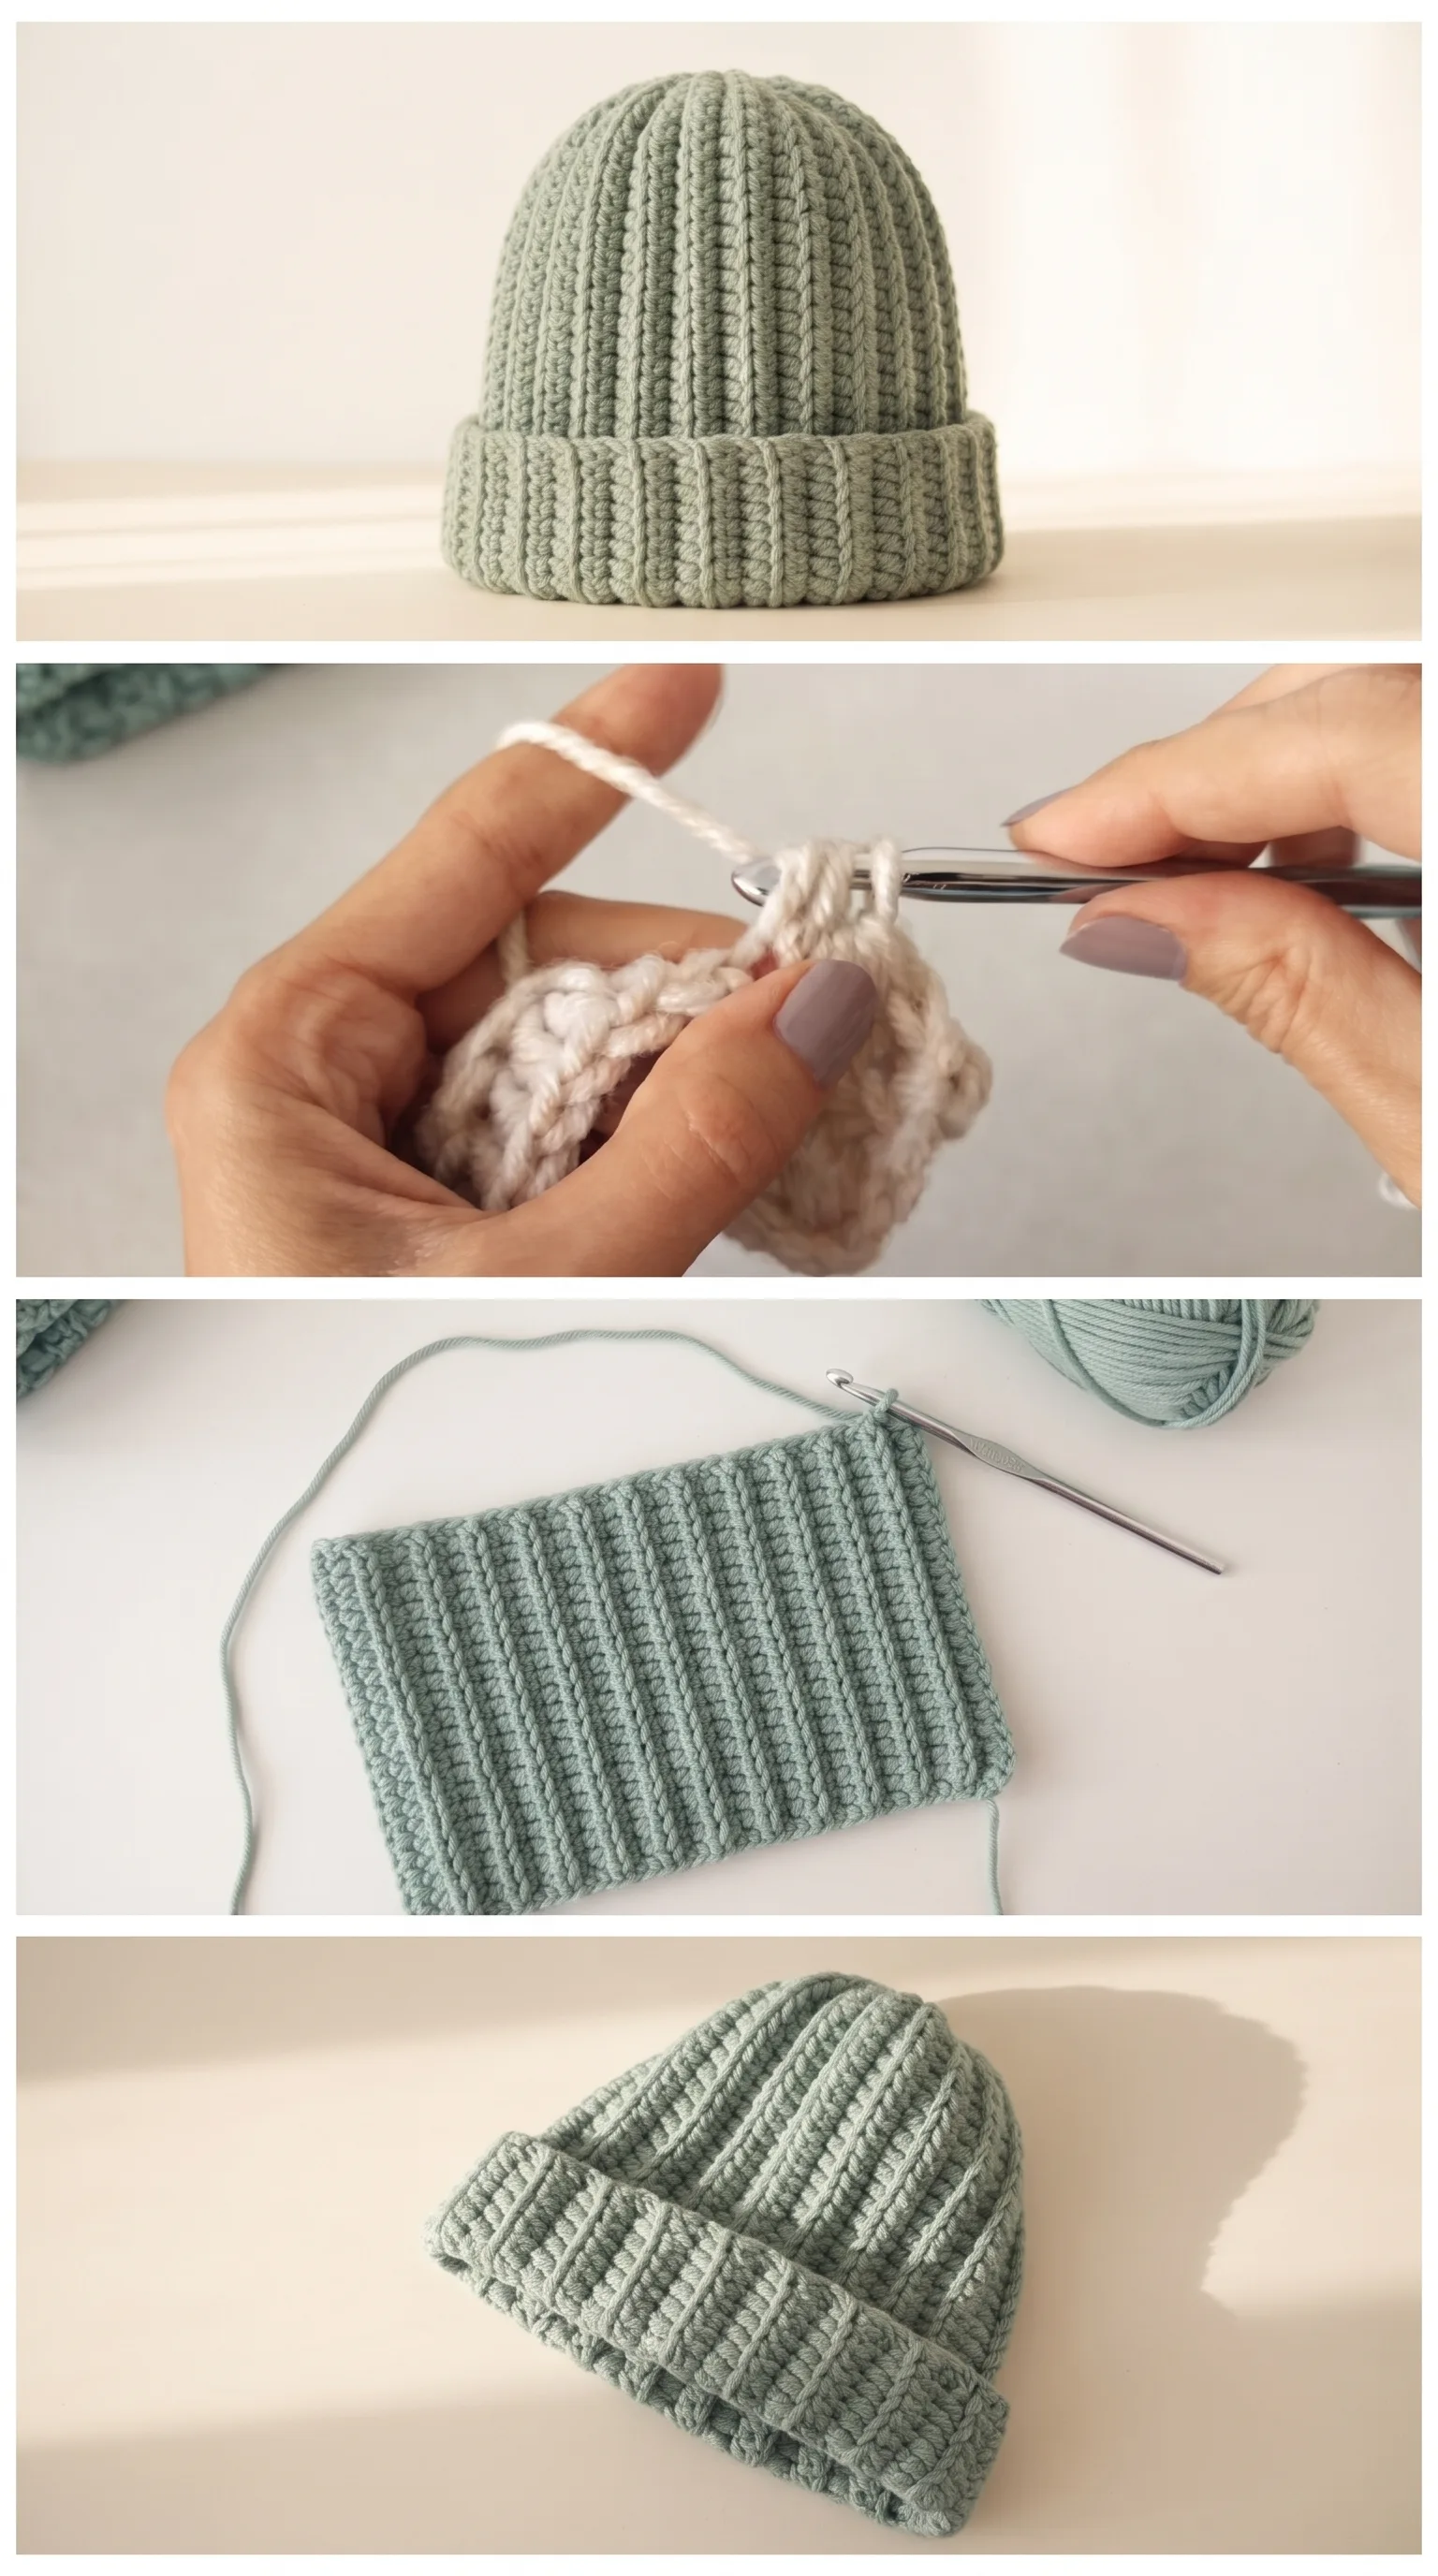
Stitch by Stitch
The Crochet Ribbed Beanie relies on a small and satisfying collection of stitches that build its signature texture.
BULLET:SC (Single Crochet) The foundational stitch used to establish the ribbed panels with clean, tight structure.
BULLET:BLO (Back Loop Only) Working into the back loop only is what creates the ribbed ridges that define this beanie’s entire look.
BULLET:DC (Double Crochet) Used in select sections to add height and a slightly looser, more elastic quality to parts of the construction.
BULLET:Slip Stitch Joins rounds seamlessly and is used to connect ribbed strips without adding bulk to the seam.
Once your hands settle into the meditative rhythm of BLO single crochets, row after row, the work almost flows on its own, and the ridges building beneath your hook feel deeply rewarding.
Construction
The Crochet Ribbed Beanie in this tutorial is worked in a clever combination of a flat ribbed strip that is then joined and finished into a round hat shape, giving it that pronounced vertical texture that a purely in-the-round approach often softens away. The ribbed panel is crocheted lengthwise, which means you are working with fewer stitches per row but more rows overall, a method that many beginners find surprisingly manageable and quick to understand. Once the strip reaches the right length to wrap around your head, it is seamed and the crown is gathered and closed, creating a neat, structured top. If you want a slouchy version, simply add a few extra rows before seaming.
Wearing Your Ribbed Beanie
Wear your finished Crochet Ribbed Beanie with the brim folded twice for a classic fitted look alongside a wool coat and leather gloves on a sharp winter afternoon. On more casual days, push it back slightly on your head over a chunky knit sweater for that effortless, unhurried look. It also makes one of the most appreciated handmade gifts you can give, especially worked up in someone’s favorite color.
Washing and Blocking Your Ribbed Beanie
Because this beanie is worked in a wool-acrylic blend like Alize Superlana Maxi, hand washing in cool water with a gentle soap is always the safest choice for keeping its shape and softness intact. After washing, press out the excess water gently without wringing, then reshape it over a round balloon or a bowl that matches your head size and allow it to dry flat. This light blocking step will help the ribbing sit evenly and the brim fold crisp and clean. Store it folded loosely in a drawer rather than hung, to prevent any stretching along the crown seam over time.
You made something real and warm with your own hands, and that matters more than any quick purchase ever could. Save this to your Pinterest boards and share your finished Crochet Ribbed Beanie so others can find the pattern too.
Follow us on Pinterest and subscribe to the Newsletter so you don’t miss a thing!
Tutorial and photos of this ribbed beanie by: Vasilya Knits – Вяжем крючком.