
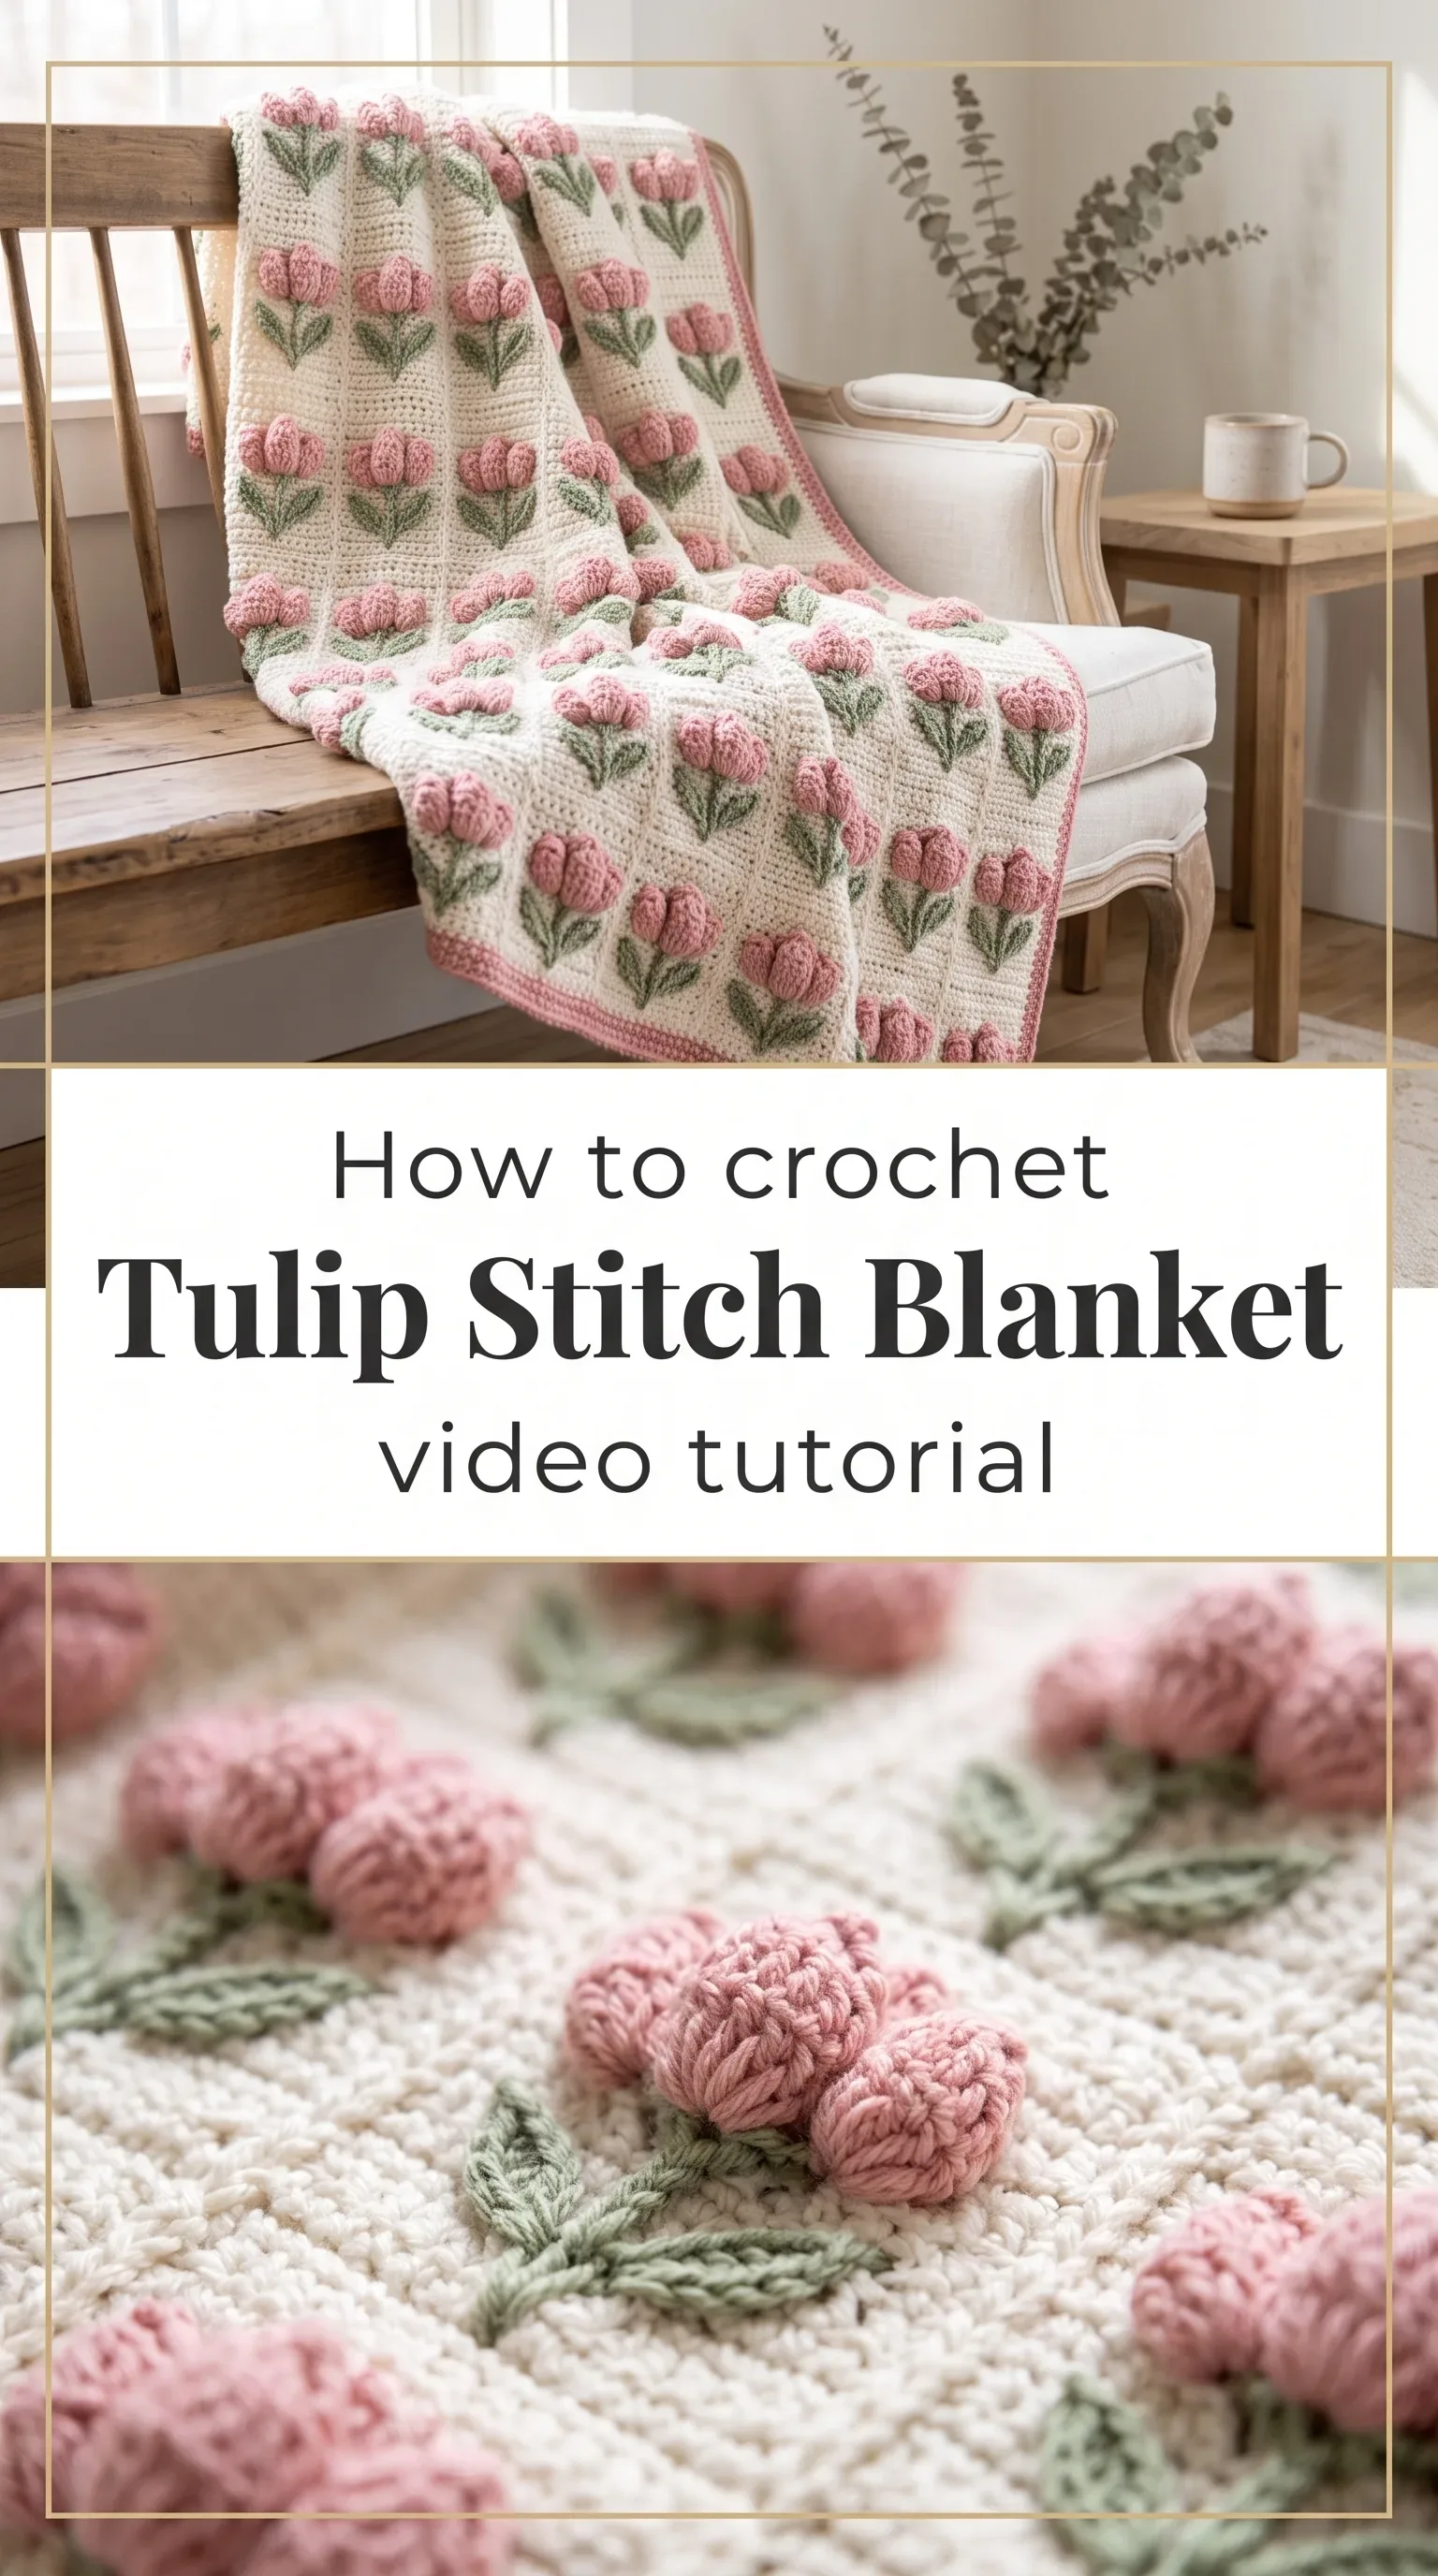
Rows of plump, raised buds sit along green stems of chain stitches, creating a fabric that looks more like a garden border than a stitch pattern. The Crochet Tulip Stitch opens the door to baby blankets, hat bands, decorative pouches, table runners, and any project that deserves a touch of botanical charm.
The Tulip Stitch
The Crochet Tulip Stitch is one of those rare stitch patterns that feels as generous as it looks, producing a three-dimensional bud that pops forward from a clean base of white or cream with quiet confidence. Each pink cluster sits nestled against a green chain ridge, giving the finished fabric the kind of layered, floral texture that makes people reach out to touch it before they even ask what it is. This stitch is well-suited for crafters who have a few basic stitches under their belt and are ready to explore something with a little more personality and dimension. It is not intimidating, but it does reward a slow and attentive hand.
Tulip Stitch Related Posts:
- Crochet Pom Poms: A Quick and Playful Accent
- Crochet Mandala Placemat: A Timeless Table Accent
- Crochet Decorative Squares: A Colorful Handmade Collection
- Crochet Boho Poncho: A Chic and Timeless Wrap
The color palette shown here, a soft dusty pink with sage green against ivory white, carries all the warmth of a spring windowsill, but the Crochet Tulip Stitch works just as beautifully in deeper tones like burgundy with olive, or a pale lavender with moss. For a more modern look, try a monochromatic palette in dusty blue with a tonal stem color, letting the texture speak for itself. The stitch is versatile enough to move between seasons simply by changing your color story.
Materials and Tools
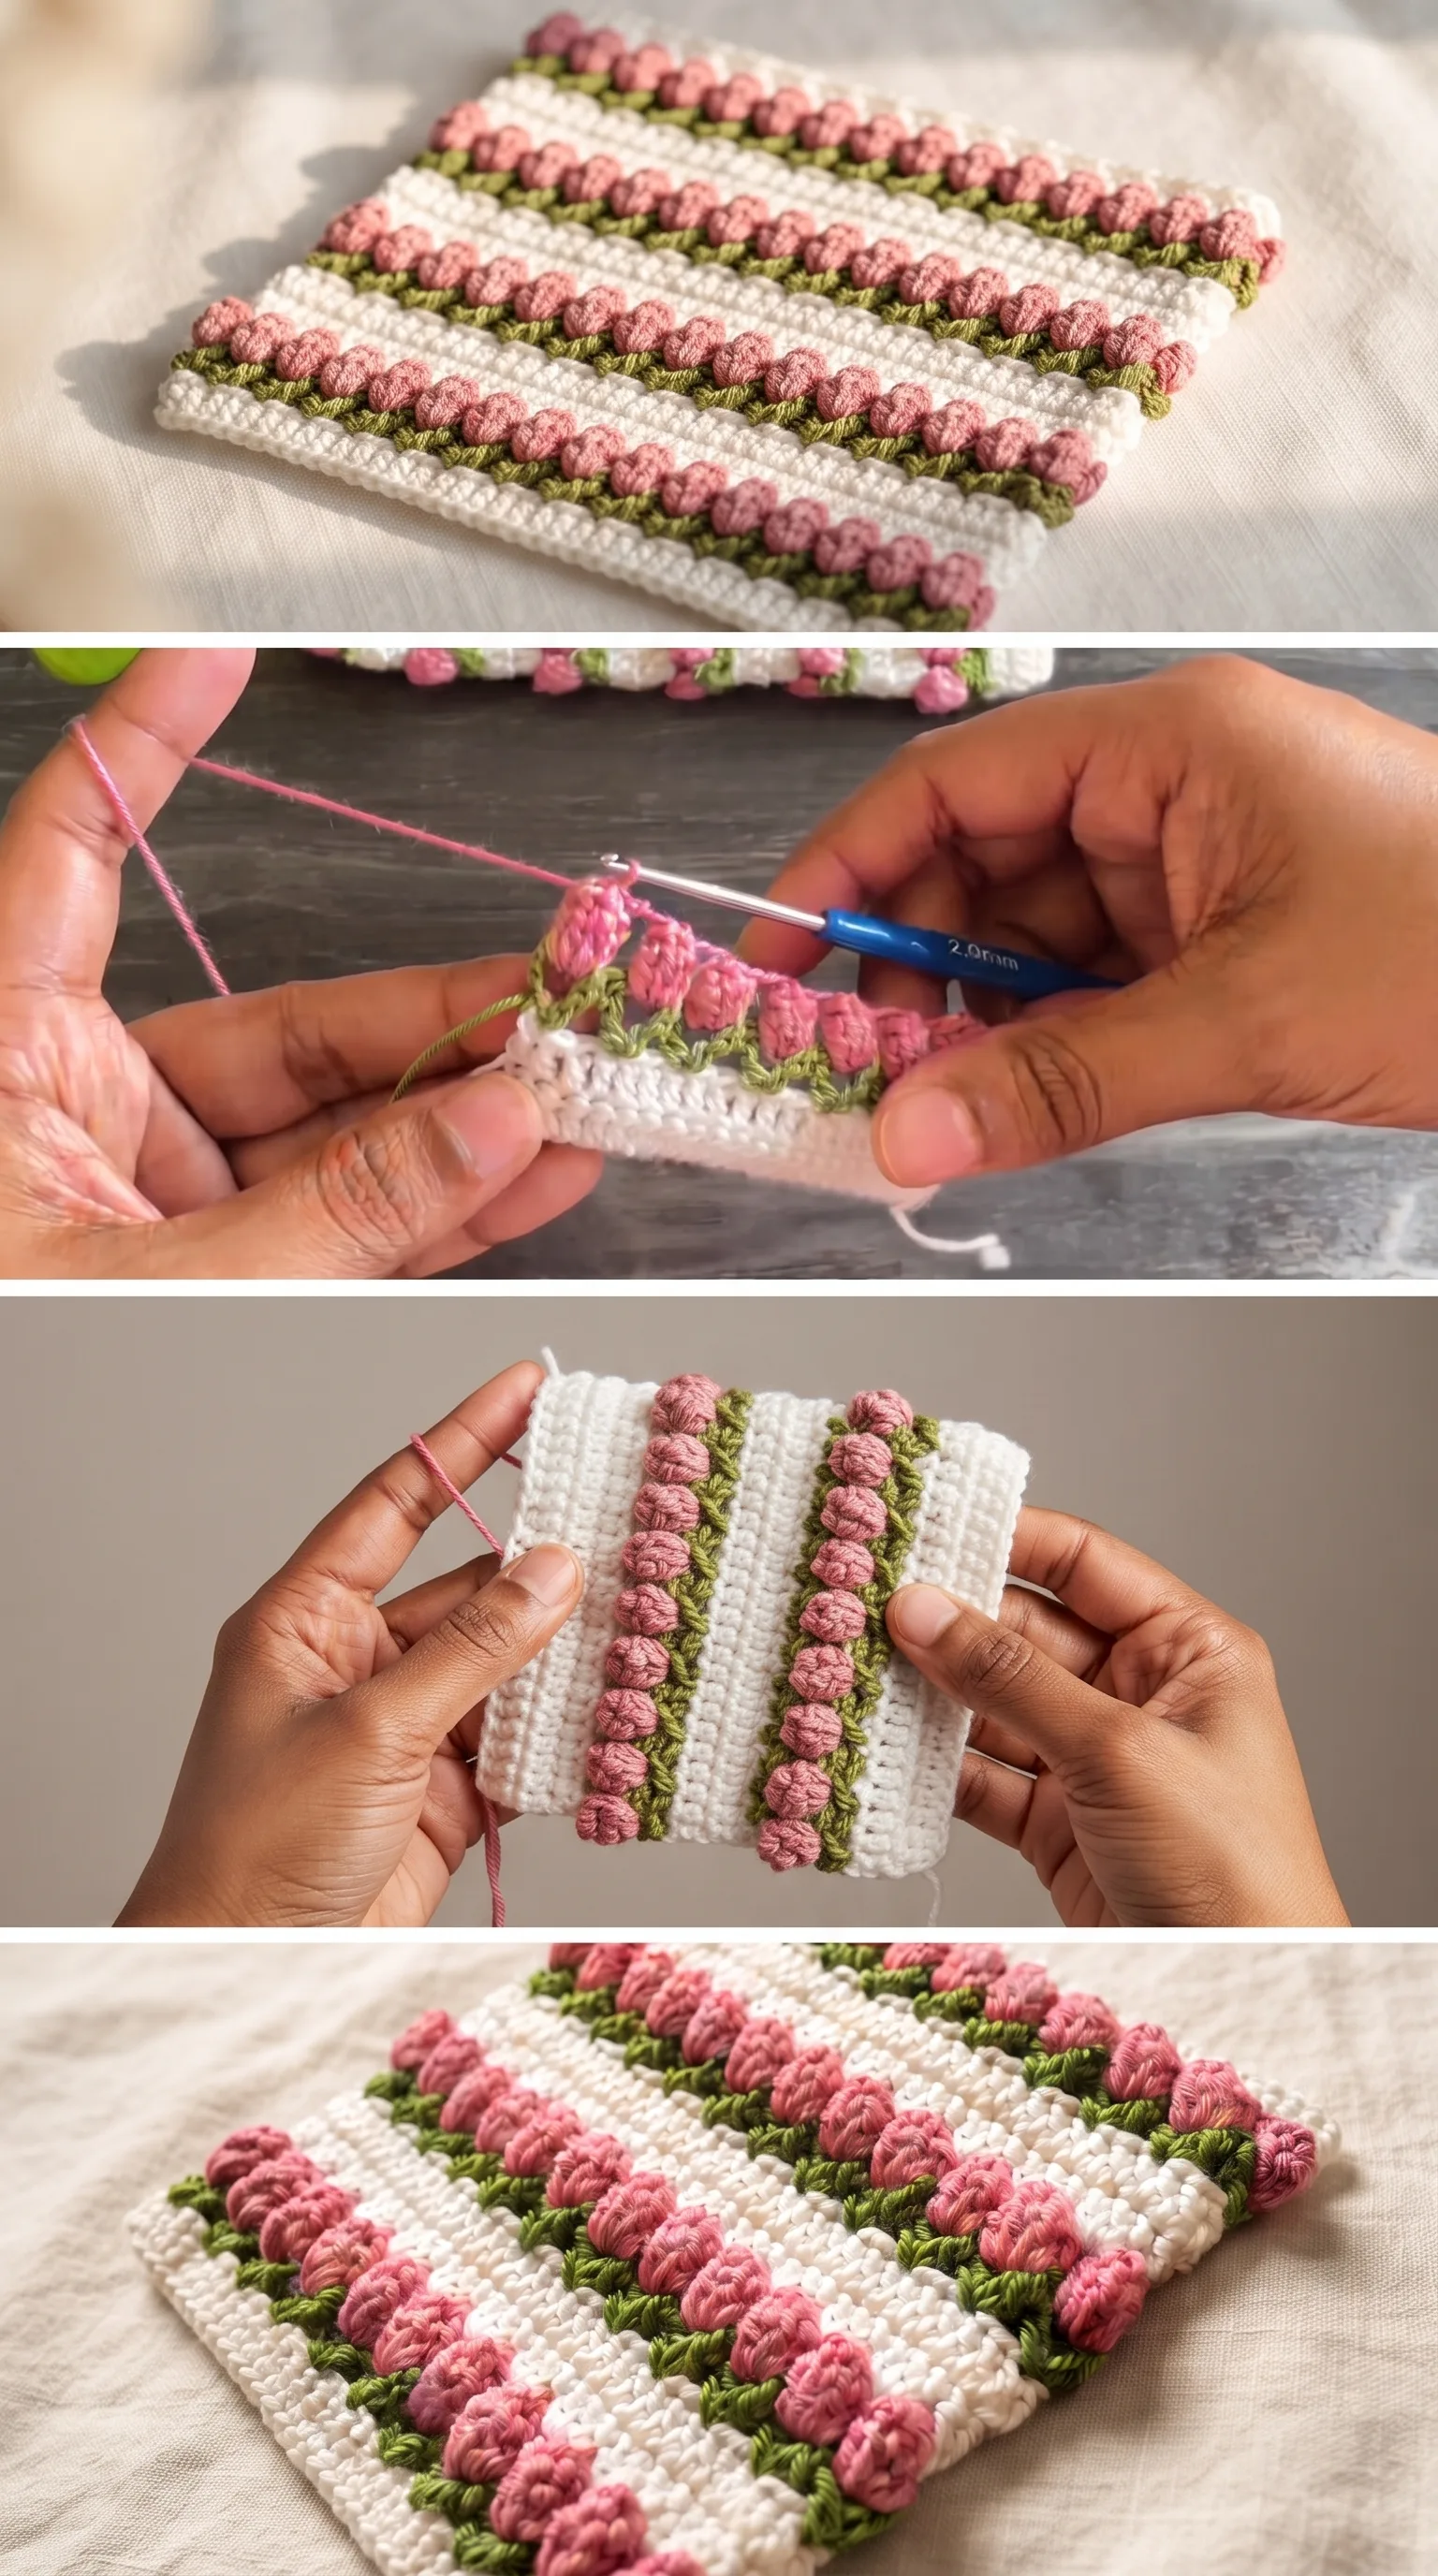
The samples shown in the tutorial are worked with a fine fingering weight cotton thread, which gives the tulip buds their crisp, defined shape and allows the green stem ridges to read clearly against the white base fabric. A 2.0mm crochet hook is used throughout, which is the size you can see labeled on the blue-handled hook in the tutorial, and that small hook size is what creates the tight, jewel-like quality of each raised bud. If you prefer a slightly softer hand, a mercerized cotton sport weight yarn with a 2.5mm or 3.0mm hook would also produce beautiful results with just a touch more drape. A yarn needle for weaving in your color ends is the one additional tool you will reach for most often with this pattern, since the color changes are a regular and satisfying part of the process.
Stitch by Stitch
The Crochet Tulip Stitch draws on a small, familiar vocabulary of stitches that combine to create its signature dimensional effect.
BULLET:SC (Single Crochet) The foundational stitch that builds the white base rows, creating a firm and even background for the tulip buds to sit against.
BULLET:DC (Double Crochet) Used in clusters to form the raised petal shape of each tulip bud, worked in a way that gathers at the top to mimic a closed flower head.
BULLET:Ch (Chain) The green chain sequences form the stem rows that separate each band of tulips, giving the pattern its distinctive striped garden rhythm.
BULLET:YO (Yarn Over) A repeated motion within the DC cluster construction that builds the loop count necessary to create the plump, three-dimensional bud shape.
Once you settle into the alternating sequence of base rows and tulip rows, the stitch takes on a meditative rhythm that makes it easy to work while listening to music or a podcast, your hands finding the pattern almost without thought.
Construction
The piece is worked flat in horizontal rows, alternating between white base rows in SC and colored tulip rows that introduce the green chain stem before the pink bud clusters are formed across the row. Because the construction is linear and repetitive, it is straightforward to scale up or down by simply adjusting your starting chain count to suit your project, whether you are making a small swatch, a hat band, or a full blanket panel. Beginners will find comfort in the fact that each row type is consistent, so once you have worked two or three repeats, the pattern becomes intuitive. For a customisation that adds visual interest, try spacing the tulip rows further apart or closer together to shift the density of the floral texture.
Wearing Your Tulip Stitch
A finished Crochet Tulip Stitch panel transforms beautifully into a baby blanket that feels like a gift worth framing, a structured clutch bag that pairs with a linen dress on a warm afternoon, or a wide headband that sits against the forehead like a little crown of flowers. The texture photographs especially well in natural light, which means any finished piece you make will look extraordinary styled on a wooden surface or folded beside a ceramic mug for your next project share. Once you finish your first piece, you will almost certainly cast on a second before the yarn is put away.
Keeping Your Tulip Stitch Work Fresh and Beautiful
Cotton and cotton-blend projects made with the Crochet Tulip Stitch respond well to a gentle hand wash in cool water with a mild soap, which preserves both the color vibrancy and the definition of the raised bud clusters. After washing, reshape the piece by hand and lay it flat on a blocking mat, pinning the edges lightly if needed to encourage the rows to lie straight and even. Avoid wringing or twisting the fabric, as this can distort the three-dimensional texture that gives the tulip buds their lifted, rounded quality. Store finished items folded loosely rather than compressed, so the buds retain their shape between uses.
Every stitch you make by hand carries something that mass production simply cannot replicate, and the Crochet Tulip Stitch is a beautiful reminder of how much character lives inside a few repeating rows. Save this article to your crochet Pinterest board so you can find it again when you are ready to make your next project, and tag your finished work so the whole community can see your version of this floral stitch.
Follow us on Pinterest and subscribe to the Newsletter so you don’t miss a thing!
Tutorial and photos of this tulip stitch by: Beyond Diary.