
The Crochet Raindrop Bag is the answer to that restless creative hunger for a handmade accessory that is both structurally satisfying and quietly beautiful. In this article, you will discover the materials, stitches, and inspiration you need to bring this textured boho treasure to life.
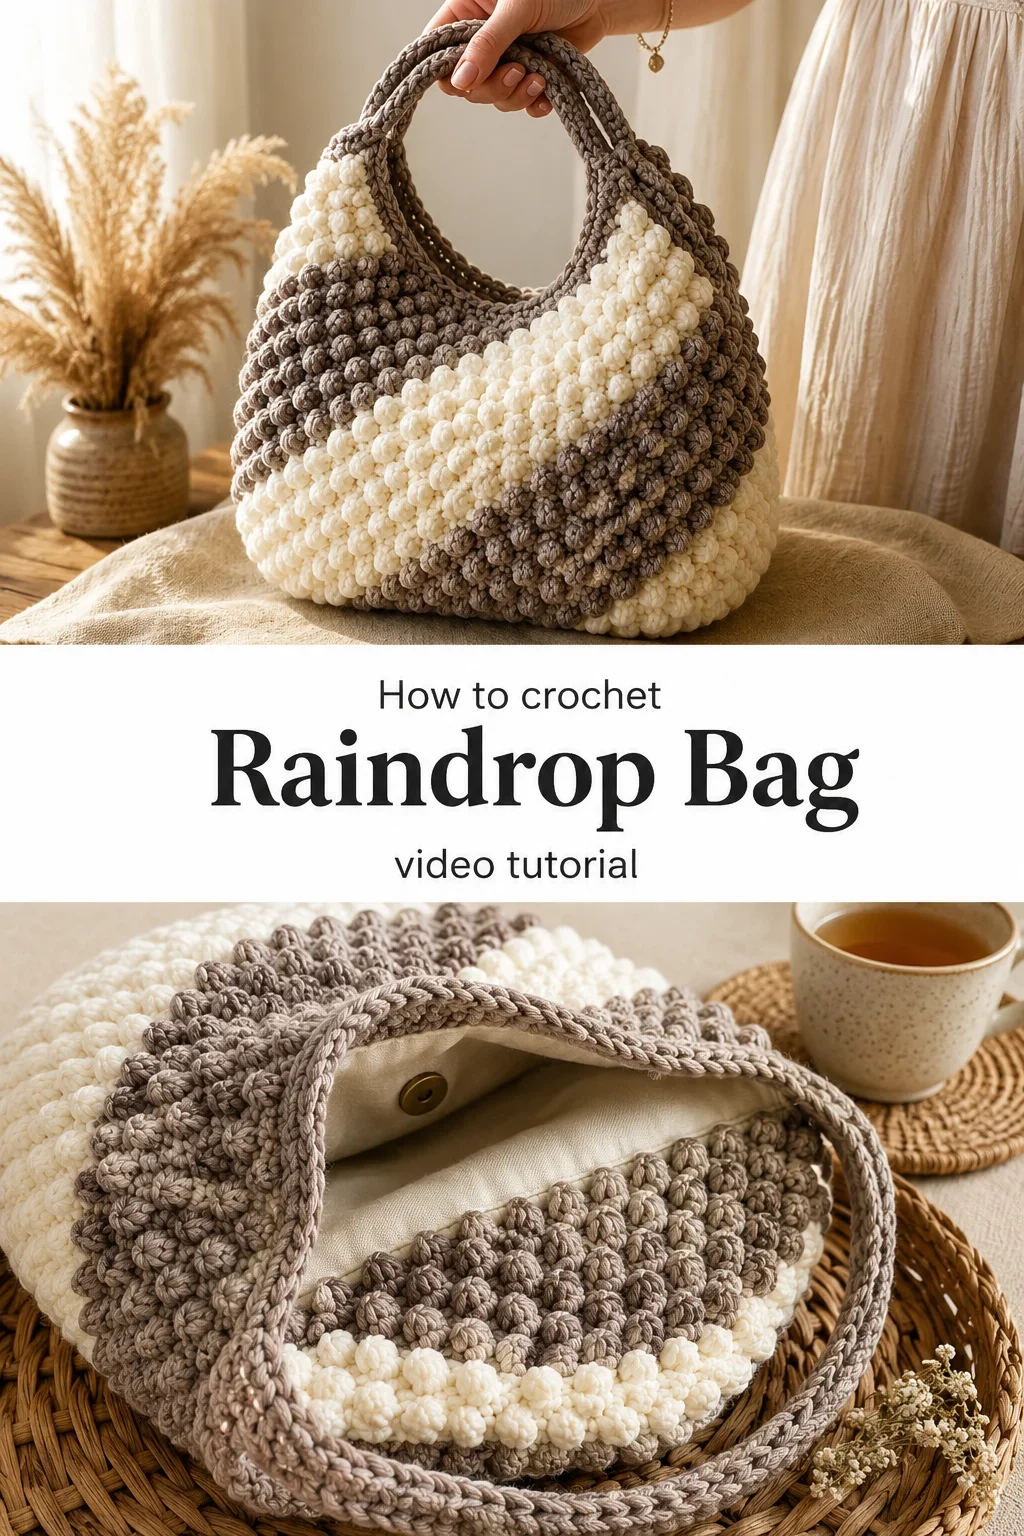
The Raindrop Bag
The Crochet Raindrop Bag earns its name from the way each puff stitch clusters and swells across the fabric like drops of rain caught mid-fall on a windowpane. It is airy yet structured, soft to the touch but firm enough to hold its shape through a full day of carrying. This bag is made for the crafter who wants something that feels intentional and handcrafted, not mass-produced, and who reaches for texture the way some people reach for color. Whether you are new to shaped bags or have made a dozen pouches before, this design welcomes you with open arms.
Raindrop Bag Related Posts:
- Crochet Ankle Socks: A Cozy Handmade Essential
- Crochet Waffle Blanket: A Soft and Timeless Classic
- Crochet Floral Granny Tote: A Charming Summer Essential
- Crochet Floral Mandala: A Stunning Decorative Piece
The color palette shown in the video leans into a cool neutral world of taupe, warm grey, and creamy off-white, and these shades work together with the kind of quiet confidence that makes an accessory feel timeless. You could just as easily swap to dusty terracotta and sand for an earthier feel, or try deep navy with pale ecru for something more graphic and bold. The Crochet Raindrop Bag sits beautifully with linen dresses, oversized knits, or a simple white tee and wide-leg trousers.
Materials and Tools
For this project, you will want a sturdy cotton or cotton-blend yarn in a worsted weight, which gives the bag its satisfying body and allows each stitch to pop with definition. The video uses what appears to be a macrame-style or braided cotton cord in worsted weight, and that choice is part of what gives the Crochet Raindrop Bag its rich, almost sculptural texture. A 4.5mm or 5mm crochet hook is ideal for this yarn weight, giving you a dense but not stiff fabric that holds its form as a bag without needing a stiffener. Keep a stitch marker tucked into your project bag as well, because working in the round with color changes benefits enormously from a simple visual anchor at the round start.
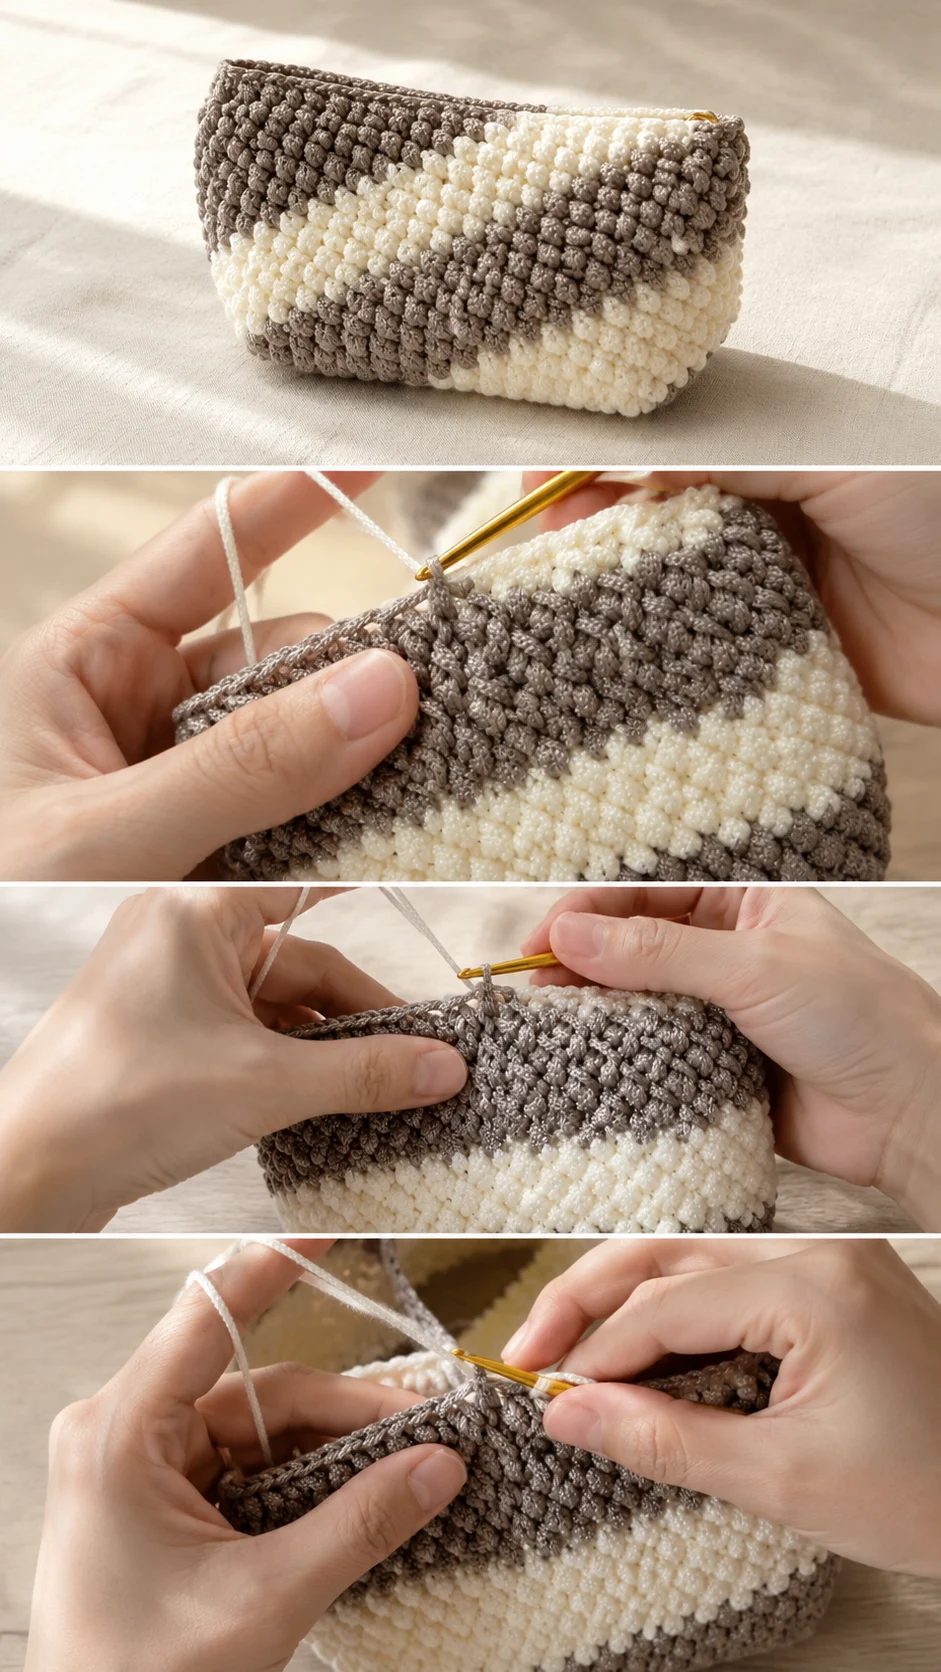
Stitch by Stitch
This bag draws on a small, satisfying vocabulary of stitches that build into something much richer than their individual parts suggest.
BULLET:SC (Single Crochet) The foundation of structure throughout the bag, used to create the firm, tight rows that anchor the puff sections and define the bag’s clean edges.
BULLET:DC (Double Crochet) Woven into the pattern to add height and a gentle openness between the denser textured clusters, creating contrast that makes the puffs read more dramatically.
BULLET:PS (Puff Stitch) The heart of the Crochet Raindrop Bag, formed by working multiple YO and pull-through sequences into the same stitch to create a rounded, cloud-like bobble across the surface.
BULLET:YO (Yarn Over) The repeated motion that builds each puff stitch, looped around the hook again and again in a meditative rhythm that quickly becomes second nature in your hands.
Once your fingers learn the pull and release of the puff stitch sequence, the work settles into a deeply satisfying meditative rhythm that makes long crochet sessions feel restorative rather than repetitive.
Construction
The Crochet Raindrop Bag is worked in the round from the base upward, which means there are no seams to sew and no panels to join, giving the finished piece a smooth and professional silhouette. The base is typically a flat oval or rectangle worked in SC, gradually increasing at the short ends until the desired width is reached, then the sides rise up in continuous rounds. Color changes between the grey and cream sections are carried along the inside of the work rather than cut and re-joined, which keeps the inside tidy and makes the process more fluid. If you want a taller bag, simply add extra rounds of puff stitch before binding off at the top edge.
Wearing Your Raindrop Bag
Finish the top edge with a zipper or a simple button-loop closure and you have a clutch that slips into everyday life with ease, whether you are heading to a farmers market, a weekend brunch, or a slow afternoon at a bookshop. Add a braided cotton or leather strap and the Crochet Raindrop Bag transforms into a crossbody that sits beautifully against a flowy midi dress or a structured blazer. Every time you carry it, it carries a little of the care and time you poured into making it.
Keeping Your Raindrop Bag Looking Its Best
Because this bag is worked in cotton or cotton-blend worsted yarn, it responds well to a gentle hand wash in cool water with a mild detergent, keeping those puff stitches plump and the colors fresh. Lay it flat on a clean towel to dry, reshaping the base and sides gently with your hands while it is still damp so the structure stays true. Avoid wringing or machine drying, as the heat and agitation can flatten those beautiful textured clusters that give the bag its character. When storing, stuff the inside loosely with tissue paper to help it keep its shape between uses.
Finishing your Crochet Raindrop Bag means adding one more handmade piece to the world that is entirely, irreplaceably yours. Save this article to your Pinterest boards and share your finished bag in the comments so this community of makers can celebrate what your hands created.
Follow us on Pinterest and subscribe to the Newsletter so you don’t miss a thing!
Tutorial and photos of this raindrop bag by: Chompu Handicrafts.