
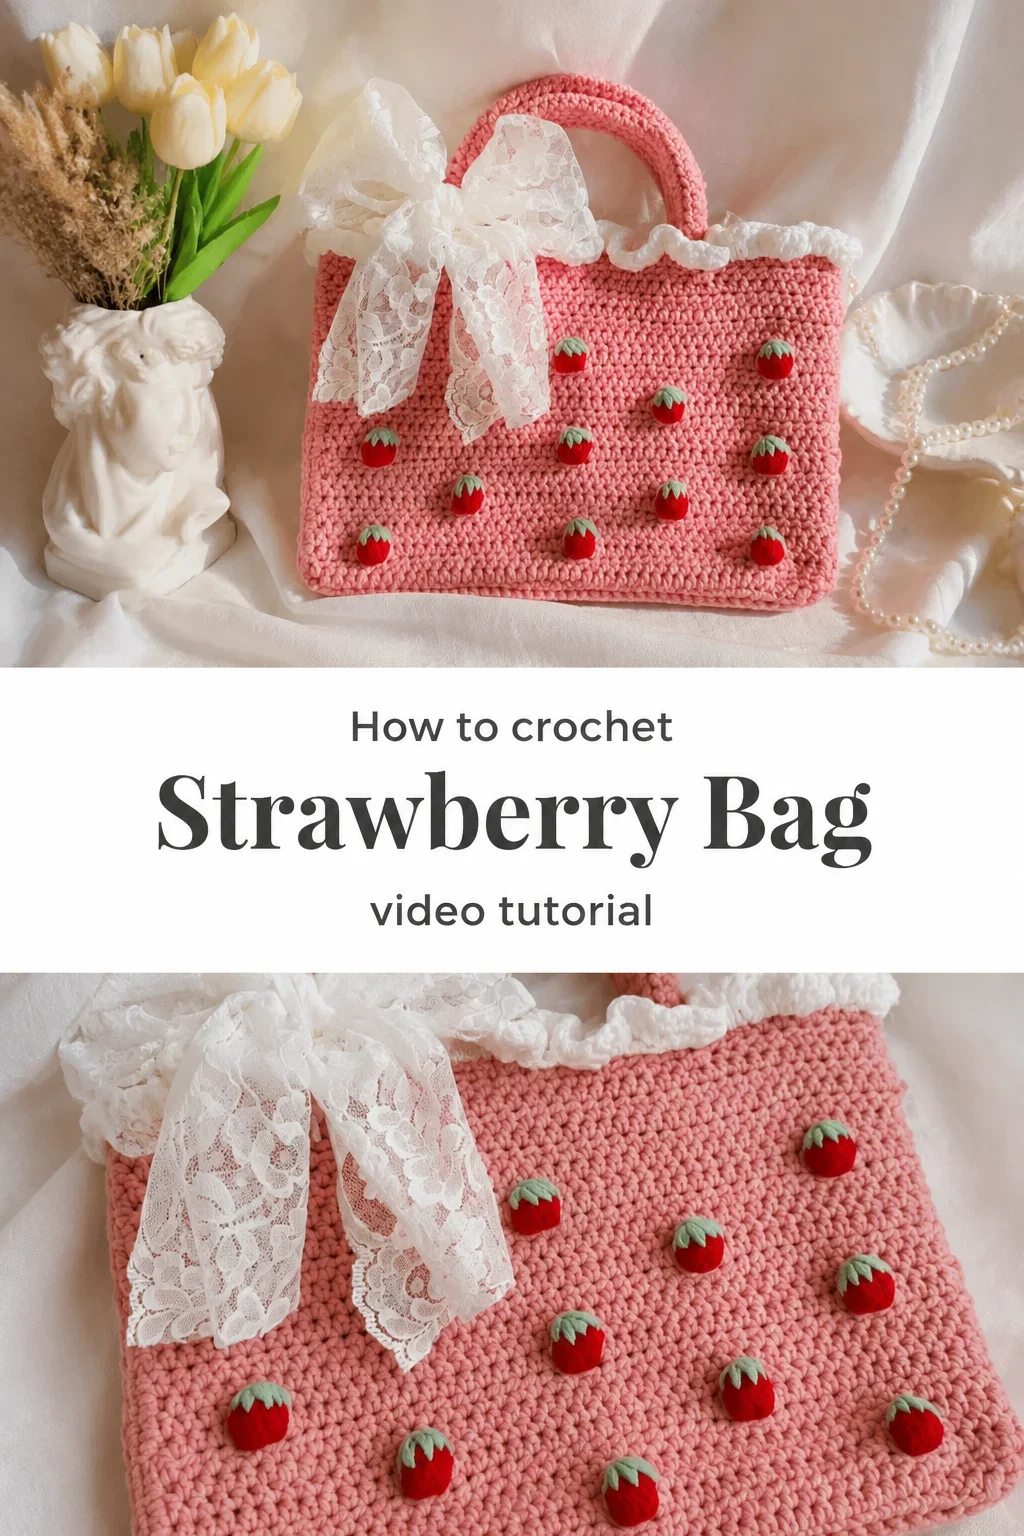
I am so genuinely excited to share this Crochet Strawberry Bag tutorial with you, because it has been living rent-free in my mind since the moment I first saw it. The way those tiny crocheted strawberries sit scattered across a soft pink body, crowned with a lacy bow, is the kind of handmade detail that makes people stop you on the street to ask where you bought it.
The Strawberry Bag
This Crochet Strawberry Bag is a piece that feels like a warm afternoon in a garden, airy yet structured, playful yet polished. It is shaped like a classic tote with a flat, rectangular body and short looped handles, finished along the top edge with a soft ruffled trim that gives it a cottagecore sweetness without tipping into costume territory. The front panel is dotted with individually crocheted strawberry motifs, each one a tiny red bobble capped with a tuft of green leaves, sewn on by hand with a tapestry needle for a raised, three-dimensional effect. This bag is for the maker who loves wearing their craft loudly and proudly, the one who believes accessories should tell a little story.
Strawberry Bag Related Posts:
- Crochet Bow Headband: A Sweet and Charming Accent
- Crochet Mini Heart: A Sweet and Charming Keepsake
- Crochet Flower Choker: A Delicate and Charming Accessory
- Crochet Honeycomb Scarf: A Delicate Timeless Treasure
The pink used in this Crochet Strawberry Bag is a warm, muted rose, soft enough to feel vintage but bright enough to read as fresh and modern. You could absolutely swap it for a creamy white or a dusty mauve and let the red strawberries become even more of a focal point against the paler ground. Style it with a floral midi dress as seen in the reference images, or tuck it under your arm alongside a linen blazer for something unexpectedly chic.
Materials and Tools
To make your own Crochet Strawberry Bag, you will want to reach for a worsted weight cotton yarn in your chosen background color, which gives the bag its firm, structured shape while remaining lightweight and breathable in warmer months. Cotton holds stitch definition beautifully, so every SC and DC reads crisp and clean, which matters when the fabric needs to support the weight of those strawberry appliqués. For the strawberry motifs, a small quantity of red and green worsted weight cotton will do, and you will also need a 4mm crochet hook to achieve a tight, sturdy gauge. Keep a tapestry needle nearby throughout the process, as you will use it to sew the finished motifs onto the bag face and to weave in your ends neatly.
Stitch by Stitch
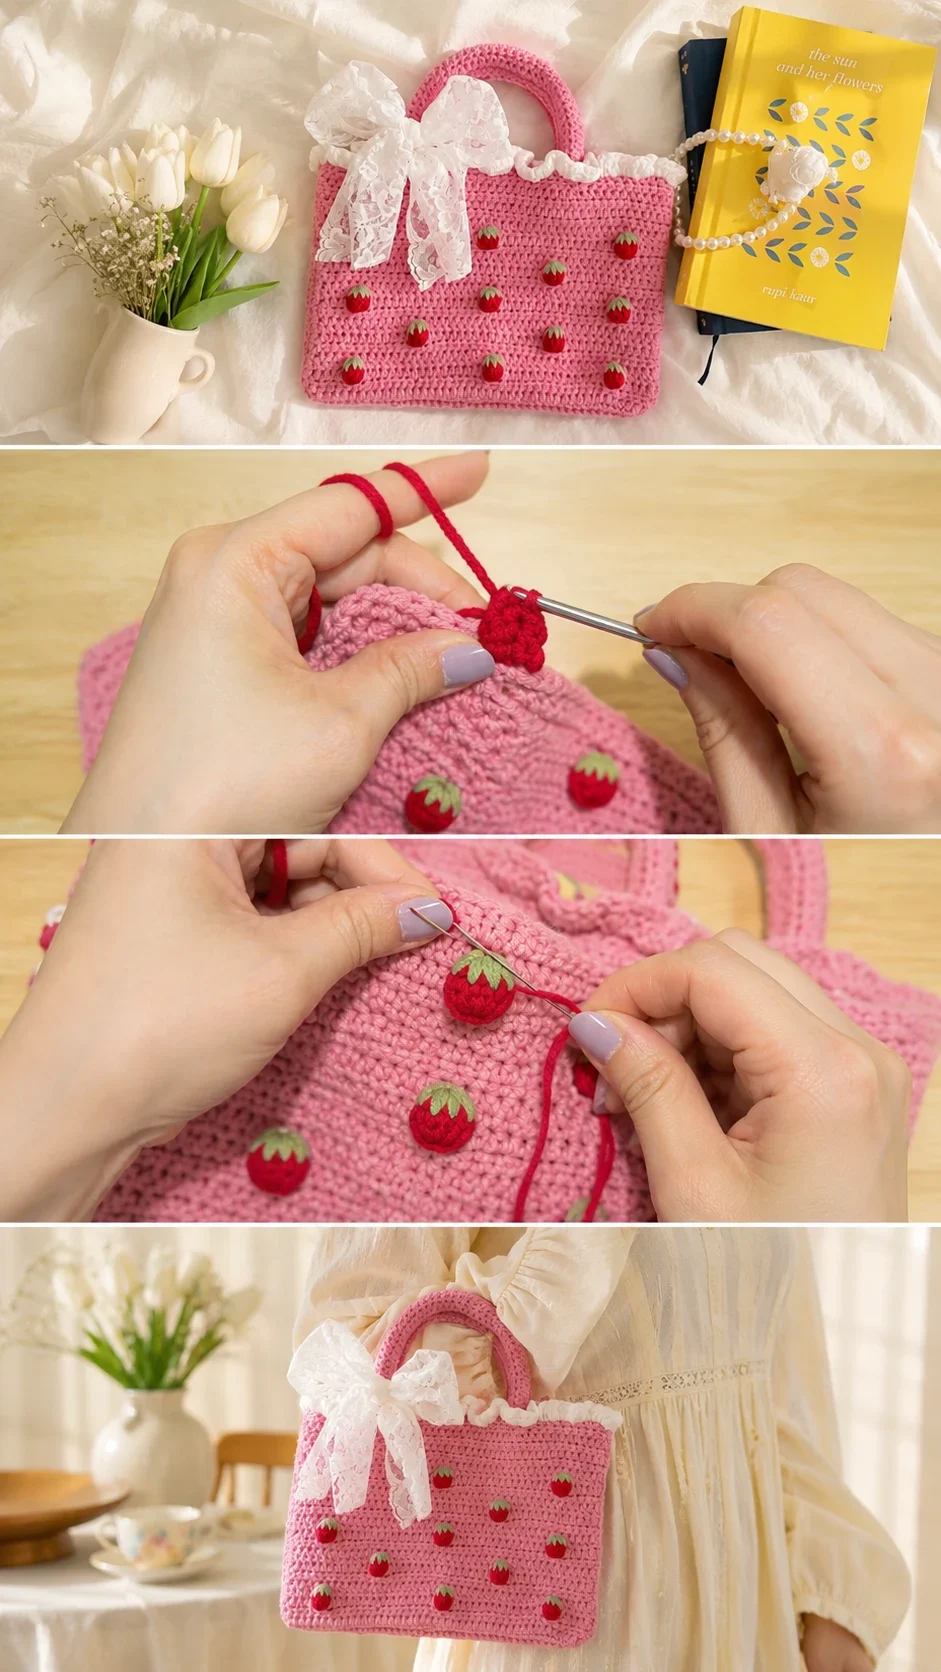
This pattern works with a small, approachable selection of stitches that combine to create both the bag body and the dimensional strawberry details.
BULLET:SC (single crochet) The backbone of the bag body, worked in continuous rounds to build the firm, even fabric that gives the tote its shape.
BULLET:DC (double crochet) Used in the ruffled top border to create height and a soft, rippling edge that frames the opening beautifully.
BULLET:MR (magic ring) The starting point for each strawberry motif, allowing you to close the center tightly so no gap shows at the top of each berry.
BULLET:SL ST (slip stitch) Used to join rounds on the strawberry motifs and to create the neat green leaf clusters that cap each berry.
There is a particular meditative rhythm to working row after row of SC across that wide rectangular panel, where your hands find their pace and your mind is free to simply be present in the making.
Construction
The Crochet Strawberry Bag is worked in two flat rectangular panels that are then joined along the sides and base, creating a clean, boxy silhouette with satisfying structure. The handles are crocheted separately as long narrow tubes and attached at the top of each panel, and the decorative ruffle is added last as a border worked directly into the top edge stitches using DC increases. Each strawberry is made as its own small amigurumi-style piece, stuffed lightly before the opening is closed, and then arranged and sewn across the front panel with a tapestry needle once the bag is fully assembled. If you want to personalise your version, try spacing the strawberries more densely for a maximalist look, or arrange them in a diagonal scatter for something a little more graphic.
Wearing Your Strawberry Bag
Carry your finished Crochet Strawberry Bag with a breezy floral dress and white mary-janes for a look that feels like the sweetest kind of summer afternoon. It works just as beautifully tucked into a picnic basket outing or carried to a weekend farmers market, where the handmade texture will feel perfectly at home among fresh flowers and linen tablecloths. Once you have finished yours, you will not want to put it down.
Keeping Your Strawberry Bag Fresh and Beautiful
Because this bag is made in cotton yarn, it responds well to a gentle hand wash in cool water with a mild soap, which keeps both the pink base and the red strawberry motifs looking vibrant without any risk of felting or distortion. Lay it flat on a clean towel to dry, gently reshaping the rectangular base and smoothing the ruffled border back into place while it is still damp. Avoid wringing or twisting the bag, as this can stretch the SC fabric and cause the attached strawberry motifs to shift. When storing it between uses, stuff the inside lightly with tissue paper to help it hold its shape on your shelf.
You made something with your own hands that is wearable, functional, and full of personality, and that is worth celebrating every single time you carry it out the door. Watch the full video tutorial to follow along with every row of this Crochet Strawberry Bag, and when yours is finished, share a photo on Pinterest and tag it so the whole community can admire what you made.
Follow us on Pinterest and subscribe to the Newsletter so you don’t miss a thing!
Tutorial and photos of this strawberry bag by: Vivi Crochet 🌷.