
Today’s guide is all about the art of the Crochet Granny Square Join, that satisfying moment when individual squares come together into something whole, textured, and quietly beautiful. Pull up your chair, choose your colours, and let’s make something worth keeping.
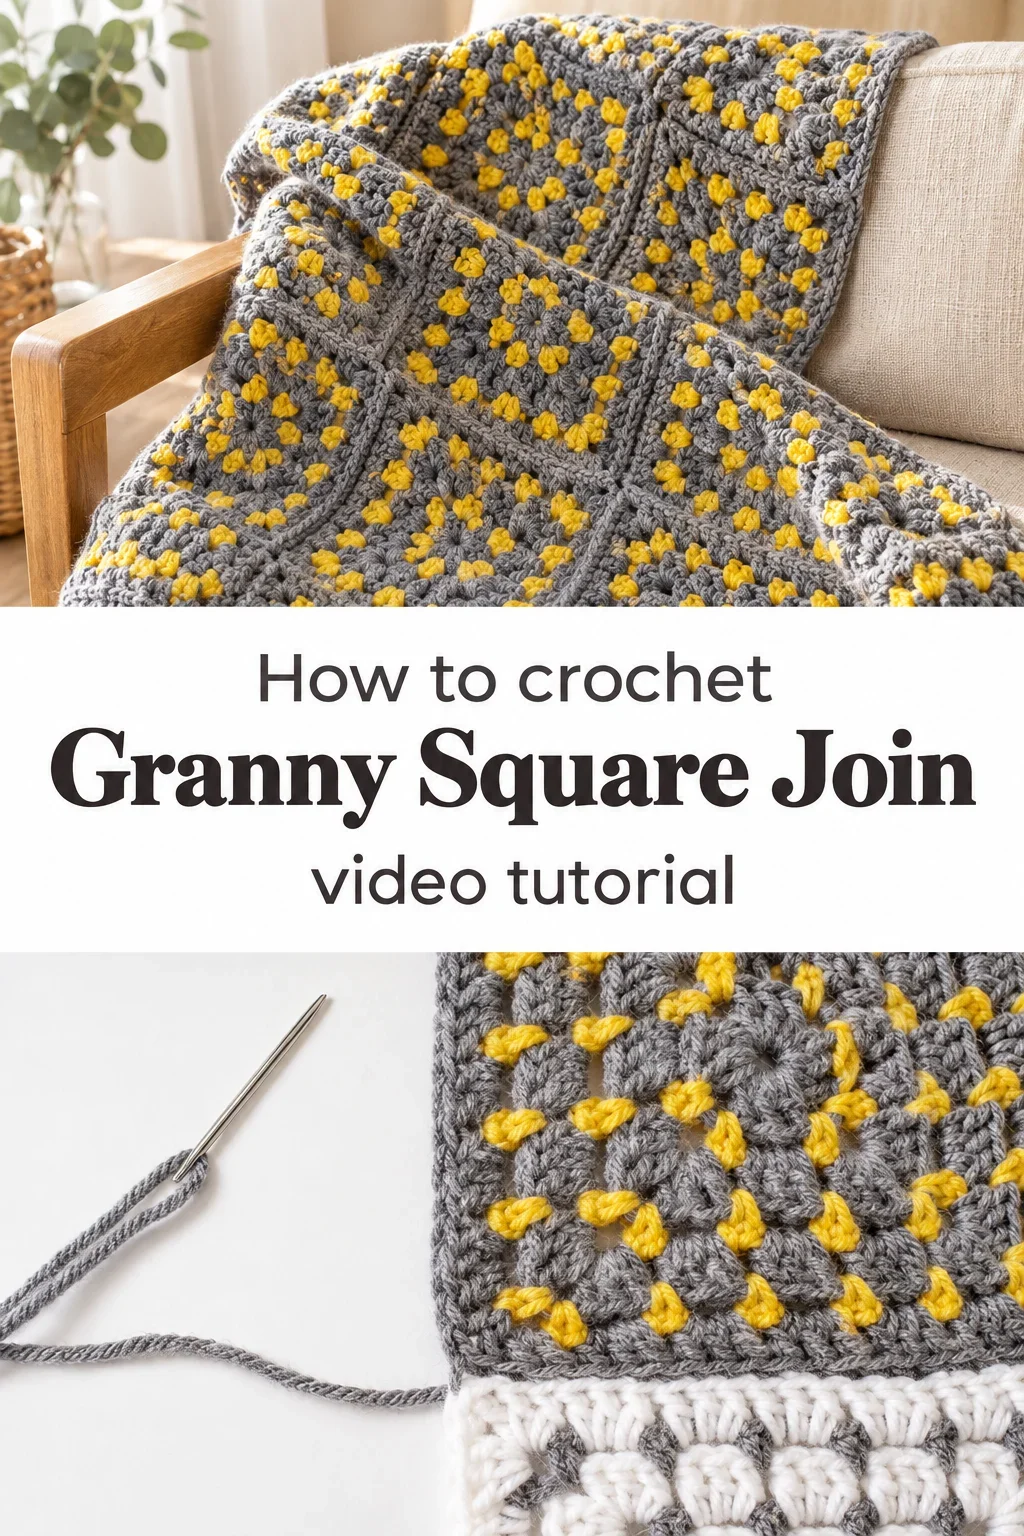
The Granny Square Join
The Crochet Granny Square Join is one of those techniques that feels like discovering a secret handshake within the craft. It transforms a pile of individual squares, each one a small finished world of DC clusters and chain spaces, into a cohesive piece with edges that speak to each other in a clean, deliberate line. Whether you are assembling a blanket, a bag, or a wearable wrap, the way you join your squares changes everything about how the finished piece sits and drapes. This technique is made for anyone who loves slow, intentional making, from confident beginners to intermediate makers who want a finish that looks considered rather than thrown together.
Square Join Related Posts:
- Crochet Summer Dress: A Breezy and Feminine Essential
- Crochet Mini Shoulder Bag: A Chic Everyday Accessory
- Crochet Bow Headband: A Sweet and Charming Accent
- Crochet Sunflower Bloom: A Bright and Cheerful Accent
Colour choices for a Crochet Granny Square Join project are where the personality really begins to show. The images here use a soft warm grey paired with a golden yellow that feels both vintage and modern at once, the kind of combination that would look equally at home on a mid-century sofa or folded over a contemporary wooden chair. A white and grey version offers something airier and more delicate, with a whisper of elegance that suits neutral interiors or soft layering pieces. You might try terracotta with cream, forest green with mustard, or a single-colour scheme worked in a tonal yarn for a more understated, architectural feel.
Materials and Tools
For a project worked in this technique, a worsted weight yarn is the most forgiving and satisfying choice, giving your DC clusters enough body to hold their shape without becoming stiff or dense. The squares shown in the reference images appear to be worked in a smooth, plied worsted or aran weight yarn with excellent stitch definition, which is exactly what you want so that each join sits cleanly against its neighbour. A 5mm or 5.5mm hook is ideal for worsted weight, giving a fabric that is airy yet structured rather than floppy or overly tight. For weaving in ends between squares, a blunt tapestry needle is your most important finishing companion, and keeping one threaded and nearby while you join will make the whole process feel wonderfully fluid.
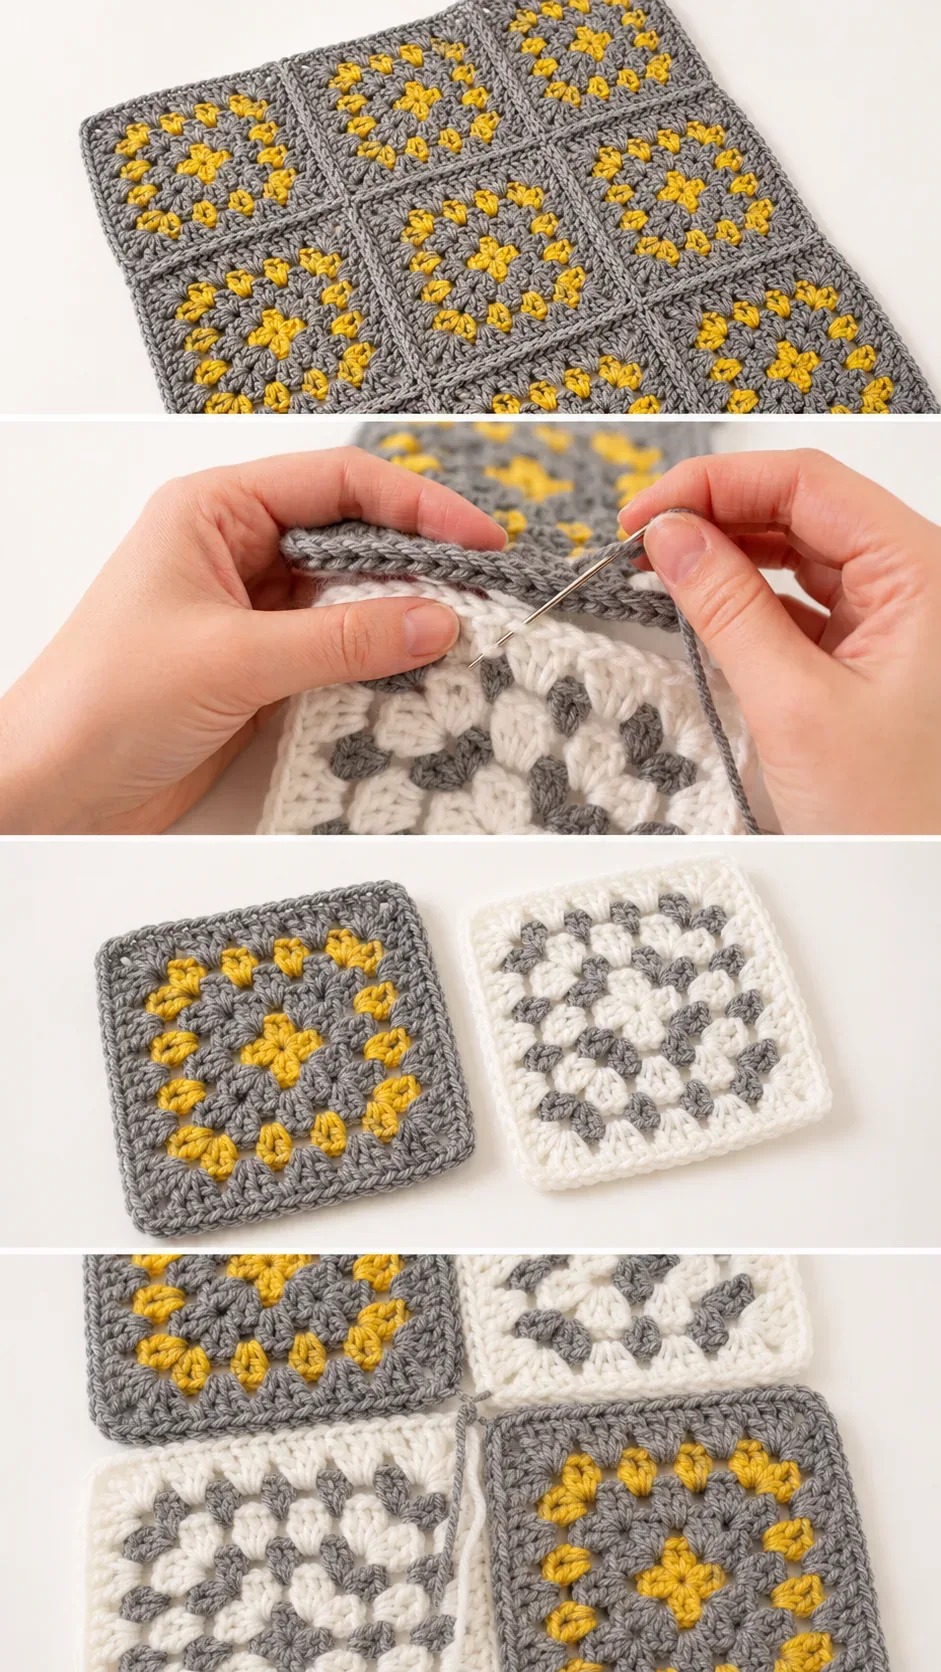
Stitch by Stitch
The Crochet Granny Square Join calls on a small, reliable set of stitches that work together in a meditative rhythm.
BULLET:SC (Single Crochet) The foundational joining stitch that pulls two squares together through their edge stitches with a flat, even seam.
BULLET:DC (Double Crochet) The workhorse of every granny square cluster, creating the raised, grouped texture that defines the classic square structure.
BULLET:CH (Chain) Used to create the open spaces between DC clusters within each square and to bridge corners during joining.
BULLET:SL ST (Slip Stitch) A low-profile stitch used to join rounds or move across stitches invisibly without adding height.
Once your hands settle into the rhythm of pulling yarn through familiar stitches, the joining process becomes almost contemplative, each pass of the needle or hook a small, satisfying click in the larger picture you are assembling.
Construction
The construction of a Crochet Granny Square Join project begins with making your individual squares, each worked in the round from a central ring outward in rounds of DC clusters separated by CH spaces. Once your squares are blocked and ready, you begin joining them either as you go, attaching each new square to the last as you complete it, or all at once after the full set is made. The join itself, as shown so clearly in the BHooked Crochet video tutorial which walks through the full method step by step, is worked along the shared edges of two squares using SC or SL ST through corresponding stitches on both pieces simultaneously. As a customisation, you can work the join in a contrasting colour to make it a deliberate design feature, or match your main colour for an invisible, seamless finish.
Wearing Your Granny Square Join
A blanket made with a thoughtful Crochet Granny Square Join becomes something you will actually reach for, draped over the arm of a sofa or wrapped around your shoulders on a cool evening with a cup of something warm. The same technique applied to a bag body or tote creates a structured, graphic piece that pairs beautifully with linen trousers and a simple knit. Finishing a project and seeing those squares click into alignment is the kind of satisfaction that makes you want to cast on the next one immediately.
Keeping Your Granny Squares Looking Their Best
Before joining your squares, blocking each one individually is one of the kindest things you can do for the finished piece, coaxing any curled edges flat and ensuring every square is the same size so your joins line up without tension or pulling. Once assembled, a finished blanket or bag made from acrylic or acrylic blend yarn can be gently machine washed on a cool, delicate cycle and laid flat to dry, away from direct sunlight which can dull even the most vibrant yellows over time. If you have worked in a natural fibre like cotton or wool, hand washing in cool water with a gentle soap and pressing out excess moisture in a towel before flat drying will keep the fabric soft and the colours true. Store folded pieces loosely rather than compressed in tight bags, which can distort the square shapes and undo all that careful blocking.
Every Crochet Granny Square Join you complete is a small act of patience made visible, a thing you will look at for years and remember choosing, making, and finishing with your own hands. Save this to your crochet Pinterest board so you can come back whenever you are ready to bring your squares together.
Follow us on Pinterest and subscribe to the Newsletter so you don’t miss a thing!
Tutorial and photos of this granny square join by: B.Hooked Crochet.