
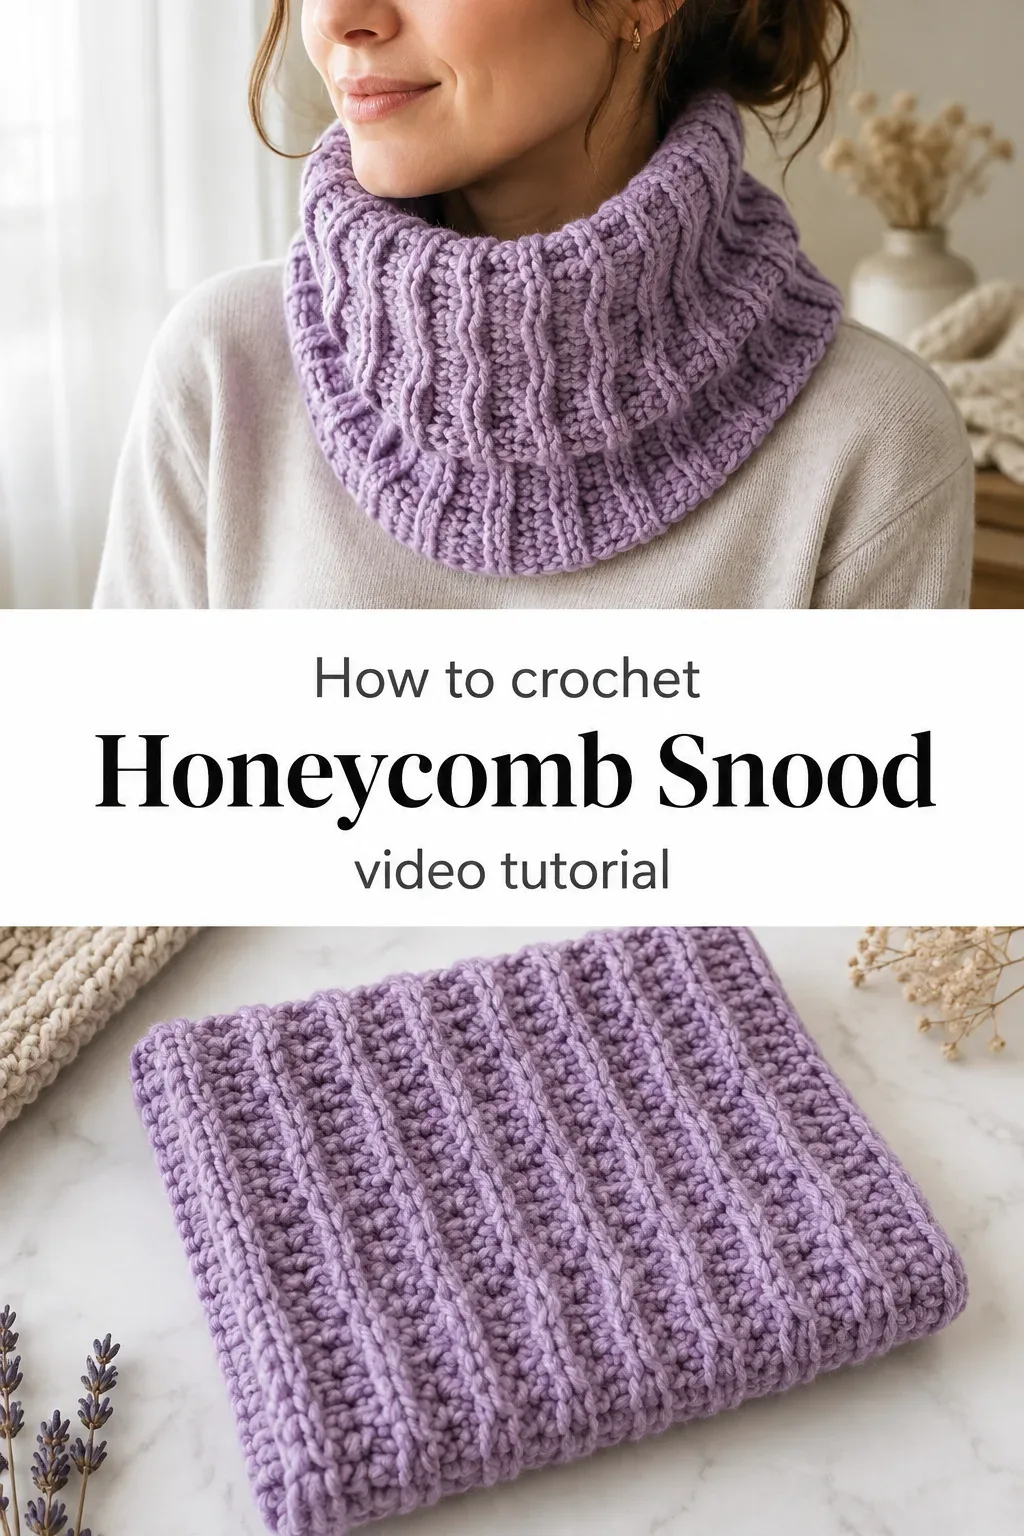
A Crochet Honeycomb Snood is built from columns of slip stitches and half double crochets that twist into raised, rope-like ribs across a fabric that is airy yet structured, soft yet remarkably defined. From that single repeating rhythm, you can craft a cosy neck warmer, a slouchy infinity loop, or the foundation piece of an entire coordinating winter set.
The Honeycomb Snood
The Crochet Honeycomb Snood is one of those pieces that earns a second glance before anyone even touches it. Its surface carries a quiet architecture, those interlocking columns rising and receding like ridges pressed into warm wax, giving the fabric a depth that looks far more complex than the stitch count behind it. This is a piece for anyone who wants their handmade accessories to feel considered and intentional, whether they are pulling it over a linen coat on a crisp morning or tucking it into the collar of an oversized wool jumper. The finished snood sits with weight and confidence around the neck, neither too rigid nor too drapey, which is exactly the quality that makes it so wearable.
Honeycomb Snood Related Posts:
- Crochet Bag Strap: A Versatile and Chic Accessory
- Crochet Magic Ring: A Simple and Timeless Technique
- Crochet V Puff Stitch: A Textured and Timeless Treasure
- Crochet Floral Table Runner: An Elegant Home Accent
In the reference images, the snood appears in a soft lavender that lets every stitch definition sing without any distraction, and that choice of a single muted tone is genuinely inspired. Heathered greys, oat tones, dusty rose, and deep forest green all carry this texture beautifully, as do rich jewel tones like burgundy or teal for evening wear. You could also make two versions in complementary colours and gift the second one, because once you have the rhythm in your hands, stopping at just one feels almost impossible.
Materials and Tools
For a Crochet Honeycomb Snood with this kind of drape and definition, a worsted weight yarn is the most satisfying choice, giving the raised ribs enough body to stand proud without making the finished piece stiff or heavy. A smooth, plied yarn in merino, merino-acrylic blend, or a soft superwash wool will slide easily over your hook and show off every column with clarity. Reach for a 5mm crochet hook, which gives the slip stitches and half double crochets enough room to move while keeping the fabric consistent and elastic. A blunt tapestry needle for weaving in your starting and finishing tails is the only other tool you will need, and the whole project stays beautifully minimal from start to finish.
Stitch by Stitch
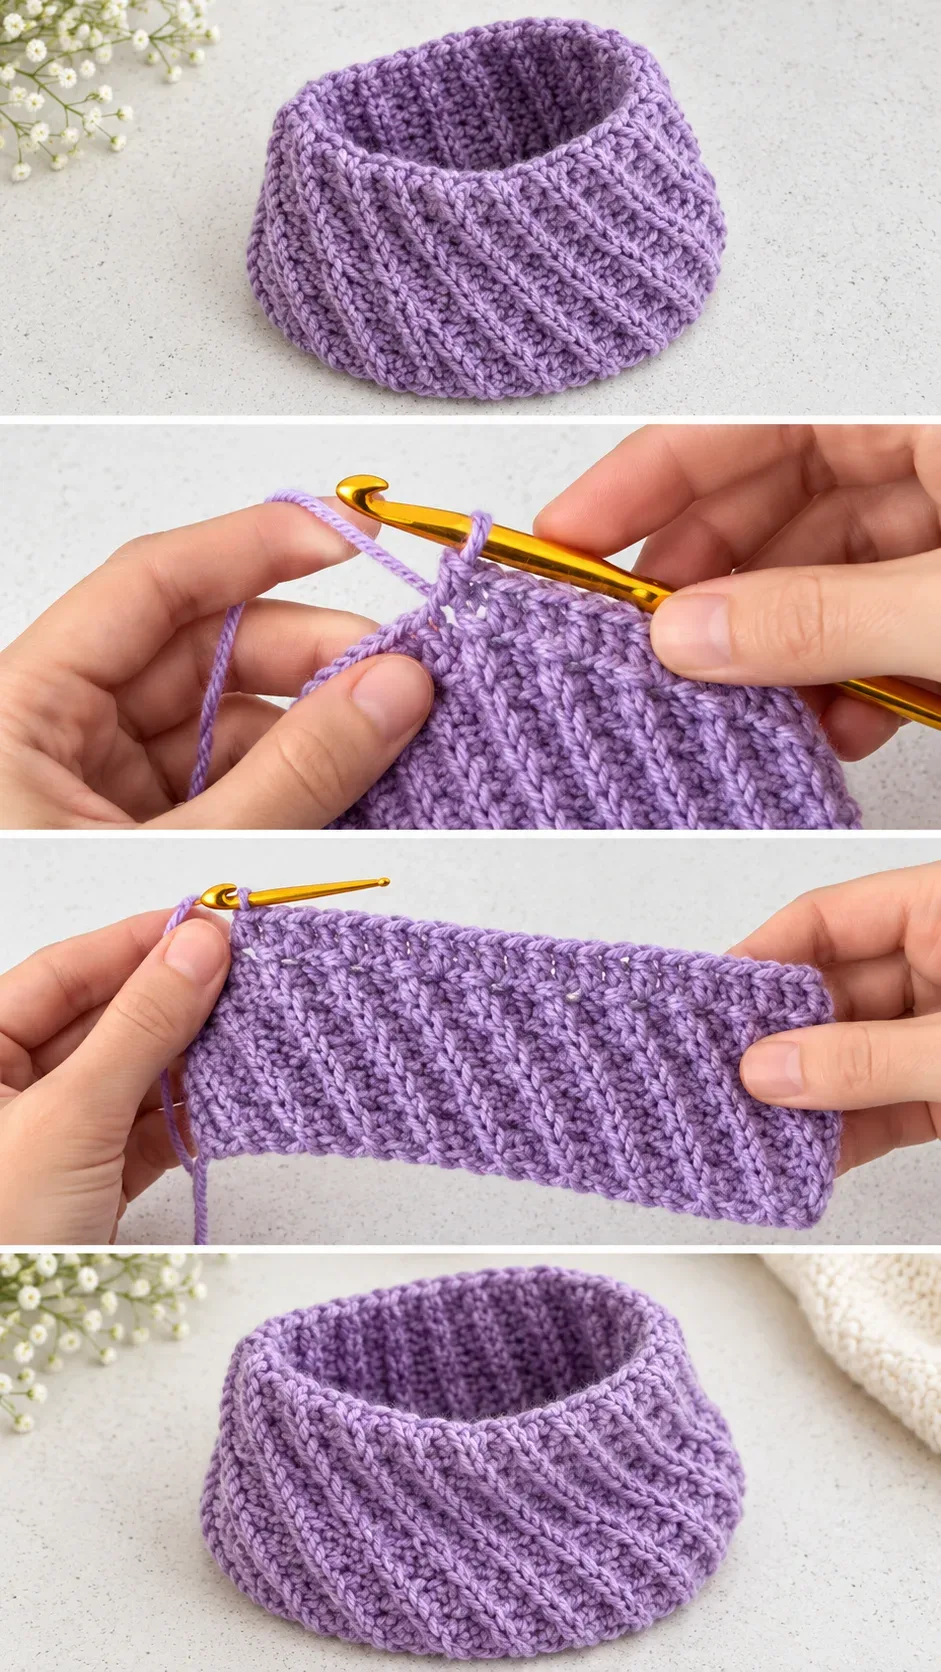
The Crochet Honeycomb Snood relies on a small vocabulary of stitches that layer into something genuinely beautiful.
BULLET:SL ST (Slip Stitch) Worked through the back loop, the slip stitch pulls flat and tight, creating the recessed grooves that give the honeycomb its raised, ribbed illusion.
BULLET:HDC (Half Double Crochet) The HDC sits between a single and double crochet in height, and here it forms the lifted columns that run vertically across the fabric with a satisfying plumpness.
BULLET:YO (Yarn Over) The yarn over before each HDC is what builds that small extra height into the stitch, and keeping your tension even across every YO is what makes the columns look uniform and clean.
BULLET:BLO (Back Loop Only) Working into the back loop only on certain rows is what locks the ribs into place and stops the fabric from lying flat, creating that three-dimensional, almost sculptural surface.
Once the sequence settles into your hands, the rows fall into a meditative rhythm that makes an evening of crocheting feel like genuine rest rather than effort.
Construction
The Crochet Honeycomb Snood is worked flat as a long rectangular panel, and once the panel reaches the right length to wrap comfortably around the neck, the two short ends are joined with a simple slip stitch seam to form the loop. The construction is wonderfully straightforward for confident beginners, because every row follows the same alternating sequence of SL STs and HDCs with no shaping, no increases, and no decreases to track. The video tutorial by Vasilya Knits walks through the full row-by-row pattern with clear close-up demonstrations, so you can follow along at whatever pace suits you. If you want a deeper, chunkier snood that sits higher on the neck, simply add more foundation chains at the start and the proportions will scale beautifully.
Wearing Your Honeycomb Snood
Pull your finished Crochet Honeycomb Snood over a chunky turtleneck for layered winter warmth, or wear it loose over a simple long-sleeved dress with ankle boots for something that feels effortlessly polished. It tucks neatly into a coat collar for commuting days, and it works equally well as a soft frame around the face on cold weekend mornings when you want to feel warm without feeling buried. Every time you reach for it, you will feel the particular satisfaction that comes from wearing something you built stitch by stitch with your own hands.
Washing and Storing Your Snood
Because the raised rib texture is what makes this piece so special, it is worth taking a little care to protect it after wear. Hand wash your snood in cool water with a gentle wool wash, pressing the water through rather than wringing or twisting, which can distort those beautiful columns. Lay it flat on a clean towel to dry, gently coaxing the ribs back into alignment if needed, and you will find that even after washing the texture bounces back with very little fuss. Store it folded loosely in a drawer or a cloth bag rather than hanging it, as the weight of the loop can stretch the join over time.
Every snood you finish is a quiet act of making something real and lasting with nothing more than a hook, some yarn, and your own time. If you make this Crochet Honeycomb Snood, please save this post to your Pinterest boards and share your finished piece because seeing your colours and your texture choices is the best part of this whole craft.
Follow us on Pinterest and subscribe to the Newsletter so you don’t miss a thing!
Tutorial and photos of this honeycomb snood by: Vasilya Knits – Вяжем крючком.