
A crochet bag lining is a fabric interior sewn to fit precisely inside a crocheted bag, transforming the open structure of the crochet shell into a polished, finished object that holds its shape and protects its contents. Once you understand this technique, it unlocks the possibility of lining clutches, totes, crossbody bags, and market baskets with any fabric that suits your aesthetic.
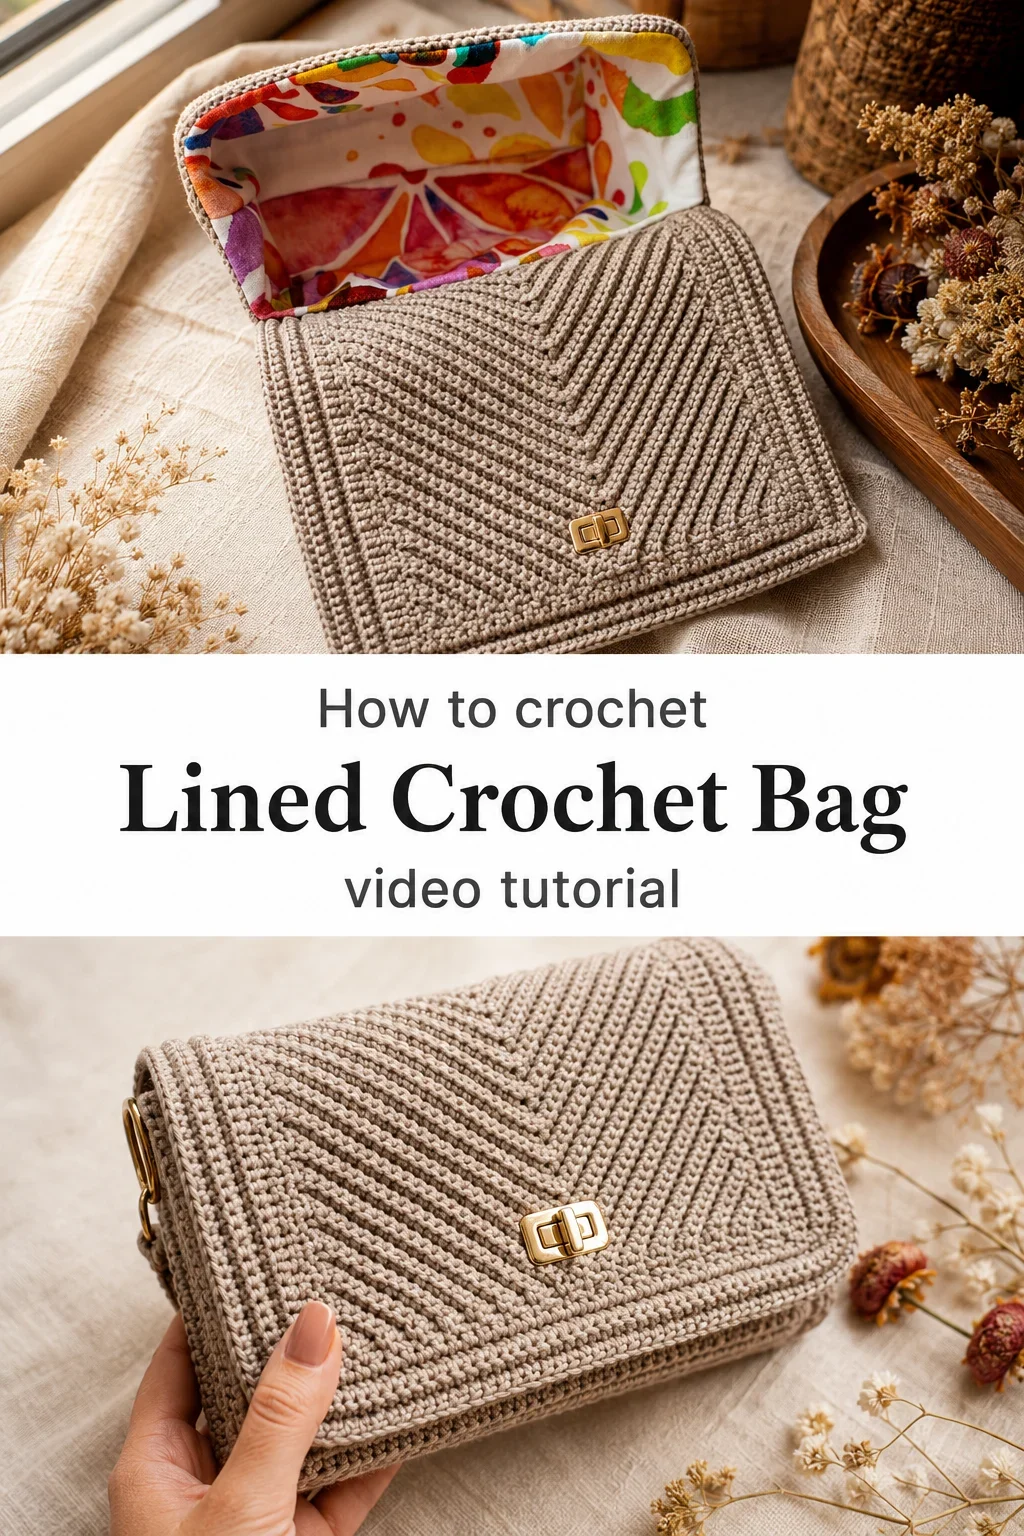
The Bag Lining
A crochet bag lining is one of those quiet finishing details that shifts a handmade piece from lovely to genuinely refined. It speaks to the maker’s care, the extra hour spent at a sewing machine, the deliberate choice of a fabric that complements rather than competes with the crochet work on the outside. It is for the crafter who wants their bag to feel as considered on the inside as it looks on the outside, and for anyone who has ever reached into a handmade tote and wished the structure held just a little more firmly. The lining gives the bag its backbone, that airy yet structured quality that makes a crocheted accessory feel like something you might find in a boutique.
Bag Lining Related Posts:
- Crochet Lace Socks: A Delicate and Timeless Treasure
- Crochet Decorative Squares: A Colorful Handmade Collection
- Crochet Lace Tunic: A Delicate and Timeless Classic
- Crochet Cowl Scarf: A Warm and Charming Winter Wrap
For fabric, you can go in so many directions. A bright citrus-print cotton, like the one visible in this tutorial, brings a cheerful surprise every time you open the flap, while a dark geometric linen or a deep indigo check gives the bag a more editorial, understated feel. The contrast between a neutral beige crochet exterior and a bold, patterned interior is one of the most satisfying visual combinations in slow-fashion making.
Materials and Tools
For the crochet portion of the bag, a worsted weight cotton or cotton-blend cord works beautifully, giving the fabric the density and structure it needs to hold a lining without drooping. A 4mm crochet hook is a good starting point for this weight, though you may adjust slightly depending on your tension and the specific cord you choose. For the lining itself, medium-weight quilting cotton or a lightweight canvas both behave well under a sewing machine presser foot, lying flat without adding excessive bulk. A pair of fabric scissors and sharp sewing pins will make the cutting and fitting process far more precise, and they are worth having close at hand before you begin.
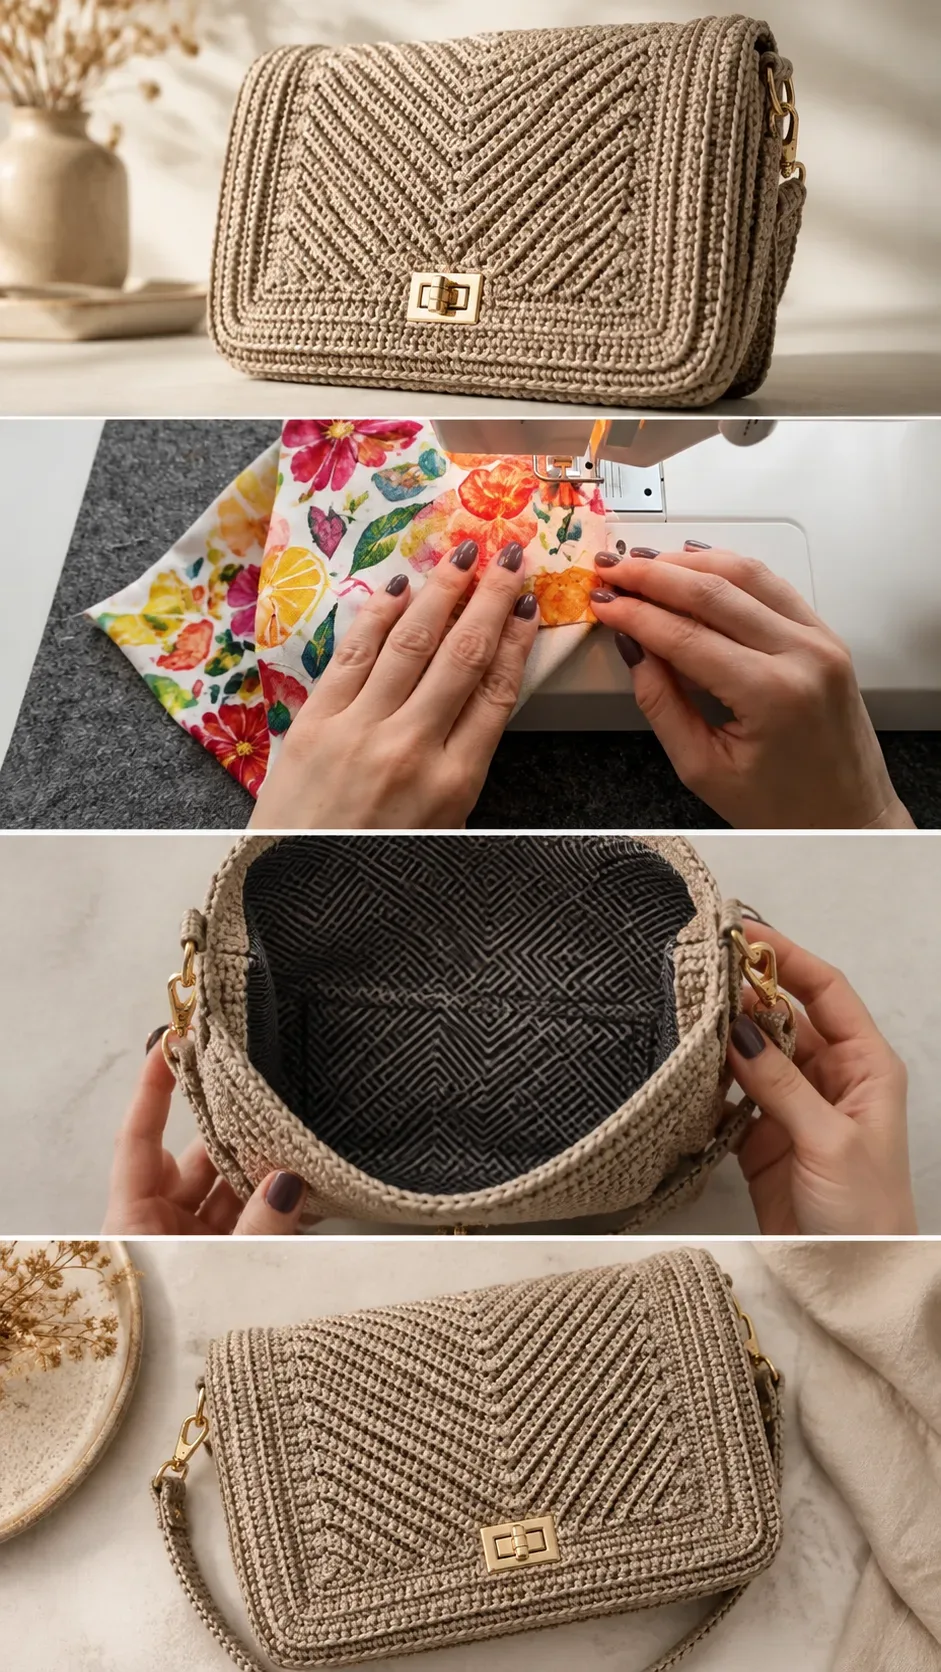
Stitch by Stitch
The crochet exterior of this bag relies on a small selection of fundamental stitches worked in a way that creates that signature chevron-like ridged texture.
BULLET:SC (Single Crochet) The foundational stitch that creates a tight, dense fabric ideal for structured bags that need to hold their form.
BULLET:DC (Double Crochet) Used to build height and texture more quickly, and it contributes to the bag’s dimensional surface pattern.
BULLET:BLO (Back Loop Only) Working through the back loop only creates raised horizontal ridges that give the exterior that tactile, quilted appearance.
BULLET:SLST (Slip Stitch) Used to join rounds seamlessly and to reinforce edges before the lining is attached.
There is a meditative rhythm to working SC and DC in BLO across long rows of a structured bag body, the hook finding the same loop again and again until the pattern almost works itself.
Construction
The bag is crocheted in panels or worked in continuous rounds depending on the specific shape, and the full construction details are covered thoroughly in the video tutorial linked with this article. Once the crochet shell is complete and the hardware is attached, the fabric lining is cut to match the interior dimensions of the bag, sewn into a box shape using a sewing machine, and then slip-stitched by hand or machine-tacked along the top opening of the bag. For beginners, it helps to use a fabric with a subtle pattern rather than a solid, since small variations in cutting line are far less visible. If you want to customise, consider adding a small interior pocket to the lining fabric before you sew it shut, it costs very little extra time and makes the finished bag genuinely functional.
Wearing Your Bag Lining
A well-lined crochet bag works as a crossbody with a linen shirt and wide-leg trousers on a warm afternoon, or tucked under the arm as a clutch at an evening dinner where you want something handmade but quietly polished. The finished bag lining keeps lipstick, keys, and cards from slipping through the crochet gaps, which means you can finally carry a crocheted bag with the same confidence you give a structured leather one. That practicality, combined with the beauty of the exterior, is what makes finishing a crochet bag lining feel so rewarding.
Keeping Your Lined Bag Looking Its Best
Because the bag combines crochet cord with sewn fabric, the best approach to cleaning is spot treatment rather than full immersion, using a damp cloth on any marks and allowing the bag to air dry away from direct sunlight. If the lining fabric is pre-washed cotton, it will resist shrinkage and remain smooth against the interior structure of the bag over time. To store it, stuff the interior lightly with tissue paper or a small cloth to help the bag retain its box shape between uses. Hardware pieces like gold clasps and swivel clips should be wiped down occasionally with a dry cloth to keep them bright and free of tarnish.
Every crochet bag lining you sew in is a small act of dedication to the craft, proof that you finished the thing completely and with intention. Pin this guide to your crochet or handmade bag board on Pinterest so you can return to it the next time you need to line a project beautifully.
Follow us on Pinterest and subscribe to the Newsletter so you don’t miss a thing!
Tutorial and photos of this bag lining by: Cathérine Crochet.