
This pattern is SUPER EASY to fall in love with and absolutely stunning on any table. If you have been looking for a romantic, eye-catching project that looks way more complicated than it actually is, you just found it.
Get the Ad-Free PDF Pattern
You can find the free pattern below, or you can purchase the ad-free printable PDF from my shop.
Get the Printable PDF →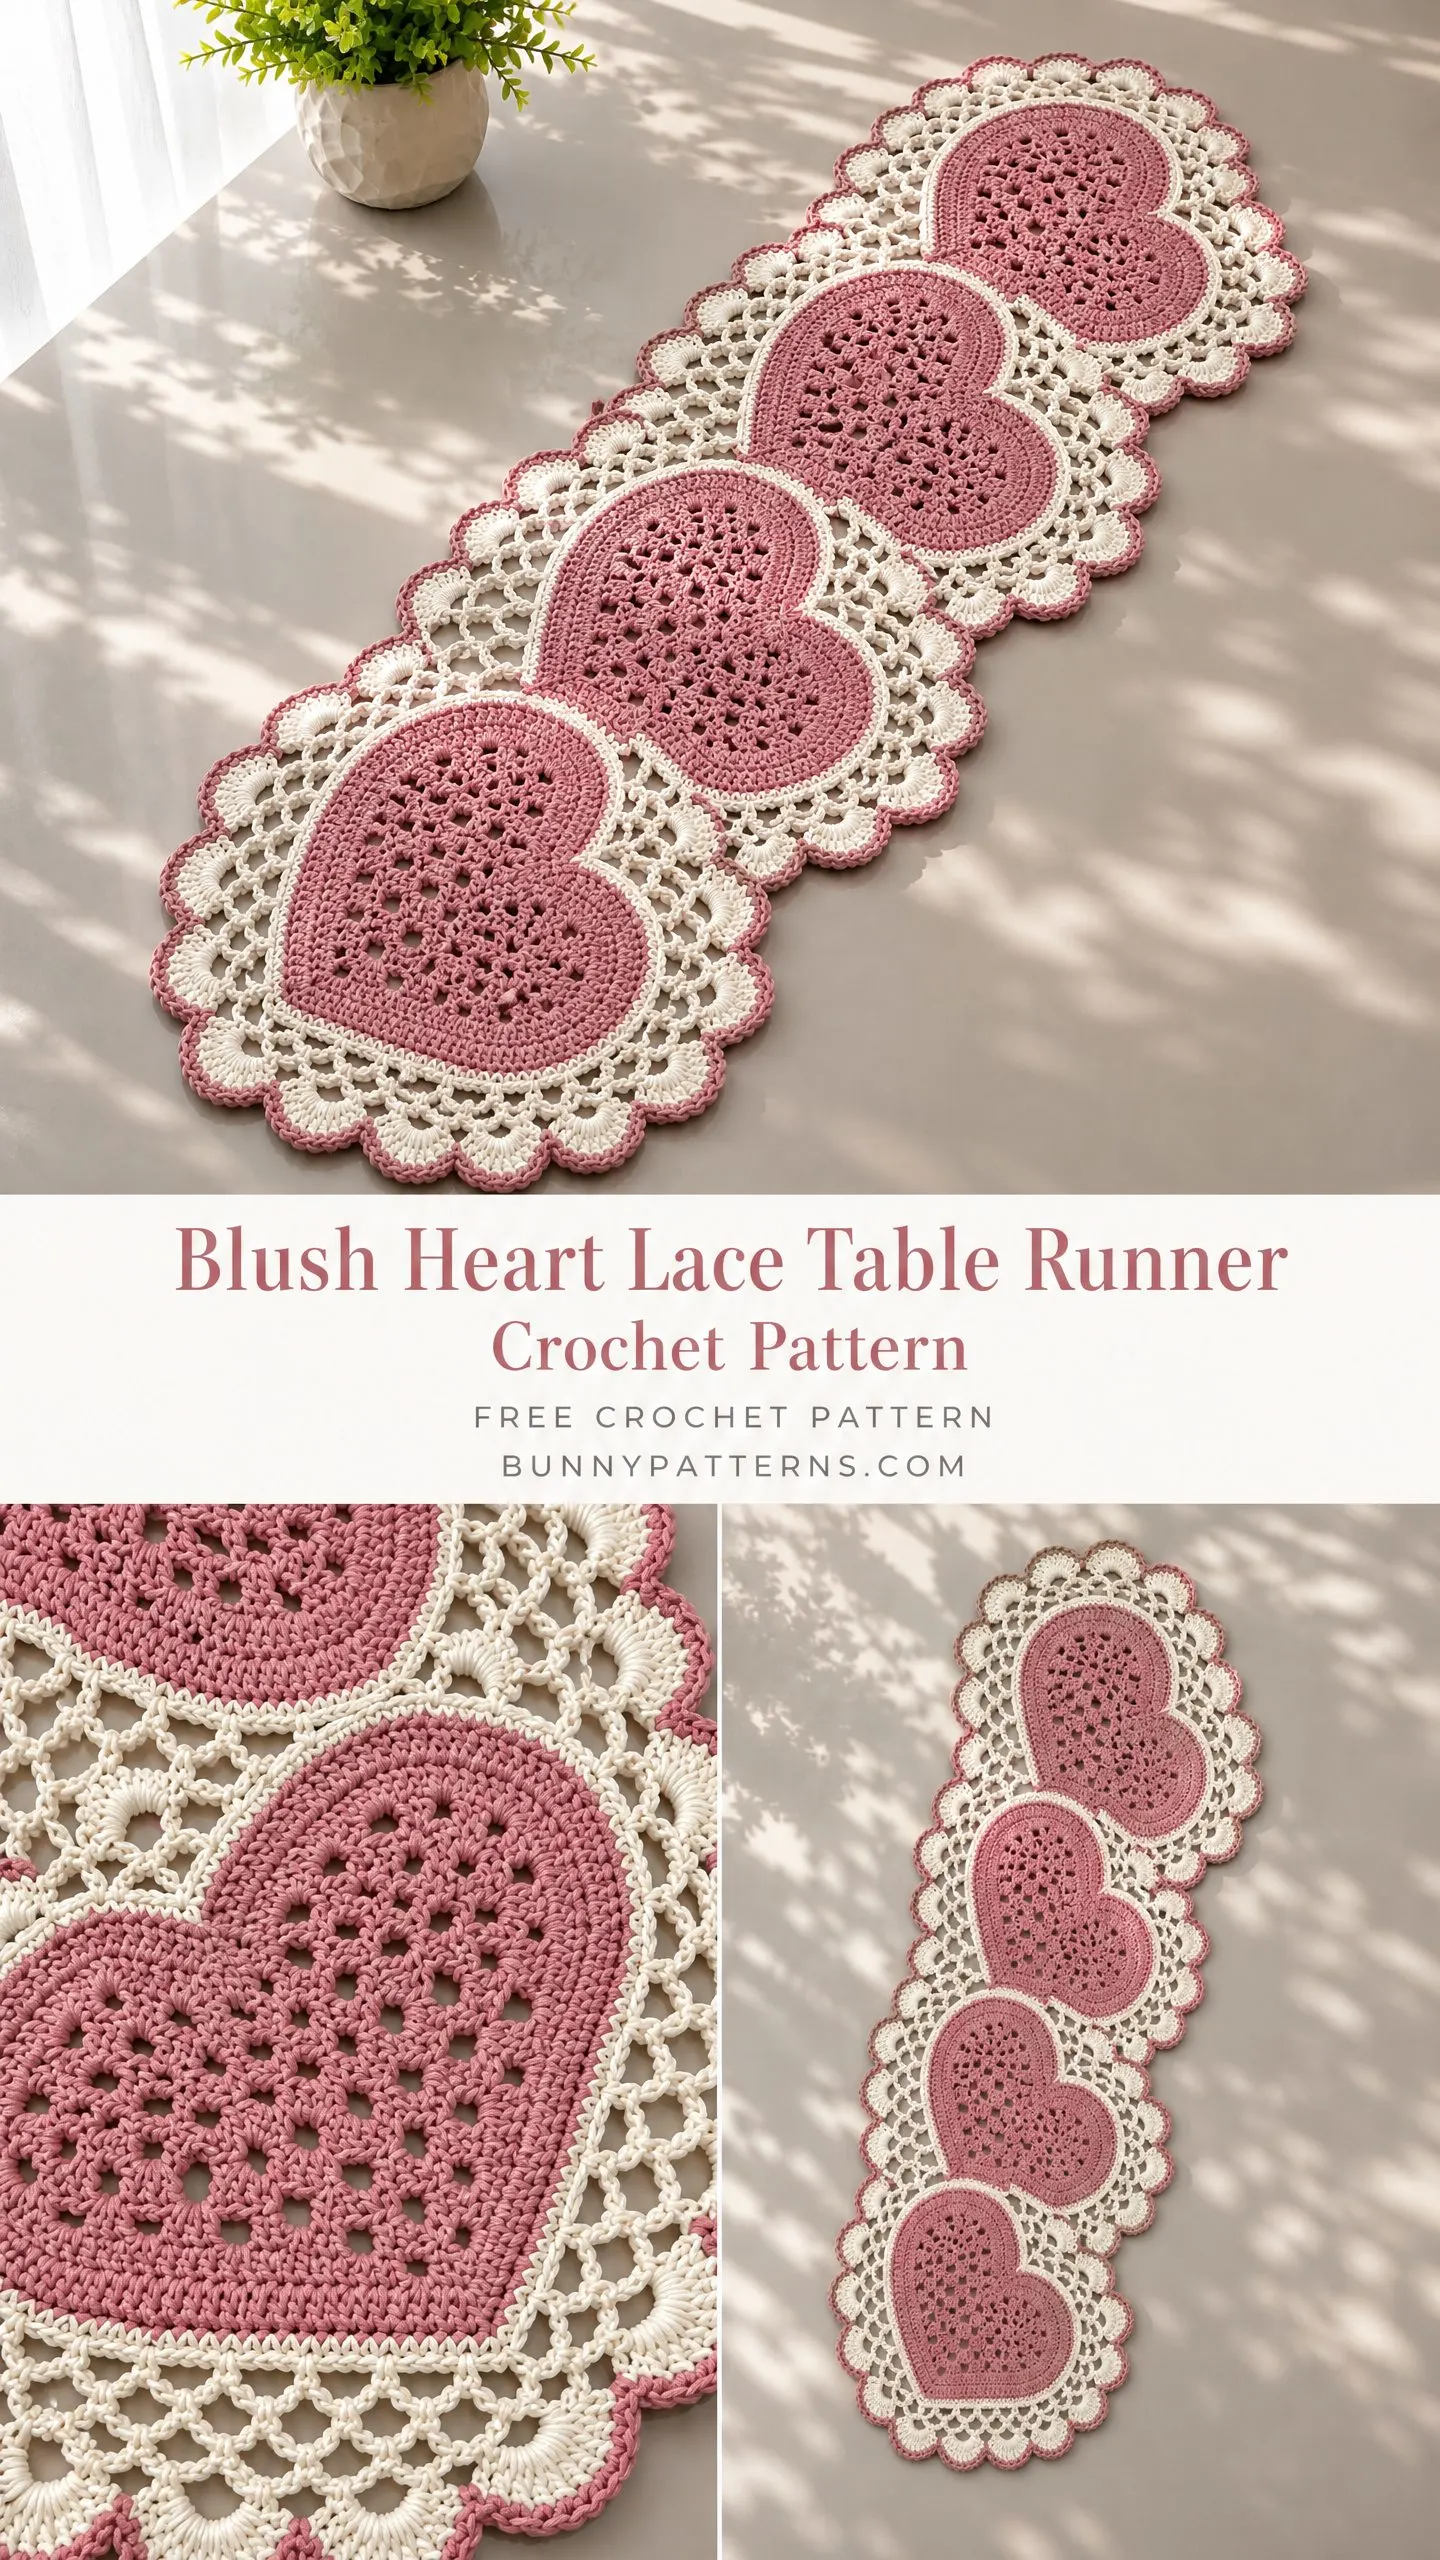
Four sweet filet hearts, a gorgeous lacy border, delicate scallops. The whole thing comes together faster than you would expect, and the result is pure elegance. Whether you are making this for yourself, for a wedding gift, or for someone who loves all things hearts and lace, this table runner delivers serious wow factor.
And here is the best part. The construction is totally approachable. You are making four individual heart motifs and then joining them with a simple overlap. No complicated assembly, no confusing charts. Just beautiful, satisfying crochet from start to finish.
About This Blush Heart Lace Table Runner
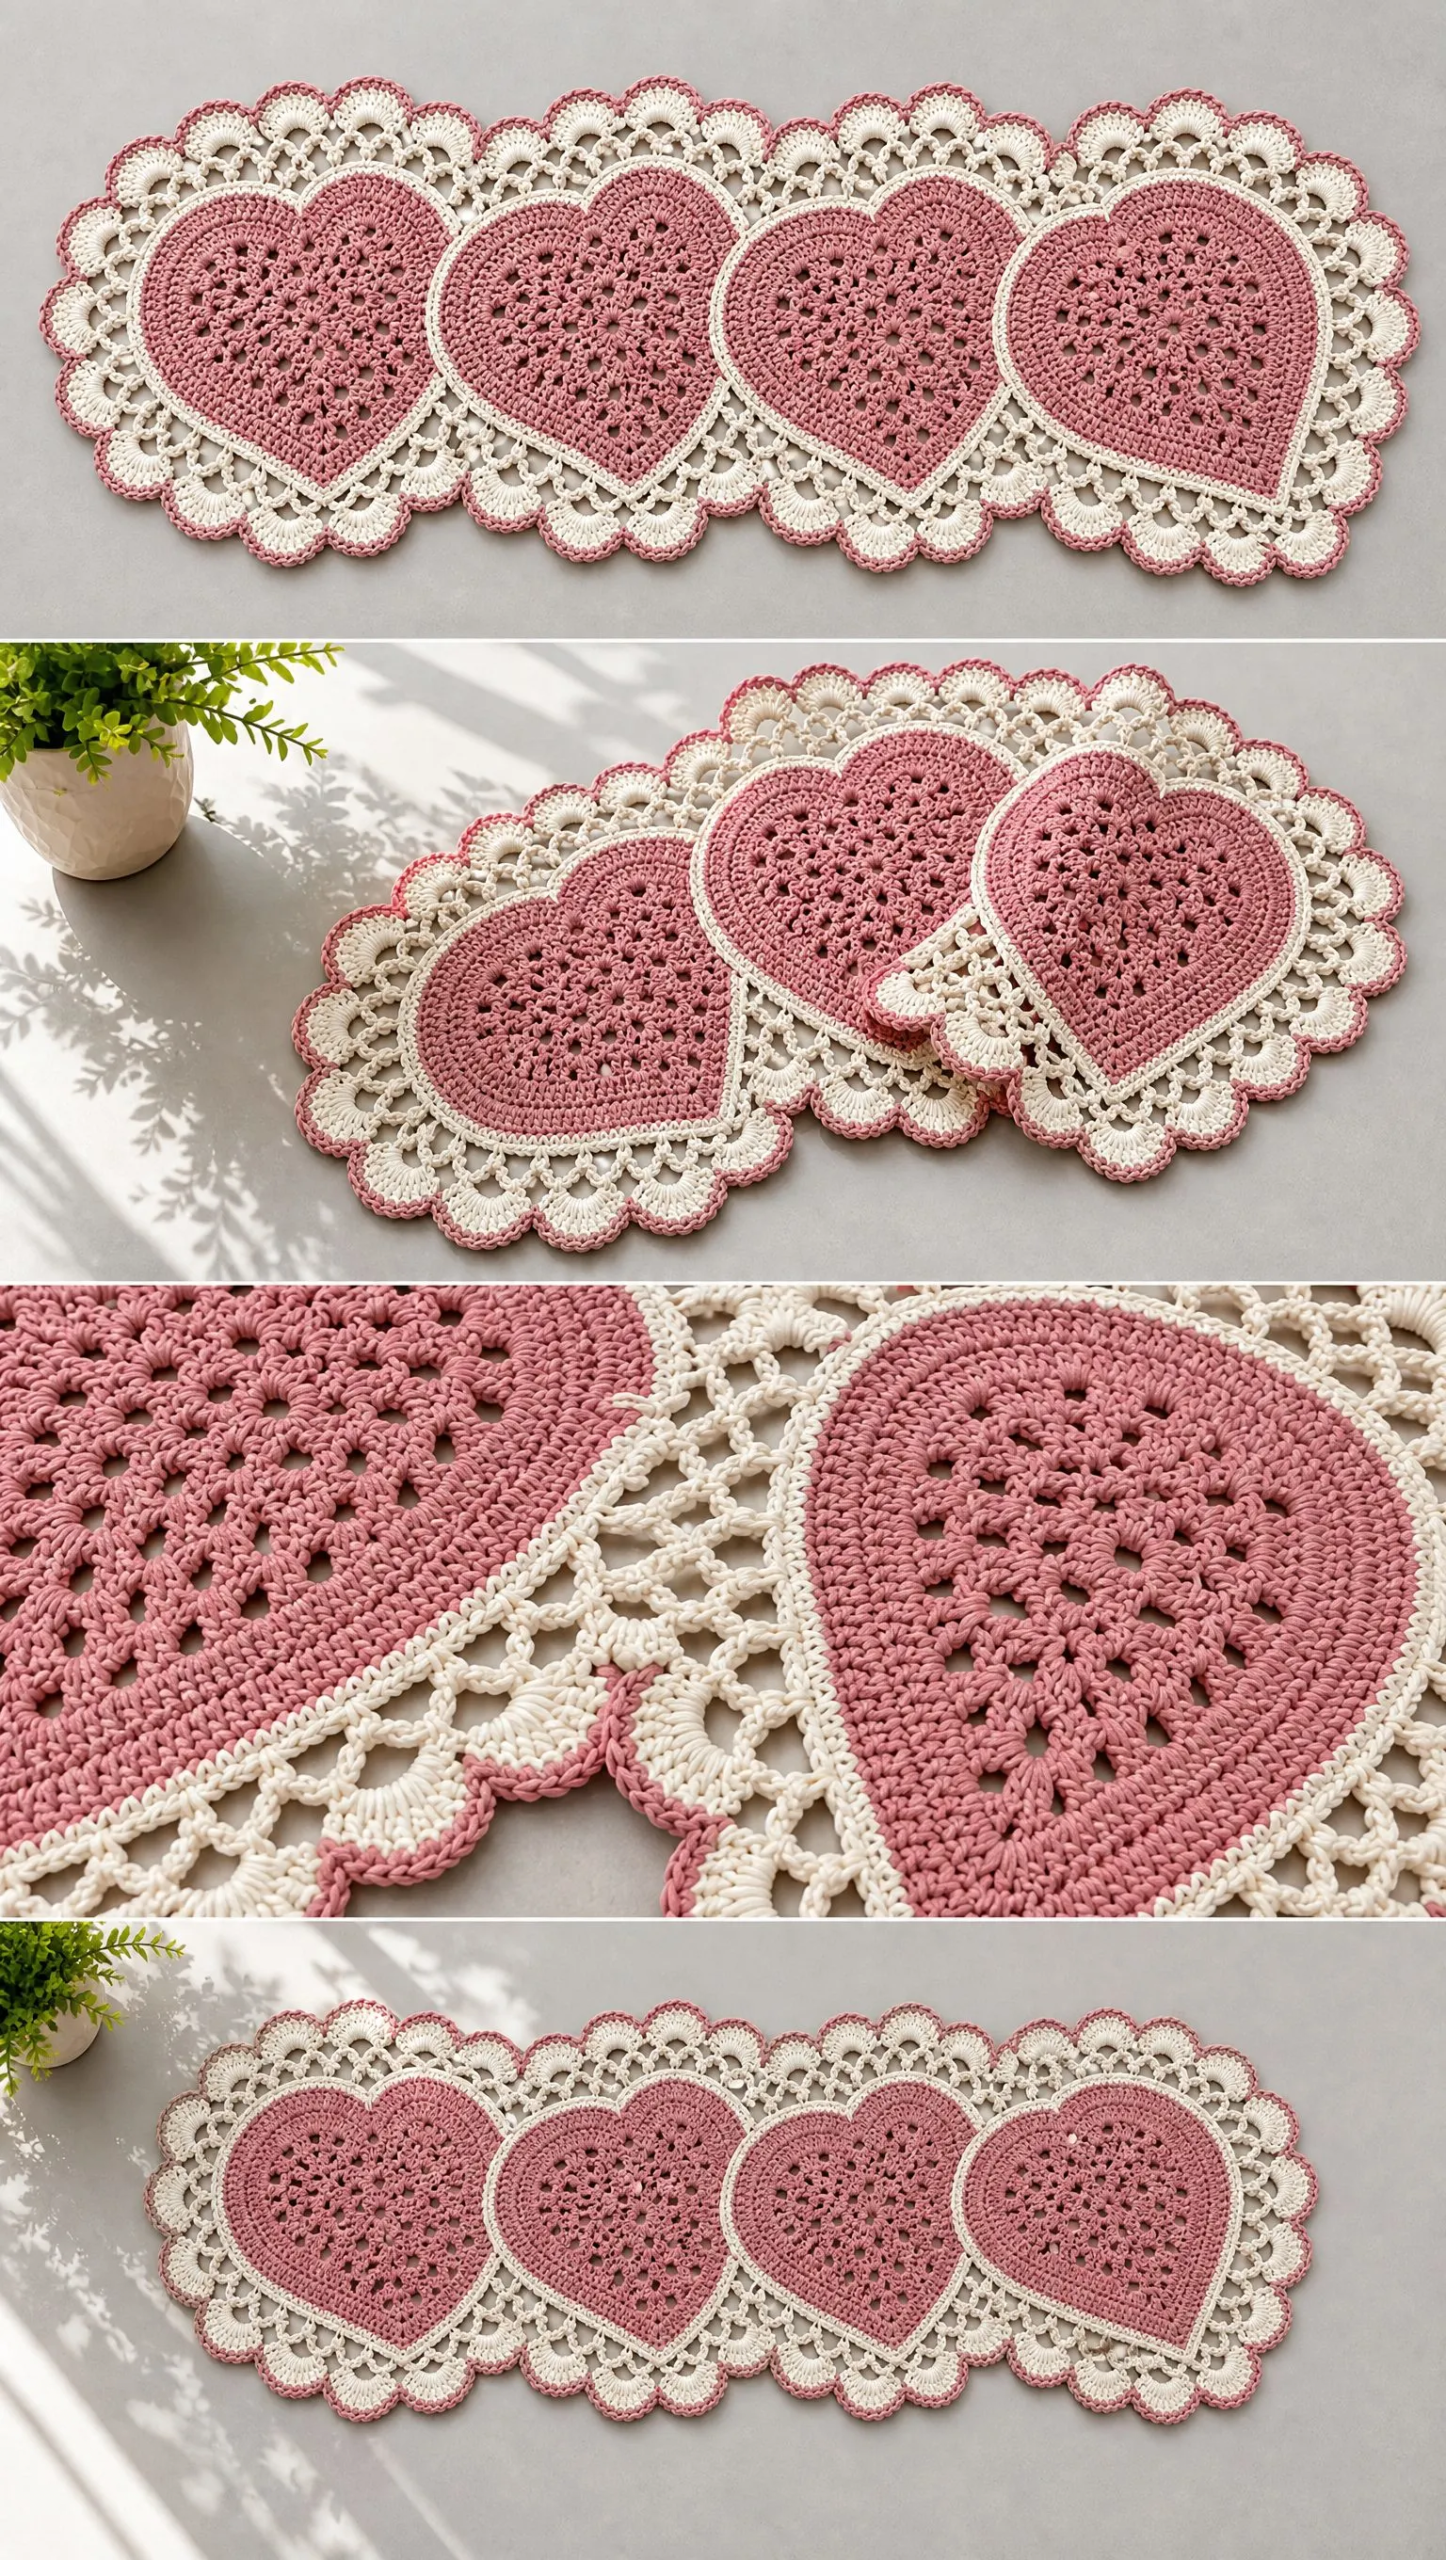
This intermediate crochet pattern creates a stunning table runner featuring four individually crocheted filet hearts, each surrounded by delicate chain lace and elegant scallops. The hearts are joined with a modest overlap, creating a cohesive, romantic design perfect for Valentine’s Day, weddings, anniversaries, or everyday elegance.
The pattern uses shaped rows for reproducible heart outlines, giving you consistent, professional results every time. Each bordered heart measures approximately 30 to 35 cm wide and 31 to 34 cm tall. Once joined with 3 to 5 cm overlaps, the finished runner spans approximately 110 to 120 cm long.
The two-color design features blush pink centers with ivory lace borders and a fine blush pink scallop outline, though you can absolutely customize the colors to match your decor.
Materials You Will Need
Before you begin, gather all your supplies. Having everything ready makes the project flow smoothly.
Yarn:
Hook:
Notions:
Use cotton yarn with distinct stitch definition for the best results. Mercerized cotton works beautifully because it has a slight sheen and holds its shape well after blocking.
Gauge
Getting gauge right is essential for this pattern, especially since you are making four identical motifs that need to match.
Gauge before edging: 20 double crochet (dc) stitches x 11 rows = 10 cm (4 inches)
The heart body maximum width is 49 dc positions, which measures approximately 24.5 cm. I strongly recommend making a gauge swatch and completing one full heart before committing to all four. This saves heartache later if your tension runs tight or loose.
Abbreviations and Stitch Definitions
Let me break down every stitch and term you will encounter. If you are newer to crochet, read through these definitions before starting.
Important: Turning chains do NOT count as a stitch unless a step explicitly says they do.
Pattern Instructions
Section 1: Heart Body (Make Four)
You will work the heart from the lower point upward toward the cleft. The ch 2 at the beginning of each row is for turning only and does NOT count as a stitch.
Work dc into stitches, and work 1 dc into each ch-1 space where a solid row is specified. The row count includes both dc and ch-1 positions.
Row 1 (Color A):
Ch 4, work 3 dc in fourth ch from hook. The unused chains are foundation only, not a fourth stitch. Count 3 dc. Turn.
Row 2:
Ch 2, 2 dc in first st, dc in middle st, 2 dc in last st. (5 sts) Turn.
Rows 3 through 24 (Shaping):
Each row increases by 2 stitches. Work 2 dc in first st, across the middle according to the lace rule below, then 2 dc in last st.
Row n has 2n+1 positions. Check your counts at these rows:
The Lace Rule:
On rows divisible by 3 (rows 3, 6, 9, 12, 15, 18, 21, and 24), after the first increase work (ch 1, skip next position, dc in next position) as many times as possible before the last 2 old positions. Then ch 1, skip the penultimate position, and work 2 dc in last position.
All intervening rows are solid dc.
Example for Row 3: 2 dc, ch 1/skip, dc, ch 1/skip, 2 dc = 7 positions.
Rows 25 through 28 (Work Even):
Work even over 49 positions with no increases.
Fasten off at end of Row 28.
Section 2: Shape the Two Lobes
Mark the Split:
With RS facing, count across Row 28. Mark position 25 for the central cleft and leave it unworked. The left lobe uses positions 1 through 24. The right lobe uses positions 26 through 49.
Work each lobe separately. Remember, ch 2 never counts as a stitch.
Lobe Row 1:
Join Color A at outside edge for first lobe and work dc in 24 positions. For second lobe, join at the cleft side and work 24 positions, so the same row instructions mirror naturally. Turn. (24 sts)
Lobe Row 2:
Ch 2, dc2tog, dc in next 20 sts, dc2tog. (22 sts) Turn.
Lobe Row 3:
Ch 2, dc2tog, dc in next 18 sts, dc2tog. (20 sts) Turn.
Lobe Row 4:
Ch 2, dc2tog, dc in next 16 sts, dc2tog. (18 sts) Turn.
Lobe Row 5:
Ch 2, dc2tog, dc in next 14 sts, dc2tog. (16 sts) Turn.
Lobe Row 6:
Ch 2, dc2tog, dc in next 12 sts, dc2tog. (14 sts) Turn.
Lobe Row 7:
Ch 2, dc2tog, dc in next 10 sts, dc2tog. (12 sts) Fasten off.
Work the second lobe the same way. You should now have a symmetric heart with a 7-row cleft and two softly sloping tops.
Smooth the Body Edge (Color A):
Join Color A at lower point and sc evenly around body. Start with about 2 sc per dc row-end, 1 sc per top stitch, 3 sc at bottom point, and sc2tog across the deepest cleft to prevent a gap.
If the edge ruffles, reduce to 1 sc in selected row-ends. Mark the point and cleft. Join and fasten off.
This is an eased edging, not a fixed-count round. The goal is a flat, smooth edge.
Section 3: Open Lace and Scallops
Round 1 (Color B Outline):
Join Color B at point. Sc in each edging st, (sc, ch 2, sc) in middle point st. At the cleft, work sc2tog over the 2 central stitches. Join.
Lay flat and record your edging count for the remaining hearts. A flat heart is more important than a forced perimeter count.
Round 2 (Mesh):
Sl st into point space, ch 1, (sc, ch 5, sc) in point. Repeat (ch 5, skip 2 sts, sc in next st) around. At cleft, use ch 3 in place of ch 5 to draw it inward.
Adjust the final skip to 1 or 3 stitches if needed. Join to first sc. Mark the point loop.
Round 3 (Mesh):
Sl st into first ch-5 loop, ch 1, sc into loop. Repeat (ch 5, sc in next loop) around.
At point, work (sc, ch 5, sc) in the marked point loop to add one loop. At cleft, use ch 3 again. Ch 5 and join to first sc.
Lay flat before continuing.
Round 4 (Fans):
Sl st into first loop. Work (sc, hdc, 5 dc, hdc, sc) in each loop around.
In the cleft loop, use (sc, hdc, dc, hdc, sc) instead to avoid crowding.
Join and fasten off. Each normal fan has 9 stitches. The cleft fan has 5 stitches.
Round 5 (Fine Color A Edge):
Join Color A anywhere. Sl st loosely in each fan stitch, ch 1 between neighboring fans. Join invisibly, fasten off, and weave in ends.
If the outer edge contracts, use a larger hook for this round.
Color Detail:
Keep all four centers blush pink and all four lace surrounds ivory, with the same fine blush pink scallop outline. Consistent yarn thickness is essential for matching motif sizes.
Section 4: Blocking and Joining
Block Each Heart:
Soak briefly as directed by your yarn label. Press gently in towels, then pin each piece to identical dimensions. Shape the two lobes evenly and gently open each lace loop.
Do not stretch one heart to compensate for a different gauge. Dry fully before joining.
Arrange Four Motifs:
Lay all four hearts facing the same direction. Place the point of heart 2 over the cleft of heart 1, overlapping about 3 to 5 cm. Repeat for hearts 3 and 4.
Choose an overlap that hides the join while keeping both lobes visible. The runner length equals 4 times the heart height minus 3 times the overlap.
Sew Joins:
Using matching thread or split cotton yarn, make small whipstitches only where the two lace borders touch. Secure an area about 6 to 8 cm wide at each overlap.
Do not sew a hard straight seam through the centers. Keep joins flat, with no dangling loops underneath. Lift gently to confirm all sections remain connected.
Care Instructions
Hand wash in cool water if the yarn label allows. Avoid wringing. Lay flat and reshape all scallops while damp.
Use colorfast yarn to prevent the darker center bleeding into the pale border during washing. When using the runner on your table, place a protective layer beneath hot serving dishes.
Tips for Success
Match your gauge. This cannot be overstated. Making one complete heart before committing to all four will save you from mismatched motifs.
Count your stitches regularly. The lace rule creates a specific pattern, and losing count can throw off the symmetry.
Block before joining. Wet blocking opens up the lace beautifully and ensures all four hearts are identical sizes.
Record your edging count. After completing the first heart’s edging, write down your stitch count so you can match it on the remaining three.
Check for flatness. If your heart curls, the border needs more ease. If it waves, you have too many edge stitches. Adjust accordingly.
Sample Review Checklist
Before calling your runner complete, confirm these points:
Record your finished dimensions and actual yarn consumption from your sample. This information is invaluable for future projects.
Final Thoughts on This Crochet Table Runner Pattern
This Blush Heart Lace Table Runner is the kind of project that makes people gasp when they see it on your table. The combination of filet crochet hearts, delicate lacy borders, and elegant scallops creates something truly special.
Take your time with each motif, enjoy the process, and trust the pattern. Before you know it, you will have a gorgeous heirloom-quality piece that looks like it took far more effort than it actually did.
Thank you so much for choosing this pattern. I hope you love making it as much as I loved designing it. If you create this table runner, I would absolutely love to see it. Tag me on Instagram or share a photo in our Facebook group. Seeing your finished projects is genuinely the best part of sharing patterns.
If this pattern caught your eye, go ahead and save it to your Pinterest boards so you can find it when you are ready to start. And if you do make this beautiful table runner, please drop a comment below. I love hearing how projects turn out and seeing all the gorgeous color combinations you choose.
Want a Quick & Easy Printable Version?
Get a clean, beautifully formatted PDF of this pattern — easy to follow step by step, ready to print or save on any device. No scrolling, no distractions, just the pattern.
Get the Printable PDF →You Might Also Like
- Pastel Sunset Granny Tote Bag Free Crochet Pattern
- Autumn Fox Lace Crochet Sweater Free Pattern
- Strawberry Baby Romper Free Crochet Pattern
- Sunshine Daisy Book Cover Free Crochet Pattern