
A crochet throw pillow in a warm mustard gold turns a plain bed or sofa into a cosy corner, and its plush, pebbled surface begs to be touched.
The Crochet Throw Pillow
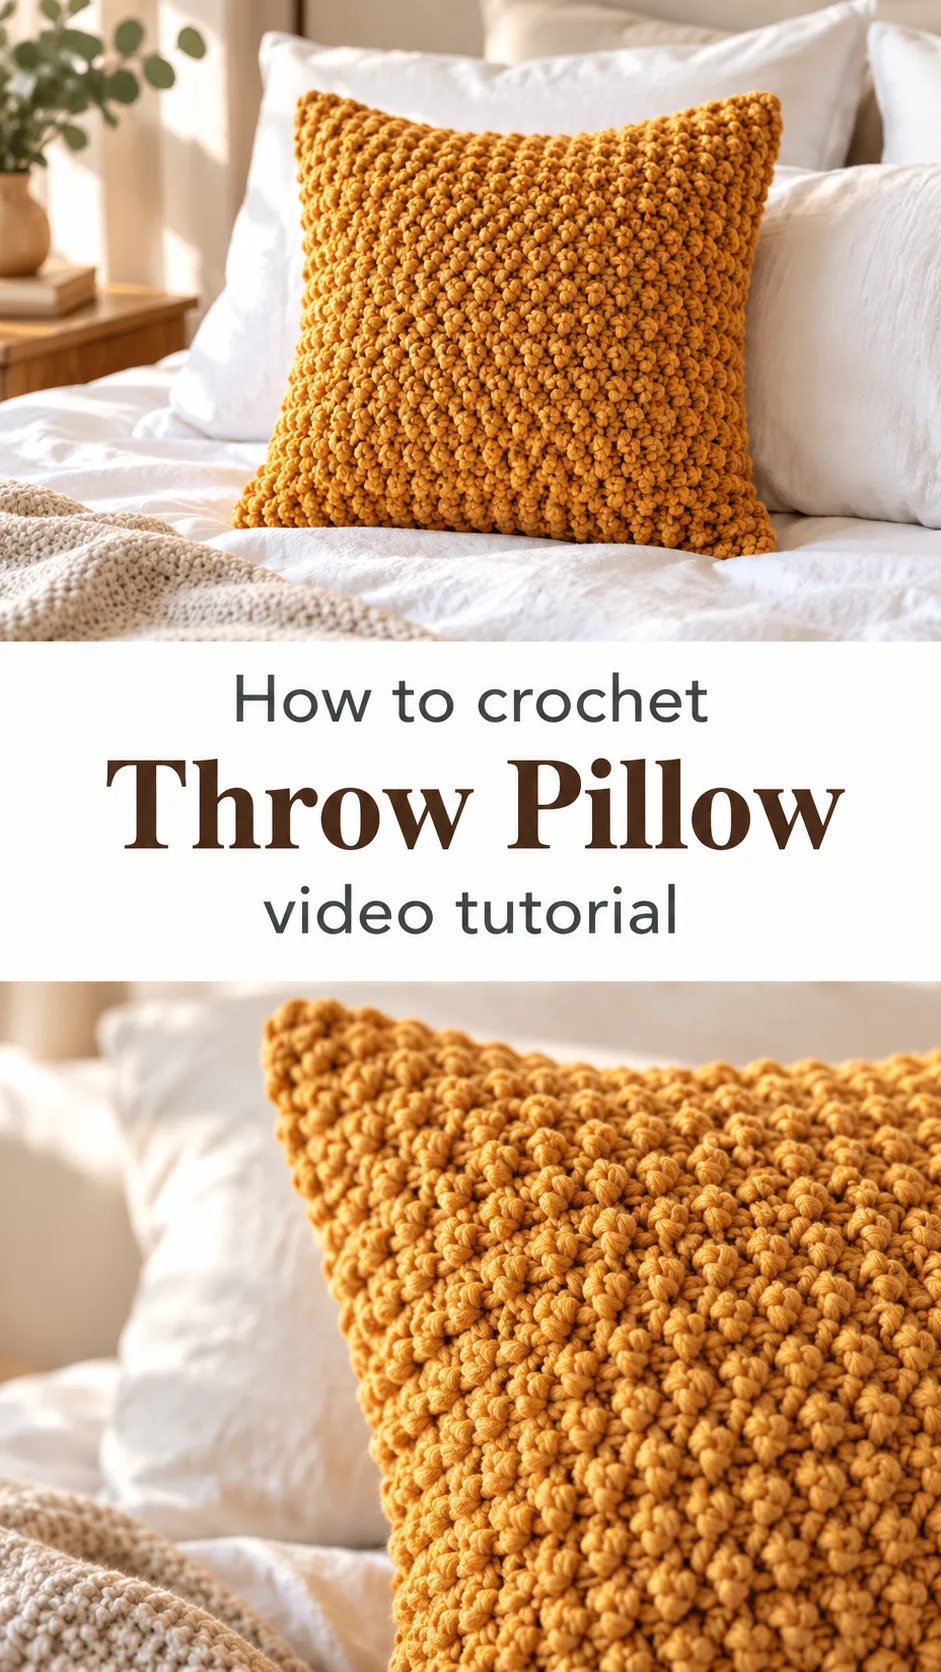
This crochet throw pillow is a square cushion cover worked in a deep honey-mustard yarn. The surface is thick and bumpy, made of rows of chunky stitches that sit close together like little braids. The yarn looks soft and fuzzy, almost like chenille, so the whole piece has a velvety, huggable feel. Nothing about the shape is fussy. It is a plain square with clean edges, which lets the texture do all the talking. Set against white bedding and a rust-brown ribbed cushion, the golden colour glows. It suits a bed, a sofa, a reading chair or a window seat, anywhere a room needs a warm accent.
Because the design is so simple, it works as a first home-decor project. It is also a quick, generous gift. One cushion cover can be finished in far less time than a blanket, yet it gives the same cosy payoff. Make a pair and the effect doubles. Easy, fast and handsome.
Throw Pillow Related Posts:
- Crochet Ribbed Cowl: A Warm and Cozy Neck Essential
- Crochet Lace Tablecloth: A Timeless Elegant Statement
- Crochet Granny Square Join: A Seamless Timeless Finish
- Crochet Kitty Face Appliqué: A Sweet Handmade Charm
Materials
A crochet throw pillow like this one begins with a bulky, soft yarn, ideally a chenille-style polyester with a plush, slightly fuzzy finish. The stitches in the photos are large and puffy, which points to a thick yarn paired with a generous hook, somewhere in the 8 to 10 mm range is a sensible general guess. Thick yarn matters because it builds the dense, pillowy fabric quickly and hides the pillow form beneath it. A smooth, thinner yarn would give a flatter, less sculptural surface. You will also need a pillow insert in a size that matches your finished cover, a yarn needle for seaming and weaving in ends, and scissors. A little extra yarn is wise, since bulky chenille gets used up faster than expected. Choose an insert with a snug fit so the cover stays plump rather than slouching.
Understanding the Construction
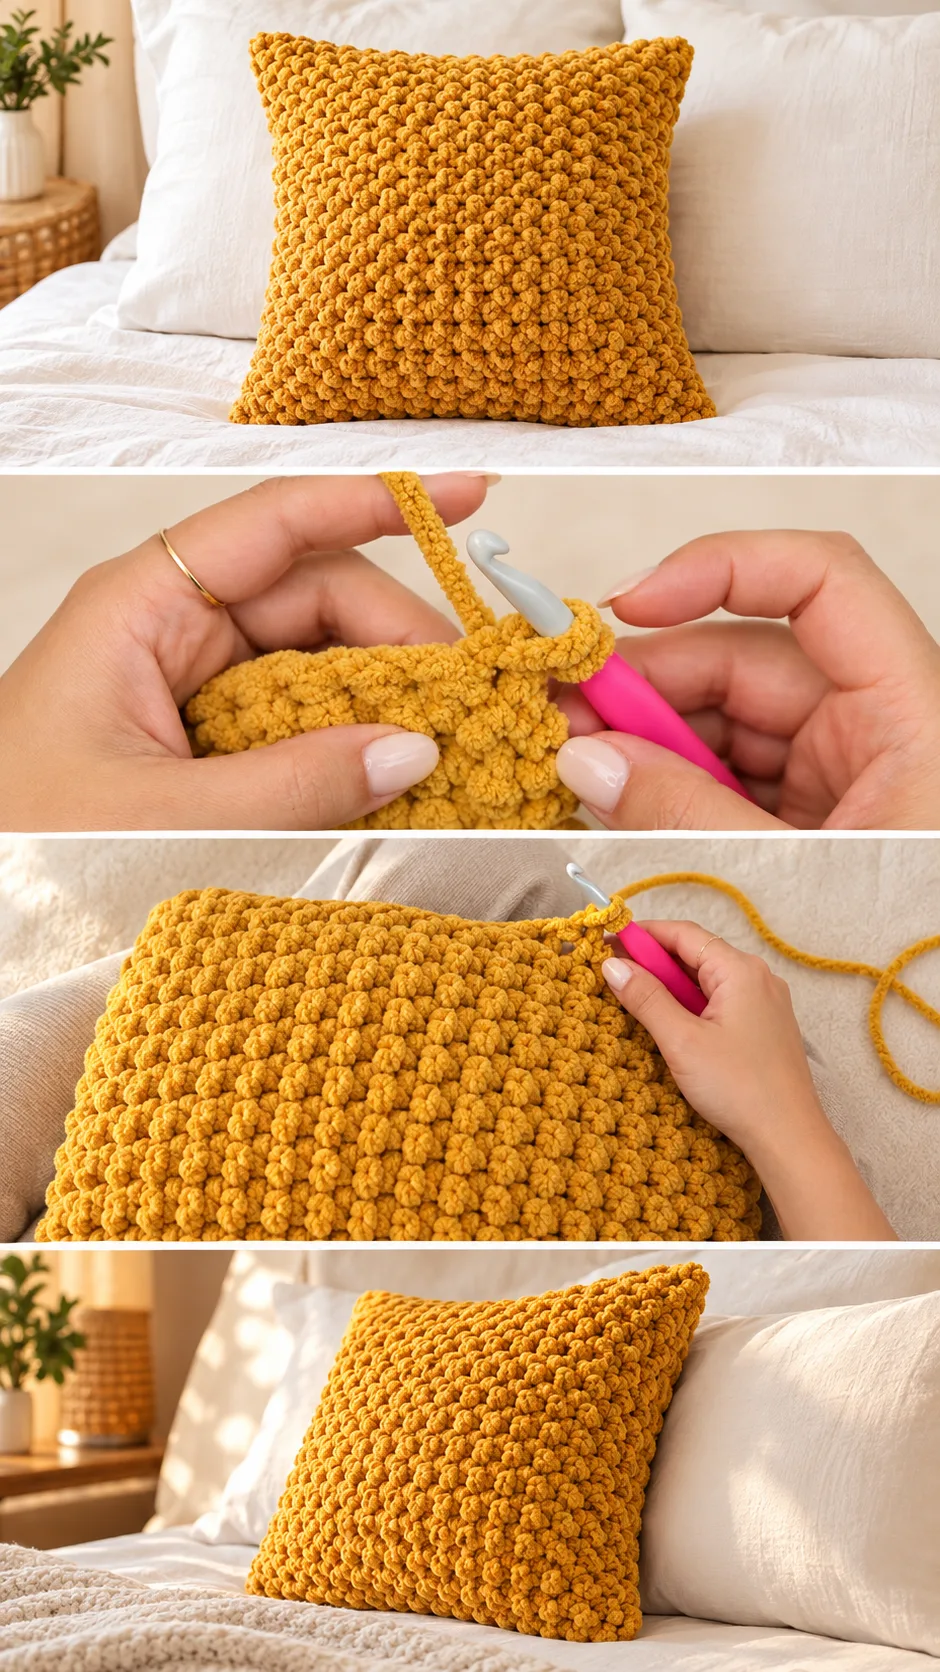
The cover appears to be made from two square panels worked flat, then joined around the edges to hold the insert. The rows run horizontally across the front, and you can see the faint ridge where each row ends. Corners stay neat and sharp, which suggests the panels are kept square and sewn rather than shaped.
Working flat in rows means you can try the piece against your insert as you go. Hold the panel up to the cushion form and check that it covers the face without stretching. A cover that is slightly smaller than the insert will look full and tailored, while one that is too large will wrinkle and sag.
The back panel is usually the same size as the front. Some makers add an envelope overlap instead, so the pillow can be removed for washing. The video will show which method is used, so watch how the panels meet before you decide how to finish yours.
Keep an eye on your edges while you work. If one side looks wavy, you may be adding stitches by accident at the turn. If the sides pull inward, you may be skipping the last stitch. Count each row until the pattern feels automatic.
The Textured Stitch: The Detail That Makes It Special
The signature of this cushion is its surface. Each stitch looks like a small, raised knot, stacked in tidy columns, and the rows form soft horizontal bands. The look is similar to a stitch worked through the back or into the top loops, which gives a woven, rope-like finish. The video close-up shows the hook entering a specific part of the previous stitch, and that tiny choice creates the whole texture.
Pause the video at that moment and copy the hook position exactly. Entering the wrong loop turns the fabric flat and smooth, and you lose the pebbled effect. Replay the step a few times if needed until the motion feels natural.
Tension changes everything with a fuzzy bulky yarn. If your fabric feels stiff as a board, loosen your grip or go up a hook size. If it looks gappy and thin, tighten up or drop down. The photos show a dense but flexible fabric, and that balance is the target.
Fuzzy yarn also hides mistakes, which is kind to beginners. A dropped stitch is hard to spot, so count your stitches at the end of each row. A short count now saves a lot of unravelling later.
Choosing the Best Yarn and Colour
Yarn choice shapes the result more than any other decision. A chenille-style polyester gives the plush, velvety look seen here and wears well with regular use. A chunky cotton gives a crisper, more rustic surface, though it feels heavier and less soft. A wool blend adds warmth and bounce but may feel scratchy against skin. Avoid very slippery, thin yarns, since they will not build the thick, sculpted bumps and the cover may sag over the insert.
The mustard gold in the photos is a warm, earthy shade that sits between honey and ochre. It pairs beautifully with cream, terracotta and chocolate brown. For a calmer room, try oatmeal, sage or dusty blue. For a bold statement, pick rust or deep teal.
Buy all the yarn you need at once and check the dye lot numbers. Slight colour differences between batches show up clearly on a solid-colour cushion, and a visible stripe halfway up the panel is hard to fix.
How to Style a Crochet Throw Pillow
In the photos, the golden cushion leans against a white tufted headboard, layered with a rust fringed pillow and a brown ribbed one. The mix of textures makes the bed feel rich without adding clutter. Copy that idea by pairing your crochet cover with something smooth and something fringed.
On a sofa, place it in a corner with a plain linen cushion beside it. The chunky texture then stands out instead of competing. On a neutral grey couch, a single golden cushion is enough to warm the entire seating area.
Try it in a reading nook with a soft throw draped nearby, or in a child’s room where the plush surface invites cuddling. Choose a colour that picks up one tone already in the room, and the cushion will feel like it always belonged there.
Tips for a Neat Finish
Seaming decides whether the cushion looks handmade or homemade. Use the same yarn and a yarn needle, and sew with the right sides facing out or in, depending on the look you want. If the seam looks bulky, split the yarn and sew with a thinner strand so the join stays flat.
If the corners curl or look rounded, tug them gently into shape and sew through the corner stitch twice for a firmer point. If the cover looks loose around the insert, a firmer, larger insert will fill it out. If the cover feels too tight to zip or slide on, you may have started with too few stitches, so check your width against the insert before sewing it shut.
Weave in the ends carefully. Fuzzy yarn hides tails well, but they can pop out with use. Run each end back through several stitches in two directions, then trim close. A quick steam over a pressing cloth can relax the fabric, though test a small patch first because some synthetic yarns do not like heat.
Caring for Your Cushion
Check the yarn label before washing. Most chenille-style synthetics tolerate a gentle machine cycle in a mesh bag, which prevents snagging on the bumpy surface. Remove the insert first, since it will not dry properly inside the cover.
Air dry flat when possible. Heat can flatten the pile and dull the colour, and hanging a wet cover stretches the stitches. Once dry, a gentle shake and a pat restores the plump texture.
For everyday upkeep, use a lint roller or a soft brush to lift dust. Keep the cushion away from rough fabrics and pets with sharp claws, since loops of bulky yarn can snag. If a loop pulls out, push it back through to the inside with a hook rather than cutting it.
A Cosy Handmade Accent
This crochet throw pillow is a small project with a big return. The plush mustard texture adds warmth to any bed or sofa, and the simple square shape keeps the work calm and approachable.
Four things decide how it turns out: a soft bulky yarn, even tension, the right hook position for the textured stitch, and a snug insert. Get those right and the cover looks polished.
Soft, golden and ready to hug.
Video tutorial by CJ Design. Watch the full crochet throw pillow tutorial on her YouTube channel.
Video Tutorial
Watch the full step-by-step video below and pause at each stitch to match your hand position.
Follow us on Pinterest and subscribe to the Newsletter so you don’t miss a thing!
Tutorial and photos of this throw pillow by: CJ Design.