
A crochet zig zag tote bag turns two colours and one clever V-shaped stitch into a roomy, sturdy carryall that looks far more complicated to make than it really is.
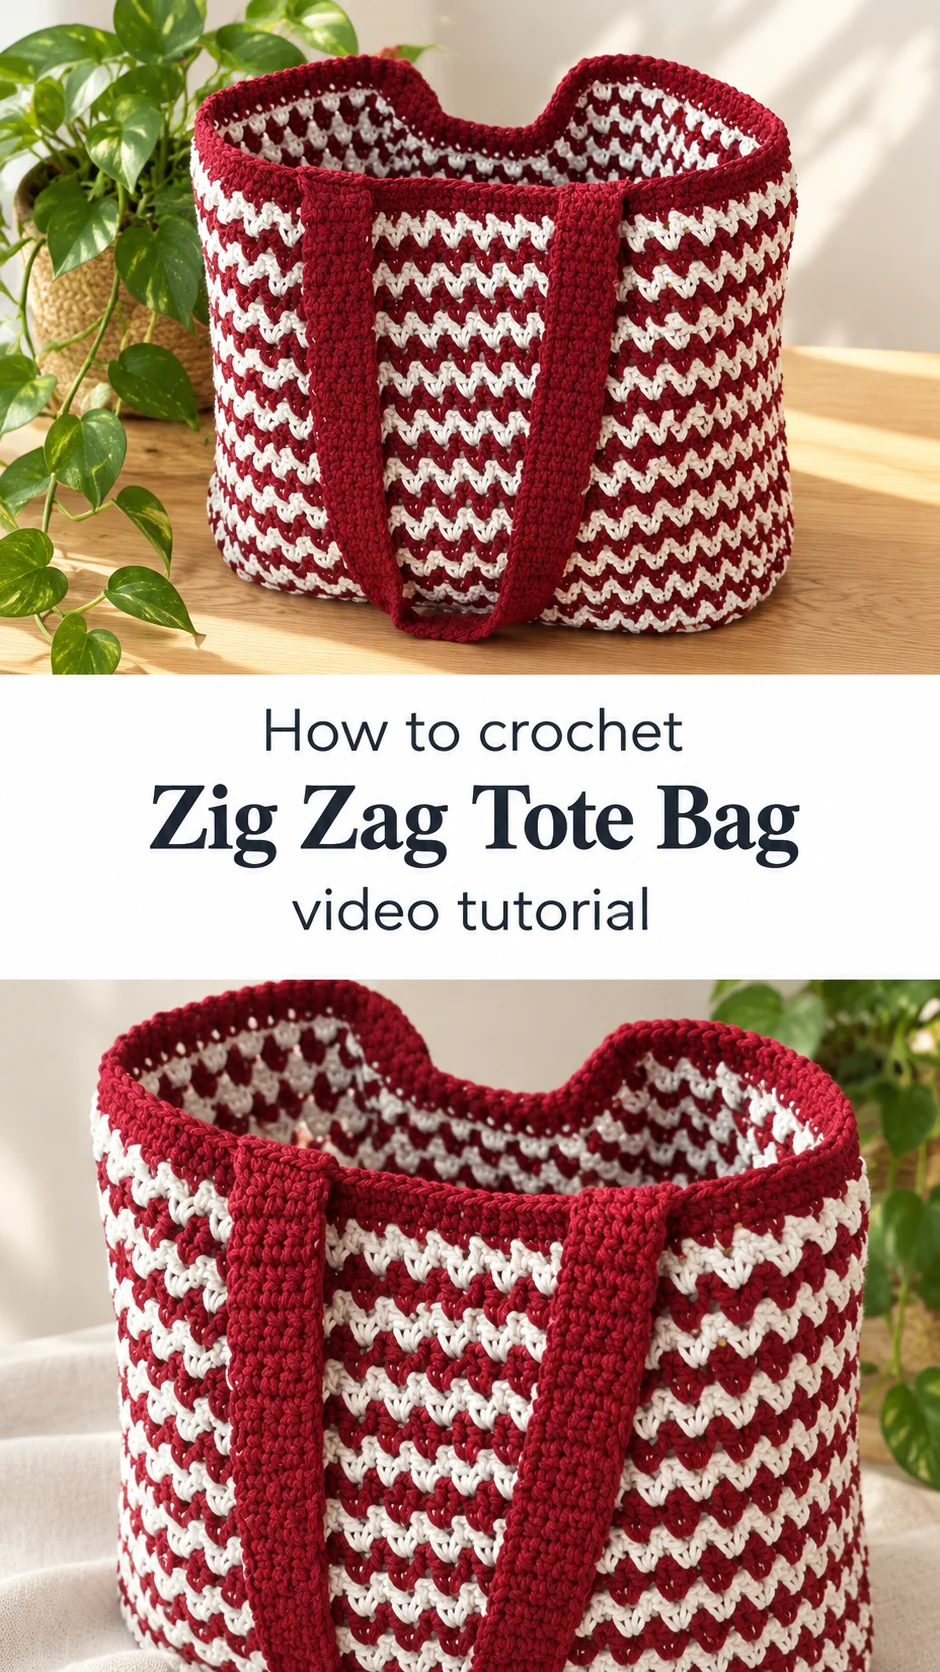
The Crochet Zig Zag Tote Bag
The crochet zig zag tote bag is a wide, boxy shoulder bag worked in deep cranberry red and soft off-white. Its stripes are not flat bands. Each round of V-shaped stitches creates a small pointed wave, so the whole body ripples with rows of tiny zigzags. The red rim and the two flat red handles frame the pattern and give the bag a clean, finished look. The shape is generous but tidy, with a base that holds its form and sides that stay upright even when the bag sits empty. The fabric is dense enough to carry real weight and open enough to stay light. It suits market trips, library runs, beach days and ordinary errands. Few crochet bags look this polished while staying this practical.
The red and cream palette feels a little nautical and a little festive, and it hides wear well. Because the stitch repeats are simple, the bag also works as a first step toward colour-changing projects. It makes a thoughtful gift too, since almost everyone can use a bag that goes anywhere. Quick to read, satisfying to build.
Tote Bag Related Posts:
- Crochet 3D Leaf Scarf: A Soft and Timeless Wrap
- Crochet Drawstring Crossbody Bag: A Charming Daily Companion
- Crochet Argyle Blanket: A Timeless Handmade Treasure
- Crochet Polka Dot Tote: A Vibrant Everyday Bag
Materials
For a crochet zig zag tote bag, choose a smooth, firm cotton yarn in two colours, such as cranberry red and off-white, with the red in a larger quantity because it also forms the base, rim and handles. Cotton matters here: it has no stretch, so the bag will not sag under a load, and it shows the V-stitch definition crisply. A hook slightly smaller than the label suggests, often somewhere around 3.5 to 4 mm for a worsted-weight cotton, gives a tighter fabric that stands up on its own. You will also need a yarn needle for weaving in ends, stitch markers to mark the start of each round, and sharp scissors. A fabric lining is optional. If you add one, thread and a sewing needle are all you need, and it will keep small items from poking through the gaps in the stitches.
Understanding the Structure
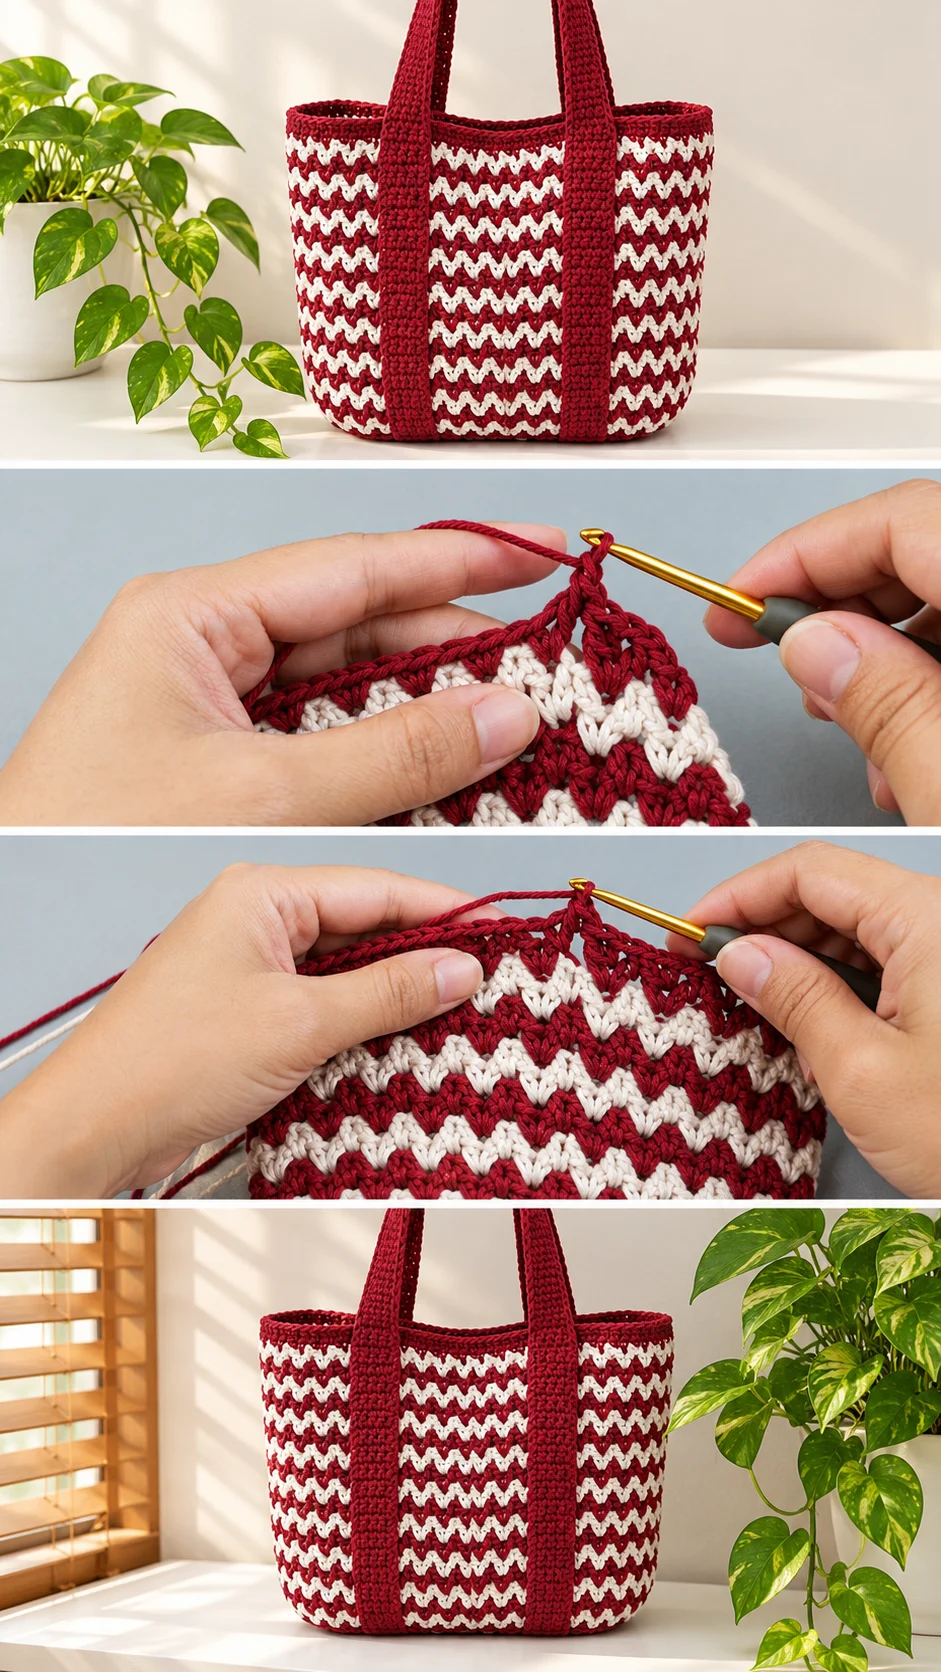
This bag is built in a few clear parts: a firm base, a tall body worked upward, a plain rim, and two separate handles. The body appears to be worked in rounds, which means there are no side seams to sew and no panels to match. That is a real advantage for a tote, because seams are the weak spot on bags that carry weight.
The base looks like a rounded rectangle with a dense, solid fabric. Its job is to give the bag a flat bottom so it can stand upright. From that base the sides rise straight up, and the shape stays boxy rather than tapering. Watch the early rounds in the video to see how the corners are shaped, since this is where the bag decides whether it will sit square or slouch.
The rim is worked in solid red and is more compact than the patterned body. It acts like a frame, stopping the top edge from stretching and giving the handles something solid to anchor into. Expect the pattern section to take up most of your time, while the base and rim go by quickly.
The V-Stitch Zigzag Pattern
The signature of this tote is its stitch. Each V is a pair of double crochets with a single chain between them, worked into the space of the round below. Stacking these Vs, with the second colour offset, produces the little pointed waves that read as zigzag stripes. The tutorial shows the key move in the third row: skip one stitch, then work a double crochet, a chain and a double crochet together into the next. Pause and replay that moment until your hands know it.
Alternating colours in each round is what makes the pattern pop. The red rounds sit slightly lower in the fabric and the cream rounds sit slightly higher, so the eye sees a staggered, wavy line. Keep the colour you are not using carried neatly rather than cut, if the video does so, because fewer ends means less weaving later.
The most common mistake is losing track of where a round begins, which makes the Vs drift out of alignment. A stitch marker at the start of every round solves this. If your waves look lopsided or the fabric slants, count the stitch spaces in the previous round before continuing, and pull back a row early rather than late.
Handles and Rim
The handles are flat, solid red straps, worked in a dense stitch so they feel sturdy against the shoulder. They are narrow enough to look elegant but long enough to slip over a coat sleeve. Because a loaded tote pulls hardest at the handle joins, these straps need to be attached with care.
Sew or crochet each handle end to the inside of the rim, overlapping a few rows rather than just touching the top edge. Go through several stitches and loop the yarn back over itself a couple of times. If a handle feels loose after attaching, add a second line of stitching rather than hoping it will settle.
Handle length is a personal choice. A shorter strap sits snugly under the arm, while a longer one hangs comfortably over the shoulder. Make both handles the same length by laying them side by side before you sew. Uneven straps tilt the whole bag, and that is hard to ignore once it is carried.
Keeping Handles From Stretching
Cotton handles can lengthen with heavy use. Work them in a tight stitch, and consider stitching a strip of ribbon or cotton tape along the back for extra support. This is a small step that keeps the bag looking new for much longer.
Choosing Yarn and Colours
Mercerised cotton gives a subtle sheen and the sharpest stitch definition, which suits the zigzag texture. Plain cotton gives a softer, matte finish that feels more casual. A cotton blend with a little acrylic can be lighter, but it may stretch over time, so avoid anything very soft or fuzzy, since it hides the V shapes and slumps under weight.
Cranberry and off-white is the classic pairing, but the pattern works with any strong contrast. Navy with cream looks crisp and maritime. Forest green with oatmeal feels earthy. Mustard with charcoal is bolder. Keep one shade dark and one light so the waves remain visible from a distance.
If your colours are close in tone, the zigzag will blur and the bag will look flat. Test a small swatch of three or four rounds before committing to the full bag. It costs little yarn and tells you at once whether the pairing sings.
How to Style a Crochet Zig Zag Tote Bag
The red and cream stripes look best against simple backgrounds. Pair the bag with a plain white tee and blue jeans for a relaxed weekend look, or carry it over a striped Breton top if you enjoy a little pattern mixing. The deep red picks up well against denim.
For warmer days, it works as a beach or picnic bag with linen shorts and sandals. The open texture lets sand shake out and the sturdy handles hold a towel, a book and a bottle of water without strain. It is also roomy enough for a laptop or a few groceries.
In autumn, the cranberry shade pairs naturally with camel coats and cream knitwear. A tote like this makes a handmade change from leather and canvas, and it gets noticed without being loud. As a gift, fill it with seasonal treats for an instant, thoughtful present.
Tips for a Neat Finish
Weave in ends along the colour they match, going back and forth through several stitches so nothing works loose when the bag is stuffed. Trim only after you have tugged the woven tail to test it. Loose ends inside a tote catch on keys and zips.
If the finished body feels floppy, you can stiffen the base by adding a piece of plastic canvas or a cut-to-fit board inside, covered with fabric. If the sides ripple instead of lying flat, your tension is probably too loose in the pattern rounds, and a lighter grip or smaller hook on the next bag will fix it.
Block gently by misting the bag and shaping it with your hands, then let it dry over a box or stuffed with towels. This evens out the Vs and straightens the rim. For washing, use a cool gentle cycle in a mesh bag, reshape while damp and dry flat, because high heat can shrink cotton and distort the handles.
Following the Tutorial
Watch the video through once before picking up your hook, paying attention to how the base corners are formed and how the first colour change happens. Then work alongside it, pausing at each new section. The V-stitch close-ups are worth replaying several times, because the position of the hook and the way the chain sits between the double crochets is easier to see than to describe.
Work in a calm, well-lit spot, since the pattern rewards steady counting. The rim and handles go quickly after the body, so expect the long middle stretch to be the real commitment. Take it round by round and the stripes will build before you know it.
A Handmade Everyday Treasure
The crochet zig zag tote bag is a spacious, sturdy carryall with a texture that rewards close looking. Its red and cream waves feel fresh yet familiar, and the shape holds up to daily use.
Three things decide how it turns out: a firm cotton yarn, a slightly small hook for a tight fabric, and handles attached with real strength. Add strong colour contrast and careful tension, and the zigzag will stay crisp for years.
Simple stitches, beautiful result.
Video tutorial for the crochet zig zag tote bag by the original creator, linked below.
VIDEO
Follow us on Pinterest and subscribe to the Newsletter so you don’t miss a thing!
Tutorial and photos of this zig zag tote bag by: ViVi Berry Crochet.