
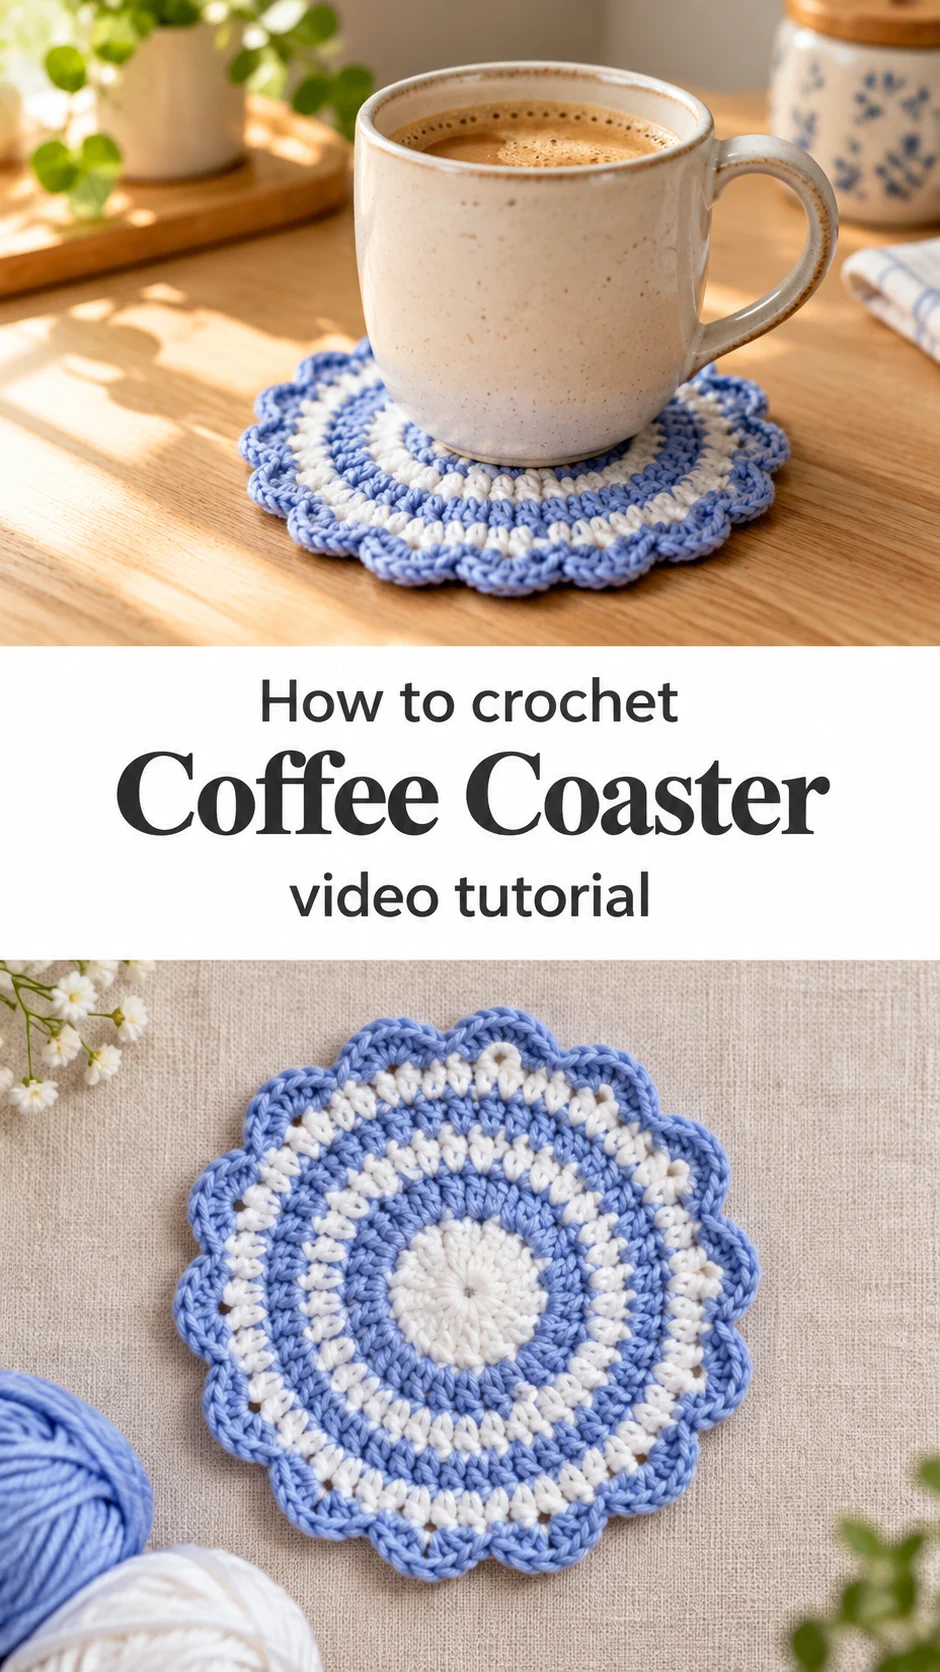
A crochet coffee coaster in soft periwinkle and white rings turns a small circle of yarn into the quiet star of your table, and it is quick enough to finish in an evening.
The Crochet Coffee Coaster
This crochet coffee coaster is a flat round worked from a tiny white centre outward in alternating bands of periwinkle blue and white. Each ring is a single round of dense stitches, so the colour changes stay crisp and the fabric stays firm. The real signature is the edge. Instead of ending with a plain round, the border is made of slanted, rope-like ridges that lean in one direction and make the whole disc look like a little spinning pinwheel. Blue and white alternate along that rim as well, which echoes the stripes inside. The result looks far more complicated than it is. It sits well beside a coffee cup on a wooden table, under a small plant pot, or on a tray next to a teapot. Two of them side by side make a pair that looks bought rather than made.
Small projects like this are good for practising colour changes and even tension without committing to a big piece. A set of four or six also makes a thoughtful gift for a housewarming, a new couple or a coffee-loving friend. Tie them with a ribbon and a spoon. Done.
Coffee Coaster Related Posts:
- Crochet Mini Bunny Plushie: A Sweet and Charming Keepsake
- Crochet Patterned Tote Bag: A Charming Everyday Carry
- Crochet Ankle Socks: A Cozy Handmade Essential
- Crochet Flower Granny Square: A Charming Floral Classic
Materials
For a crochet coffee coaster like this one you need two colours of smooth, tightly plied yarn, a periwinkle blue and a clean white, plus a small crochet hook with a comfortable grip and a tapestry needle for the ends. The yarn in the pattern looks like a mercerised cotton or a cotton-acrylic blend, with a slight sheen and very clear stitch definition. Cotton is the sensible choice because it absorbs a little condensation from a cold glass and tolerates hot water, while a fuzzy wool would felt and hold stains. Pick a hook half a size smaller than the yarn label suggests. The coaster in the photos is dense, with no gaps between stitches, and a tighter hook keeps the fabric stiff enough to lie flat under a mug. Scissors and a stitch marker, which helps you find the start of each round, finish the kit.
Choosing the Best Yarn for Coasters
The stripes in this piece only look sharp because the yarn is smooth. Mercerised cotton gives the clearest rings and the most pleasing sheen, and it handles repeated washing without pilling. A cotton-acrylic mix is slightly softer and a little more forgiving to work with, though it can feel less absorbent.
Avoid chunky or fluffy yarn. It blurs the line between colours and makes the slanted edge look lumpy rather than rope-like. A thick yarn also produces a coaster that rocks under a cup instead of sitting flat.
Contrast matters more than the exact shade. The periwinkle and white pairing works because the two values are far apart, so each ring reads clearly. If you choose two colours of similar depth, such as sage and cream, the pinwheel edge will look softer and the pattern will almost disappear.
Understanding the Stripe Structure
The coaster is worked in the round from a centre ring, so it grows outward like a target. The white heart at the middle is small and slightly puffy, then a periwinkle ring surrounds it, then white, and so on until the disc reaches its full size.
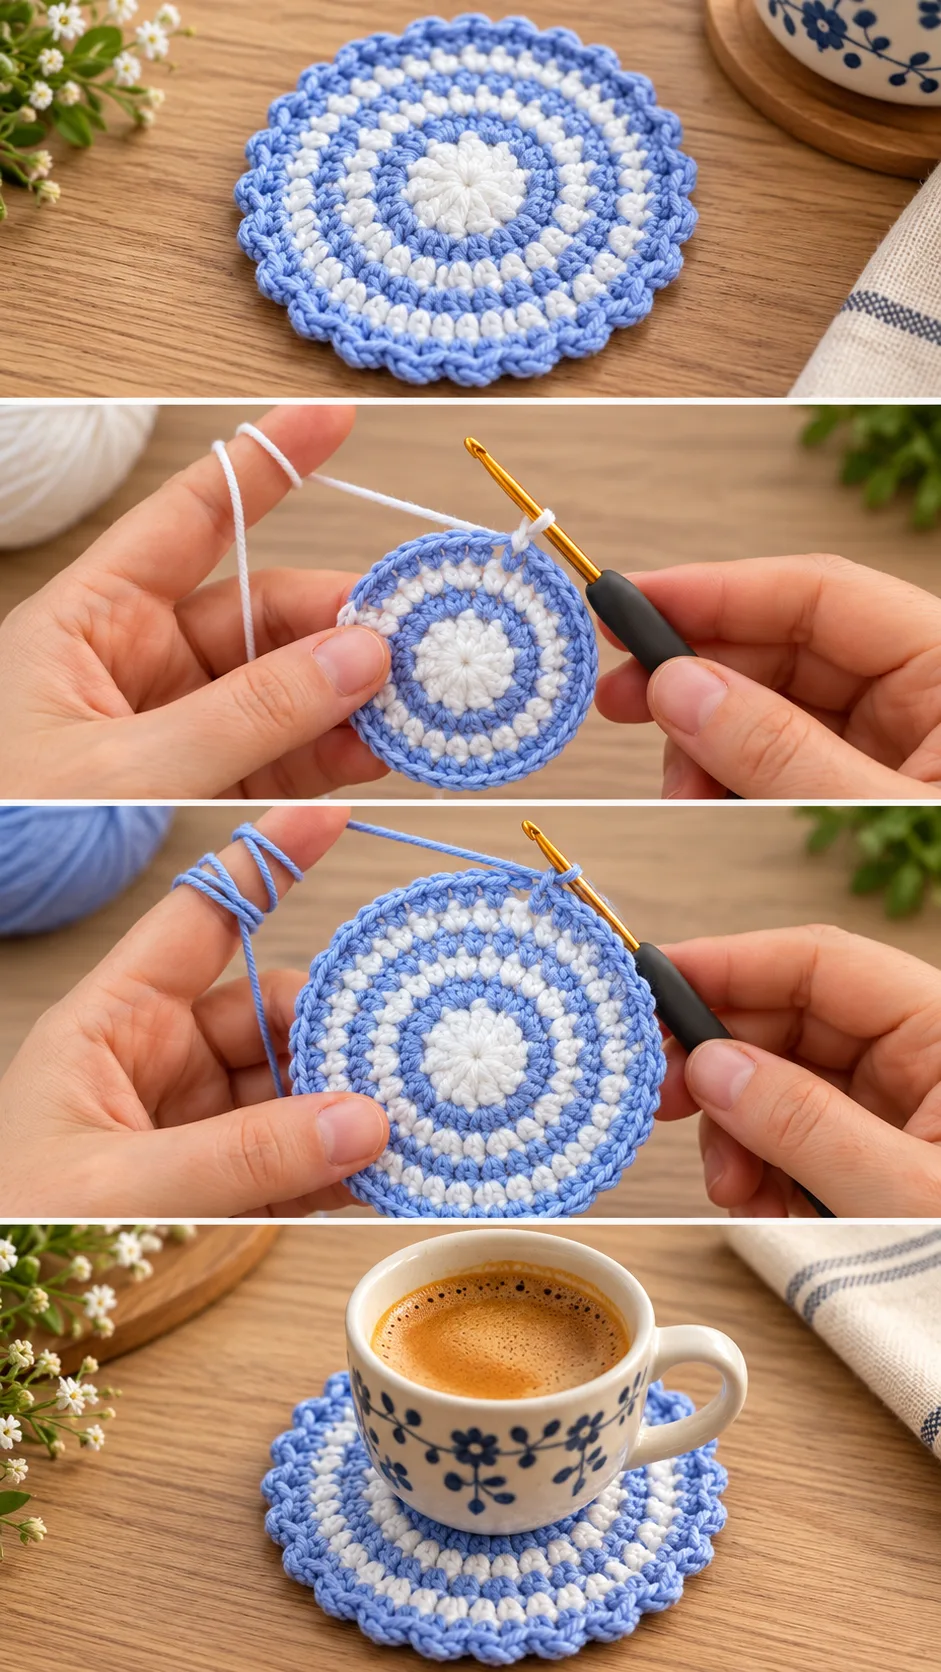
Each colour change happens at the end of a round. You drop one yarn, pick up the other, and carry on. Because the rings are narrow, the unused colour does not need to be cut every time. You can leave it resting at the back and pick it up again when its turn comes.
The photos show a loop of the resting colour left standing at the edge of the work while the other is in use. That is a normal part of the process. Keep the strand loose enough that the fabric does not pucker, but not so slack that it snags on a fingernail.
Flat circles need regular increases to stay flat. If your coaster starts to cup like a bowl, you have too few stitches in the round. If it ripples like a ruffle, you have too many. Count at the end of every round, and rip back a round rather than hoping it will settle.
The Slanted Edge: The Detail That Makes It
The rim is the reason this coaster stands out. Rather than finishing with a smooth final round, the border is built from short ridged stitches that lean to one side, with every ridge changing colour from blue to white around the circumference. Seen from above, they look like the blades of a small fan or the teeth of a gear.
The video shows this edge being made with the work turned so you can see the back loops. Pause where the white loops are lifted away from the body of the coaster, because that is where the lean is created. Replay that section until your hands feel the rhythm, since it is easier to learn by watching the angle than by reading about it.
The common mistake is pulling the edge stitches too tight. A tight rim makes the coaster curl upward and the ridges lose their definition. If that happens, go up one hook size for the final round only, or loosen your grip on the working yarn.
Keep the lean consistent all the way around. If one section tilts the other way, the pinwheel effect breaks. Place a marker at the start of the round and check after every handful of ridges that they all slant in the same direction.
Keeping the Colour Changes Tidy
Alternating blue and white on the rim means many tiny changes, so the way you switch matters. Bring the new colour through on the last pull of the previous stitch rather than starting it fresh. That keeps the stripe edge clean without a jagged step.
Do not carry the unused strand behind the ridges, because it will show through white yarn as a grey shadow. Instead, let each strand rest at the back of the piece and leave generous tails at the end to weave in along the stripes.
How to Style a Crochet Coffee Coaster
In the photos, the coasters are shown as a pair with the blue and white rings facing up, which is the simplest way to display them. Set one at each end of a coffee table, and the repeating circles give the surface a calm rhythm.
For a country kitchen, stack three beside the kettle with the pinwheel edges slightly offset so the ridges show. On a bedside table, one coaster under a glass of water protects the wood and adds a soft touch of colour. Under a small potted succulent, it doubles as a tiny mat that catches drips.
Colour changes the mood completely. Periwinkle and white feels fresh and slightly nautical. Terracotta and cream would suit a warm autumn table, while two shades of green would sit well among houseplants. Pick your palette from the room it will live in.
Tips for a Flat, Even Coaster
If the disc curls upward, the rounds are too tight or an increase was missed. Undo back to the last round that lay flat and work it again with a slightly looser hand. If the edge ripples, you added too many stitches, so remove them in the next round.
Weave in the ends along the stripes of the same colour, not across the contrast. A blue tail hidden inside a white ring will show as a dark line through the cotton. Work each end for about an inch in one direction, then back a little, so it stays put after washing.
Press the finished coaster flat with a damp cloth and let it dry under a book. Blocking is rarely needed for something this dense, but a short rest under weight evens out the slanted rim and helps the ridges sit crisply.
Caring for Your Coasters
Cotton coasters can go in a gentle machine cycle inside a mesh bag, or be hand washed in lukewarm water. The mesh bag protects the raised ridges from snagging. Dry them flat, since hanging a wet coaster stretches the stitches and distorts the circle.
Wash light colours separately for the first time. A deep periwinkle can release a little dye, and a faint blue tint on the white rings is hard to reverse. If a coffee ring appears, treat it quickly with a drop of mild soap and cool water before it sets.
A Handmade Cup Companion
This crochet coffee coaster is a small, tidy project built from concentric stripes and a spiralling edge. Four things decide whether it turns out well: smooth cotton yarn, a slightly tight hook, steady increases that keep the disc flat, and a loose enough hand on the final ridged round.
Make one to learn the edge, then make a set. The second always goes faster.
Video tutorial by Knitting Love on YouTube, a clear walkthrough for making this crochet coffee coaster.
VIDEO
Follow us on Pinterest and subscribe to the Newsletter so you don’t miss a thing!
Tutorial and photos of this coffee coaster by: Knitting Love 💗.