
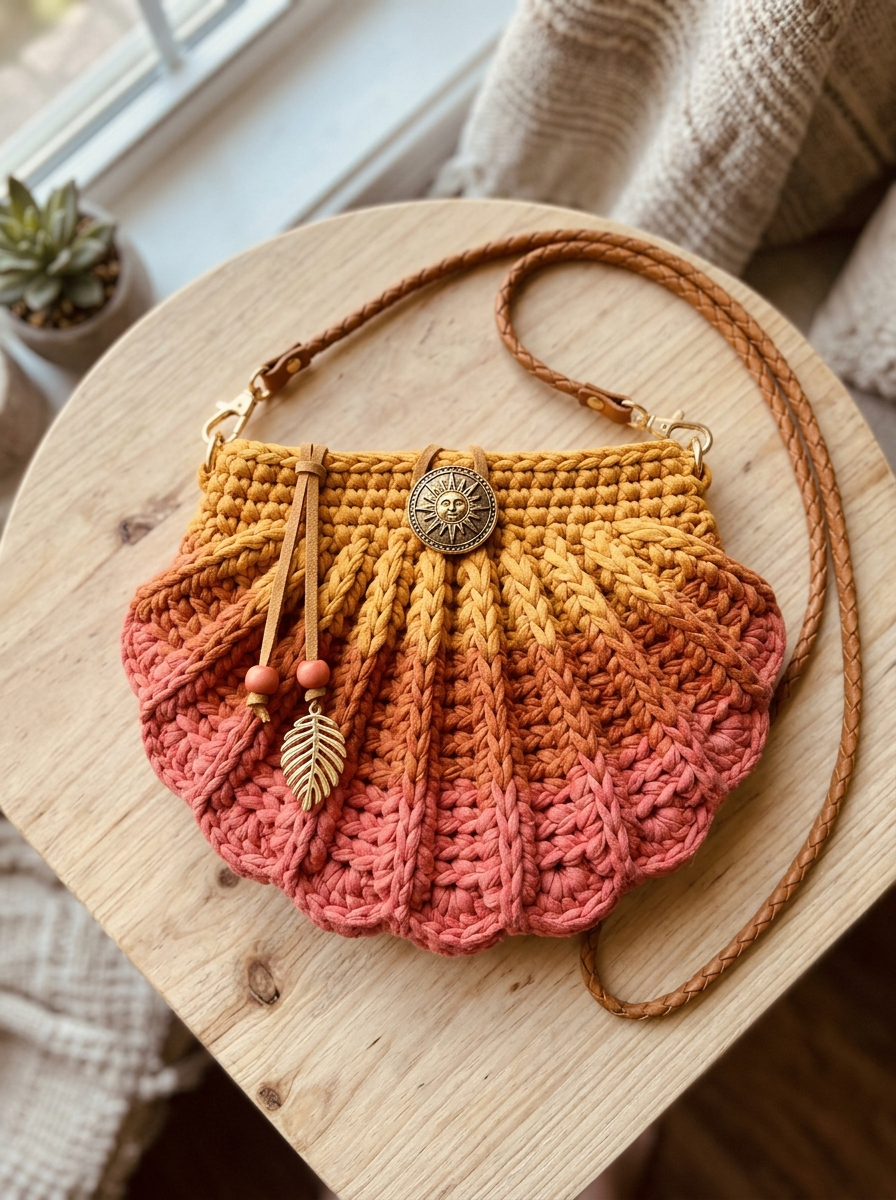
This gorgeous sunset ombre seashell clutch is one of those projects that looks incredibly impressive but is honestly so much more achievable than you might think. I designed this crochet pattern after becoming obsessed with the sculptural beauty of scallop shells combined with those warm gradient sunsets we all love. The raised ridges, the gentle curve at the bottom, the way the colors melt from dusty rose through burnt orange into mustard gold. It is a statement piece, and you can absolutely make it.
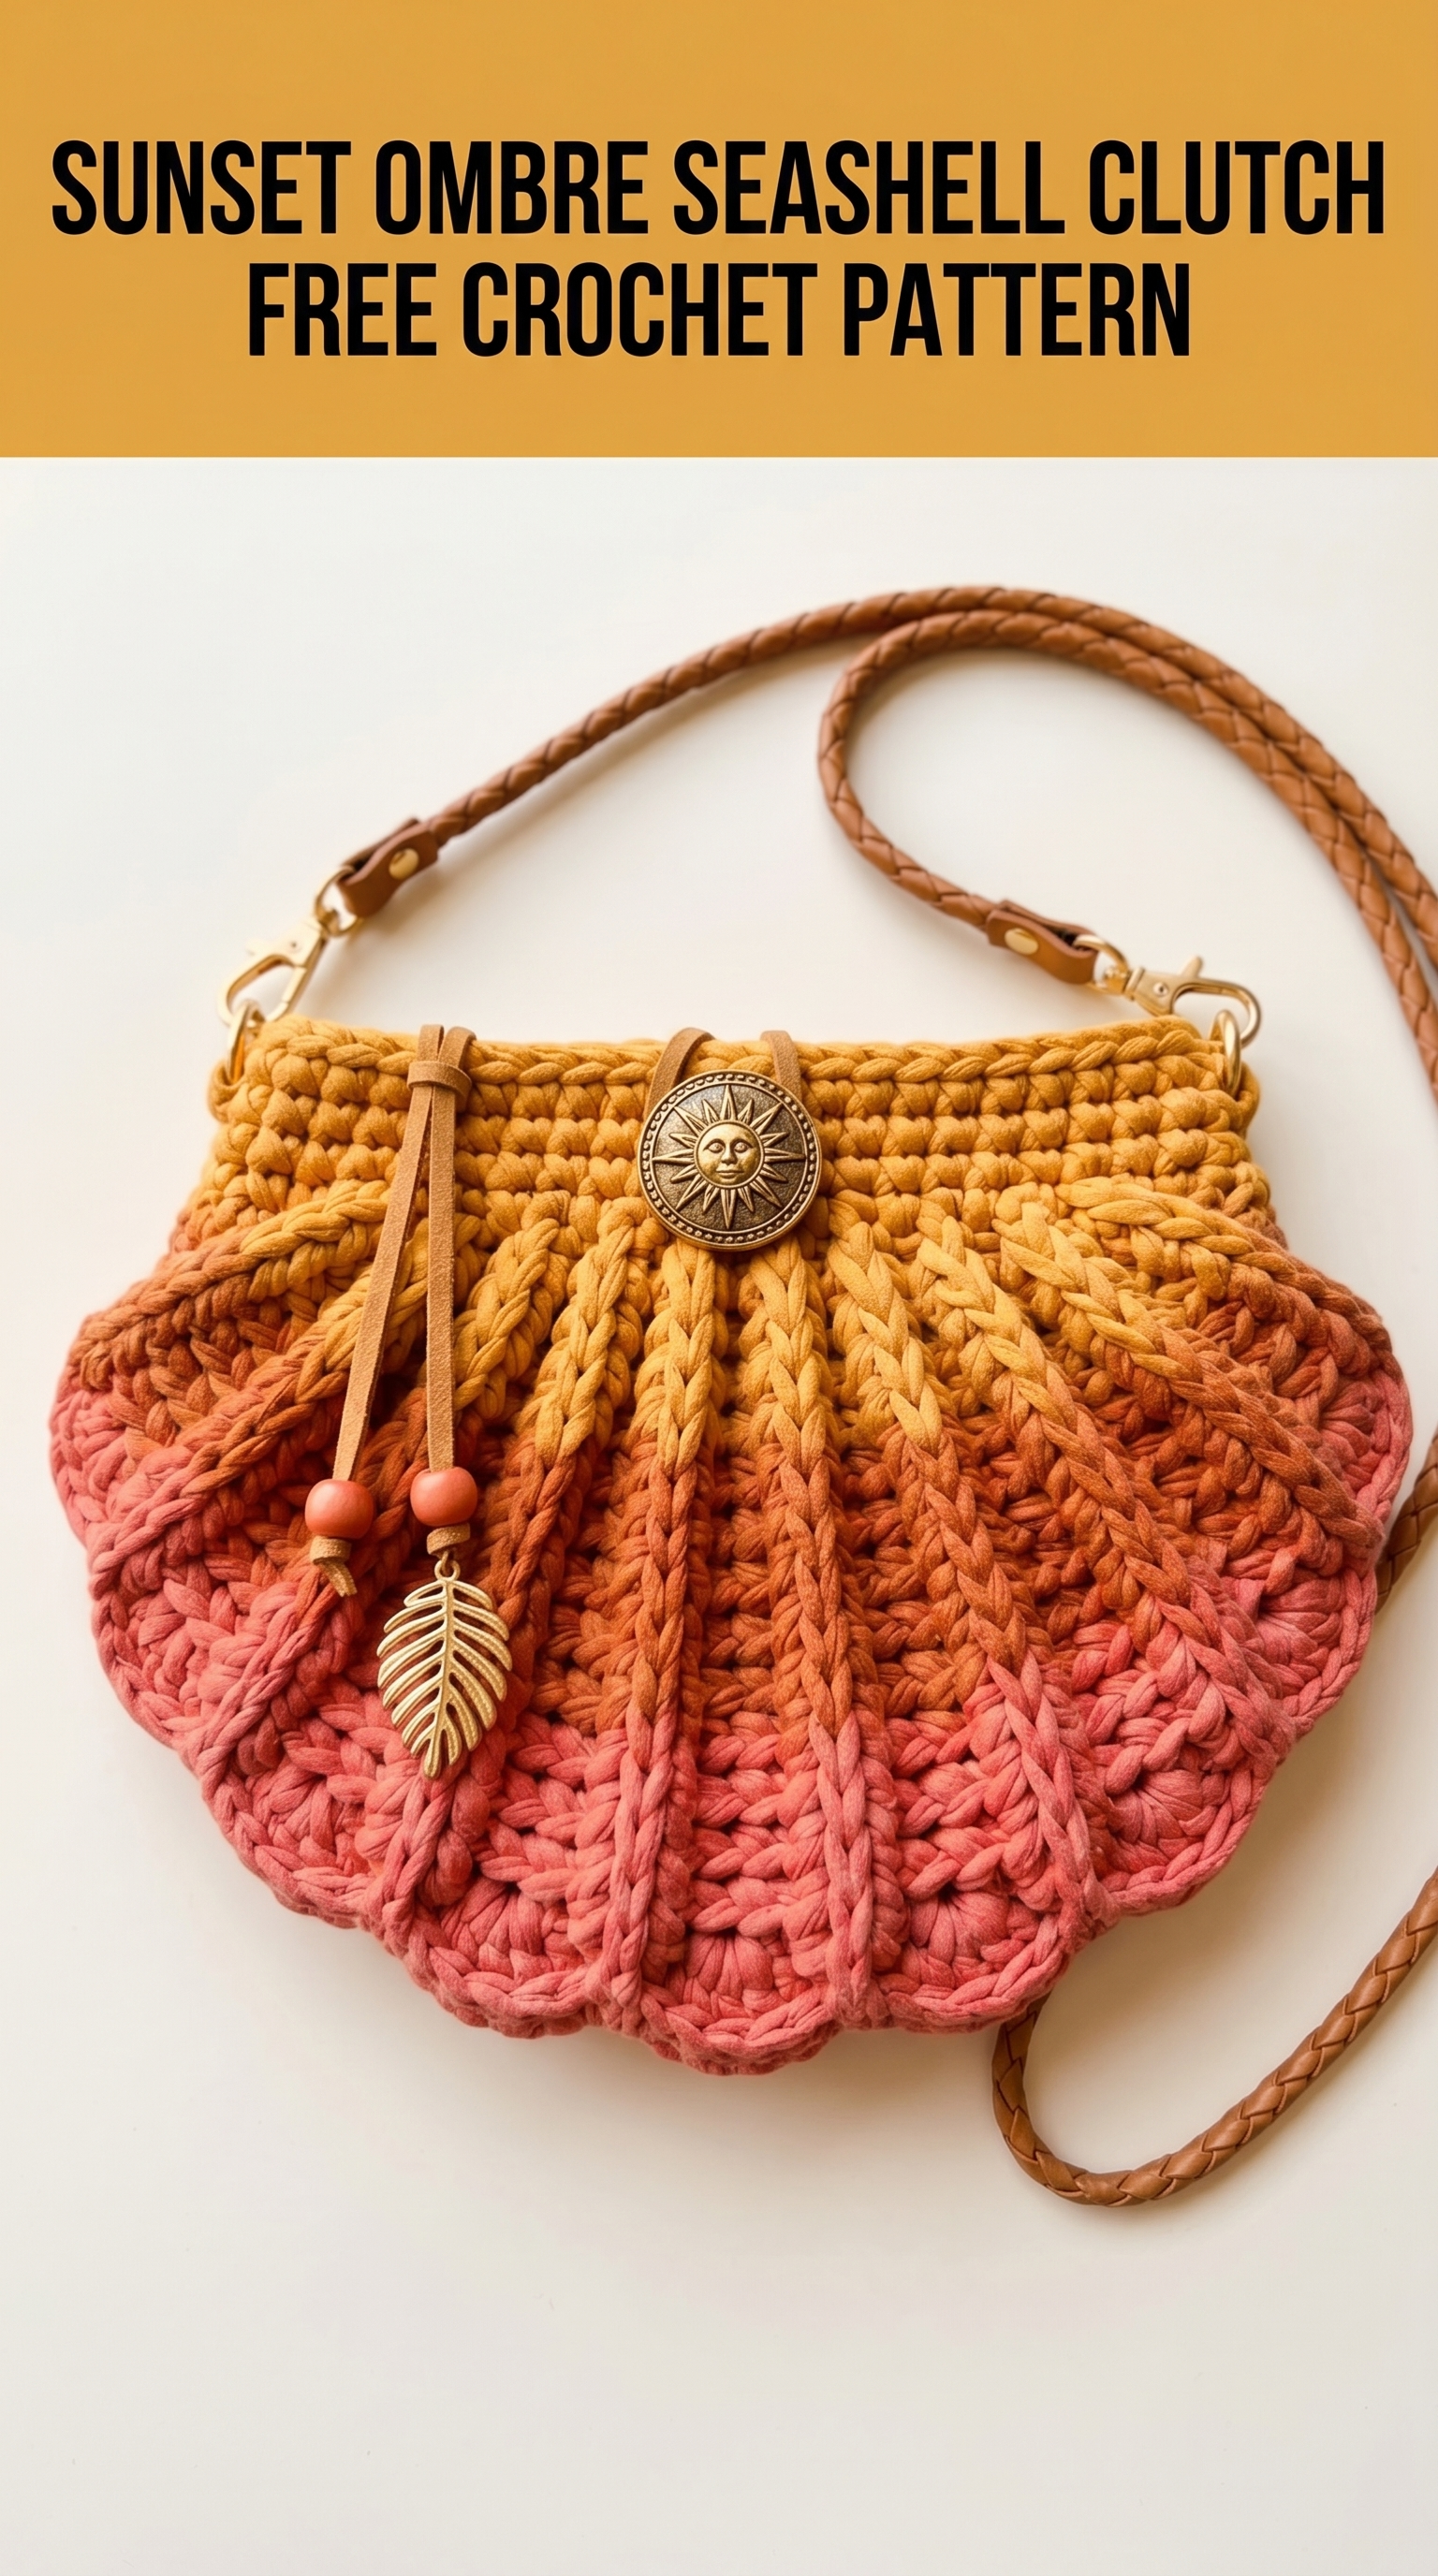
If you can crochet in rows and rounds and you know your basic stitches, you have everything you need. This crochet tutorial walks you through every single step from the first chain to attaching the hardware. I will be right here with you.
Why This Seashell Clutch Pattern Works So Well
The seashell shape is not just pretty. It is functional. That curved bottom creates a natural pouch that holds more than a flat clutch would. The vertical raised ridges add structure and texture without making the bag stiff or uncomfortable. And the ombre effect? It happens almost automatically when you use the right yarn or switch colors at strategic points.
This crochet pattern uses T-shirt yarn (also called trapillo or zpagetti yarn), which is a chunky recycled cotton jersey. It works up fast, creates a sturdy fabric perfect for bags, and gives you that slightly rustic bohemian vibe. The thickness also means you will finish this project in just a few evenings.
One more thing before we dive into the step by step instructions. This bag uses mostly single crochet and front post double crochet stitches. If front post stitches are new to you, do not worry. I will explain exactly how they work and why they create those beautiful raised lines.
Materials You Will Need
Gathering your supplies before you start makes the whole process smoother. Here is everything for this crochet clutch pattern:
Yarn:
Hook:
Notions:
Finished Dimensions:
Skill Level and Techniques
Skill Level: Confident Beginner to Intermediate
You should be comfortable with:
Techniques You Will Learn:
Abbreviations and Stitch Definitions
Let me define every stitch before we begin. Refer back to this section anytime you need a refresher.
ch = chain: Yarn over, pull through the loop on your hook. This creates your foundation.
sl st = slip stitch: Insert hook, yarn over, pull through both the stitch and the loop on your hook in one motion. Used for joining rounds.
sc = single crochet: Insert hook into stitch, yarn over and pull up a loop (2 loops on hook), yarn over and pull through both loops.
dc = double crochet: Yarn over, insert hook into stitch, yarn over and pull up a loop (3 loops on hook), yarn over and pull through 2 loops, yarn over and pull through remaining 2 loops.
fpdc = front post double crochet: Yarn over, insert your hook from front to back to front around the post (the vertical part) of the stitch below, complete as a regular double crochet. This pushes the stitch forward, creating a raised ridge.
sc2tog = single crochet two together (decrease): Insert hook into first stitch, pull up a loop, insert hook into next stitch, pull up a loop (3 loops on hook), yarn over and pull through all 3 loops. This turns two stitches into one.
inc = increase: Work 2 stitches into the same stitch.
Gauge
With T-shirt yarn and 8mm hook:
Gauge is forgiving with bags, but do check yours if your clutch is turning out much larger or smaller than expected.
Step by Step Crochet Pattern for the Seashell Clutch
This clutch is worked in two identical panels that are then joined together. Each panel starts at the curved bottom edge and works upward toward the top opening.
Panel One (Make Two)
Starting with Dusty Rose (Color A)
Foundation Row:
Ch 6.
Row 1: Sc in 2nd ch from hook and in each ch across. Turn. (5 sts)
Row 2: Ch 1, 2 sc in first st (increase made), sc in next 3 sts, 2 sc in last st. Turn. (7 sts)
Row 3: Ch 1, 2 sc in first st, sc in next 5 sts, 2 sc in last st. Turn. (9 sts)
Row 4: Ch 1, 2 sc in first st, sc in next 7 sts, 2 sc in last st. Turn. (11 sts)
Row 5: Ch 1, 2 sc in first st, sc in next 9 sts, 2 sc in last st. Turn. (13 sts)
Row 6: Ch 1, 2 sc in first st, sc in next 11 sts, 2 sc in last st. Turn. (15 sts)
Row 7: Ch 1, 2 sc in first st, sc in next 13 sts, 2 sc in last st. Turn. (17 sts)
You should now have a gentle curved triangle shape forming. This is the scalloped bottom curve of your shell.
Row 8: Ch 1, 2 sc in first st, sc in next 15 sts, 2 sc in last st. Turn. (19 sts)
Row 9 (Ridge Setup Row): Ch 1, sc in first st, *dc in next st, sc in next st* repeat from * to * across. Turn. (19 sts: alternating sc and dc)
This row sets up the posts that you will work around to create the raised ridges.
Change to Burnt Orange (Color B) at the end of Row 9. To change colors cleanly, complete your last stitch until you have the final yarn over remaining, then yarn over with the new color and pull through. Snip your old color leaving a 4 inch tail to weave in later.
Row 10 (First Ridge Row): Ch 1, sc in first sc, *fpdc around the dc from the row below, sc in next sc* repeat from * to * across. Turn. (19 sts)
This is where the magic happens. The front post double crochet wraps around the tall stitch from the previous row and pulls it forward, creating that beautiful raised vertical line.
Row 11: Ch 1, sc in first st, *dc in next st (the fpdc from below), sc in next st* repeat across. Turn. (19 sts)
Row 12: Repeat Row 10. (19 sts)
Row 13: Repeat Row 11. (19 sts)
Change to Mustard Gold (Color C) at the end of Row 13.
Row 14: Repeat Row 10. (19 sts)
Row 15: Repeat Row 11. (19 sts)
Row 16: Repeat Row 10. (19 sts)
Row 17: Repeat Row 11. (19 sts)
Row 18 (Top Edge): Ch 1, sc in each st across. (19 sts)
Fasten off and weave in ends.
Make a second panel identical to the first.
Joining the Panels
Place both panels together with wrong sides facing (so the raised ridges are on the outside). Using mustard gold yarn and your hook, join with slip stitches or single crochet through both layers along the curved bottom edge and up both sides, stopping about 1 inch from the top on each side.
Leave the top open for your bag opening.
If you prefer an invisible seam, you can use a tapestry needle and whip stitch the panels together instead. I find the crocheted join adds a nice finished edge, but either method works beautifully.
Top Band
With the bag joined and mustard gold still attached:
Round 1: Ch 1, sc evenly around the entire top opening, working approximately 38 to 42 sts total (19 to 21 across each side of the opening). Join with sl st to first sc. (approx 40 sts)
Round 2: Ch 1, sc in each st around. Join. (40 sts)
Round 3: Ch 1, sc in each st around. Join. (40 sts)
Fasten off. Weave in ends.
This creates a clean, slightly sturdier edge at the top of your clutch.
Attaching Hardware
On each side seam at the top corners, you will attach your D-rings or swivel clips. Here is how:
Cut two small rectangles of leather or use ribbon (approximately 1 inch by 3 inches). Fold each piece through the hardware ring, then stitch or glue securely to the inside of the bag at the side seams.
Alternatively, crochet two small tabs: Ch 8, sl st to join into a loop, sc 12 sts around the loop, fasten off. Thread through your hardware and stitch to the bag.
Clip your braided leather strap to the hardware and you are ready to wear it crossbody.
Adding the Decorative Button Closure
Center your sun medallion or decorative button on the front panel, about 1 inch down from the top edge. Using a needle and thread or yarn, stitch securely in place.
Cut two pieces of leather cord approximately 6 inches each. Fold them in half and attach to the back panel at the top edge, centered above the button. Thread beads and charms onto the cord ends if desired, then knot to secure.
To close the bag, wrap the leather cords around the button in a figure eight pattern.
Finishing Your Sunset Ombre Seashell Clutch
Before you call this crochet project complete, take a few minutes to tidy everything up:
Customization Ideas
One of my favorite things about this seashell clutch crochet pattern is how easy it is to make it your own:
Troubleshooting Common Questions
My ridges are not popping forward. Make sure you are inserting your hook around the post (the vertical bar) of the stitch, not into the top of the stitch. The hook should go from front to back to front again.
My panels are different sizes. T-shirt yarn tension can vary. Measure as you go and try to keep your stitches consistent. Blocking can help even things out.
The ombre looks choppy. Carry both colors for one row at the color change point, alternating stitches, to create a softer blend.
Wrapping Up
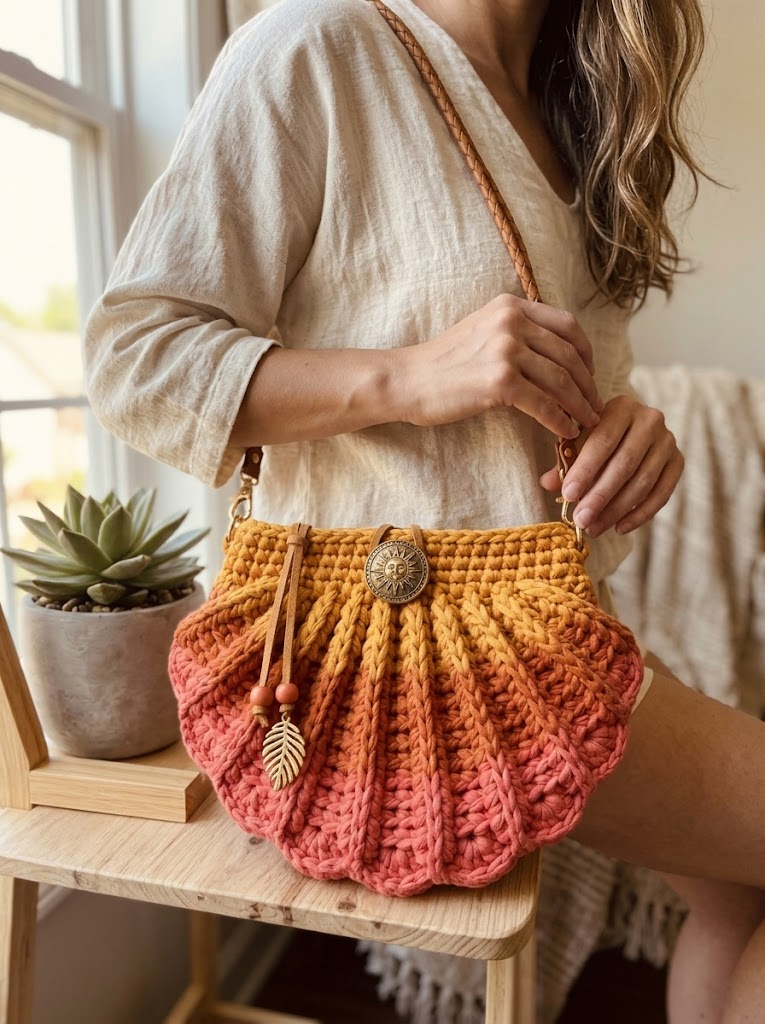
I really hope you love making this sunset ombre seashell clutch crochet pattern as much as I loved designing it. There is something so satisfying about watching those ridges form and seeing the colors shift as you work your way up. It is the kind of project that feels fancy but is genuinely relaxing once you get into the rhythm.
Thank you so much for choosing to make this with me. Your time and creativity mean everything, and I cannot wait to see your finished clutch.
If you make one, please tag me on Instagram or share in my Facebook group. I absolutely love seeing your color choices and personal touches. Every single share makes my day.
Happy crocheting, friend. You have got this.