
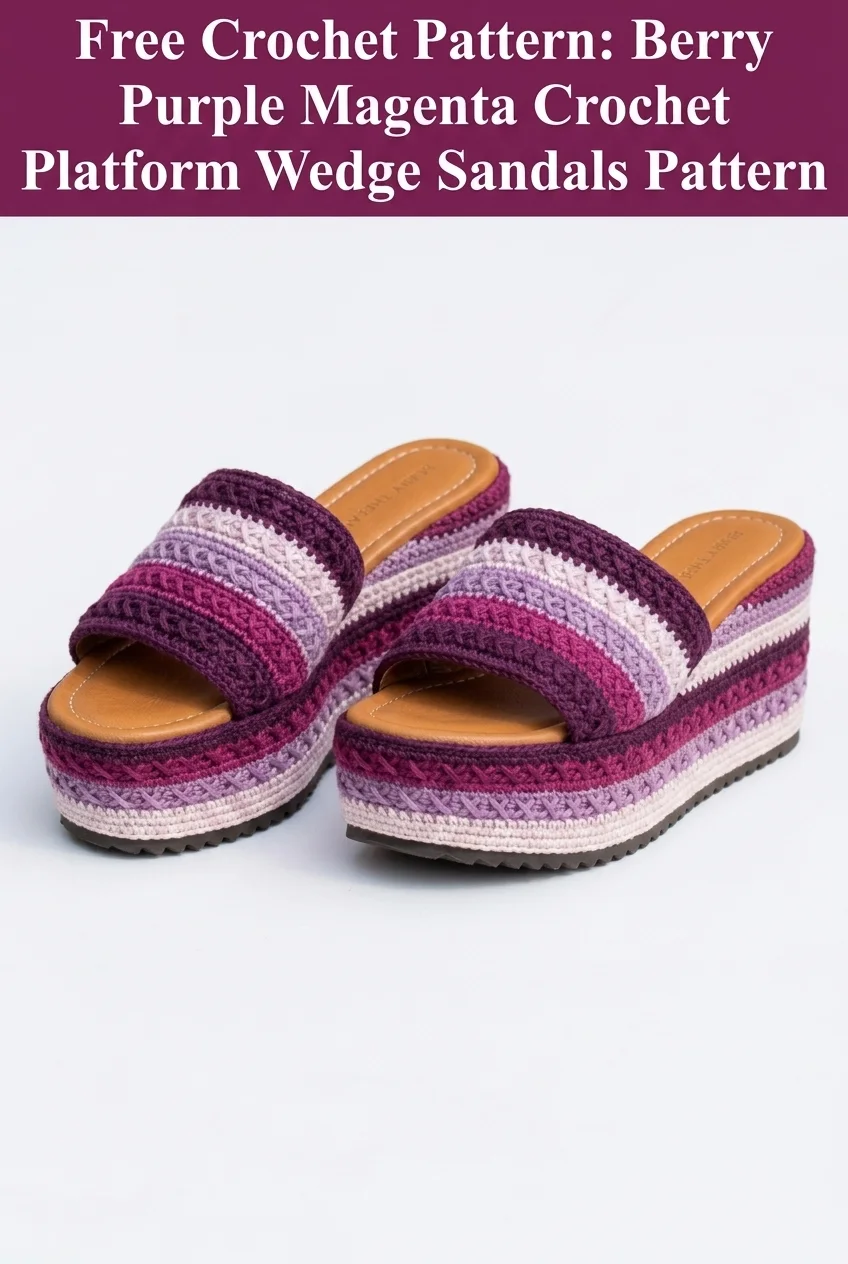
Go dig into your yarn stash right now. You know that gorgeous gradient of purples and magentas you have been saving for something special? This is the project. These crochet platform wedge sandals combine multiple textured stitches in horizontal stripes that wrap around a foam wedge base. The construction is more straightforward than it looks, I promise. You will work flat panels and a strap, then attach everything to a pre-made platform sole. This is an intermediate project that requires patience with shaping and finishing, but the stunning result is absolutely worth the effort.
Why You Will Love This Crochet Platform Sandals Pattern
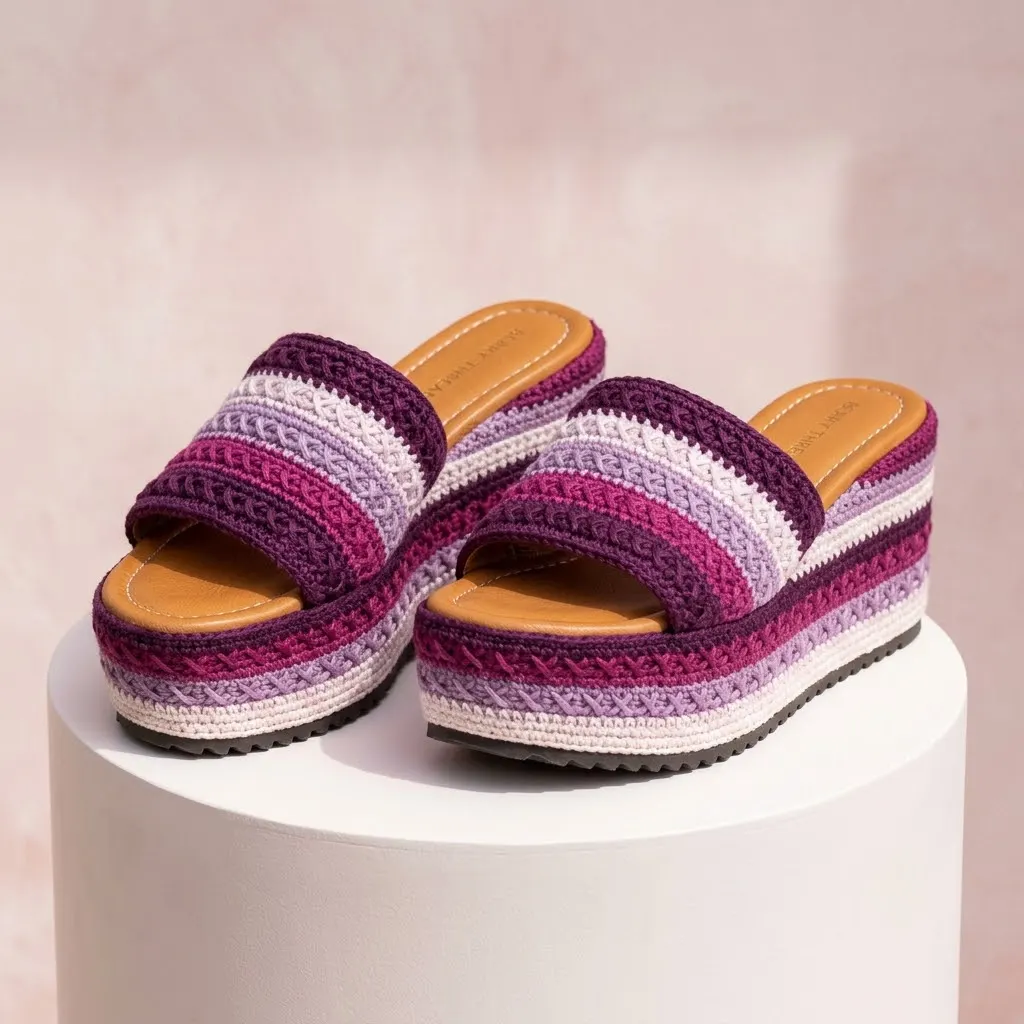
These Berry Purple Magenta Crochet Platform Wedge Sandals are a true statement piece. The color palette moves from deep plum through magenta, soft lavender, and cream in gorgeous horizontal stripes. Each stripe uses a different textured stitch, creating visual interest and depth that catches the light beautifully.
I designed this crochet sandals pattern to showcase yarn gradients in the most flattering way possible. The wedge silhouette is universally comfortable, and the wide strap provides secure coverage across the top of your foot. Unlike flimsy crochet slippers, these have a proper rubber sole for outdoor wear.
What makes this pattern unique:
Skill Level
Intermediate to Advanced
This crochet tutorial requires comfort with color changes, working in multiple stitch patterns, and finishing techniques like seaming and attaching crochet to non-fabric materials. If you have made garments, bags, or structured accessories before, you have the skills for this project.
If you are a confident beginner ready for a challenge, go for it. Just take your time with the construction steps and do not rush the finishing.
Finished Measurements
Materials Needed
Yarn
You will need fingering weight yarn (also called sock weight or #1 super fine) for the dense, sturdy fabric these sandals require.
Color A: Deep Plum, approximately 75 yards (69 m)
Color B: Magenta/Berry, approximately 65 yards (59 m)
Color C: Soft Lavender, approximately 55 yards (50 m)
Color D: Cream/Off White, approximately 45 yards (41 m)
I recommend cotton or cotton blend yarn for this project. Cotton provides structure, durability, and comfort against skin in warm weather. Wool will felt with wear and moisture. Acrylic may stretch too much over time.
Suggested yarn brands: Scheepjes Catona, Lion Brand 24/7 Cotton, Paintbox Yarns Cotton DK (held single)
Tools
Platform Wedge Soles
You will need a pair of pre-made foam platform wedge soles with rubber bottoms. These are available from:
Look for soles with a leather or faux leather insole already attached. The ones I used have a camel/tan colored leather footbed. Make sure to purchase the correct size for your foot.
Gauge
28 stitches and 32 rows = 4 inches (10 cm) in single crochet with 2.75mm hook
Gauge matters a lot for this project. Your panels need to fit precisely around the platform sole. Too loose and they will sag. Too tight and they will not reach. Swatch before starting and adjust your hook size if needed.
Abbreviations and Stitch Definitions
ch = chain: Yarn over, pull through loop on hook
sl st = slip stitch: Insert hook, yarn over, pull through stitch and loop on hook in one motion
sc = single crochet: Insert hook, yarn over, pull up loop (2 loops on hook), yarn over, pull through both loops
hdc = half double crochet: Yarn over, insert hook, yarn over, pull up loop (3 loops on hook), yarn over, pull through all 3 loops
dc = double crochet: Yarn over, insert hook, yarn over, pull up loop (3 loops on hook), yarn over, pull through 2 loops, yarn over, pull through remaining 2 loops
fpdc = front post double crochet: Yarn over, insert hook from front to back to front around the post (vertical part) of the stitch below, complete as regular dc. This creates a raised texture.
bpdc = back post double crochet: Yarn over, insert hook from back to front to back around the post of the stitch below, complete as regular dc
sk = skip
st(s) = stitch(es)
rep = repeat
Special Stitches Used
Ribbed Stitch Pattern
Alternating front post double crochet (fpdc) and back post double crochet (bpdc) creates the stretchy, textured ribbing you see in the deep plum stripes.
Herringbone Half Double Crochet
This variation of hdc creates the diagonal texture visible in the magenta stripes. To work it: Yarn over, insert hook, yarn over, pull up loop, pull directly through the first loop on your hook, yarn over, pull through remaining 2 loops.
Linked Double Crochet
Used in the lavender stripes for a dense, no-hole fabric. Insert hook through horizontal bar of previous dc AND into next stitch, then complete as normal dc.
Pattern Instructions
Platform Side Panel (Make 2 per sandal, 4 total)
The side panels wrap around the foam wedge. You will make a left side and right side for each sandal, then seam them at the toe and heel.
With Color A (Deep Plum), ch 85 (90, 95, 100, 105) for size 6 (7, 8, 9, 10).
Foundation Row (WS): Sc in 2nd ch from hook and in each ch across. Turn. [84 (89, 94, 99, 104) sts]
Row 1 (RS): Ch 1, sc in each st across. Turn. [84 (89, 94, 99, 104) sts]
Row 2: Ch 2 (counts as hdc), fpdc around next st, bpdc around next st, *fpdc around next st, bpdc around next st* across to last st, hdc in last st. Turn.
Row 3: Ch 2, bpdc around next st, fpdc around next st, *bpdc around next st, fpdc around next st* across to last st, hdc in last st. Turn.
Rows 4-5: Repeat Rows 2-3. Fasten off Color A at end of Row 5.
Join Color B (Magenta).
Row 6 (RS): Ch 2, herringbone hdc in each st across. Turn. [84 (89, 94, 99, 104) sts]
Rows 7-9: Repeat Row 6. Fasten off Color B at end of Row 9.
Join Color C (Lavender).
Row 10: Ch 3 (counts as dc), linked dc in each st across. Turn. [84 (89, 94, 99, 104) sts]
Rows 11-12: Repeat Row 10. Fasten off Color C at end of Row 12.
Join Color D (Cream).
Row 13: Ch 1, sc in each st across. Turn.
Rows 14-15: Repeat Row 13. Fasten off Color D at end of Row 15.
Join Color C (Lavender).
Rows 16-18: Ch 3, linked dc in each st across. Turn. Fasten off Color C.
Join Color B (Magenta).
Rows 19-22: Ch 2, herringbone hdc in each st across. Turn. Fasten off Color B.
Join Color A (Deep Plum).
Rows 23-27: Work Rows 2-3 ribbing pattern, ending with Row 2. Fasten off.
Weave in all ends securely. Block panel lightly to measurements. The panel should measure approximately 12 (12.75, 13.5, 14.25, 15) inches long and 3.5 inches tall.
Strap (Make 2)
The strap follows the same color and stitch sequence as the platform but in a narrower band.
With Color A, ch 61 (65, 69, 73, 77).
Row 1: Sc in 2nd ch from hook and in each ch across. Turn. [60 (64, 68, 72, 76) sts]
Row 2: Ch 2, fpdc around next st, bpdc around next st, *fpdc, bpdc* across to last st, hdc in last st. Turn.
Row 3: Ch 2, bpdc around next st, fpdc around next st, *bpdc, fpdc* across to last st, hdc in last st. Turn.
Row 4: Repeat Row 2. Fasten off Color A.
Join Color B.
Rows 5-6: Ch 2, herringbone hdc in each st across. Turn. Fasten off Color B.
Join Color C.
Row 7: Ch 3, linked dc in each st across. Turn.
Row 8: Repeat Row 7. Fasten off Color C.
Join Color D.
Rows 9-10: Ch 1, sc in each st across. Turn. Fasten off Color D.
Join Color C.
Rows 11-12: Ch 3, linked dc in each st across. Turn. Fasten off Color C.
Join Color B.
Rows 13-14: Ch 2, herringbone hdc in each st across. Turn. Fasten off Color B.
Join Color A.
Rows 15-17: Work ribbing pattern as established. Fasten off.
The finished strap should measure approximately 8.5 (9, 9.5, 10, 10.5) inches long and 2 inches wide.
Assembly Instructions
This is where your sandals come together. Take your time with these steps.
Step 1: Seam the Side Panels
Place two side panels with right sides together. Using a tapestry needle and matching yarn, whip stitch the short edges together to create the toe seam. Repeat for the heel seam. You now have a tube that will wrap around the platform.
Step 2: Fit Panels to Platform
Slip the crocheted tube over your foam platform wedge. Adjust until the seams sit at the center front (toe) and center back (heel). The stripe pattern should wrap horizontally around the wedge.
Pin or clip the tube in place at several points around the sole edge.
Step 3: Glue Bottom Edge
Working in small sections, apply fabric glue to the inside bottom edge of the crocheted panel where it meets the rubber sole. Press firmly. Use clips to hold while drying. Allow to dry completely, typically 24 hours.
Step 4: Secure Top Edge
The top edge of the panel should sit just below the leather insole. Apply a thin line of glue along this edge and press against the platform. The leather insole will cover any raw edges.
Step 5: Attach the Strap
Position the strap across the top front of the sandal, about 1 inch back from the toe edge. The strap should curve slightly to follow the natural shape of the foot.
Glue the underside of each strap end to the platform sides, tucking the ends under the side panel slightly for a clean finish.
Allow everything to cure for 48 hours before wearing.
Tips for Success
Tension consistency is crucial. The textured stitch patterns can pull in or spread out depending on your tension. Check your width after each color section.
Block before assembling. Blocking your flat pieces ensures even edges and accurate sizing. Wet block cotton yarn by soaking, squeezing out water in a towel, and pinning to measurements.
Test your glue. Before committing, test your adhesive on a scrap of yarn and a similar surface. You want strong hold without soaking through or discoloring the yarn.
Make both sandals simultaneously. Work each row on both sandals before moving to the next row. This keeps your tension and color changes consistent.
Customization Ideas
Change the color palette. This pattern works beautifully in neutrals (cream, tan, brown), ocean tones (navy, teal, seafoam, white), or warm sunset colors (coral, peach, gold, cream).
Simplify the stitches. If you want an easier version, work the entire platform in single crochet with just color changes for stripes.
Add embellishments. A small crochet flower, bow, or beaded accent on the strap adds personality.
Create ankle ties. Crochet two chains about 24 inches long and attach to the strap ends for a wrap ankle detail.
Care Instructions
Because these sandals have a foam and rubber base, they cannot be fully submerged or machine washed.
Spot clean the crochet portions with a damp cloth and mild soap. Allow to air dry completely before wearing.
Store in a cool, dry place away from direct sunlight to prevent color fading.
Avoid wearing in rain or on wet surfaces, as the cotton yarn will absorb moisture.
Why Crochet Footwear Is Having a Moment
Handmade crochet sandals and shoes have moved from craft project to fashion statement. High end designers have featured crochet platforms on runways, and the handmade aesthetic brings warmth and personality that mass produced shoes simply cannot match.
When you make this step by step crochet pattern, you create something truly one of a kind. Every stitch is yours. The colors you chose, the yarn you selected, the time you invested, all of it shows in the finished piece.
These Berry Purple Magenta Crochet Platform Wedge Sandals make an incredible gift for someone special, though I would not blame you for keeping the first pair for yourself. They are conversation starters, guaranteed.
Final Thoughts on This Crochet Platform Sandals Pattern
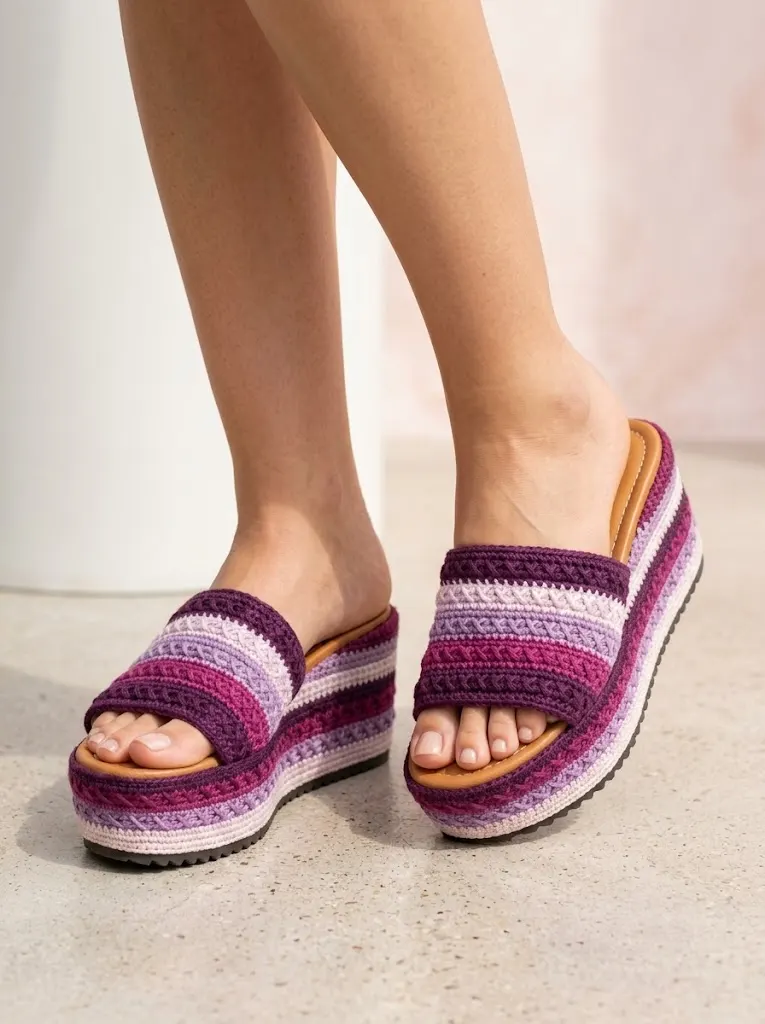
You now have everything you need to create your own stunning pair of crochet wedge sandals from scratch. The combination of textured stitches, beautiful purple gradient, and practical platform construction makes this a beginner friendly project for those ready to level up their skills.
Take your time with the finishing steps. The gluing and assembly portion requires patience, but it transforms your flat crochet panels into wearable art. Trust the process, follow the instructions, and you will have gorgeous summer footwear that looks like it came straight from a boutique.
I would absolutely love to see your finished sandals. Tag me on Instagram or share in my Facebook group when you complete your pair. Seeing your color combinations and styling always makes my day.
If you found this crochet tutorial helpful, please save this pattern to your Pinterest boards so you can find it easily when you are ready to start. And I would love to hear from you in the comments below. Drop a note if you make these, ask questions if you get stuck, or just say hello. Happy crocheting, friend.
You Might Also Like
- Sage Green Textured Baby Outfit Set Free Crochet Pattern
- Tinkerbell Green Fairy Baby Dress Free Crochet Pattern
- Midnight Silver Lace Bucket Bag Free Crochet Pattern
- Watermelon Slice Couple Amigurumi Free Crochet Pattern