
This is one of those projects that looks SO impressive but is actually SUPER manageable, even if you’re newer to crochet. Seriously, if you can work a magic ring and double crochet, you’re already halfway there. The Lavender Sunflower Granny Square Tote comes together in about 10 to 14 hours, and the result? A gorgeous, structured bag covered in cheerful 3D sunflowers that will have everyone asking where you bought it. Trust me, this one is a gift-worthy stunner that you’ll want to keep for yourself.
Get the Ad-Free PDF Pattern
You can find the free pattern below, or you can purchase the ad-free printable PDF from my shop.
Get the Printable PDF →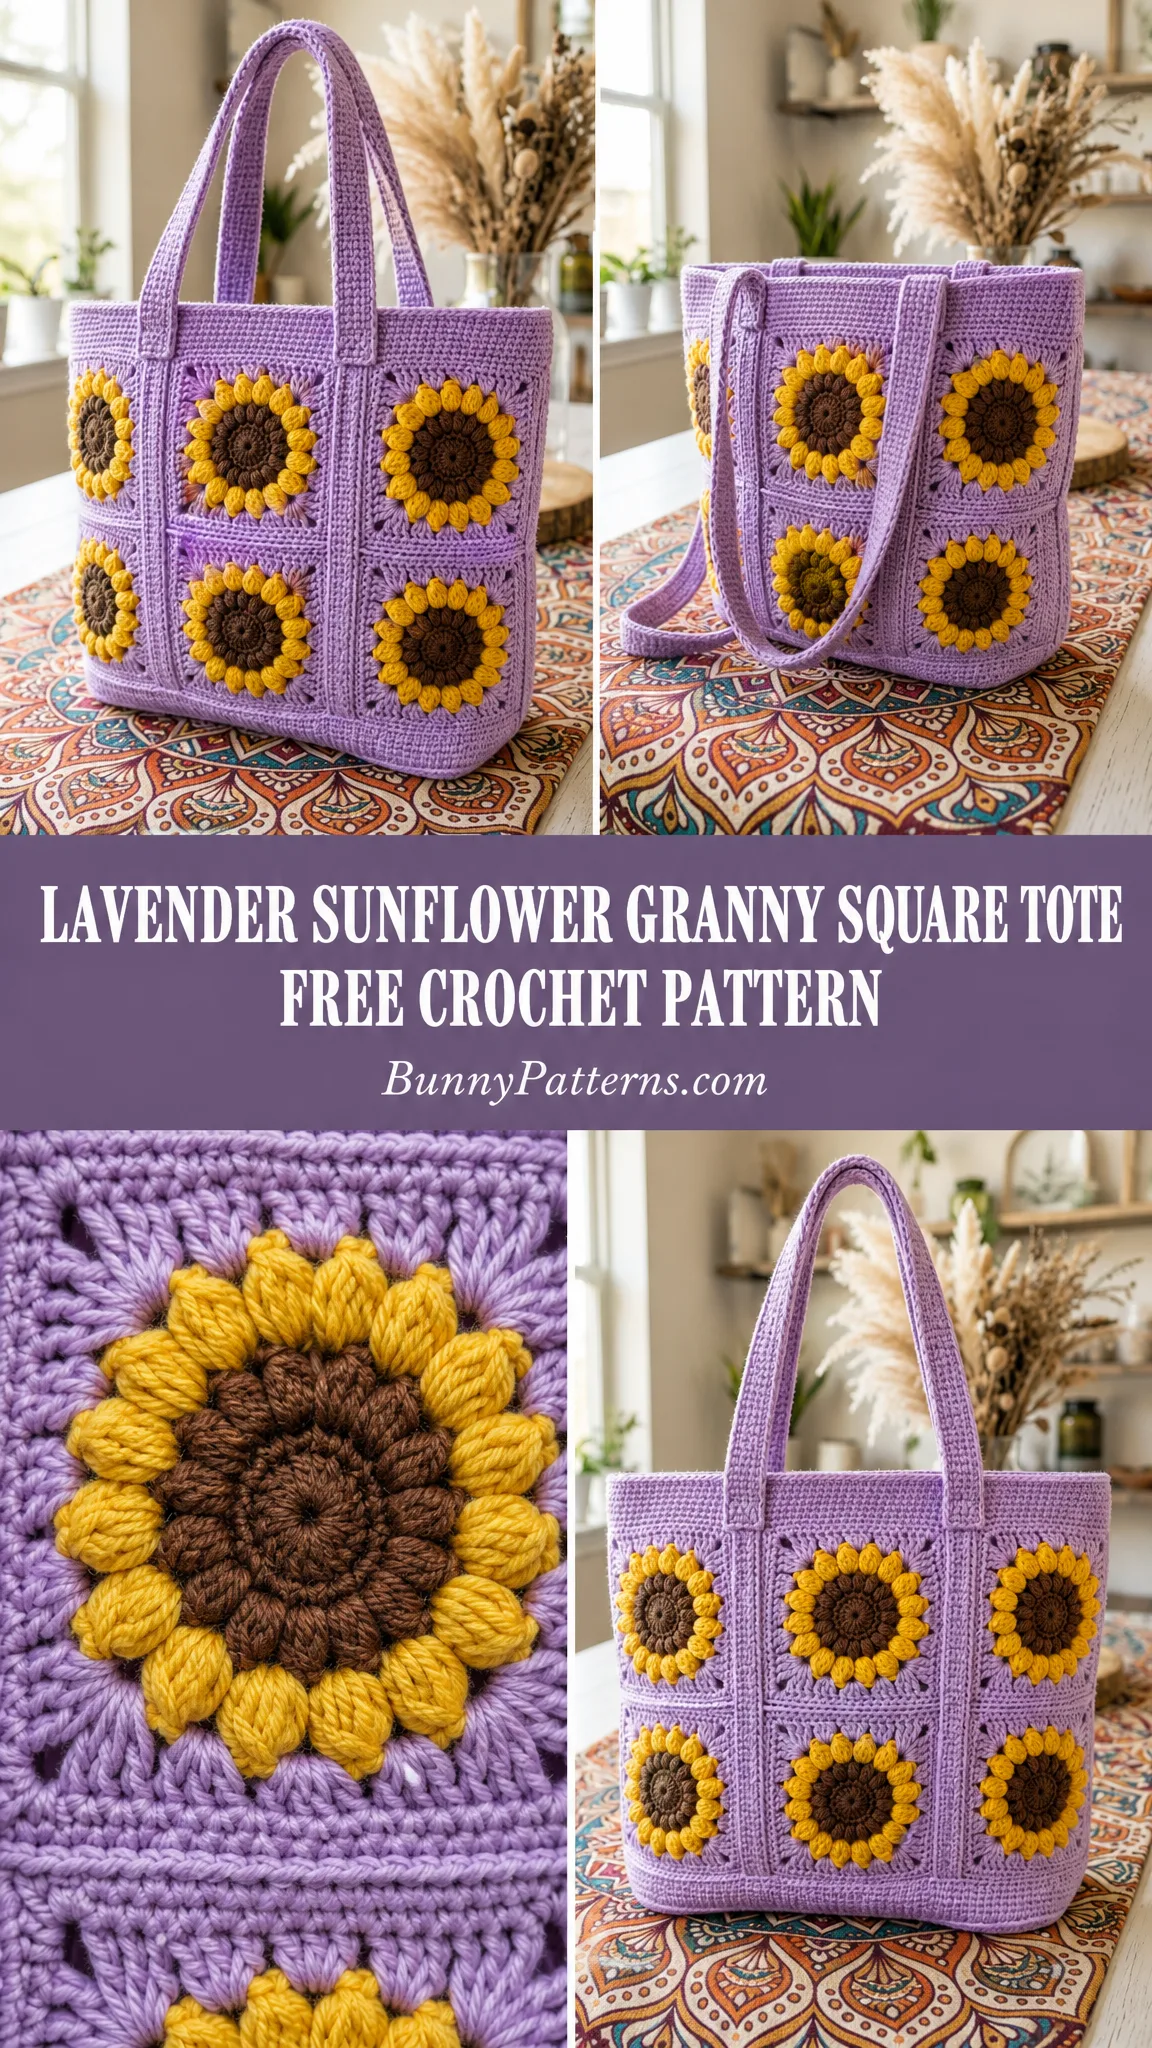
About This Lavender Sunflower Tote Crochet Pattern
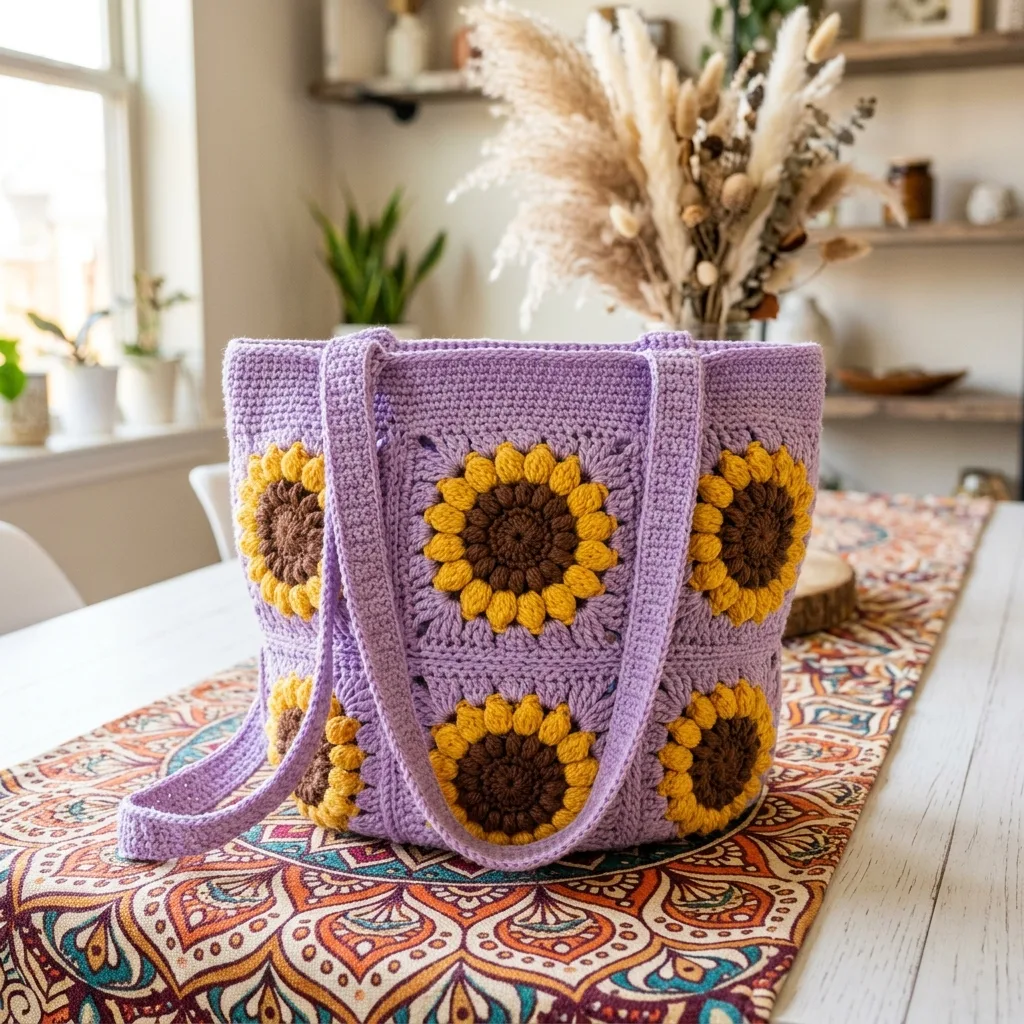
This roomy tote is built from six textured sunflower granny squares joined into a neat box shape, finished with two long shoulder straps. The construction is straightforward: you’ll make each square individually, join them together, add reinforcement to the base and sides, finish the top edge, and attach the straps.
The sunflower motif uses puff stitches worked into front loops only, which creates that beautiful dimensional petal effect you see in the photos. Don’t let the 3D texture intimidate you. Once you get the rhythm of the puff stitch down, it becomes almost meditative.
Skill Level: Easy to Intermediate
Finished Size:
Materials You’ll Need
Yarn (Medium Weight 4, Worsted):
| Color | Role | Yardage |
|---|---|---|
| Lavender | Main color for squares, base, sides, and straps | 330 yards (302 m) |
| Mustard Yellow | Sunflower petals | 120 yards (110 m) |
| Chocolate Brown | Sunflower centers | 55 yards (50 m) |
The total lavender yardage includes the squares, the reinforced base and sides, top edging, and both straps.
Tools:
Suggested Yarns:
Any smooth worsted or aran weight cotton or cotton blend works beautifully for this project. Here are a few excellent options:
1. Lily Sugar’n Cream (100% cotton) offers crisp stitch definition, which is great for the structured shape.
2. Paintbox Yarns Cotton Aran has a huge color range with easy lavender, mustard, and brown matches.
3. Scheepjes Stone Washed XL is a soft cotton blend with a gentle heathered look.
Substitution Note: Cotton gives the firmest, most upright tote. If you prefer a softer drape, a cotton-acrylic blend works too. Just go down a hook size if needed to keep the fabric dense so the bag holds its shape and the petals stay puffy. Avoid very fuzzy or loosely plied yarns, which blur the 3D petal texture.
Gauge
16 single crochet stitches x 16 rows = 4 x 4 inches (10 x 10 cm) in single crochet.
Exact gauge is not critical for this project, but a consistent, firm tension keeps the tote sturdy. One finished sunflower square should measure about 4 inches (10 cm) across after blocking.
Abbreviations (US Terms)
Before we dive in, let’s cover the abbreviations you’ll encounter. I’ll also explain each stitch as it comes up in the pattern.
Special Stitches Explained
Magic Ring (MR)
This is an adjustable loop to start the brown center. Wrap yarn around two fingers, work the first round into the loop, then pull the tail tight to close the hole. This keeps the sunflower center neat with no gap. If magic rings feel tricky, you can substitute chain 4 and slip stitch to join, then work your stitches into the center of that ring.
Puff Petal (3D Petal)
The raised mustard petals are made with puff stitches. Here’s exactly how to work one:
[Yarn over, insert hook in stitch, yarn over and pull up a tall loop] 3 times in the same stitch (7 loops on hook), yarn over and draw through all 7 loops, chain 1 to close.
When worked into front loops, these stitches "pop" forward for the textured sunflower look. The key is pulling up tall, even loops so your petals look uniform and puffy.
Back Loop Only / Front Loop Only (BLO / FLO)
Working into only one loop of a stitch creates ridges and lets the petals sit proud of the background. Pay attention to BLO and FLO instructions within the rounds.
A Note for Left-Handed Crocheters
This pattern is written for right-handed work, but it converts easily. Work all rounds in the opposite direction (clockwise instead of counter-clockwise). Wherever the pattern says a right-leaning placement, mirror it to the left. Your finished square will be a mirror image and looks identical once joined. Tip: hold a small mirror beside any diagram, or follow along with a left-handed video tutorial of basic granny square rounds while using these stitch counts.
The Sunflower Square Pattern
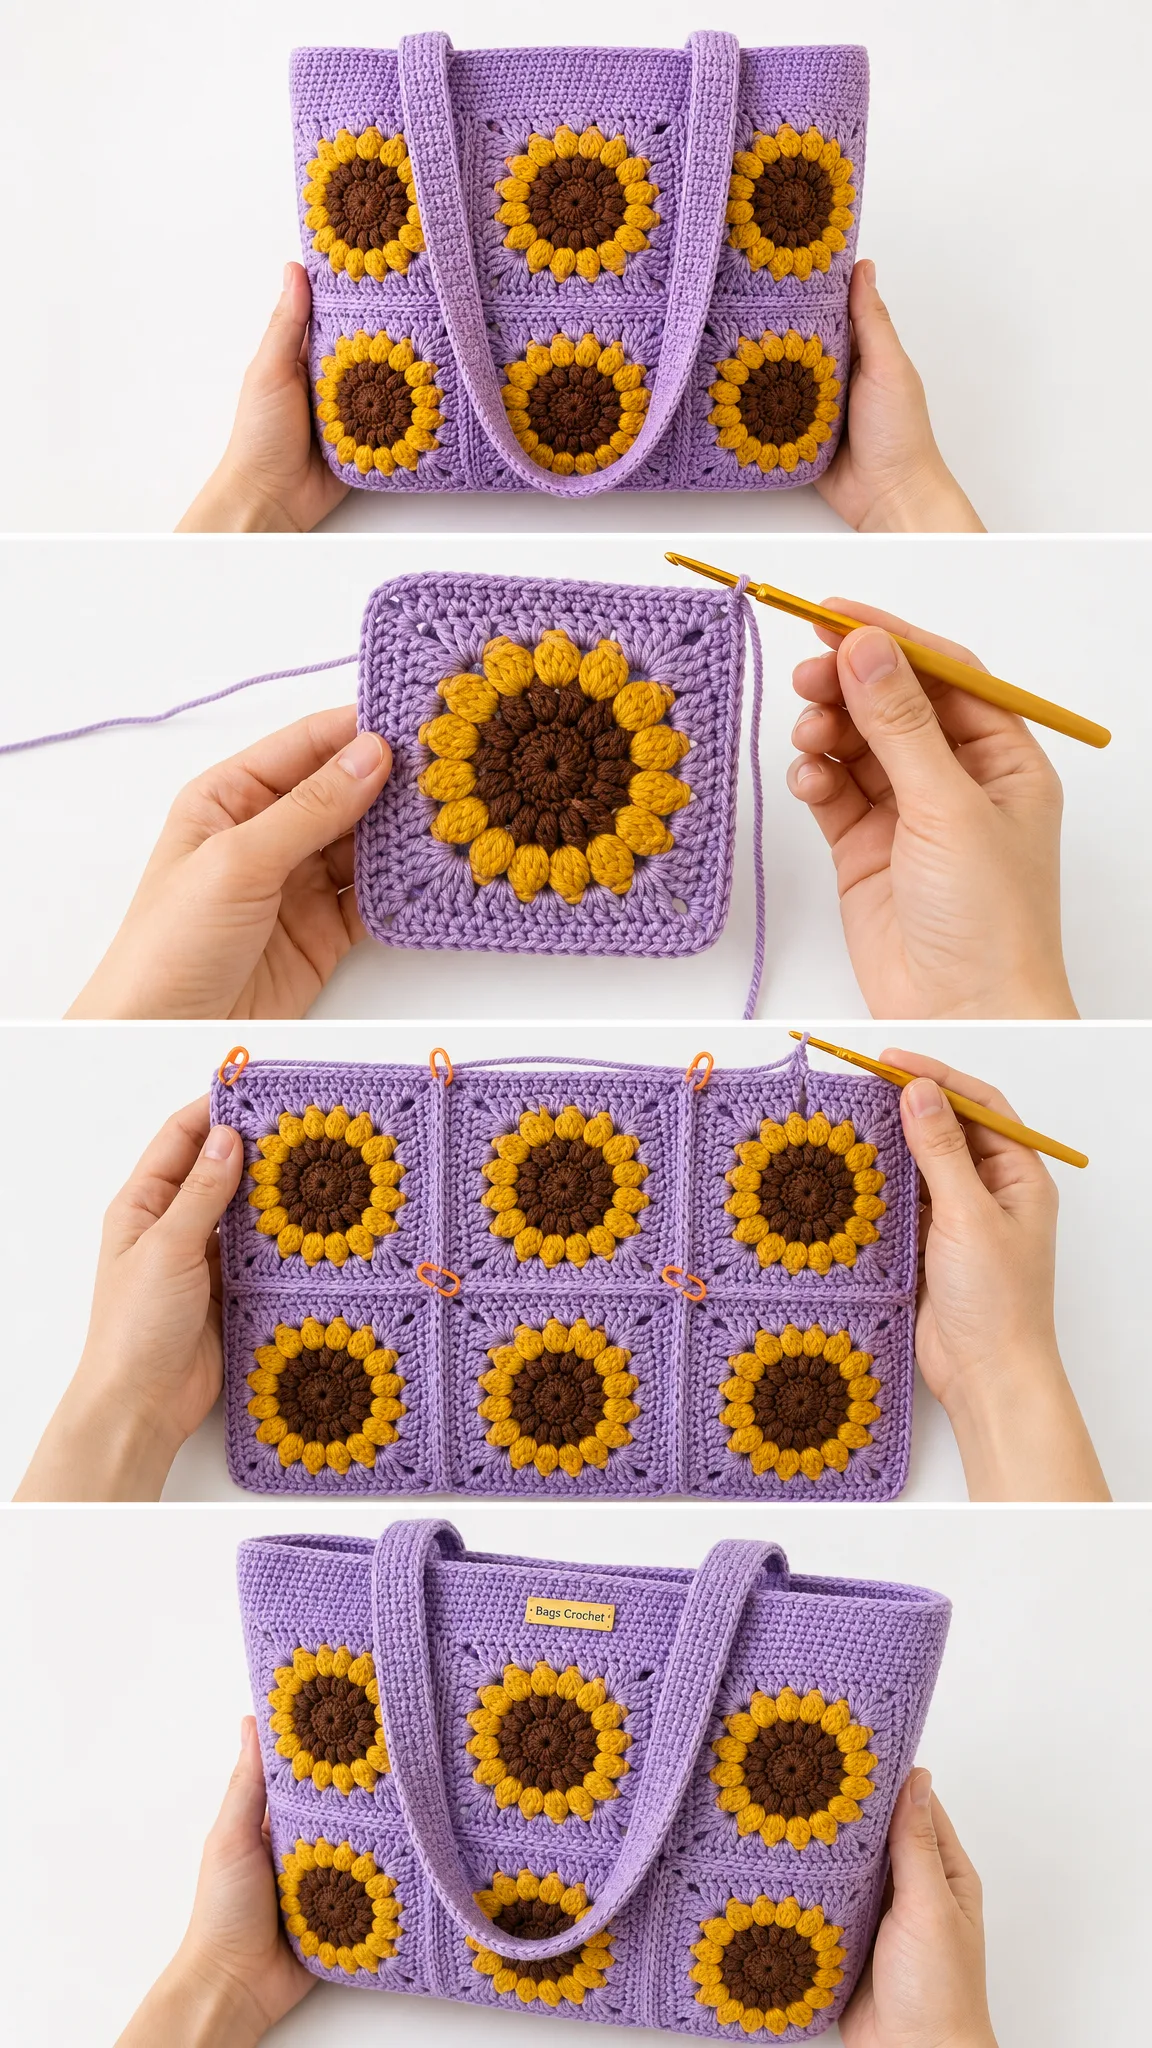
You will make 6 identical squares. Each starts with a brown center, adds a round of mustard puff petals, then is framed in lavender to form a 4 inch (10 cm) square. Take it one round at a time.
Center Section (Chocolate Brown)
Round 1: Using brown, make a magic ring. Ch 1, work 8 sc into the ring, pull tail to close. Join with sl st to first sc. (8 sc)
Round 2: Ch 1, 2 sc in each st around. Join with sl st. (16 sc)
Round 3: Ch 1, [sc in next st, 2 sc in next st] around. Join with sl st. Fasten off brown and weave in the tail. (24 sc)
Petals Section (Mustard Yellow)
Round 4: Join mustard in any st. Working in FLO, *puff petal in next st, ch 1, skip next st*; repeat from * around. Join to top of first puff. (12 puff petals)
Tip: Gently push each puff petal forward as you go so the flower stays dimensional. This little nudge makes a big difference in how your sunflowers look.
Frame Section (Mustard Yellow Continued)
Round 5: Ch 1, working in the back loops left free behind the petals, sc in each st around (work 1 sc into each skipped-st space and each puff base) to anchor the petals. Join with sl st. Fasten off mustard. (24 sc)
Background and Corners (Lavender)
Round 6: Join lavender in any st. Ch 3 (counts as dc), dc in same st. *Dc in next 5 sts, then in next st work (2 dc, ch 2, 2 dc) for the corner*; repeat from * to * to shape four corners, ending dc in last sts. Join to top of beg ch-3.
Round 7: Ch 1, sc evenly around, working (sc, ch 2, sc) into each ch-2 corner space to keep corners square. Join with sl st. Fasten off, leaving a long lavender tail if you plan to join as you go. Square should measure approximately 4 inches (10 cm).
Make 6 squares total. Block each one to a flat, even 4 inch (10 cm) square. Crisp, matching squares make assembly so much easier and give the tote its clean box shape.
Joining the Squares
The six squares form the body of the tote. Arranged flat, they make a 3 x 2 grid: this wraps around to create a front panel, a back panel, and the two narrow sides, with the middle squares folding to become the base.
Whip Stitch Join Method
Step 1: Lay two squares right-side up, edges touching. Using lavender and a yarn needle, whip stitch through the back loops of both edges, one stitch at a time, from corner to corner.
Step 2: Keep tension even and matched stitch-for-stitch so seams stay flat and the squares line up.
Step 3: Join the three squares of the front in a row, then the three of the back. Then join front-to-back along the two side edges and across the bottom to form an open box.
Join-as-you-go option: If you left long tails on Round 7, you can whip stitch each square to its neighbor as you finish it, instead of joining all at the end. Either method gives the same result. Choose what you enjoy!
Base, Sides, and Top Edge
Reinforced Base and Sides
To give the tote its firm, standing structure, the base and side seams are reinforced:
Top Edge
Round (top opening): Join lavender at the top edge. Sc evenly all the way around the opening, keeping the count even on the front and back panels. Work 2 to 3 rounds of sc to create a firm, finished top band. Join with sl st but do not fasten off if you will add straps directly; otherwise fasten off and weave in.
A firm top edge keeps the opening from stretching and gives a tidy line for attaching the straps.
The Straps
Make 2 Identical Straps
The straps are worked lengthwise in single crochet for a strong, non-stretchy handle.
Foundation: With lavender, ch a length to measure about 40 inches (102 cm) (roughly 160 ch at gauge). Sc in 2nd ch from hook and in each ch across. Turn.
Rows 2 through 5: Ch 1, sc in each st across, turn. Repeat until the strap is 1.25 inches (3.2 cm) wide (about 5 rows). Fasten off, leaving a long tail for sewing.
Make a second identical strap.
Attaching the Straps
| Measurement | Size |
|---|---|
| Strap length | 40 inches (102 cm) |
| Strap width | 1.25 inches (3.2 cm) |
| Placement | ~3 inches (7.5 cm) from side seams |
Finishing Your Lavender Sunflower Tote
Finishing Checklist
Care Instructions
Tips for Crochet Pattern Success
Blocking matters: I know it can feel like an extra step you want to skip, but blocking your squares before joining makes a huge difference. It evens out your stitches, makes all six squares truly match in size, and gives your finished tote that professional, polished look.
Keep your tension consistent: Since you’re making six separate squares, try to maintain the same tension throughout. If you crochet tighter when you’re tired or looser when you’re relaxed, your squares might end up slightly different sizes.
Count your stitches: Especially in the early rounds, counting ensures your sunflower center stays nice and round. A missing or extra stitch in the center will show.
Practice the puff stitch first: If puff stitches are new to you, make a small swatch before starting your first square. Getting comfortable with pulling up even, tall loops will make your petals look beautiful.
Why You’ll Love This Tote Pattern
This Lavender Sunflower Granny Square Tote hits that sweet spot of being visually impressive without being overly complicated. The 3D sunflowers are the star of the show, and once you’ve made one square, you’ve essentially learned the whole pattern. It’s repetitive in the best way.
The structured box shape means this bag actually stands up on its own and holds its shape when you set it down. No floppy, formless tote here. The reinforced base and sides make it sturdy enough for everyday use, whether you’re carrying it to the farmers market, using it as a project bag, or gifting it to someone who loves sunflowers.
And speaking of gifts, this makes an absolutely lovely present. The combination of lavender and sunflower yellow is fresh and cheerful, perfect for spring and summer but honestly cute year-round.
Thank you so much for choosing this pattern! I really hope you enjoy making your Lavender Sunflower Tote as much as I enjoyed designing it. If you make one, I would absolutely love to see it. Tag me on Instagram or share a photo on Facebook so I can cheer you on!
If you loved this crochet tutorial, save it to your Pinterest boards so you can find it easily when you’re ready to start. And please drop a comment below if you make this tote. I love hearing how projects turn out and seeing all the beautiful color combinations you choose!
Want a Quick & Easy Printable Version?
Get a clean, beautifully formatted PDF of this pattern — easy to follow step by step, ready to print or save on any device. No scrolling, no distractions, just the pattern.
Get the Printable PDF →You Might Also Like
- Pink Strawberry Couple Amigurumi Free Crochet Pattern
- Mint Green Popcorn Stitch Baby Jumpsuit Free Crochet Pattern
- Galaxy Purple Chameleon Amigurumi Free Crochet Pattern
- Ocean Blue Highland Cow Amigurumi Free Crochet Pattern