
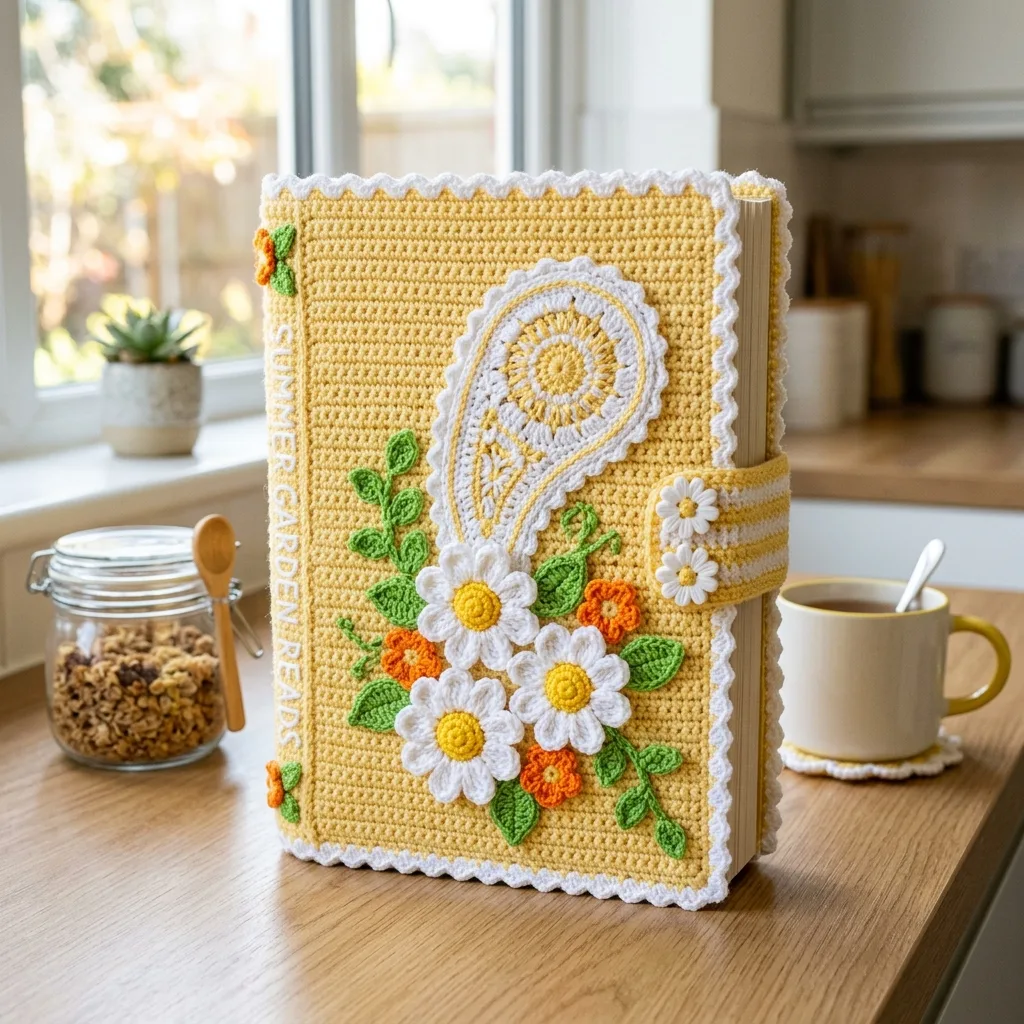
I had such a clear vision for this book cover. I wanted something cheerful that would make me smile every time I picked up my journal. Something with texture, a touch of vintage charm, and flowers that actually look like flowers. The paisley motif kept calling to me, and I knew I needed daisies with that perfect pop of orange. After working through the construction order and testing the closure tab placement, I am SO pleased with how this turned out! The butter yellow background, the crisp white scallops, the whole garden scene coming together. This might be my favorite functional project to date.
Get the Ad-Free PDF Pattern
You can find the free pattern below, or you can purchase the ad-free printable PDF from my shop.
Get the Printable PDF →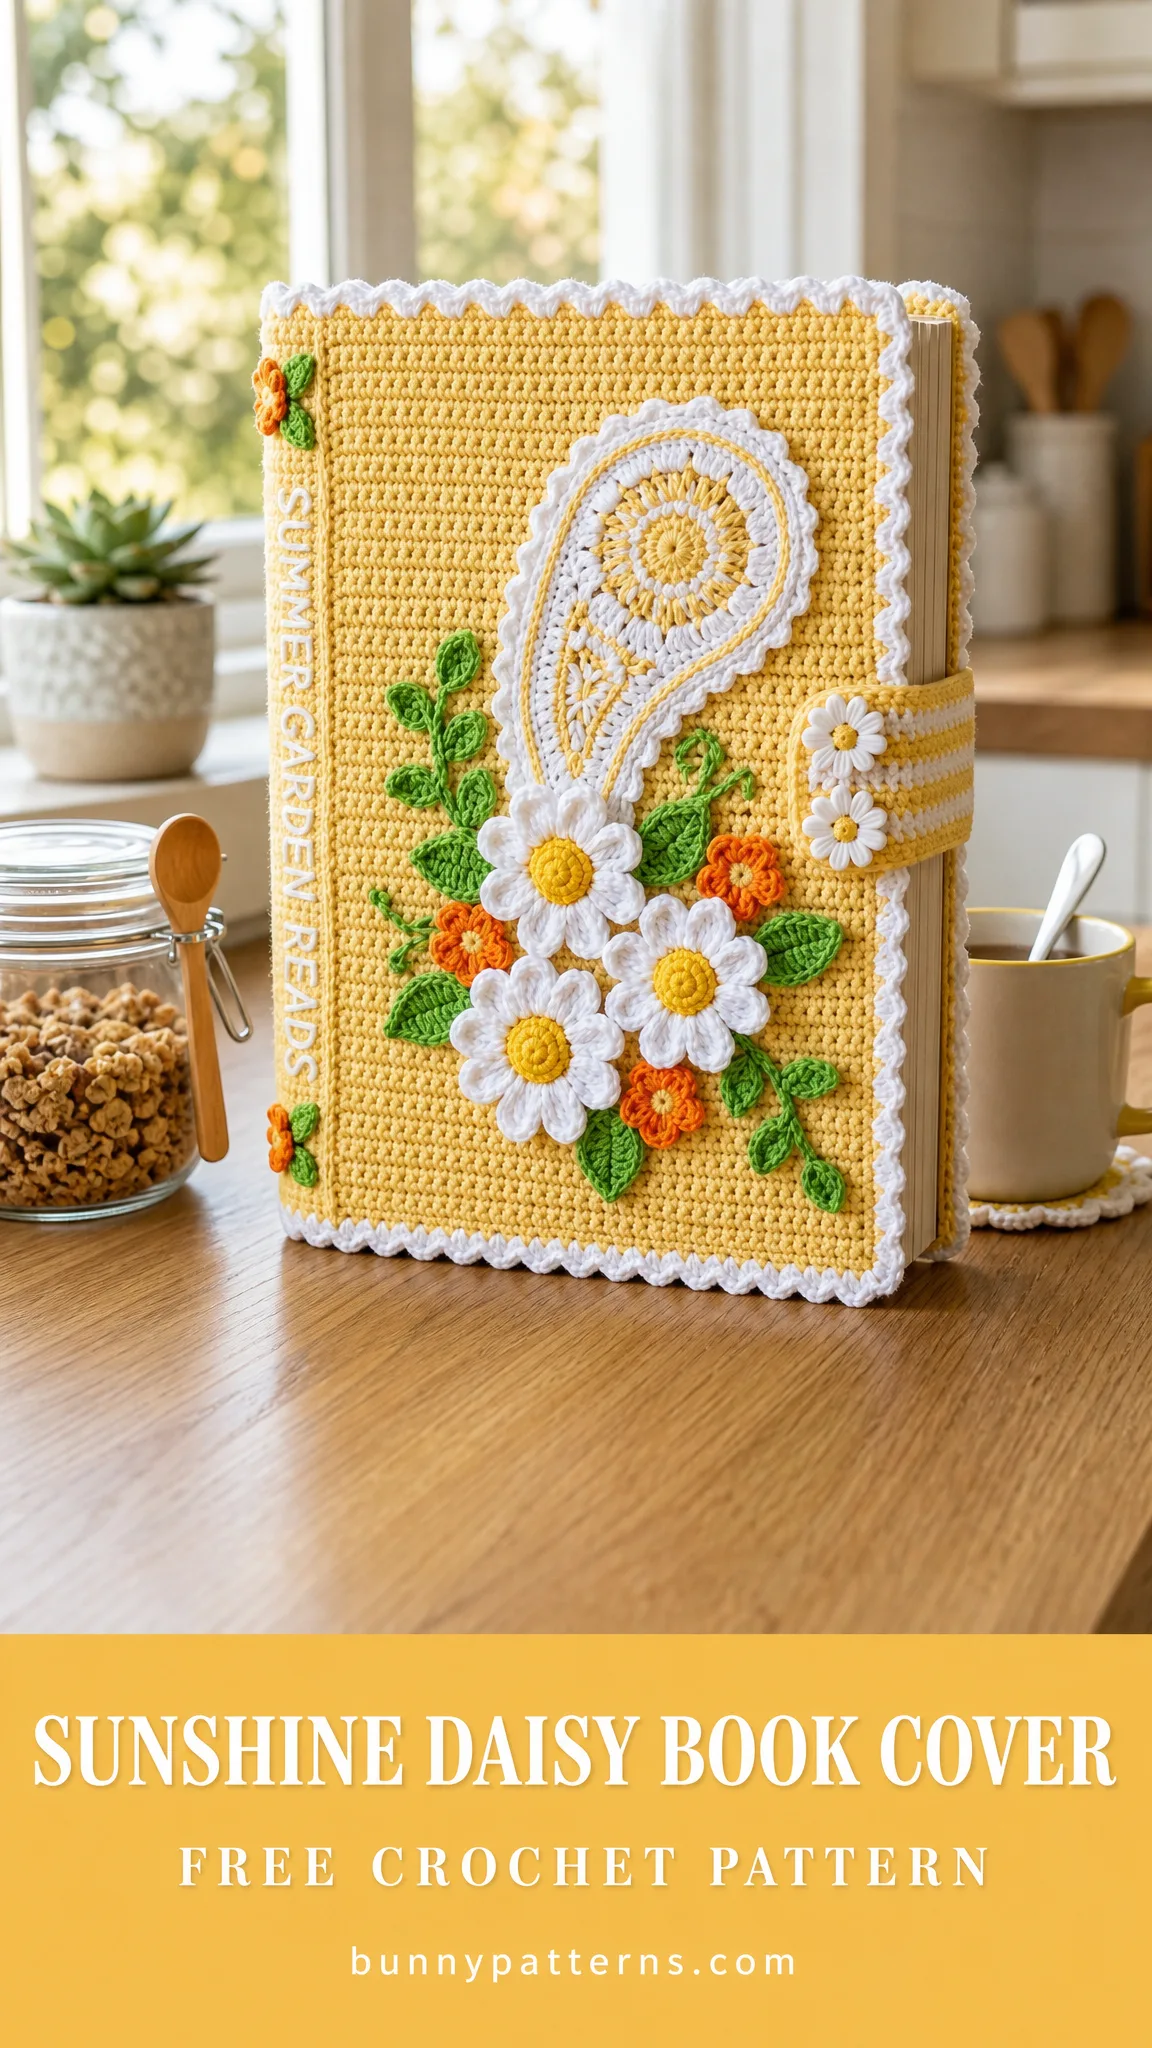
About This Crochet Book Cover Pattern
This Sunshine Daisy book cover wraps snugly around a standard journal or paperback measuring about 5.25 x 8 inches (13.5 x 20 cm) and up to 1.25 inches (3 cm) thick. The construction uses a firm single crochet (sc) fabric as the base, which gives the cover enough structure to protect your book while still being flexible enough to open and close easily.
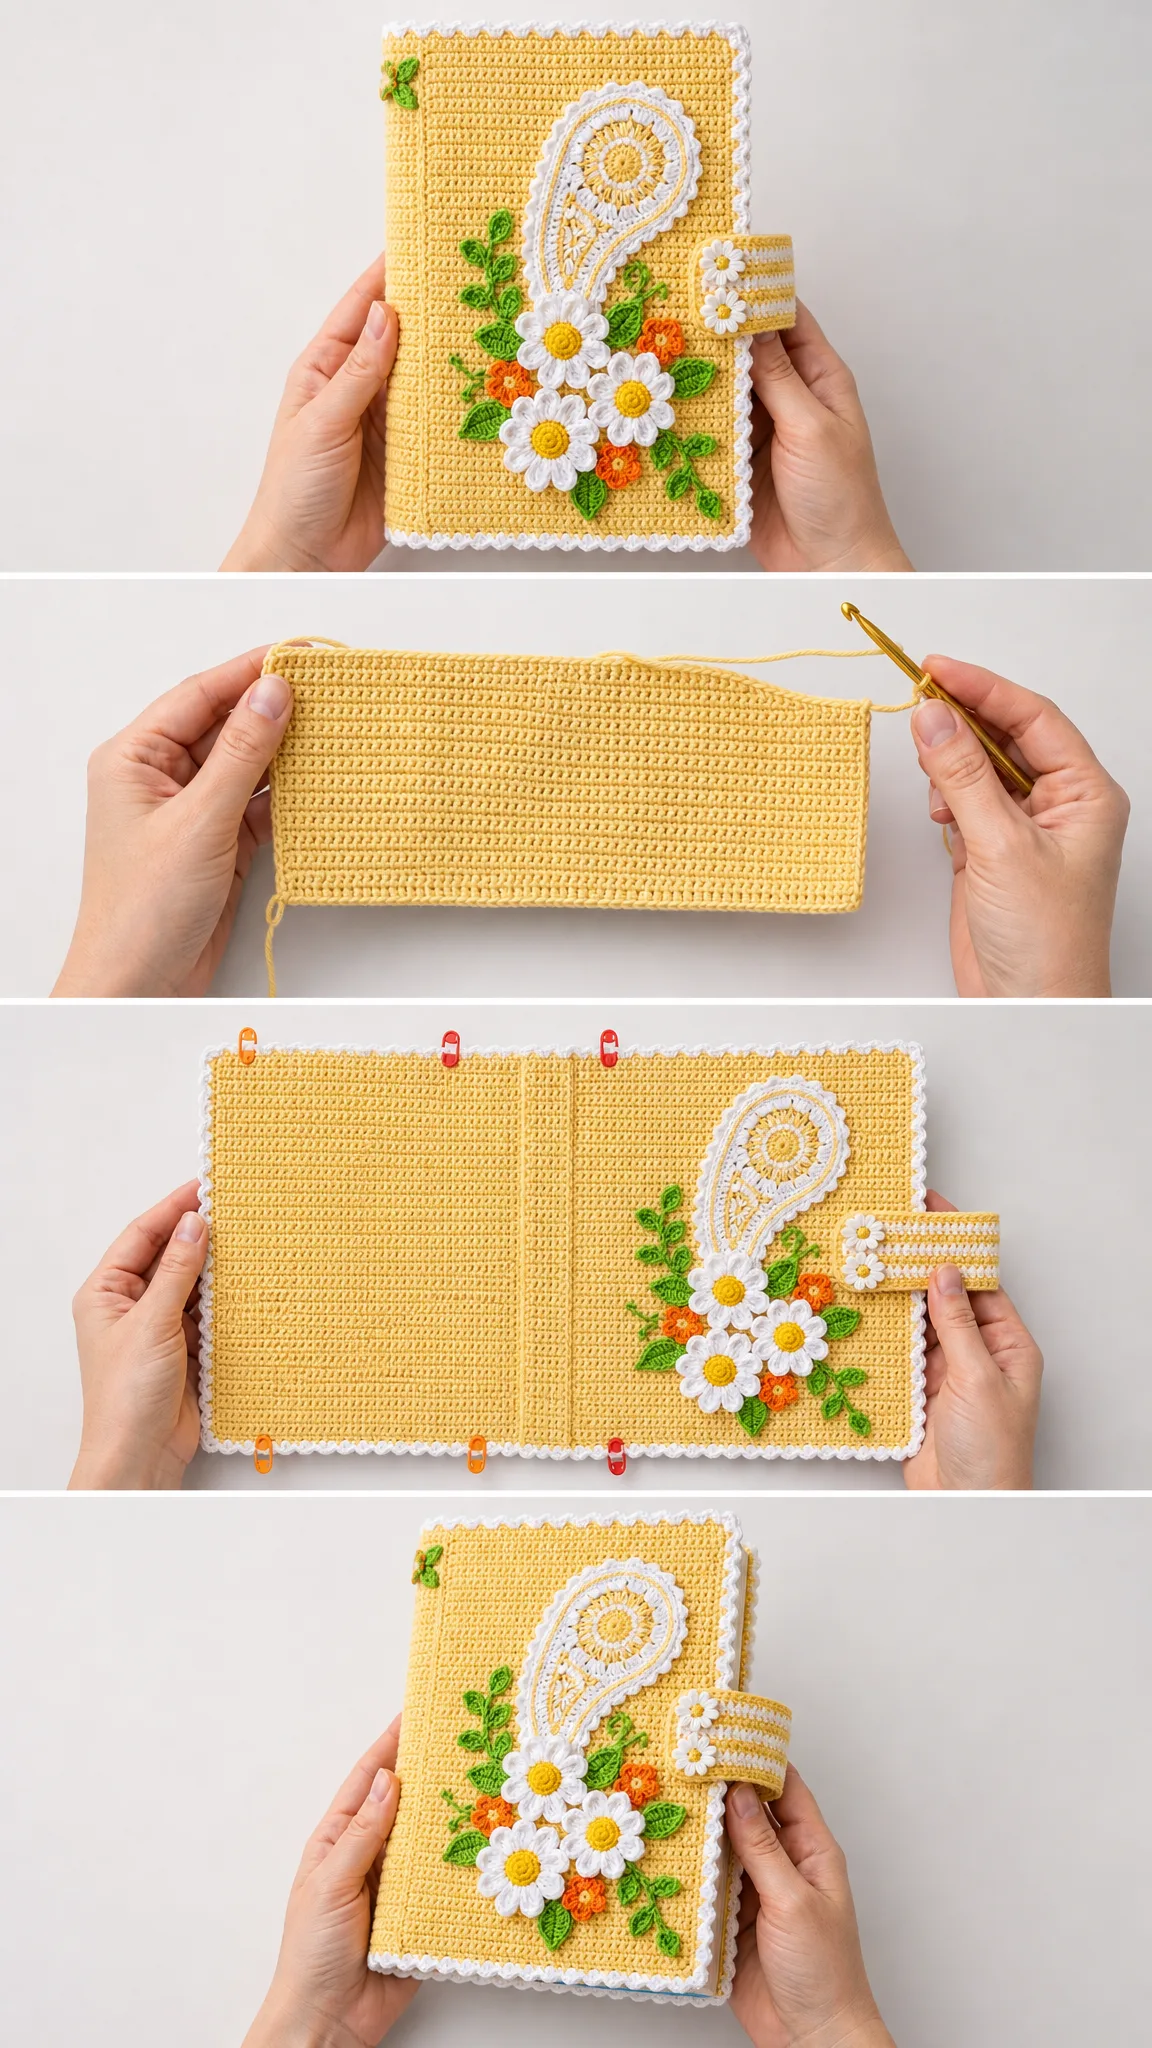
What makes this pattern special is the layered approach. You start with a simple rectangle, add inside flaps to tuck around the book boards, work a pretty scalloped border, and then bring it all to life with sewn-on appliques. The paisley, daisies, leaves, and tiny orange blossoms create a dimensional garden scene that looks far more complicated than it actually is.
Skill level: Adventurous beginner to intermediate. If you can work single crochet rows confidently and are willing to try small appliques, you can absolutely make this. The base jacket is wonderfully straightforward. The appliques require patience and neat finishing, but nothing technically difficult.
Time estimate: About 8 to 12 hours total, including crocheting all the appliques and sewing them in place.
Finished Measurements
Materials You Will Need
Yarn:
Yarn suggestions: Choose a yarn with body and stitch definition. Paintbox Yarns Cotton DK, YarnArt Jeans, or Hobbii Friends Cotton 8/6 all work beautifully. Cotton blends give the crispest finish for a book cover.
Hook:
Notions:
Gauge
20 sc x 22 rows = 4 inches (10 cm) in single crochet, blocked.
The main jacket math uses this gauge: 65 sc = 13 inches (33 cm) wide, and 47 rows = 8.5 inches (21.5 cm) tall.
Please take time to check your gauge. If your fabric feels loose or floppy, go down one hook size. You want a firm fabric that holds the book well.
Stitch Abbreviations and Definitions
Before we start, let me walk you through every stitch and term you will encounter:
UK crocheters note: US sc = UK dc. US dc = UK tr.
Special Techniques
Scallop loop edging: Slip stitch in next border stitch, chain 3, slip stitch in next border stitch. Repeat to make small white loops all around the edge.
Daisy petal: Chain 5, working into the same center stitch: dc, hdc, sl st. This forms one rounded petal.
Surface stem: With green yarn held on top of the fabric, insert hook from front to back and up again a short distance away, yarn over, pull through fabric and loop on hook. Repeat like a chain stitched onto the surface.
Pattern Notes
Construction Order
This is the roadmap for the entire project:
1. Crochet the main yellow jacket rectangle
2. Add the white border and scalloped edging
3. Work inside flaps directly onto the short edges
4. Make the striped closure tab and sew it to the back edge
5. Crochet paisley, daisies, leaves, and orange blossoms
6. Block all pieces, sew appliques in place, add snap, and weave in ends
Main Book Jacket Instructions
Use butter yellow. Make one.
Base Rectangle
Foundation: Ch 66.
Row 1: Sc in 2nd ch from hook and in each ch across. Ch 1, turn. (65 sc)
Rows 2-47: Sc in each st across. Ch 1, turn after Rows 2-46 only. (65 sc each row)
Checkpoint: Your piece should measure about 13 inches (33 cm) wide x 8.5 inches (21.5 cm) tall after light blocking.
White Border and Scallops
Border Rnd 1: Join white in any corner. Ch 1. Work (sc, ch 2, sc) in the corner, 65 sc across the top, (sc, ch 2, sc) in next corner, 47 sc down the side, (sc, ch 2, sc) in next corner, 65 sc across the foundation edge, (sc, ch 2, sc) in next corner, 47 sc up the side. Join with sl st to first sc. (232 sc + 4 ch-2 corner spaces)
Border Rnd 2: Ch 1. Sc in each sc around, working (sc, ch 2, sc) in each corner ch-2 sp. Join. (240 sc + 4 ch-2 corner spaces)
Scallop Rnd 3: *Sl st in next sc, ch 3; rep from * around each side. At each corner, sl st in corner ch-2 sp, ch 3, sl st in same sp. Join and fasten off. (120 side loops + 4 corner loops)
Inside Flaps
Make two flaps, one on each short edge.
Left flap setup: With RS facing, join butter yellow at top of one short edge inside Border Rnd 2. Work 47 sc evenly along the side edge. Ch 1, turn. (47 sc)
Rows 1-10: Sc in each st across. Ch 1, turn after Rows 1-9 only. (47 sc each row)
Fasten off. Repeat on the opposite short edge for the right flap.
Fold flaps to WS and pin around the book boards before sewing the top and bottom flap edges to the jacket.
Striped Closure Tab
With white, ch 13.
Row 1: Sc in 2nd ch from hook and in each ch across. Ch 1, turn. (12 sc)
Rows 2-3: Sc in each st across with white. Ch 1, turn. (12 sc)
Rows 4-5: Change to butter yellow; sc in each st across. Ch 1, turn. (12 sc)
Rows 6-17: Continue 2-row stripes, alternating white and butter yellow. Ch 1, turn after Rows 6-16 only. (12 sc each row)
Edge: Work 1 rnd sc evenly around the tab, placing 2 sc in each corner. Fasten off.
Sew one short end to the center back edge. Add a snap under the front end after fitting.
Tab checkpoint: The tab should measure about 2.2 inches (5.5 cm) tall x 3.25 inches (8.25 cm) long before sewing. Two small daisies are sewn onto the visible end.
Garden Appliques
Large Paisley Applique
Make 1 in white.
Ch 12.
Rnd 1: Sc in 2nd ch from hook, sc in next 8 ch, 3 sc in next ch, working down opposite side sc in next 8 ch, 2 sc in last ch. Join. (22 sc)
Rnd 2: Ch 1, 2 sc in first st, sc in next 8, 2 sc in each of next 3 sts, sc in next 8, 2 sc in each of last 2 sts. Join. (28 sc)
Rnd 3: Ch 1, sc in next 10, hdc in next 3, 2 dc in next 4, hdc in next 3, sc in next 8. Join. (32 sts)
Finish: Surface chain a golden spiral inside the widest end and a curved stem line toward the point. Add a white sl-st outline if desired.
Daisies
Large daisy, make 3.
With golden yellow, make magic ring, ch 1, 8 sc in ring, join. (8 sc)
Petals: Change to white. *(Sl st in next st, ch 5, dc in same st, hdc in same st, sl st in same st); rep from * around. (8 petals)
Small tab daisy, make 2.
Work center as above with 6 sc. Make 6 petals using ch 4, hdc, sl st in same st. (6 petals)
Leaves and Blossoms
Leaf, make 12-16.
With green, ch 7. Sl st in 2nd ch, continue working along the chain, 3 sc in last ch. Work along opposite side. (13 sts around)
Orange blossom, make 5.
With orange, magic ring, work petals into ring, pull ring closed. (5 petals)
Stems: Surface chain green stems directly onto the fabric, or crochet short ch lengths and sew them down.
Placement Map
Arrange the paisley from upper right toward center. Place three large daisies in a loose cluster across the lower center, orange blossoms around them, and green leaves along two rising stems. Keep bulky motifs at least 0.5 inches (1.25 cm) away from the book spine fold and closure snap.
Assembly and Finishing
1. Block the main jacket flat to the finished measurements. Let dry completely.
2. Wrap the jacket around the book. Fold flaps to the WS and pin them snugly around the covers. Remove the book carefully and sew only the top and bottom flap edges to the jacket.
3. Sew the closure tab to the back edge, centered vertically. Add the snap so the tab closes smoothly without pulling.
4. Pin the paisley and flowers. Sew through applique edges and centers with matching yarn tails. Secure all tails on the WS.
5. Add the two small daisies to the visible end of the tab. Steam lightly from a distance if needed. Do not flatten the petals completely.
Size Customization
To fit another book, measure the full wrap width: front cover width + spine width + back cover width + two inside flaps. Multiply the desired width in inches by your sc gauge per inch, then add 1 chain. For height, multiply book height by your row gauge per inch. Keep the border and flap instructions the same, adjusting flap rows to about 25-30% of the book cover width.
Troubleshooting Common Issues
Cover too loose: Use a smaller hook or sew the inside flaps slightly deeper.
Edges ripple: Use fewer stitches along row-end sides or block gently into a rectangle.
Edges pull inward: Add a few extra side-edge stitches, especially near corners.
Appliques curl: Block appliques separately and sew around outer edges, not just centers.
Tab strains: Move the snap closer to the book edge or lengthen the tab by adding stripe rows.
Care Instructions
Spot clean whenever possible. For full cleaning, hand wash gently in cool water, roll in a towel, reshape on the book-cover dimensions, and dry flat. Remove from the book before washing. Avoid high heat and aggressive wringing.
Thank you so much for making this Sunshine Daisy book cover with me! I truly hope it brings a little sunshine to your reading time. If you make one, I would absolutely love to see it. Tag me on Instagram or share a photo on Facebook. Seeing your finished projects is the best part of sharing patterns.
If you loved this crochet book cover pattern, save it to your Pinterest boards so you can find it whenever you are ready to start. And please drop a comment below if you give it a try. I read every single one, and your notes help other makers too!
Want a Quick & Easy Printable Version?
Get a clean, beautifully formatted PDF of this pattern — easy to follow step by step, ready to print or save on any device. No scrolling, no distractions, just the pattern.
Get the Printable PDF →You Might Also Like
- Charcoal Gray Modern Lace Maxi Skirt Free Crochet Pattern
- Dusty Rose Open Weave Crochet Bolero Free Pattern
- Coral Sunset Gradient Chain Purse Free Crochet Pattern
- Strawberry Fields Granny Square Tote Free Crochet Pattern