
Looking for a cozy layering piece that works up in cheerful colors and keeps the chill away? This Rainbow Pastel Granny Square Poncho is exactly what you need. Built from 28 flower-center granny squares joined on the diagonal, it creates a flattering V neckline and a dramatic pointed hem that drapes beautifully over jeans or dresses. The construction uses basic granny clusters, so if you can double crochet (dc) and chain (ch), you already have the skills. It makes an impressive handmade gift or a stunning addition to your own wardrobe, and the modular nature means you can work on squares anywhere, anytime.
Get the Ad-Free PDF Pattern
You can find the free pattern below, or you can purchase the ad-free printable PDF from my shop.
Get the Printable PDF →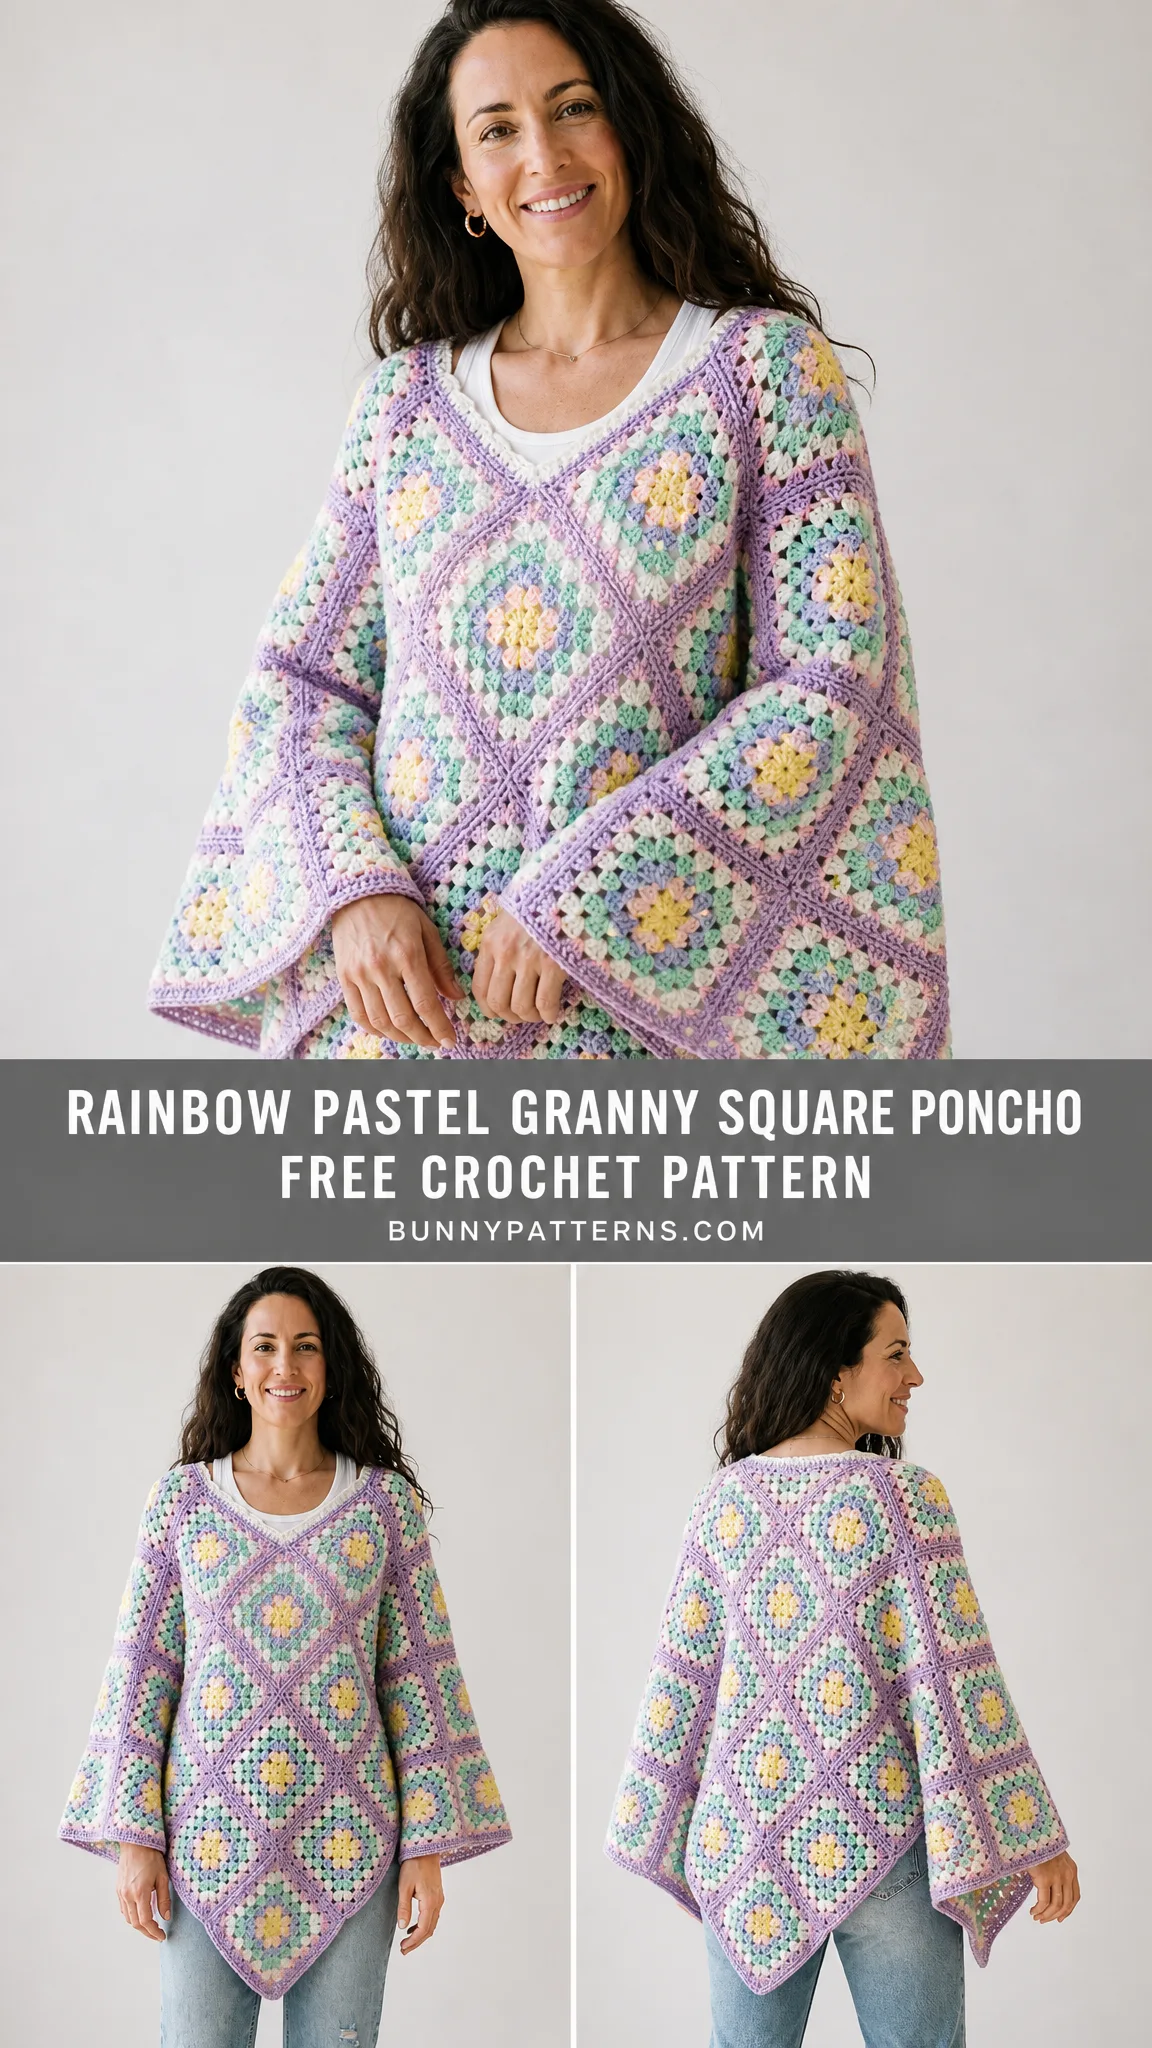
Why You Will Love This Poncho Pattern
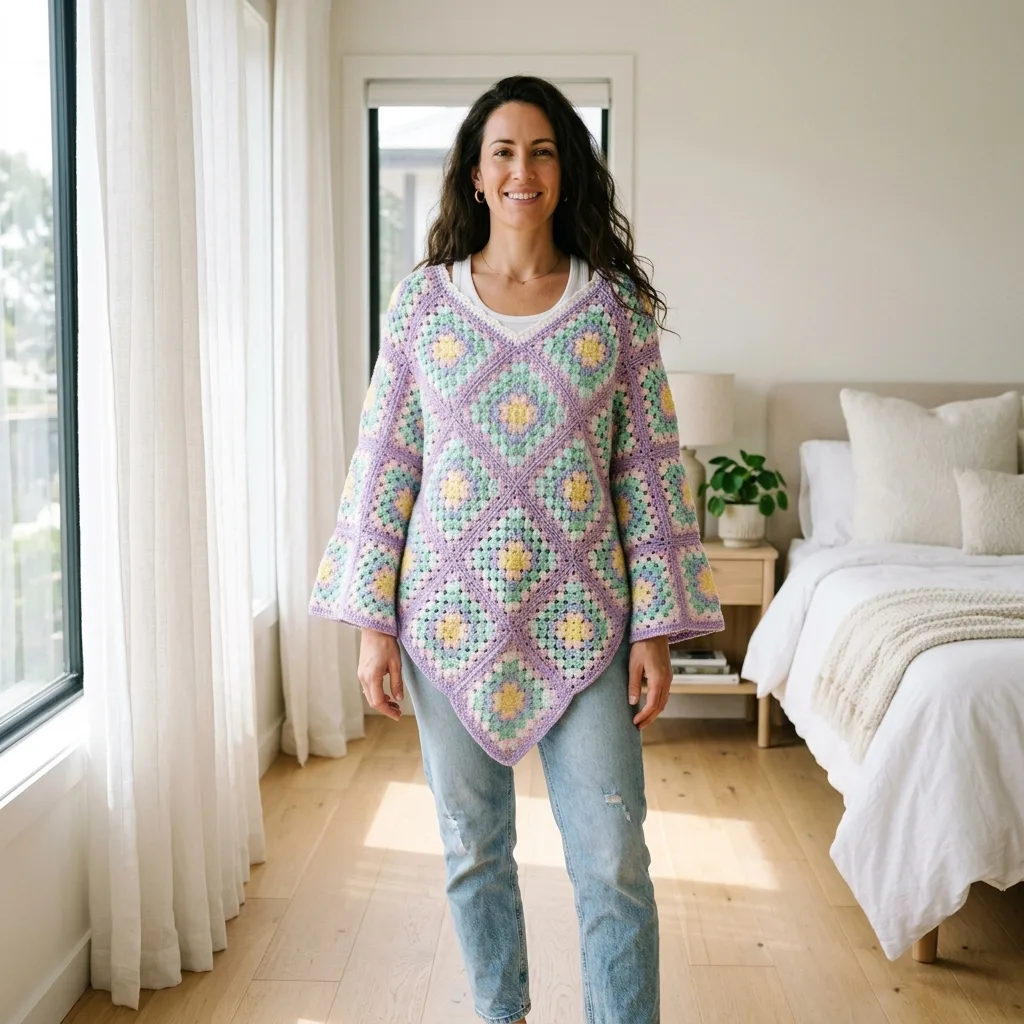
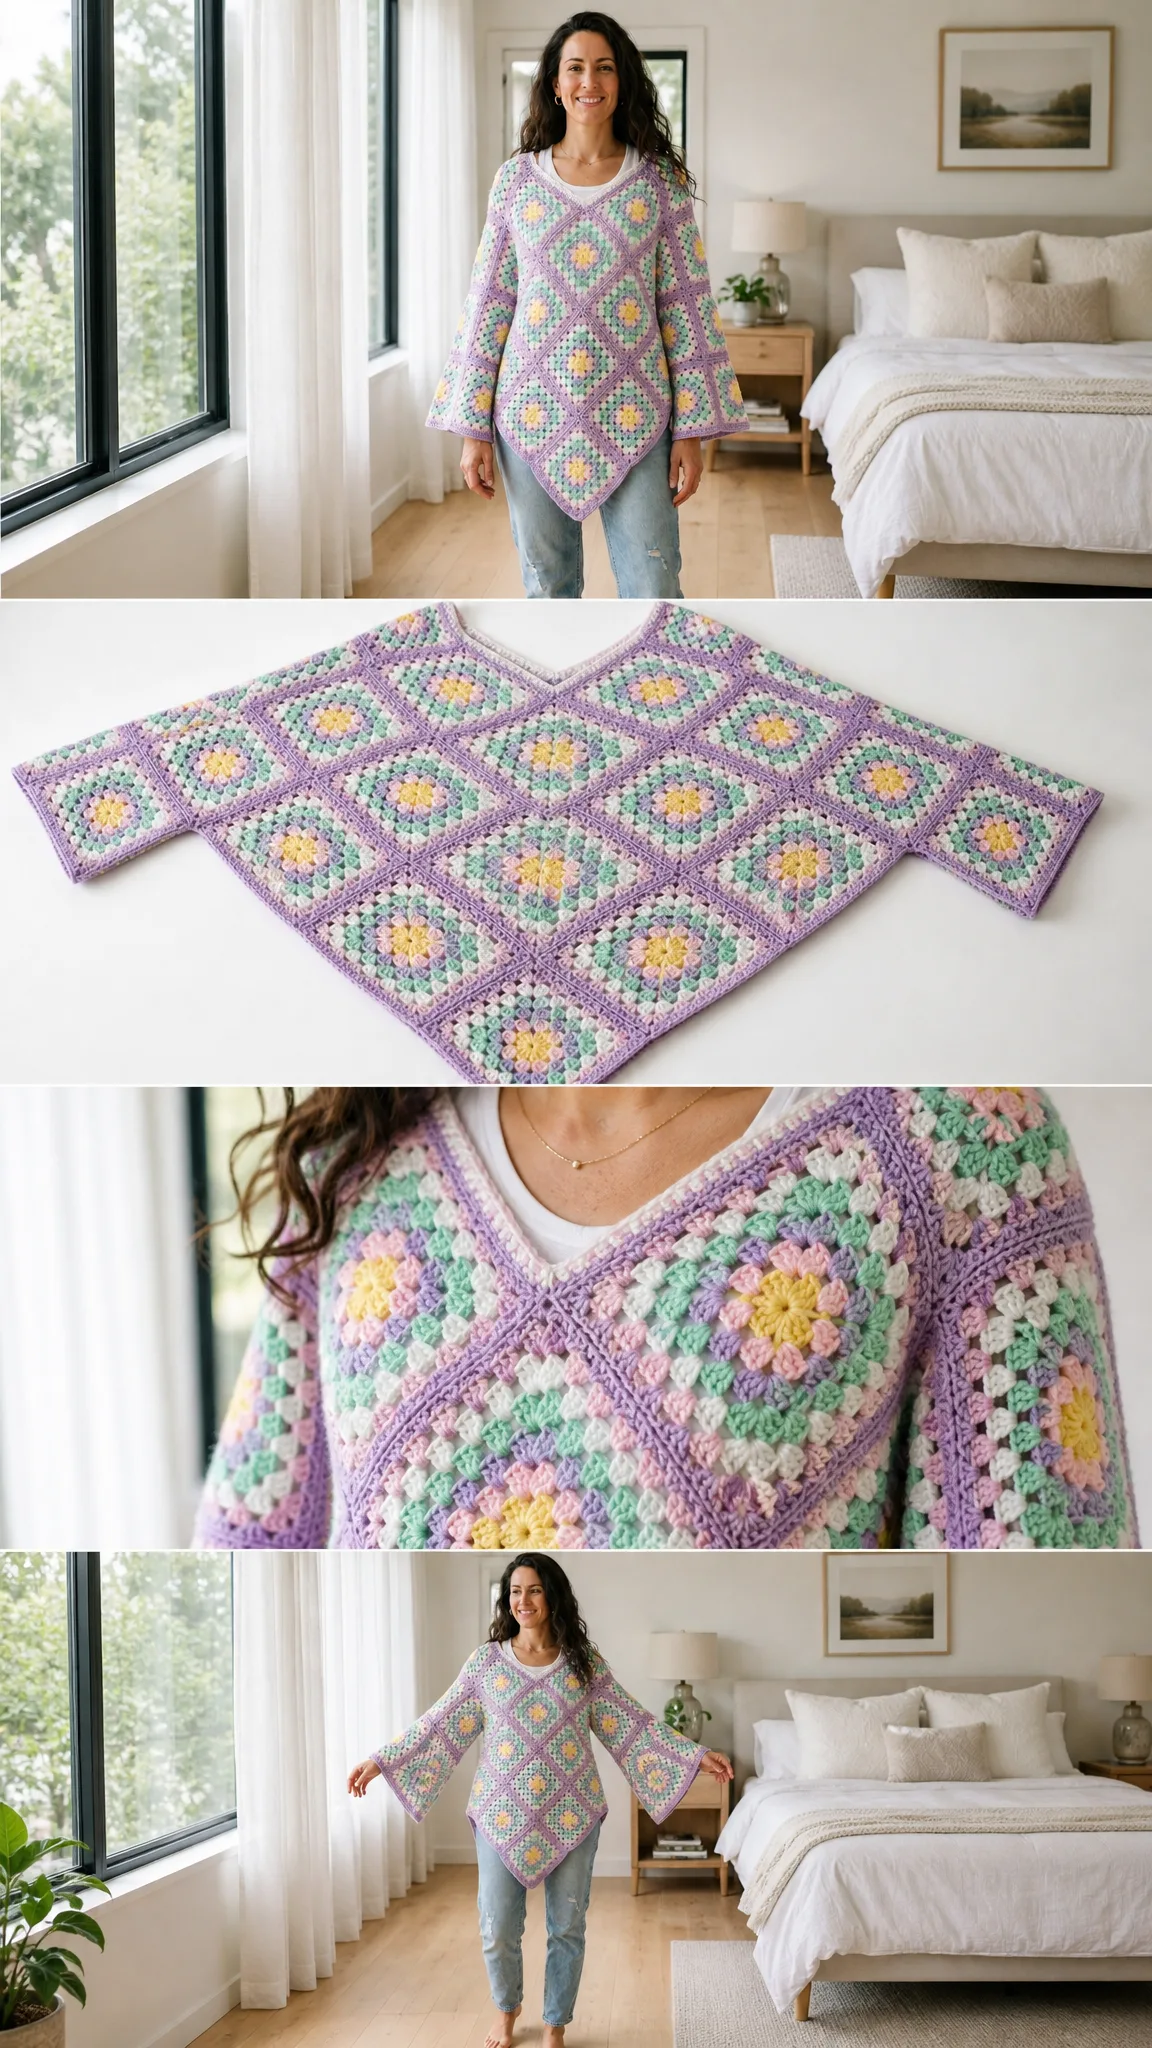
This poncho combines the nostalgic charm of granny squares with a modern, wearable silhouette. Each square features a yellow center that blooms outward through soft pink, mint, aqua, and lavender rounds, creating that rainbow pastel effect visible in the finished piece. The squares sit on point like diamonds, giving the poncho visual movement and a boho-chic vibe.
What makes this pattern special:
The skill level sits at adventurous beginner to intermediate. You will work granny clusters, change colors between rounds, block your motifs, join squares in a planned layout, and edge a shaped neckline and hem. If any of those techniques are new to you, do not worry. This pattern walks you through each step.
Materials You Will Need
Gather these supplies before you begin:
Yarn: DK or light worsted weight acrylic, cotton-acrylic blend, or wool blend. You will need approximately 1,250 to 1,450 yards (1,145 to 1,326 meters) total.
Recommended yarn options: Lion Brand Mandala DK, Stylecraft Special DK, or Paintbox Yarns Simply DK. For a cotton-rich drape, try a DK cotton-acrylic blend.
Colors needed:
Hook: US G/6 (4.0 mm), or size needed to match gauge
Tools: Tapestry needle, locking stitch markers, scissors, blocking mats and pins, tape measure
Gauge
Getting gauge right is essential for this pattern because all 28 squares must match in size for clean joining and proper finished dimensions.
One 6-round motif blocked = 6 inches x 6 inches (15 cm x 15 cm)
In cluster fabric after blocking: approximately 4 granny clusters and 6 rounds = 4 inches (10 cm)
Always make a test square first and block it before measuring. If your square is too large, try a smaller hook. If it is too small, go up a hook size. Matching the blocked motif size matters more than matching the yarn label weight.
Finished Dimensions
This poncho has generous ease and is not bust-fitted. It drapes loosely over shirts, dresses, and layered outfits.
Abbreviations and Stitch Guide
This pattern uses US crochet terms. UK crocheters, note that US dc equals UK tr, and US sc equals UK dc.
Special Techniques
Granny Cluster: Work 3 dc in the same ch-sp. The ch-1 spaces between clusters create the classic open granny texture.
Corner: Work (3 dc, ch 2, 3 dc) in the same corner ch-2 sp unless the round says otherwise.
Invisible Join: After the final stitch of a round, cut yarn and pull the tail through. Thread your tapestry needle under both top loops of the first stitch, then back down through the last stitch to mimic a stitch. Weave in the tail on the wrong side.
Flat Slip-Stitch Join: Hold two motifs with wrong sides together and edges matching. With lavender yarn and your hook, insert through the outer loop of the front motif and the outer loop of the back motif, yarn over, slip stitch. Continue across the edge, keeping the join relaxed.
How to Make the Granny Square Motifs
Make 28 motifs total. Change color after each round using the color plan. The ch-3 at the beginning of each round counts as 1 dc.
Color Plan Per Motif
Motif Instructions
Round 1: With yellow, ch 4, sl st to first ch to form ring. Ch 3, 2 dc in ring, ch 2, 3 dc in ring, ch 2; rep from 3 times, sl st to top of beg ch-3. (4 clusters, 12 dc, 4 corner ch-2 sps)
Round 2: Join pink in any corner. Ch 3, 2 dc in same corner, ch 2, 3 dc in same corner, ch 1, corner in next corner, ch 1; rep from 3 times, sl st. (8 clusters, 24 dc, 4 ch-1 sps)
Round 3: Join mint in any corner. Ch 3, 2 dc in same corner, ch 2, 3 dc in same corner, ch 1, 3 dc in next ch-1 sp, ch 1, corner in next corner, ch 1, 3 dc in next ch-1 sp, ch 1; rep from 3 times, sl st. (12 clusters, 36 dc, 8 ch-1 sps)
Round 4: Join aqua in any corner. Work corner, ch 1, then work 3 dc in each ch-1 sp along side with ch 1 between clusters; rep around, sl st. (16 clusters, 48 dc, 12 ch-1 sps)
Round 5: Join pink or mint in any corner. Work corner, ch 1, then work 3 dc in each ch-1 sp along side with ch 1 between clusters; rep around, sl st. (20 clusters, 60 dc, 16 ch-1 sps)
Round 6: Join lavender in any corner. Work corner, ch 1, then work 3 dc in each ch-1 sp along side with ch 1 between clusters; rep around, invisible join. (24 clusters, 72 dc, 20 side ch-1 sps + 4 corner ch-2 sps)
Motif Stitch Count Key
Each completed motif has:
Important checkpoint: After blocking, each motif should measure 6 inches (15 cm) square. If your motif is larger or smaller by more than 1/4 inch (6 mm), adjust your hook size before making all 28.
Blocking Your Motifs
Wet-block or steam-block every motif to the same 6 inch (15 cm) size. Pin corners square and let dry completely. Matching motif size is the easiest way to achieve smooth poncho edges and clean joining.
I recommend weaving in the center yarn tails on each motif before blocking. This saves time later and keeps those ends from poking out.
Layout and Joining
Rotate each square so it sits like a diamond with one corner pointing up. You will make one front panel and one back panel using the same layout.
Panel Layout (Make 2)
“`
Row 1: ◆ ◆
Row 2: ◆ ◆ ◆
Row 3: ◆ ◆ ◆ ◆
Row 4: ◆ ◆ ◆
Row 5: ◆ ◆
“`
The top row forms the V neckline. The bottom row forms the pointed hem. Each panel uses 14 motifs, for a total of 28 motifs.
Joining Steps
Step 1: Lay all motifs RS up. Balance color variation so matching pink or mint Round 5 motifs are scattered throughout. Taking a photo of your layout helps you remember placement.
Step 2: Using the flat slip-stitch join with lavender yarn, join touching motif edges. Join motifs within each row first, then join the rows together. Do not pull tight.
Step 3: Repeat the layout and joining for the second panel.
Step 4: Place front and back panels WS together. Join shoulder edges from each top outside point toward the neckline for one full motif side on each side. Leave the center V open for your head.
Step 5: Join the lower side edges for two full motif sides on each side, leaving the lower points and draped hem open.
Checkpoint: Before edging, the joined poncho should measure approximately 42 inches (107 cm) across at the widest side points and approximately 25.5 inches (65 cm) from shoulder high point to front hem point.
Neck Edging
Use lavender unless noted. For exposed motif sides, work 23 sc along each full motif side. Work 3 sc in outside points and sc2tog over the two center stitches at inside V valleys to keep the edge flat.
Round 1: Join at back neck. Sc evenly around neck opening: 23 sc along each full exposed motif side, 3 sc in each shoulder point, sc2tog at front V and back V valleys. Adjust only by 1 to 2 sts if needed for flatness. Target count: 104 sc
Round 2: Ch 1, sc in each st around, working 3 sc in each shoulder point and sc2tog at each V valley. Sl st to first sc. (106 sc)
Round 3: With cream, ch 1, hdc in each st around, placing 2 hdc at each shoulder point and hdc2tog at each V valley. Sl st. (106 hdc)
Round 4: With lavender, ch 1, sc in each st around. Sl st, fasten off. (106 sc)
Helpful tip: If the neck ripples, remove 4 to 8 stitches evenly on the next round. If it pulls tight, add 4 to 8 stitches evenly. Keep the V decreases at the front and back valleys.
Lower Hem and Sleeve Edge Edging
Round 1: Join lavender at one side point. Work 23 sc along each exposed motif side around the full lower perimeter, 3 sc in each outside point, and sc2tog at each inside valley. Target count: 374 sc
Round 2: Ch 1, sc in each st around, working 3 sc in each outside point and sc2tog at each inside valley. Sl st. (382 sc)
Round 3: Ch 1, sc in next 2 sts, ch 3, sl st in first ch made for picot, sc in next 3 sts; rep from around, easing the repeat at points as needed. Approximately 382 base sts
Round 4 (Optional clean edge): Sl st loosely in each sc and each picot base around. Fasten off.
Custom Fit Adjustments
To Make It Wider
Use larger motifs by going up a hook size, or add one motif to the widest center row of both panels. Keep the panels symmetrical and add the same change to front and back.
To Make It Longer
Add one motif to the bottom point of each panel, or add extra lower edging rounds. One added 6 inch (15 cm) motif on point adds approximately 8.5 inches (21.5 cm) of length.
To Adjust the Neckline
For a smaller neck opening, add one extra sc round with 4 evenly spaced decreases away from the V points. For a wider neck, add fewer decreases at the V valleys and block the opening gently.
Troubleshooting Common Issues
Motifs cup: Corners may be too tight. Use relaxed ch-2 corners and block square.
Motifs ruffle: Tension may be loose or corner chains too long. Go down a hook size.
Joins pucker: Slip-stitch join is too tight. Redo with a looser hand or a larger hook.
Edges wave: Too many picked-up stitches. Reduce along straight sections.
Edges pull: Too few picked-up stitches. Add evenly along straight sections.
Finishing and Care
Weave in all remaining ends on the wrong side, following yarn paths through matching colors to hide them well. Lightly steam or wet-block the finished poncho, pinning the front and back points straight.
Care instructions: Hand wash or machine wash gentle in cool water according to your yarn label. Lay flat to dry to maintain the shape and prevent stretching.
Final Thoughts on This Rainbow Pastel Granny Square Poncho Pattern
This poncho truly showcases what granny squares can become when arranged thoughtfully. The diagonal diamond layout, the pastel rainbow progression, and the elegant pointed hem all work together to create something special. Whether you make it for yourself or as a gift, it is the kind of handmade piece that gets compliments everywhere you wear it.
The modular construction means you can tuck a few squares into your bag and work on them during lunch breaks or while watching your favorite show. Before you know it, you will have 28 beautiful motifs ready to join into a stunning wearable.
I hope you enjoy making this cozy poncho as much as I enjoyed designing it. If you found this pattern helpful, I would love it if you saved it to your Pinterest boards so you can find it easily later. And please drop a comment below if you make one. Seeing your finished projects absolutely makes my day!
Want a Quick & Easy Printable Version?
Get a clean, beautifully formatted PDF of this pattern — easy to follow step by step, ready to print or save on any device. No scrolling, no distractions, just the pattern.
Get the Printable PDF →You Might Also Like
- Strawberry Fields Granny Square Tote Free Crochet Pattern
- Pastel Pink Dragon Amigurumi Plush Free Crochet Pattern
- Wildflower Meadow Crochet Pot Free Crochet Pattern
- Ocean Blue Coastal Granny Square Backpack Crochet Pattern