
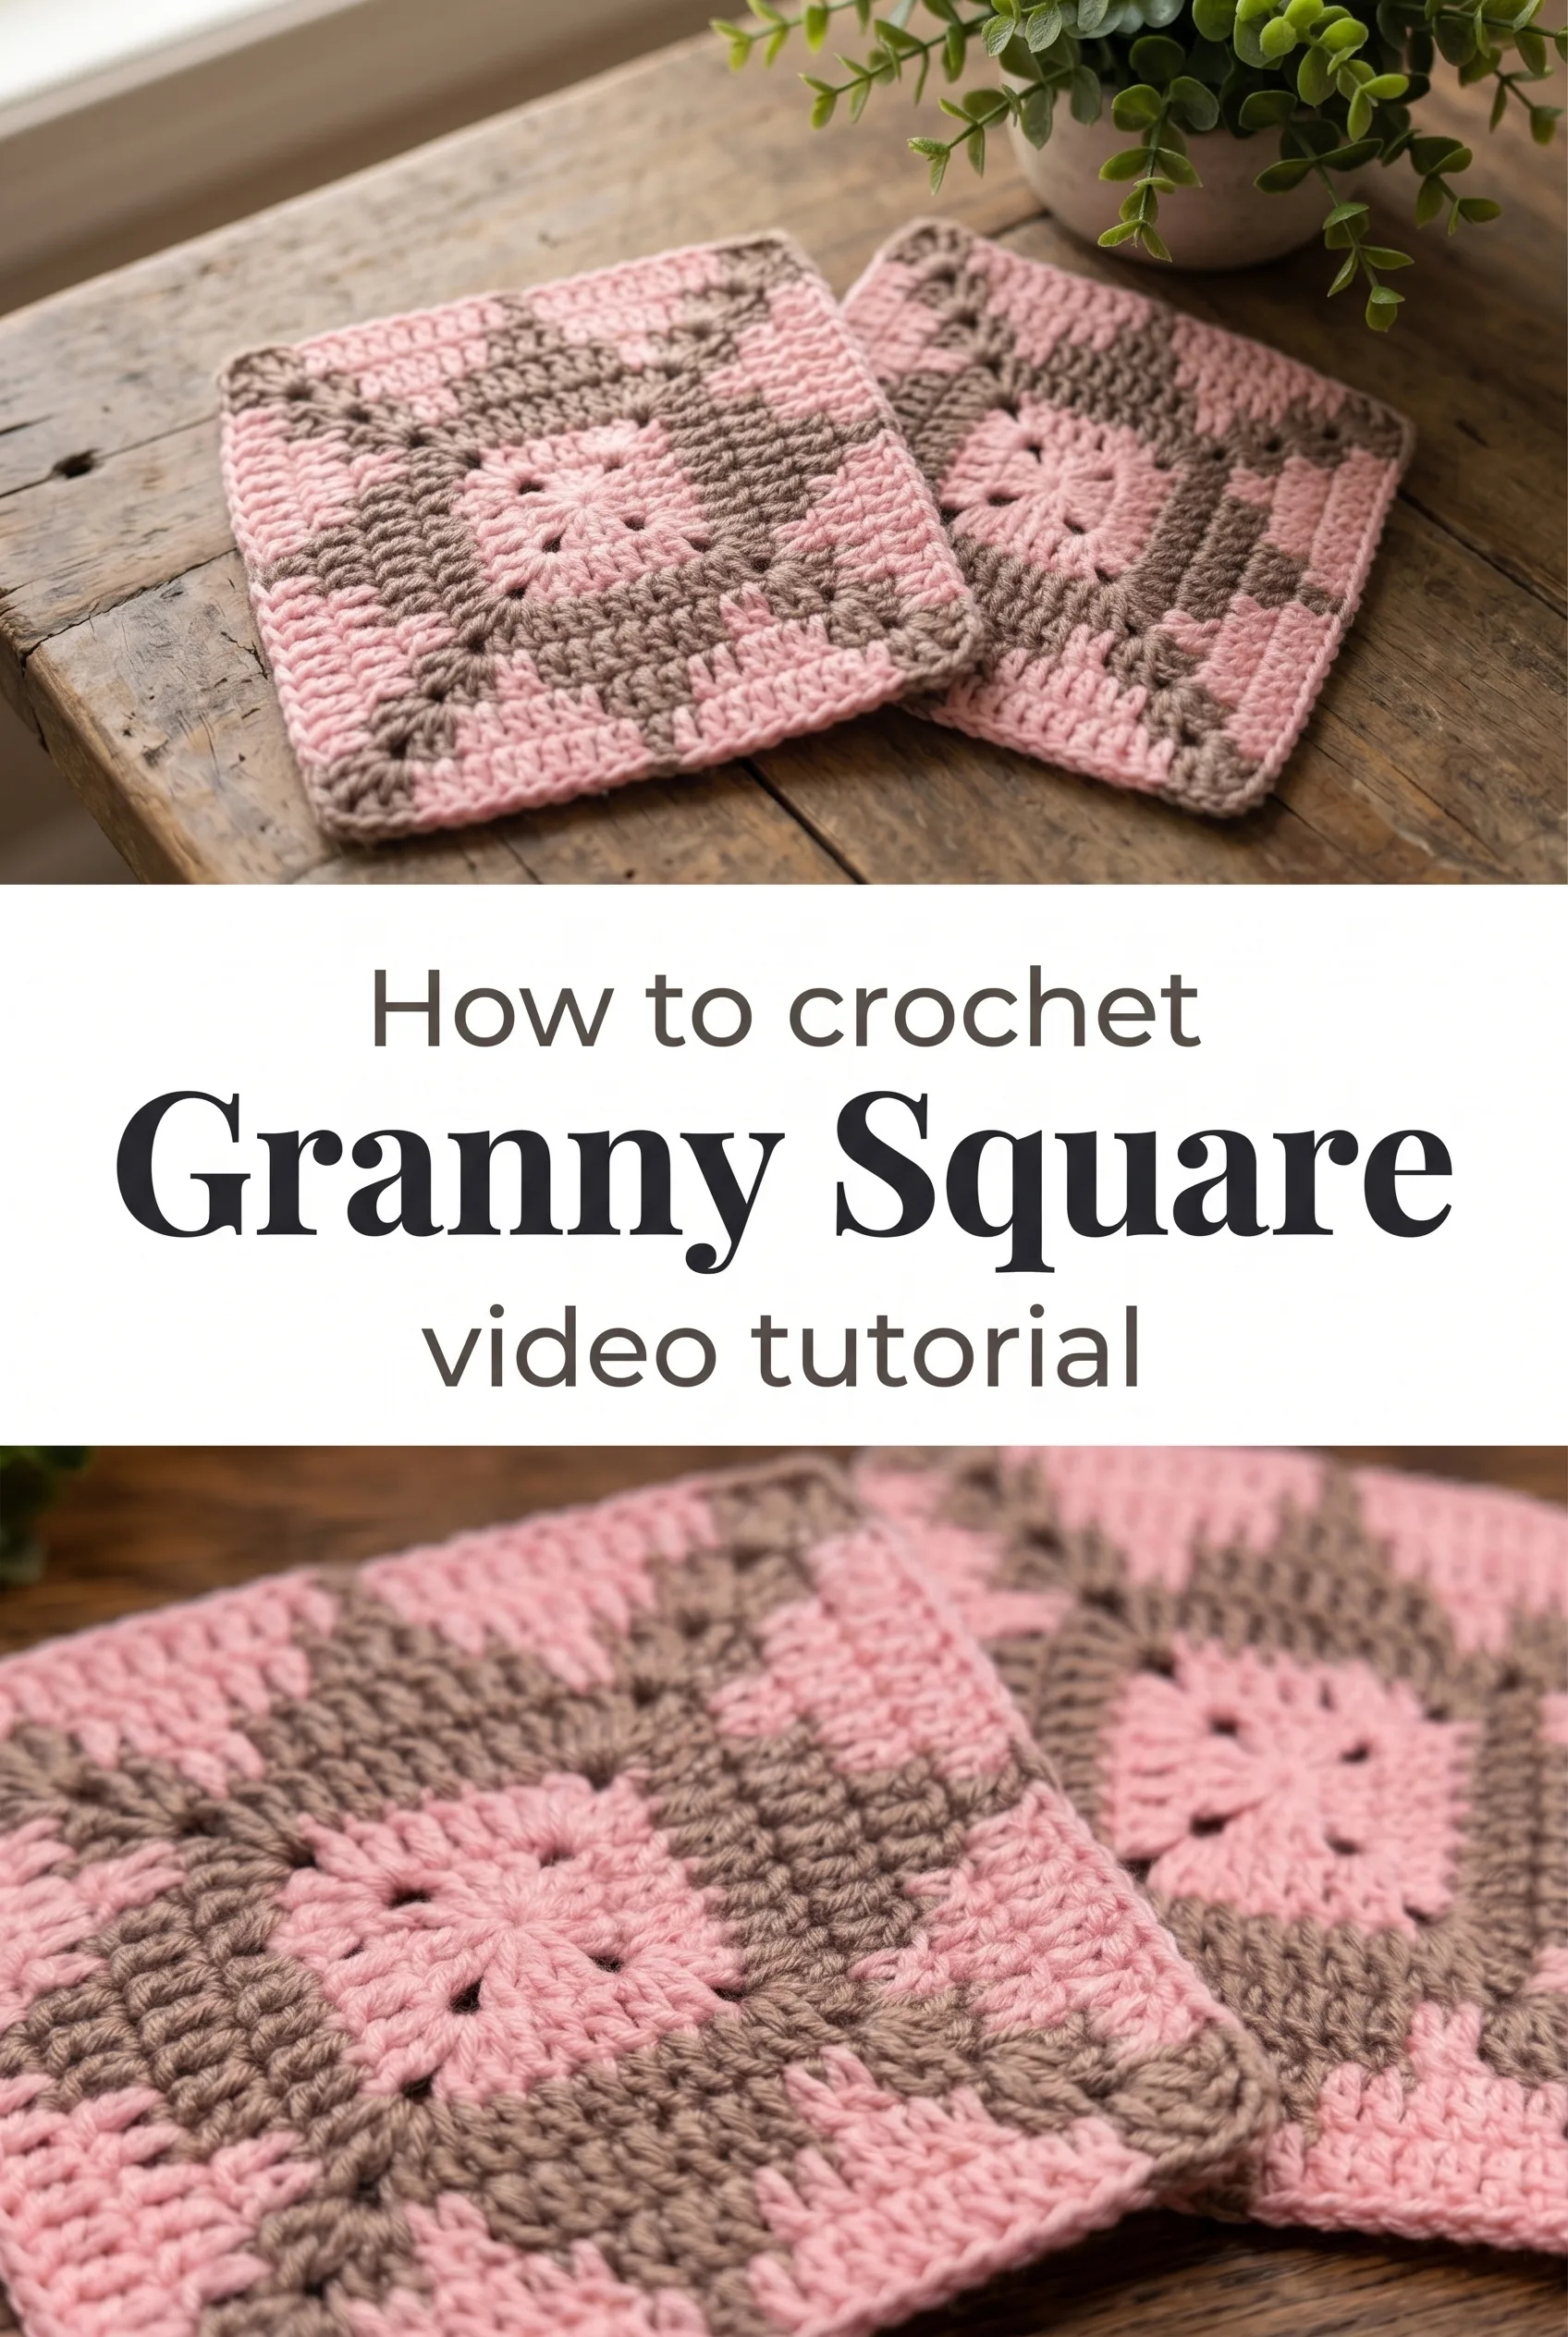
I am absolutely obsessed with this two-color crochet granny square design, and I cannot stop making them! The way the warm blush pink and soft taupe spiral outward from that delicate central flower creates something that looks almost architectural, like geometry learned softness.
The Granny Square
The crochet granny square has carried generations of makers through slow Sunday afternoons and late-night creative sessions, and this particular version feels like it was designed to be cherished. Starting from a small central ring of DC clusters that bloom into a pinwheel formation, the two-color construction gives it a graphic quality that sits somewhere between vintage and contemporary. It is structured enough to hold its shape beautifully when blocked, yet the open lacework at the center keeps it from feeling heavy or stiff. Whether you are a seasoned crocheter or someone just graduating from your first few projects, this square will meet you with open arms.
Granny Square Related Posts:
- Crochet Lace Doily: A Delicate Handcrafted Treasure
- Crochet Pearl Door Hanging: A Festive Decorative Accent
- Crochet Stitch Fabric: A Quick and Simple Foundation
- Crochet Versatile Stitch: A Universal Design Element
The color pairing shown in the tutorial, a dusty rose pink alongside a warm muted taupe, is genuinely beautiful and feels very aligned with current slow-fashion and cottagecore aesthetics. You could just as easily work this crochet granny square in sage green and cream for a botanical feel, or deep navy and soft gold for something more dramatic and bold. The two-color rhythm is part of what makes this square so satisfying to repeat across a full blanket or garment panel.
Materials and Tools
For this project, you will want to reach for a worsted weight yarn, as it gives the DC stitches that lovely plump definition you can see in the reference images. A smooth cotton or cotton-acrylic blend works particularly well here because it shows stitch texture clearly and washes beautifully over time. Pick up a 4mm crochet hook, which strikes the ideal balance between a firm fabric and enough drape to keep the square from curling at the edges. A yarn needle for weaving in ends is the one small tool you will absolutely need, especially since color changes mean more tails to manage.
Stitch by Stitch
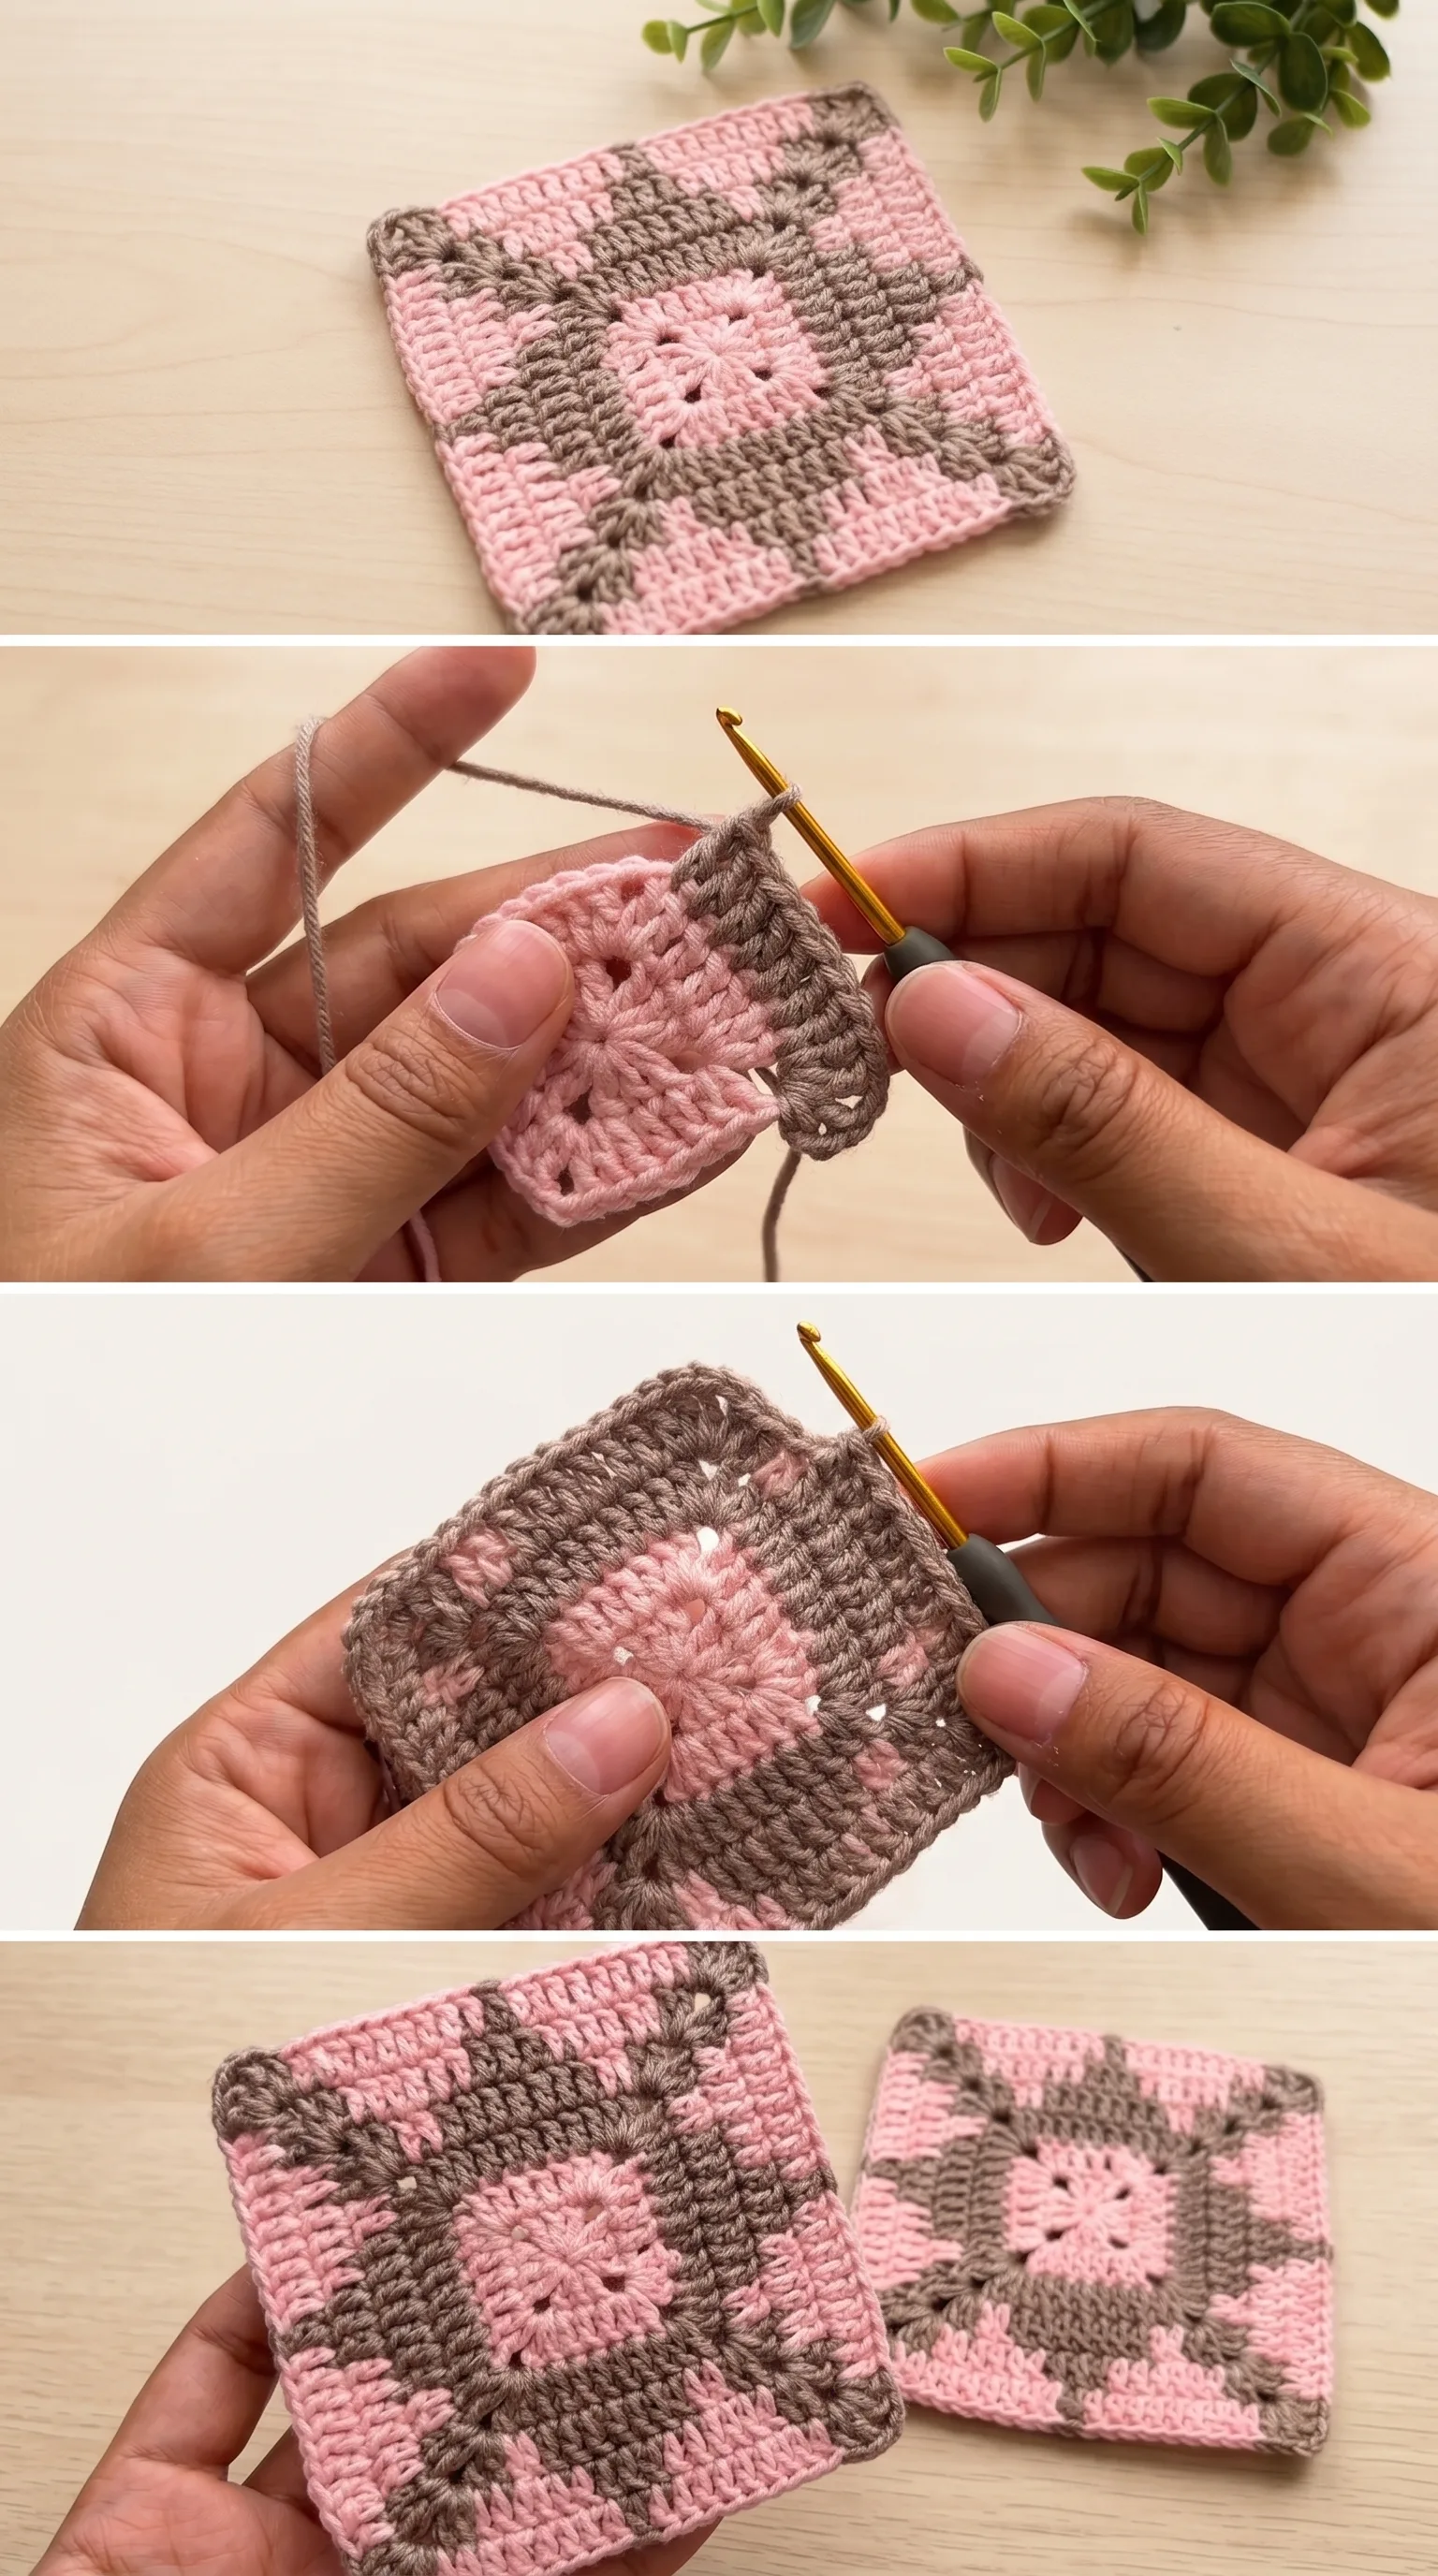
This crochet granny square uses a small, accessible vocabulary of crochet stitches that build in layers of visual complexity.
BULLET:MR (Magic Ring) The foundation of the square, this adjustable loop allows you to pull the center closed tightly so no hole remains at the heart of the flower.
BULLET:CH (Chain) Used to create the airy spaces between stitch clusters that give the center its delicate, open look.
BULLET:DC (Double Crochet) The workhorse stitch of this pattern, worked in clusters to form the pinwheel petals and the solid outer rounds.
BULLET:SC (Single Crochet) Appears in the border rounds to frame the square with a neat, flat edge that keeps corners crisp and clean.
There is something genuinely meditative about moving through rounds of DC clusters with a color change built into the rhythm, and many makers find that after the first square, their hands begin to anticipate each step before their eyes have caught up.
Construction
This crochet granny square is worked entirely in the round from the center outward, which means no seaming is required and the square grows visibly with every round completed. The central flower is established in the first few rounds using DC clusters separated by CH spaces, and from there the outer rounds fill in the corners and sides to create the classic square silhouette. Color changes happen at the end of a round rather than mid-stitch, which keeps the transitions clean and manageable even for beginners. If you want to adjust the finished size, simply add additional rounds in DC before working the final SC border, using either color as you prefer.
Wearing Your Granny Square
A finished crochet granny square is far more than a standalone swatch. Stitch several together and you have a lightweight summer bag, a patchwork cardigan panel, or a cozy lap blanket that grows one satisfying square at a time. Each finished piece will make you want to cast on the next immediately, which is perhaps the most telling sign of a truly good pattern.
Keeping Your Granny Squares Flat and Fresh
Once your squares are complete, wet blocking is the single most transformative step you can take before joining them into a larger project. Soak each square in cool water, gently press out the excess moisture without wringing, and pin to a blocking mat to dry flat, coaxing the corners into right angles as you go. For ongoing care, hand washing in cool water with a gentle detergent will keep cotton or cotton-blend squares looking crisp and bright over many uses. Store finished squares flat or rolled loosely rather than folded to prevent crease lines from setting into the fabric.
Every crochet granny square you complete is a small, made-by-hand object that carries real time and real care inside it, and that is worth celebrating. Follow the full video tutorial from Knitting Time to get started, and share your finished squares on Pinterest so other makers can find their next favorite make through your work.
Follow us on Pinterest and subscribe to the Newsletter so you don’t miss a thing!
Tutorial and photos of this granny square by: Knitting time🧶by Dina.