
Learn to crochet the Oreo Bag and carry something genuinely handmade wherever you go. Wear it to a weekend market, tuck it under your arm at brunch, or let it be the finishing touch on a breezy summer outfit.
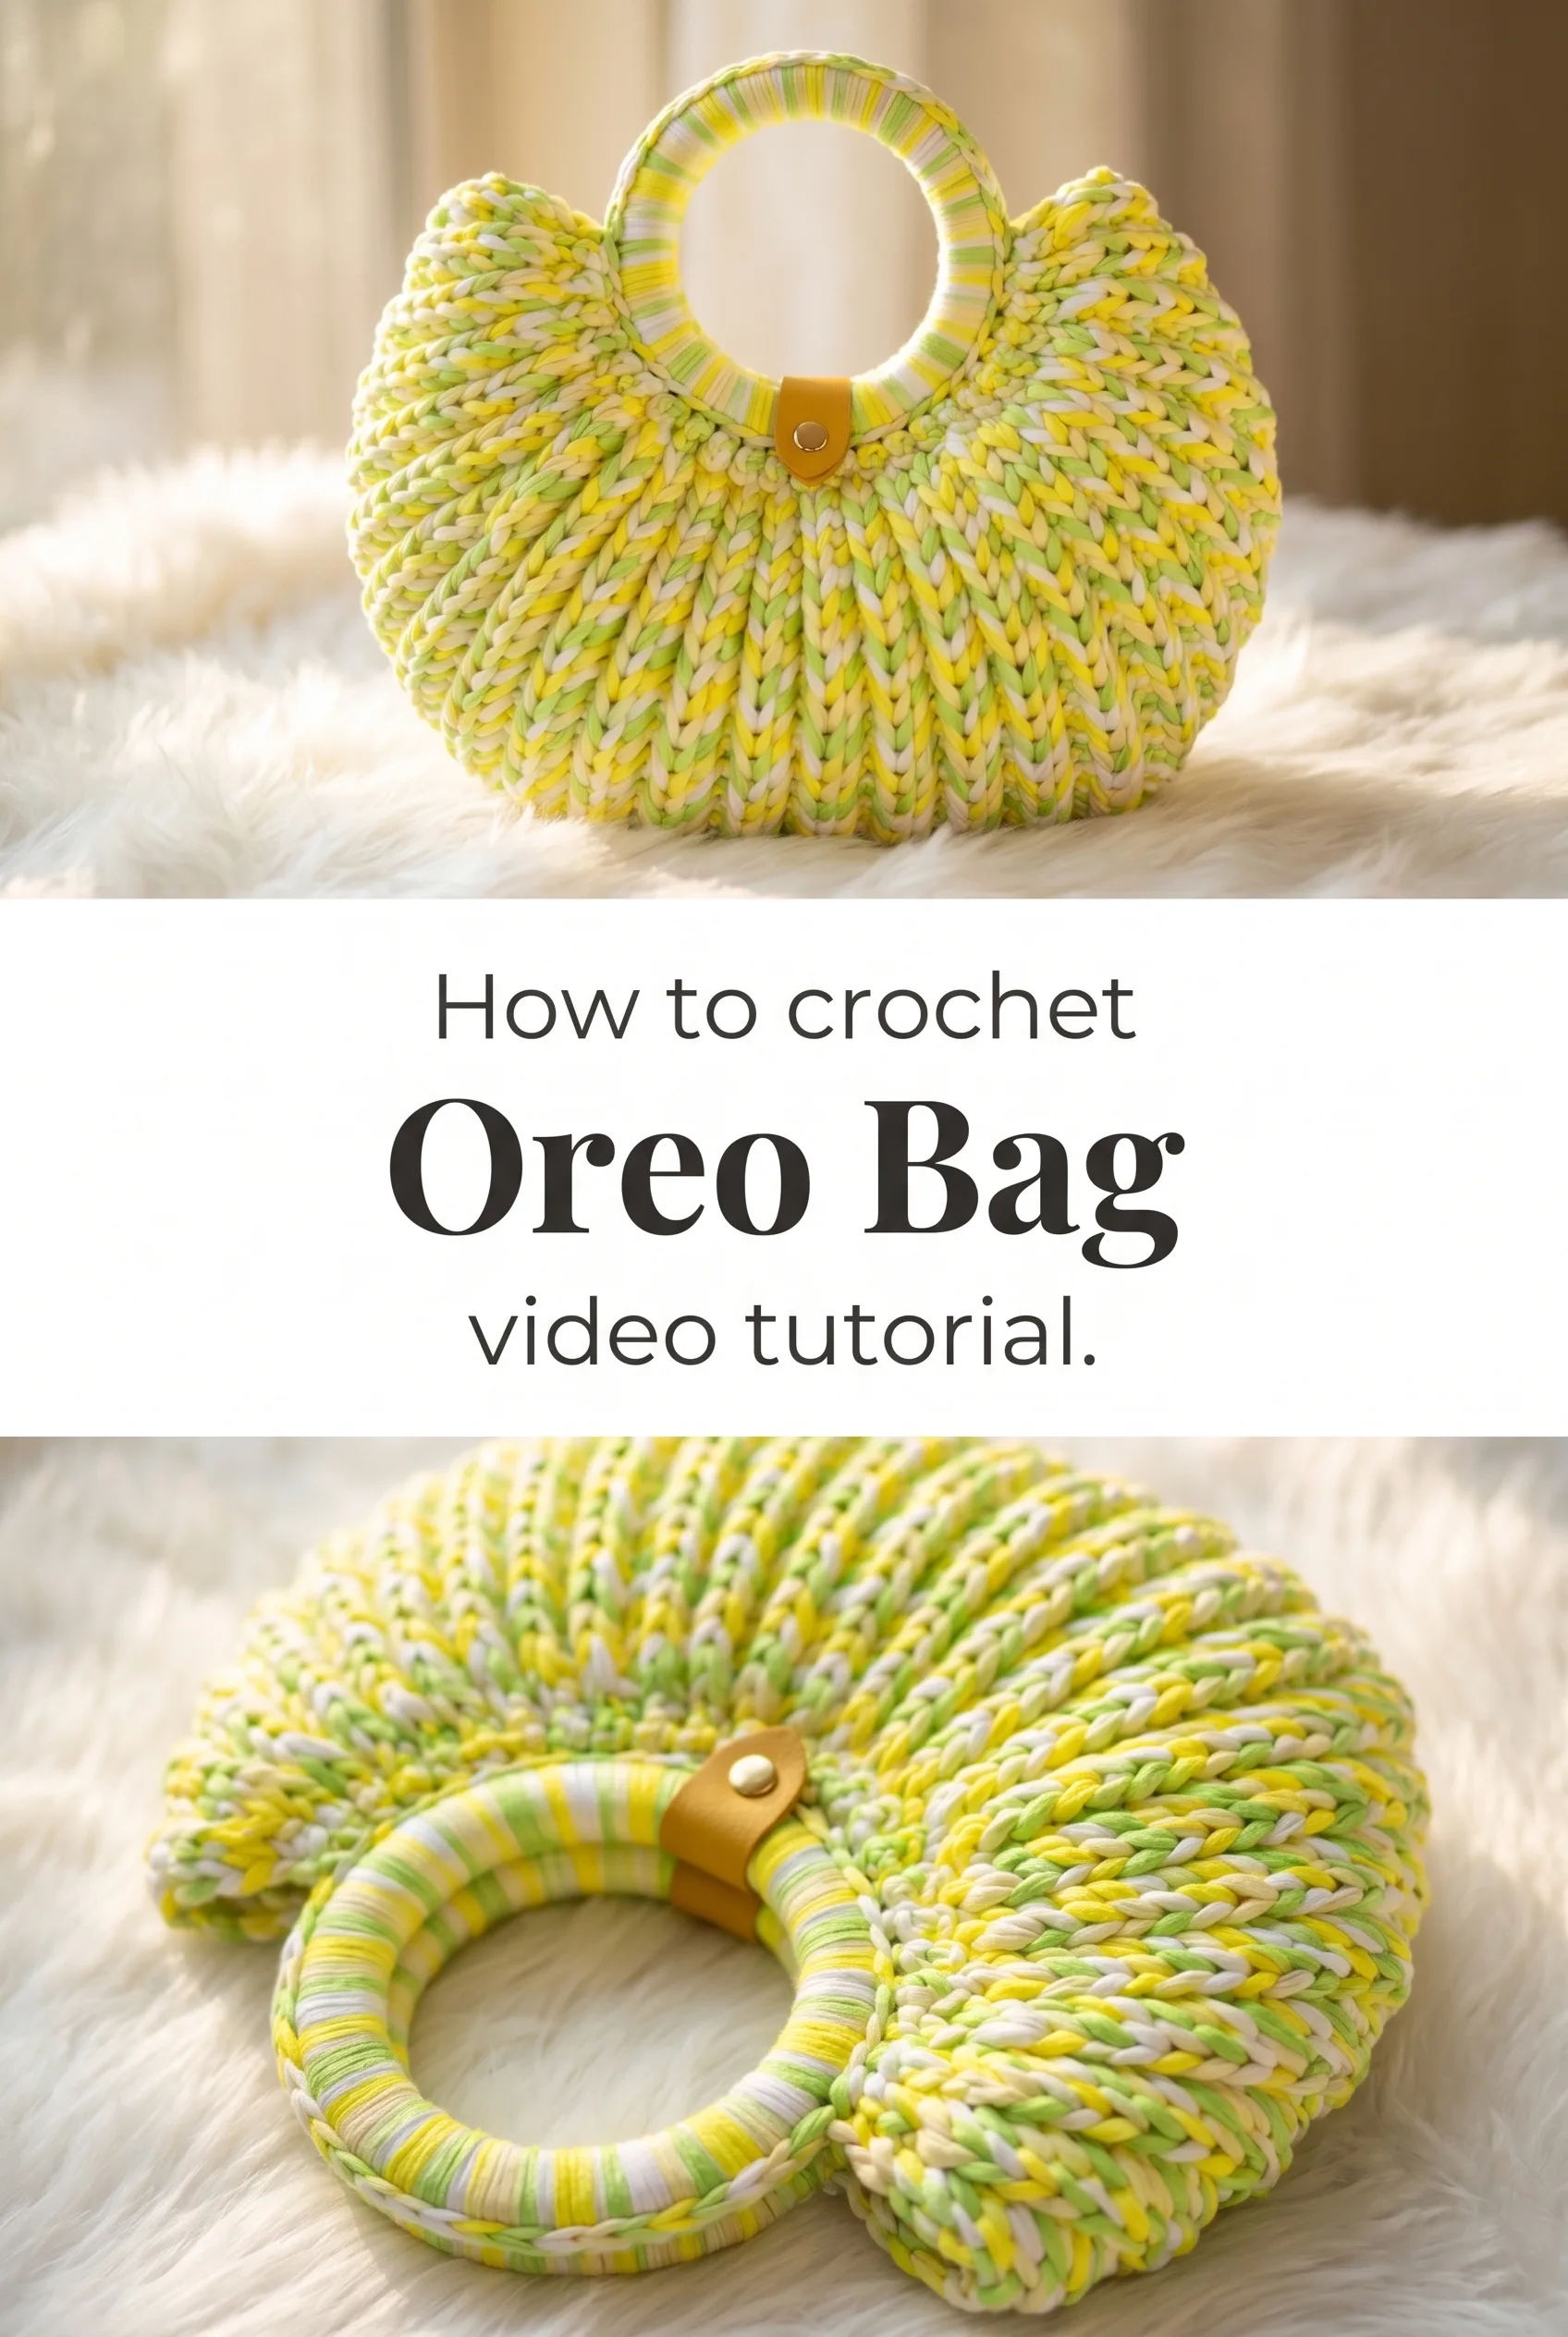
The Oreo Bag
The Crochet Oreo Bag is one of those pieces that stops people mid-sentence. Round, full, and satisfyingly puffy, it sits like a little cushion of craft in your hands, with a circular handle wrapped in yarn and a body that fans outward in rich, ribbed ridges. It is made for the crafter who wants their accessories to feel as good as they look, and who is not afraid of a bag that starts a conversation. Whether you are new to working with thick yarn or already comfortable building structure with your hook, this project welcomes you warmly.
Oreo Bag Related Posts:
- Crochet Animal Phone Pouch: A Playful Daily Companion
- Crochet Lace Collar: A Delicate Statement Piece
- Crochet Versatile Stitch: A Universal Design Element
- Crochet Zipper Pouch: A Practical Everyday Essential
The variegated colorway shown in the video tutorial pulls together soft white, lemon yellow, and mint green in a way that feels like early spring in fiber form. But the Crochet Oreo Bag translates just as beautifully in a single deep terracotta, a chalky oat, or a bold cobalt blue for those who prefer something more graphic. It is the kind of bag that works with a linen dress, a pair of high-waisted jeans, or even a co-ord set at a rooftop gathering.
Materials and Tools
The Crochet Oreo Bag is worked in chunky weight yarn, and the video uses a cotton-blend t-shirt style yarn that gives the bag its satisfying heft and those beautifully defined ridges. A 9mm or 10mm crochet hook is ideal here, allowing the stitches to sit close enough together for structure without becoming stiff or difficult to work. If you prefer a slightly softer result, a cotton-acrylic blend in the same chunky weight will behave similarly while offering a little more drape. You will also want a stitch marker to keep track of your rounds as the bag grows, and a yarn needle for finishing the handle attachment cleanly.
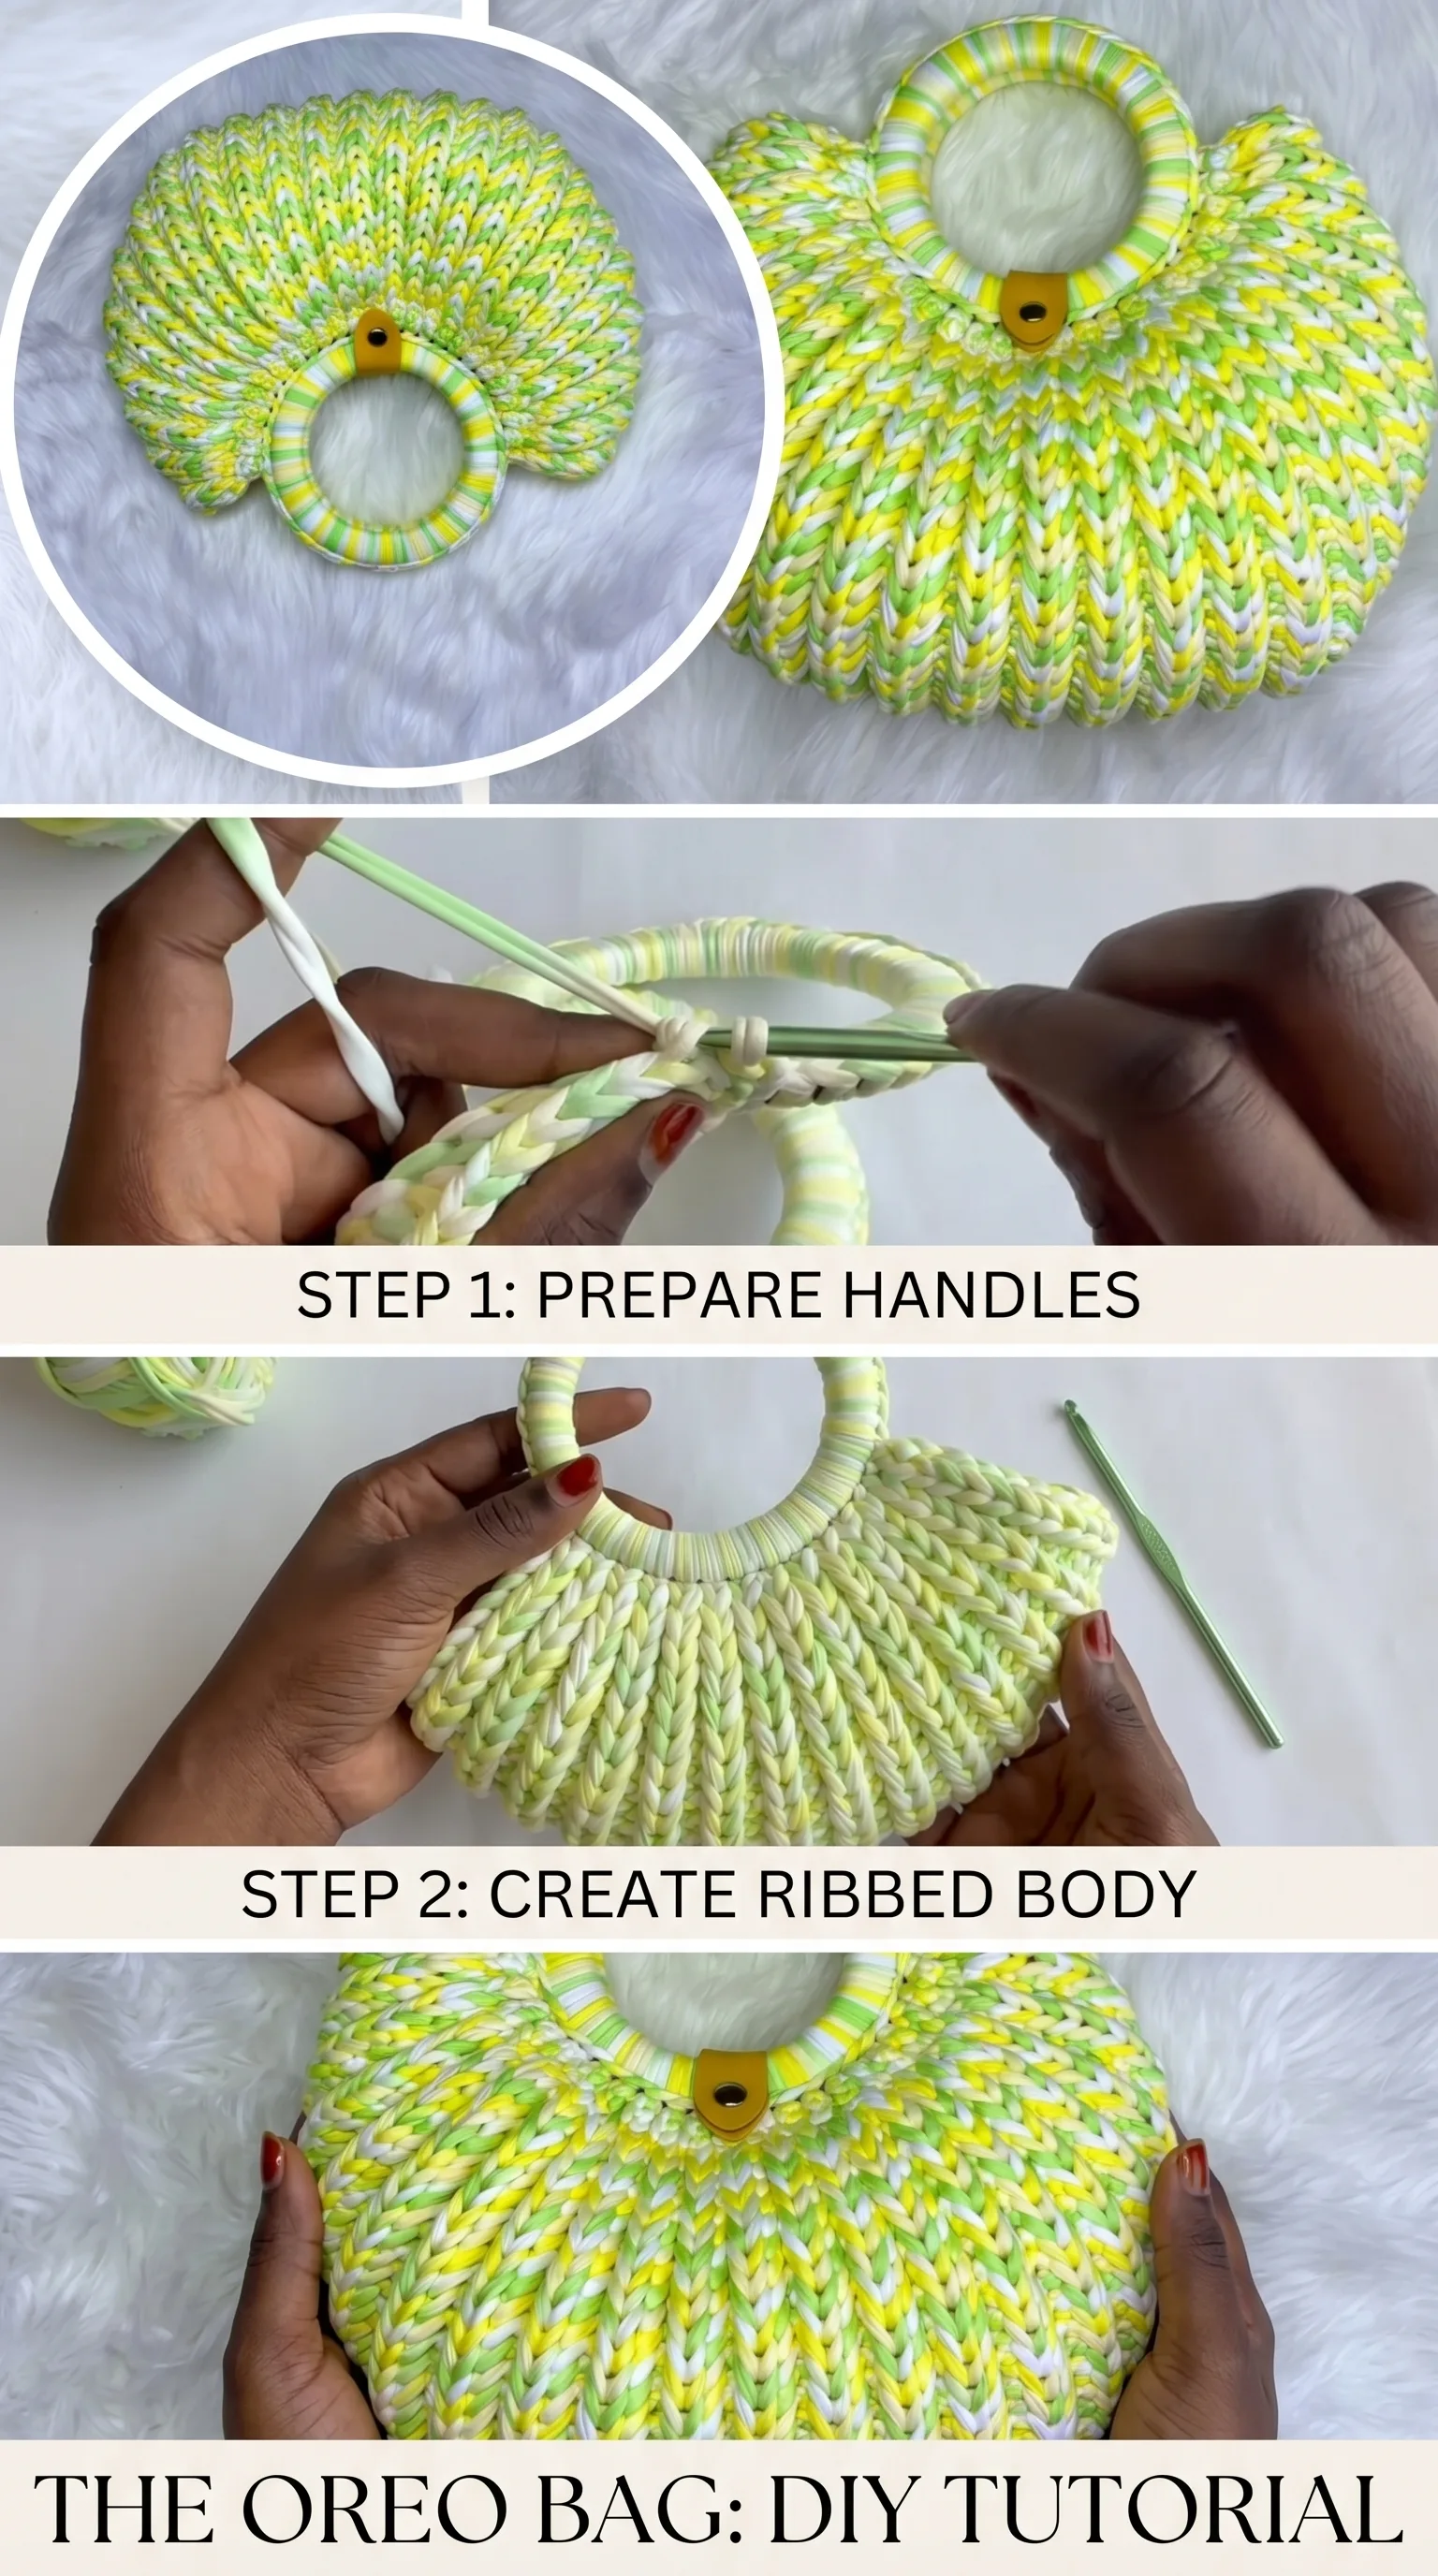
Stitch by Stitch
The Crochet Oreo Bag draws on a focused set of stitches that build confidence as you go.
BULLET:SC (Single Crochet) The foundational stitch used to wrap the circular ring handle and establish the initial chain at the base of the bag.
BULLET:DC (Double Crochet) The primary stitch worked across the bag body, creating the tall, defined ridges that give this bag its sculptural, ribbed appearance.
BULLET:BLO (Back Loop Only) Working through the back loop only on each DC row is what produces the raised rib effect that makes this bag so visually distinctive.
BULLET:SL ST (Slip Stitch) Used at the close of each round to join rows neatly and keep the overall shape crisp and even throughout.
Once you settle into the back-loop double crochet rhythm, the work takes on a genuinely meditative quality, each row fanning out from the centre like the pages of a slowly opening book.
Construction
The Crochet Oreo Bag is worked outward from a central starting point, growing in the round so that both faces of the bag are built simultaneously and mirror each other. The circular handle is wrapped first with SC stitches, which anchors it firmly and gives it that smooth, striped finish you can see in the tutorial, and the bag body then radiates downward and outward from this wrapped ring. The full video tutorial walks you through every step of this process in real time, so even if you have never worked a bag in the round before, you will have clear visual guidance throughout. If you want to personalise your version, try adding a fabric lining on the inside for extra structure, or swap the yellow leather-style snap closure for a magnetic clasp in an antique brass finish.
Wearing Your Oreo Bag
Carry the Crochet Oreo Bag looped over one wrist at a farmers market alongside a wide-brim hat and sundress for a look that feels entirely considered. It also pairs beautifully with a linen blazer and straight-leg trousers when you want something handmade to offset an otherwise minimal outfit. Finishing this project means finishing something you will actually reach for, and that is a feeling worth holding onto.
Keeping Your Oreo Bag Looking Its Best
Because this bag is worked in chunky cotton or cotton-blend yarn, it responds well to a gentle hand wash in cool water with a mild detergent, pressed lightly rather than wrung to remove excess moisture. Lay it flat on a towel to dry, reshaping the round body with your hands while it is still damp so the silhouette stays full and even. If your yarn is 100 percent cotton, a light blocking can help reset the ribbed structure after the first wash. Store the bag stuffed loosely with tissue paper to help it hold its shape between uses.
Every stitch in this bag is a small, deliberate act of making, and the finished piece carries all of that care in its texture. Save this post to your Pinterest boards and share your finished Crochet Oreo Bag so the whole handmade community can see what you have created.
Follow us on Pinterest and subscribe to the Newsletter so you don’t miss a thing!
Tutorial and photos of this oreo bag by: Adel | Fit & Crochet.