
I am so genuinely excited to share this Crochet Lace Collar tutorial with you, because I have been obsessing over it since the moment I first swatched those little circular motifs. The way each tiny ring connects to the next creates something so airy yet structured, so soft yet precise, that wearing it feels like putting on a whisper of elegance.
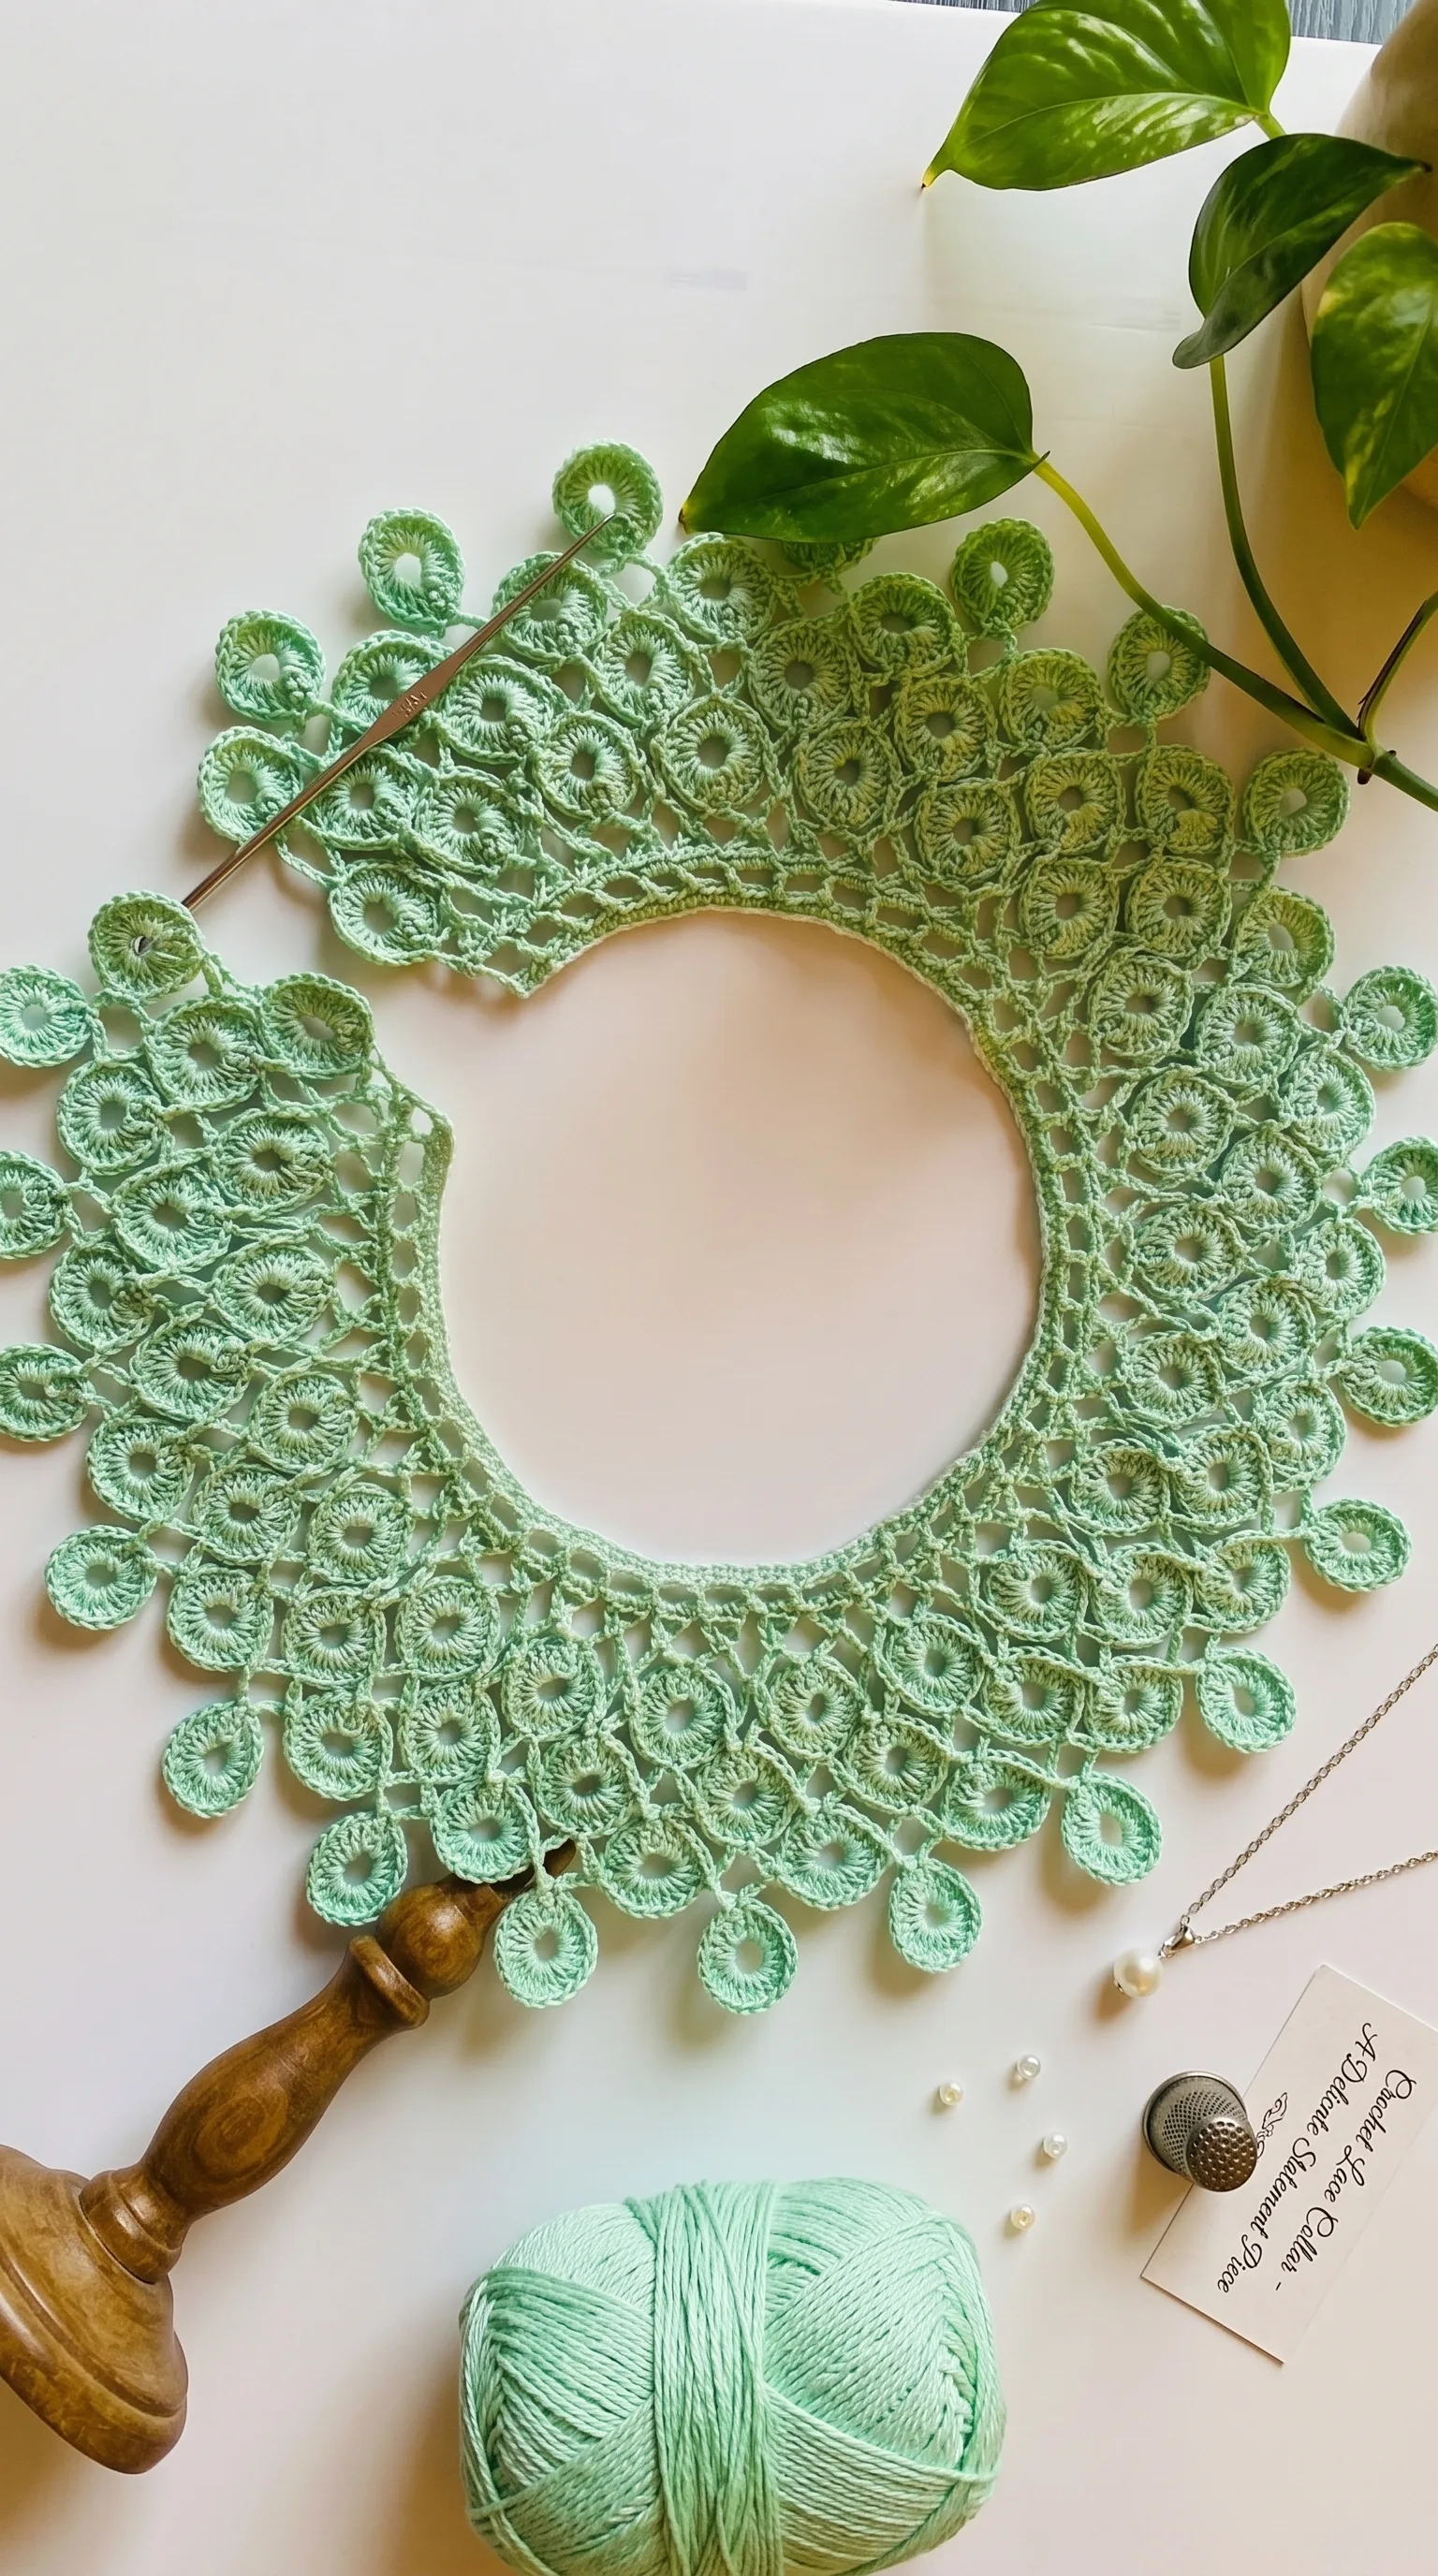
The Lace Collar
A Crochet Lace Collar is one of those pieces that lives somewhere between heirloom and everyday accessory, the kind of thing that makes a plain cotton dress look considered and a simple blouse look entirely intentional. The circular motifs that build outward from the neckline opening give this collar its signature look, rings upon rings fanning into a wide, floral-edged border that drapes across the collarbone with quiet confidence. It is made for the crafter who loves detail work, who finds satisfaction in watching a small repeated unit multiply into something much larger than itself. Whether you are returning to crochet after a long pause or working through your first lacy project, this collar will reward your patience in the most beautiful way.
Lace Collar Related Posts:
- Crochet Lace Runner: A Delicate Decorative Treasure
- Crochet Stitch Fabric: A Quick and Simple Foundation
- Crochet Lace Doily: A Delicate Handcrafted Treasure
- Crochet Lace Table Runner: An Eye-Catching Centerpiece
The mint green used in the reference images is genuinely dreamy, that particular shade sitting right between sage and seafoam, cool enough for spring linens and warm enough for summer whites. But this Crochet Lace Collar would be equally striking in off-white or cream for a bridal or vintage feel, or in dusty rose for something softer and more romantic. The beauty is that a single skein in almost any light color will read as elegant because the lace structure itself does the heavy lifting.
Materials and Tools
For this Crochet Lace Collar, you will want a fingering weight or sport weight yarn in a smooth, plied cotton or cotton-blend fiber, since the stitch definition in those crisp little circular motifs depends entirely on the yarn holding its shape. A 2.5mm or 3mm steel crochet hook is ideal for fingering weight, keeping the fabric firm enough to maintain structure without pulling too tight across the motifs. If you prefer a slightly more relaxed drape and choose a light DK weight yarn instead, step up to a 3.5mm hook and expect the finished collar to sit a little wider and softer on the shoulder. A blunt tapestry needle for weaving in ends and joining motifs is the one extra tool you will reach for repeatedly throughout this make.
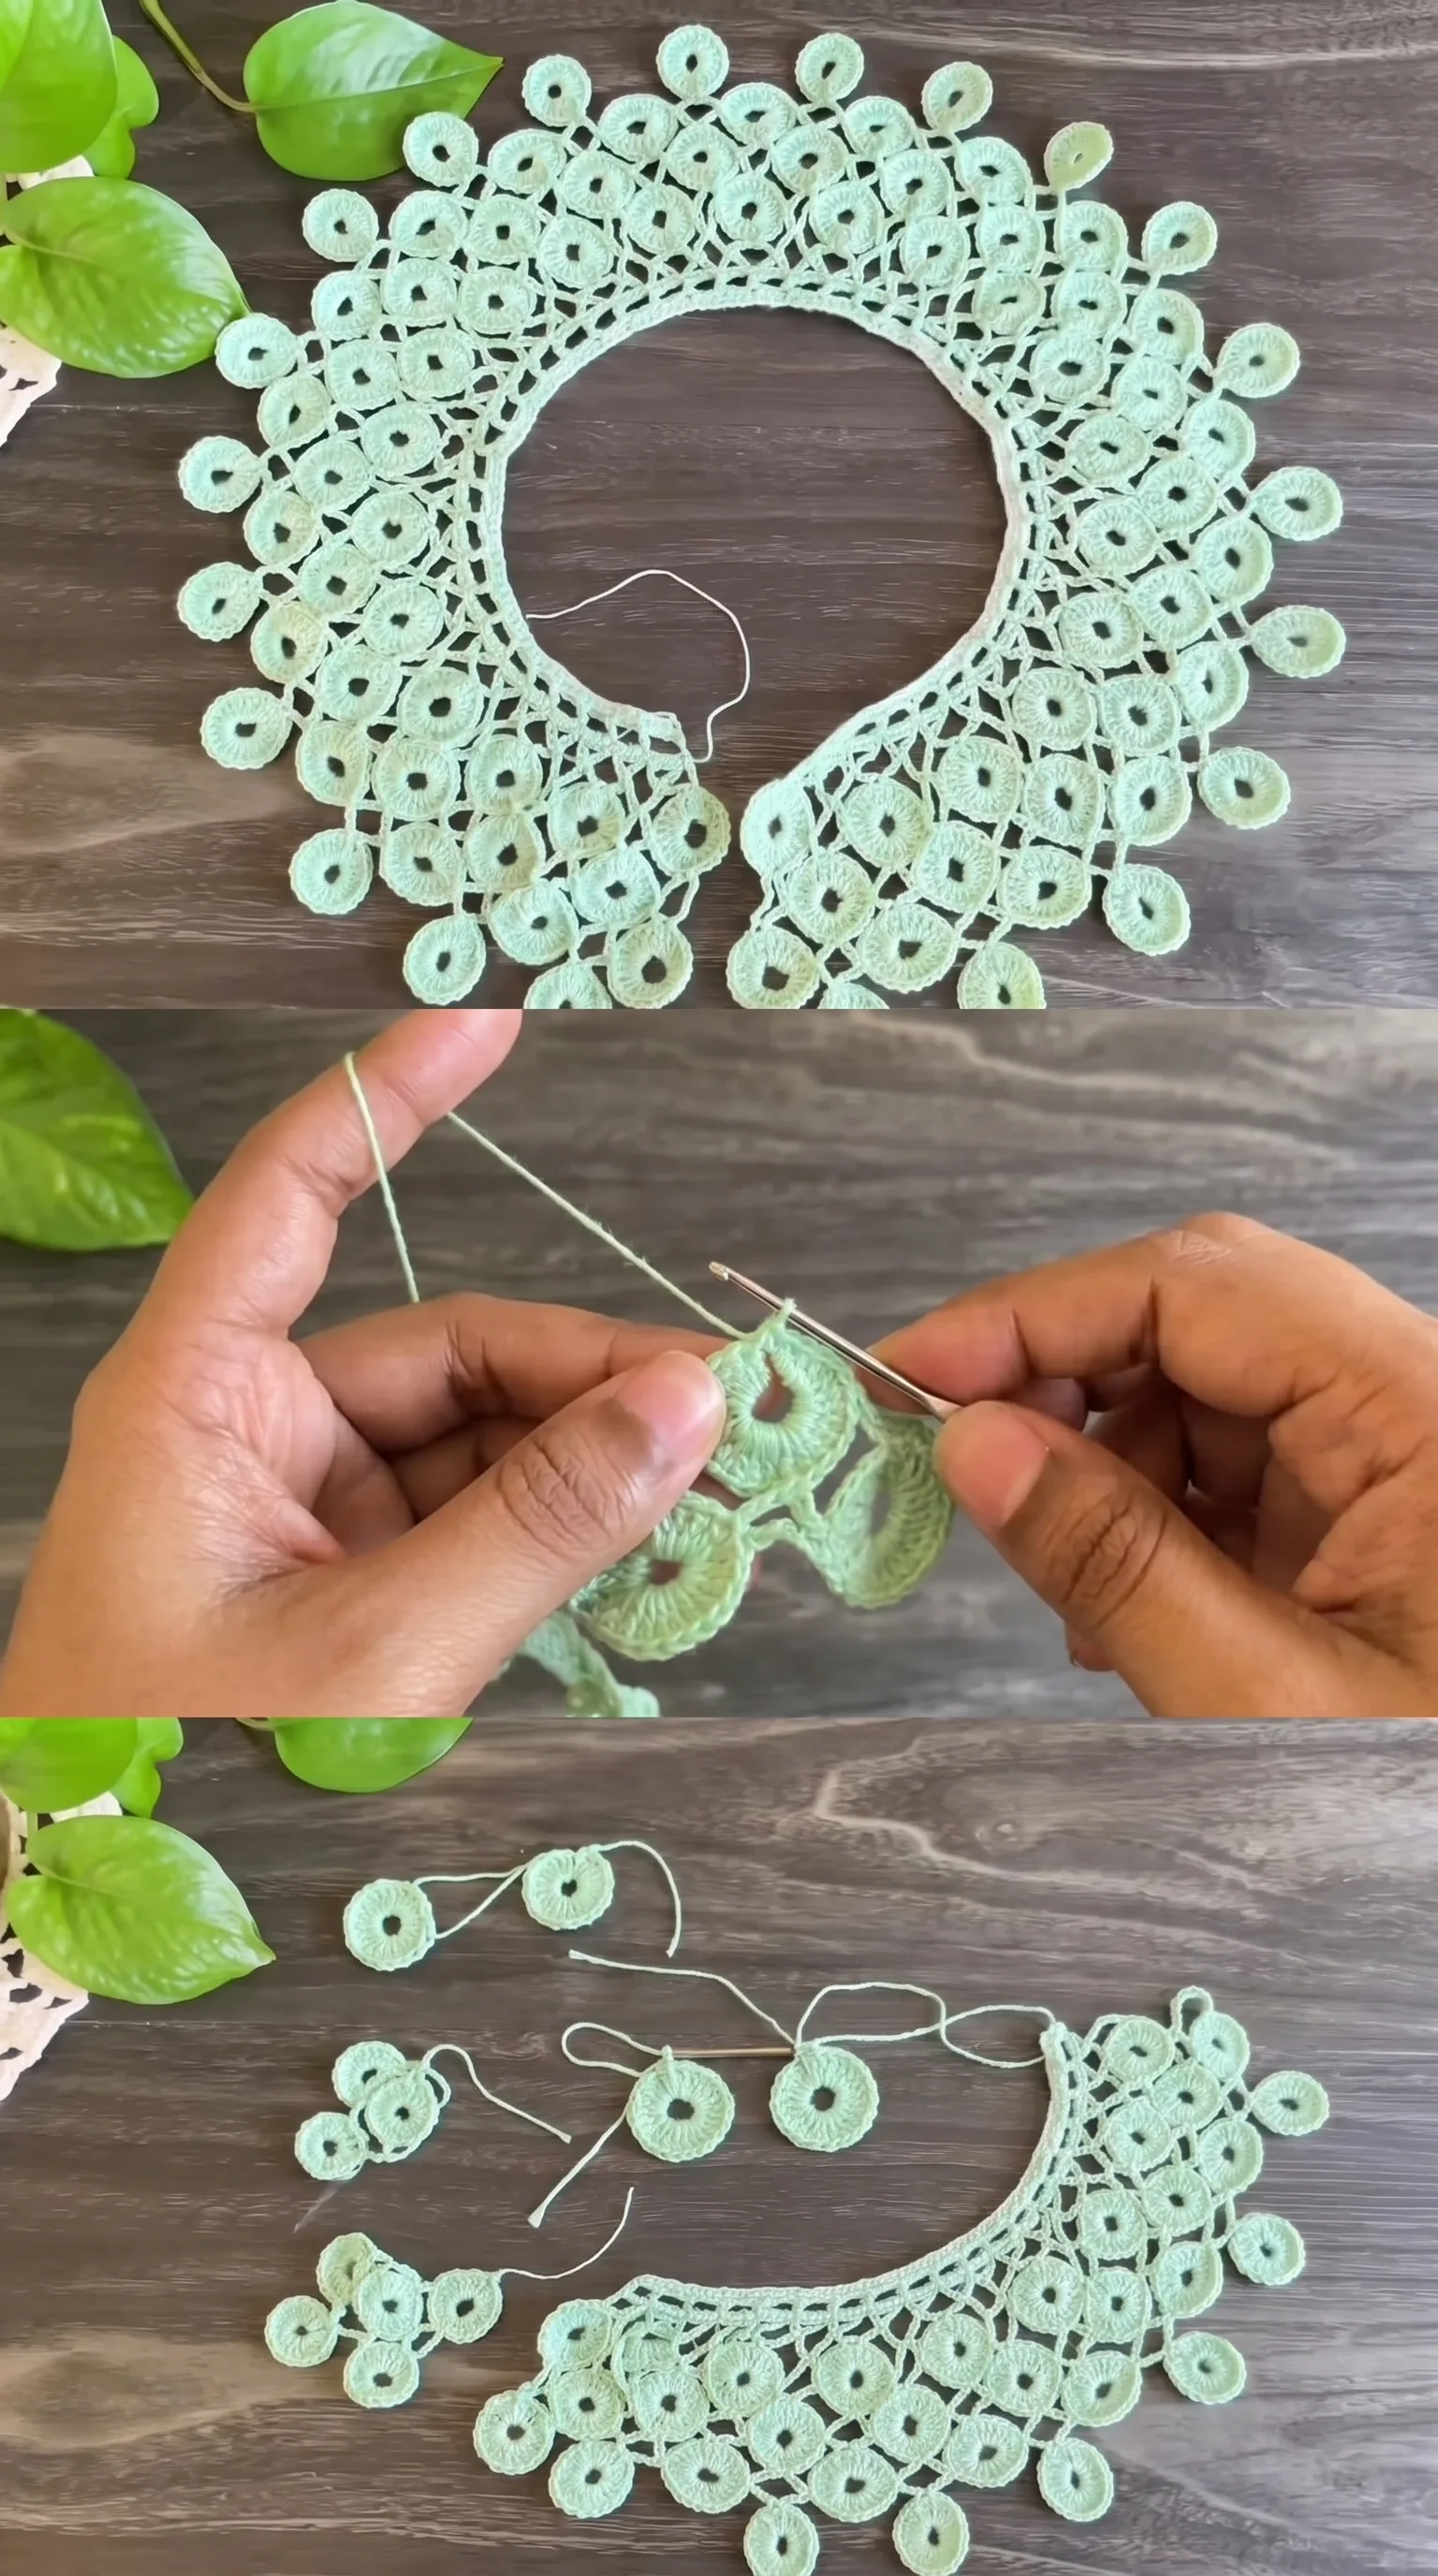
Stitch by Stitch
This collar draws on a small, satisfying vocabulary of basic crochet stitches that combine into something far more intricate-looking than the individual parts suggest.
BULLET:CH (Chain) The foundation of every motif and join, used to create the ring centers and the connecting arches between circular units.
BULLET:SC (Single Crochet) Works the tight, clean rounds that form the outer ring of each circular motif, giving the collar its defined circular texture.
BULLET:DC (Double Crochet) Builds the height and openwork sections between motifs, creating the lacy negative space that lightens the overall structure.
BULLET:SS (Slip Stitch) Closes each motif ring and connects individual units to one another as the collar grows outward in rows.
Once you settle into the meditative rhythm of completing one small ring and moving to the next, the process becomes almost effortless, the kind of repetitive making that quiets the mind and lets the hands lead.
Construction
The Crochet Lace Collar is built outward from a central neckline ring, with each subsequent row of circular motifs joined directly to the previous layer as you work, meaning there is very little finishing assembly required beyond weaving in your ends. The inner neckline edge is worked first as a simple foundation chain joined into a ring, and the motifs grow outward in expanding rows, each ring joined at two points to its neighbors to create that interconnected lace grid. Beginners should take care to keep the joins neat and consistent, as this is what gives the collar its flat, structured appearance when laid out or worn. If you want a narrower collar, simply stop after fewer rows of motifs; if you want a dramatic wide collar like the one in the reference images, continue adding rows until it feels right for your neckline.
Wearing Your Lace Collar
Layer this collar over a fitted black turtleneck for a graphic, high-contrast look that feels very contemporary, or lay it flat across the neckline of a linen button-down shirt for something more romantic and cottagecore. It also sits beautifully over a simple slip dress, turning something understated into a piece that looks entirely handcrafted and considered. The moment you finish those last few motifs, you will want to wear it immediately.
Washing and Storing Your Crochet Lace Collar
Because this collar is made from cotton or a cotton-blend yarn, it responds beautifully to wet blocking, which is the single most transformative step you can take after finishing your work. Soak the finished collar in cool water with a drop of gentle wool wash, press out the excess water without wringing, and pin it flat into shape on a foam blocking mat, easing each circular motif into a perfect round before leaving it to dry completely. Once blocked and dry, store the collar flat or loosely rolled in a cloth bag rather than folding it sharply, which can crease the motifs over time. For ongoing care, hand wash in cool water and re-block lightly after each wash to keep those rings looking crisp and even.
You made something with your hands that required focus, patience, and a genuine love for the craft, and that is worth celebrating every single time you pin this collar on. Share your finished Crochet Lace Collar on Pinterest and tag your creation so other makers can find inspiration in what you made.
Follow us on Pinterest and subscribe to the Newsletter so you don’t miss a thing!
Tutorial and photos of this lace collar by: Beyond Diary.