
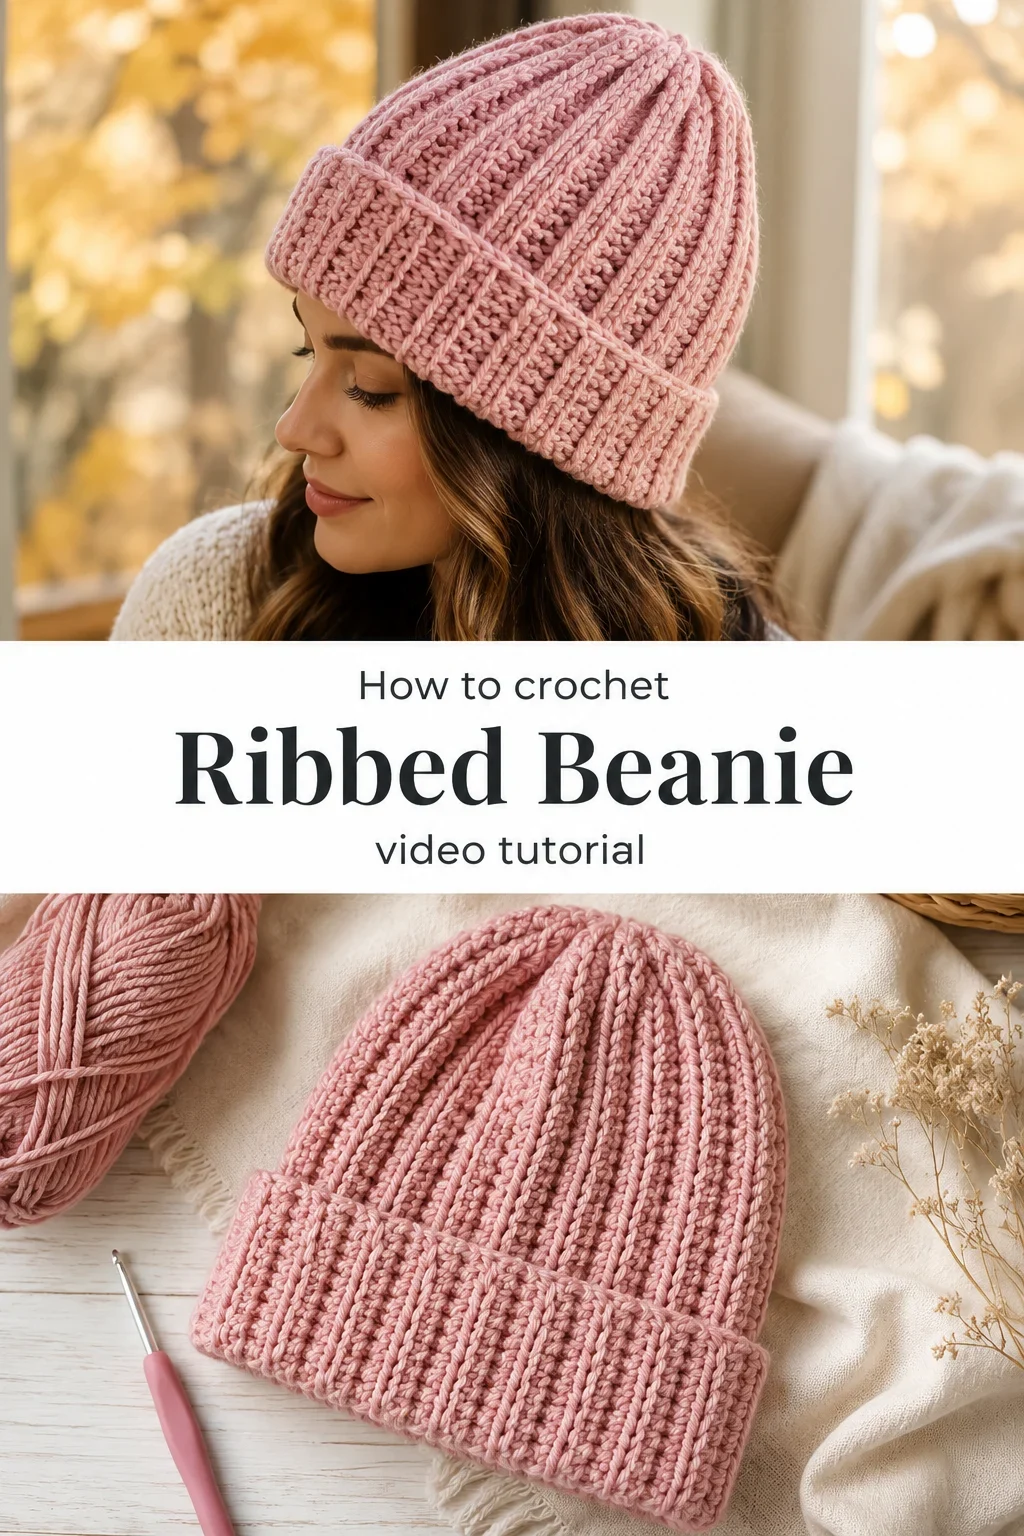
Today’s guide walks you through the making of a Crochet Ribbed Beanie, soft and structured with vertical ridges that catch the light like corduroy in winter sun. Pull out your hook and your favorite skein, because this one is worth casting on right now.
The Ribbed Beanie
A Crochet Ribbed Beanie sits somewhere between utility and quiet beauty, the kind of accessory that looks like it belongs on a shelf in a Scandinavian wool shop. The vertical ribbing creates a fabric that is simultaneously airy yet structured, stretching gently to hug the head while holding its shape round after round. It is made for the person who reaches for the same worn-in coat every autumn, who values craft that endures past trends. Whether you are making one for yourself or gifting it wrapped in tissue paper, this beanie carries warmth in every loop.
Ribbed Beanie Related Posts:
- Crochet Honeycomb Scarf: A Delicate Timeless Treasure
- Crochet Dream Dress: A Romantic Handmade Masterpiece
- Crochet 3D Flower Square: A Beautiful Granny Motif
- Crochet Lace Motif: A Beautiful Delicate Design
In a dusty rose or oat-colored worsted, this hat reads as quiet and considered. But switch to a deep forest green or a rich burgundy and it becomes something bolder, the kind of piece that anchors an entire outfit. The beauty of the Crochet Ribbed Beanie is that it works just as well tucked into a tote bag for a weekend market as it does pulled low over the ears on a bitter morning walk.
Materials and Tools
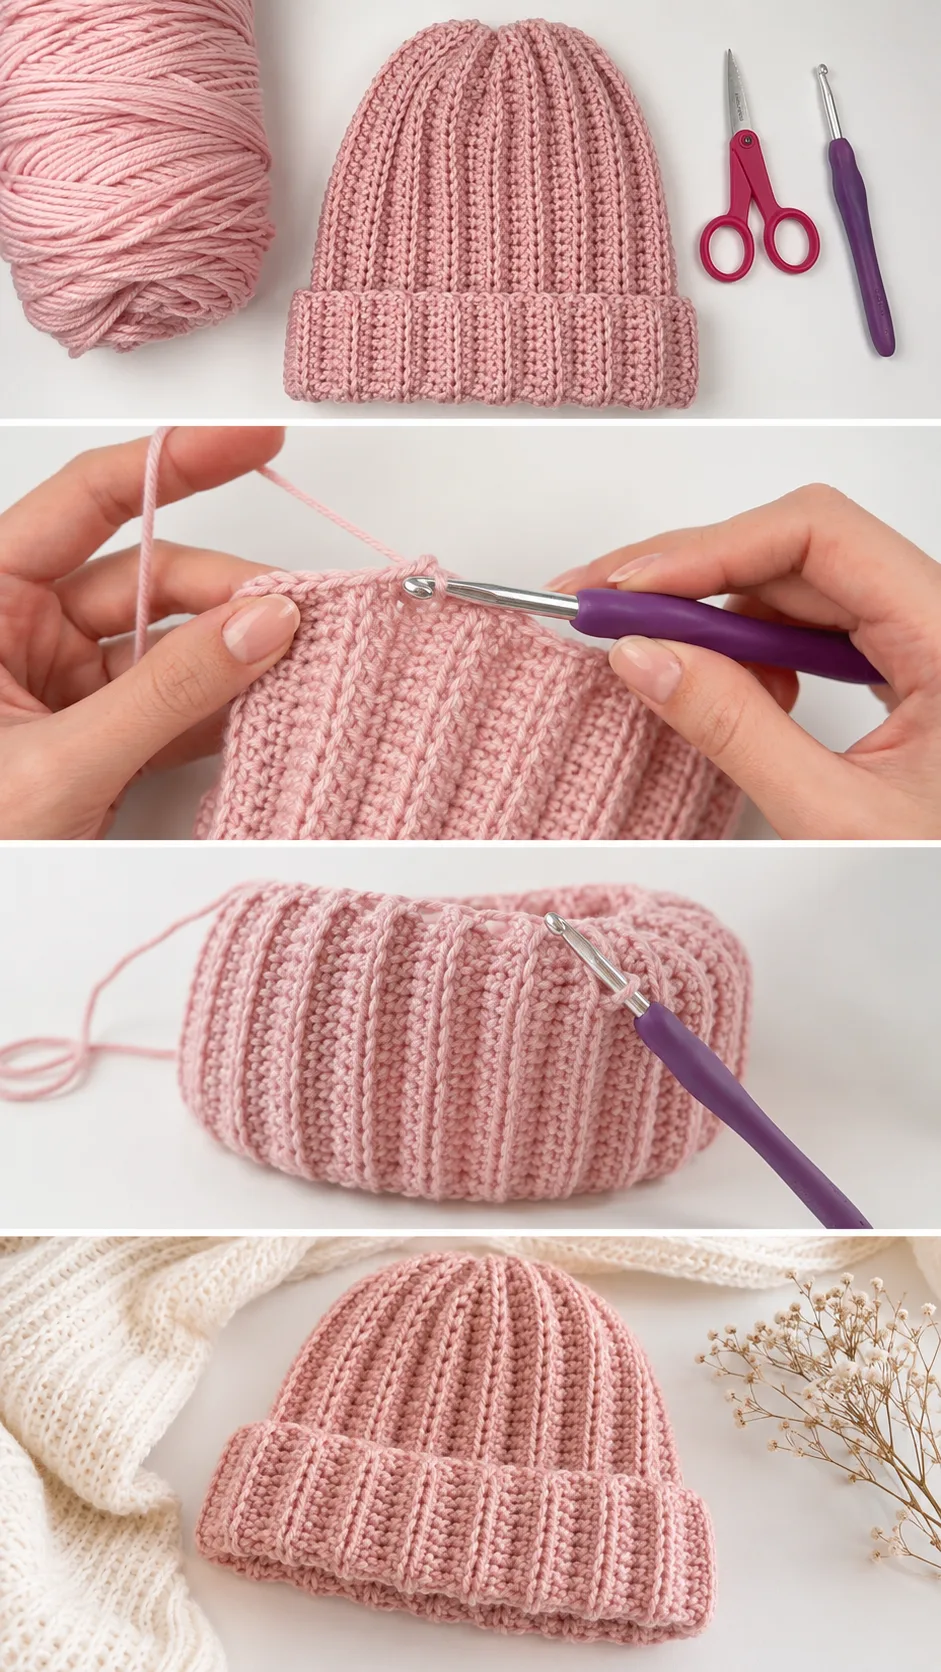
To recreate this Crochet Ribbed Beanie, you will want to reach for a worsted weight yarn, something with a little body and warmth to it. A wool-acrylic blend works beautifully here because it holds the rib structure firmly while remaining soft against the skin. If you prefer a fully natural fiber, a superwash merino in worsted weight will give you that same meditative rhythm row after row without splitting on your hook. A 5mm crochet hook is the ideal pairing for this weight, and you will also want a blunt tapestry needle on hand to weave in your ends cleanly once you reach the finish.
Stitch by Stitch
This beanie relies on a small collection of stitches that build into something much richer than their simplicity suggests.
BULLET:SC (Single Crochet) The foundational stitch that anchors the brim and keeps the lower edge neat and firm.
BULLET:DC (Double Crochet) Worked through the back loop only, this stitch creates the tall, generous ridges that define the ribbed texture of the hat.
BULLET:BLO (Back Loop Only) Working into only the back loop of each stitch is what produces that signature raised rib running vertically up the beanie.
BULLET:FLO (Front Loop Only) Occasionally used to shift the texture or create a fold line at the brim, this technique gives the cuff its natural roll.
Once your hands find the back-loop rhythm, the work almost moves on its own, a quiet, repetitive pull and release that makes an evening disappear in the best possible way.
Construction
The Crochet Ribbed Beanie in this tutorial is worked in a way that may surprise you if you are used to top-down or in-the-round hats. The ribbing is crocheted as a long flat panel first, working back and forth in rows through the BLO to build up those beautiful vertical ridges. Once the panel reaches the right circumference to wrap around the head, the short ends are joined together to form the brim, and stitches are then picked up along the long edge to work the body of the hat upward. The crown is gathered and closed at the top, and for a slightly slouched look you can simply add a few extra rows before beginning your decreases.
Wearing Your Ribbed Beanie
Pull it on over loose waves with a chunky knit coat and you have a weekend look that requires no further thought. Fold the brim twice for a snugger, more structured silhouette that pairs well with a parka and scarf on longer winter days. Finishing this hat means stepping out into the cold with something made by your own hands, and that feeling never quite gets ordinary.
Washing and Storing Your Ribbed Beanie
To keep your Crochet Ribbed Beanie looking its best season after season, hand washing in cool water with a gentle wool wash is always the safest choice, even for acrylic blends. Lay it flat on a clean towel to dry, reshaping the crown gently with your hands so the ribbing dries in its natural form. Avoid hanging it while wet, as the weight of the water will stretch the hat out of shape. When storing between seasons, fold it loosely and tuck it into a breathable cotton bag away from direct sunlight to preserve both color and fiber integrity.
Every stitch in this beanie is a small, deliberate act of making something real and lasting, and that is worth more than anything pulled from a shelf. Follow along with the full video tutorial for the complete written pattern and step-by-step guidance, then share your finished Crochet Ribbed Beanie on Pinterest and tag it so other makers can find their next project too.
Follow us on Pinterest and subscribe to the Newsletter so you don’t miss a thing!
Tutorial and photos of this ribbed beanie by: ElyseCrochets 💌.