
This hanging jellyfish amigurumi uses basic single crochet worked in continuous rounds. The construction is straightforward: a stuffed dome, a ruffled frill, spiral tentacles, and straight trailing strands. You will need worsted weight yarn in five colors and a 4.0 mm hook.
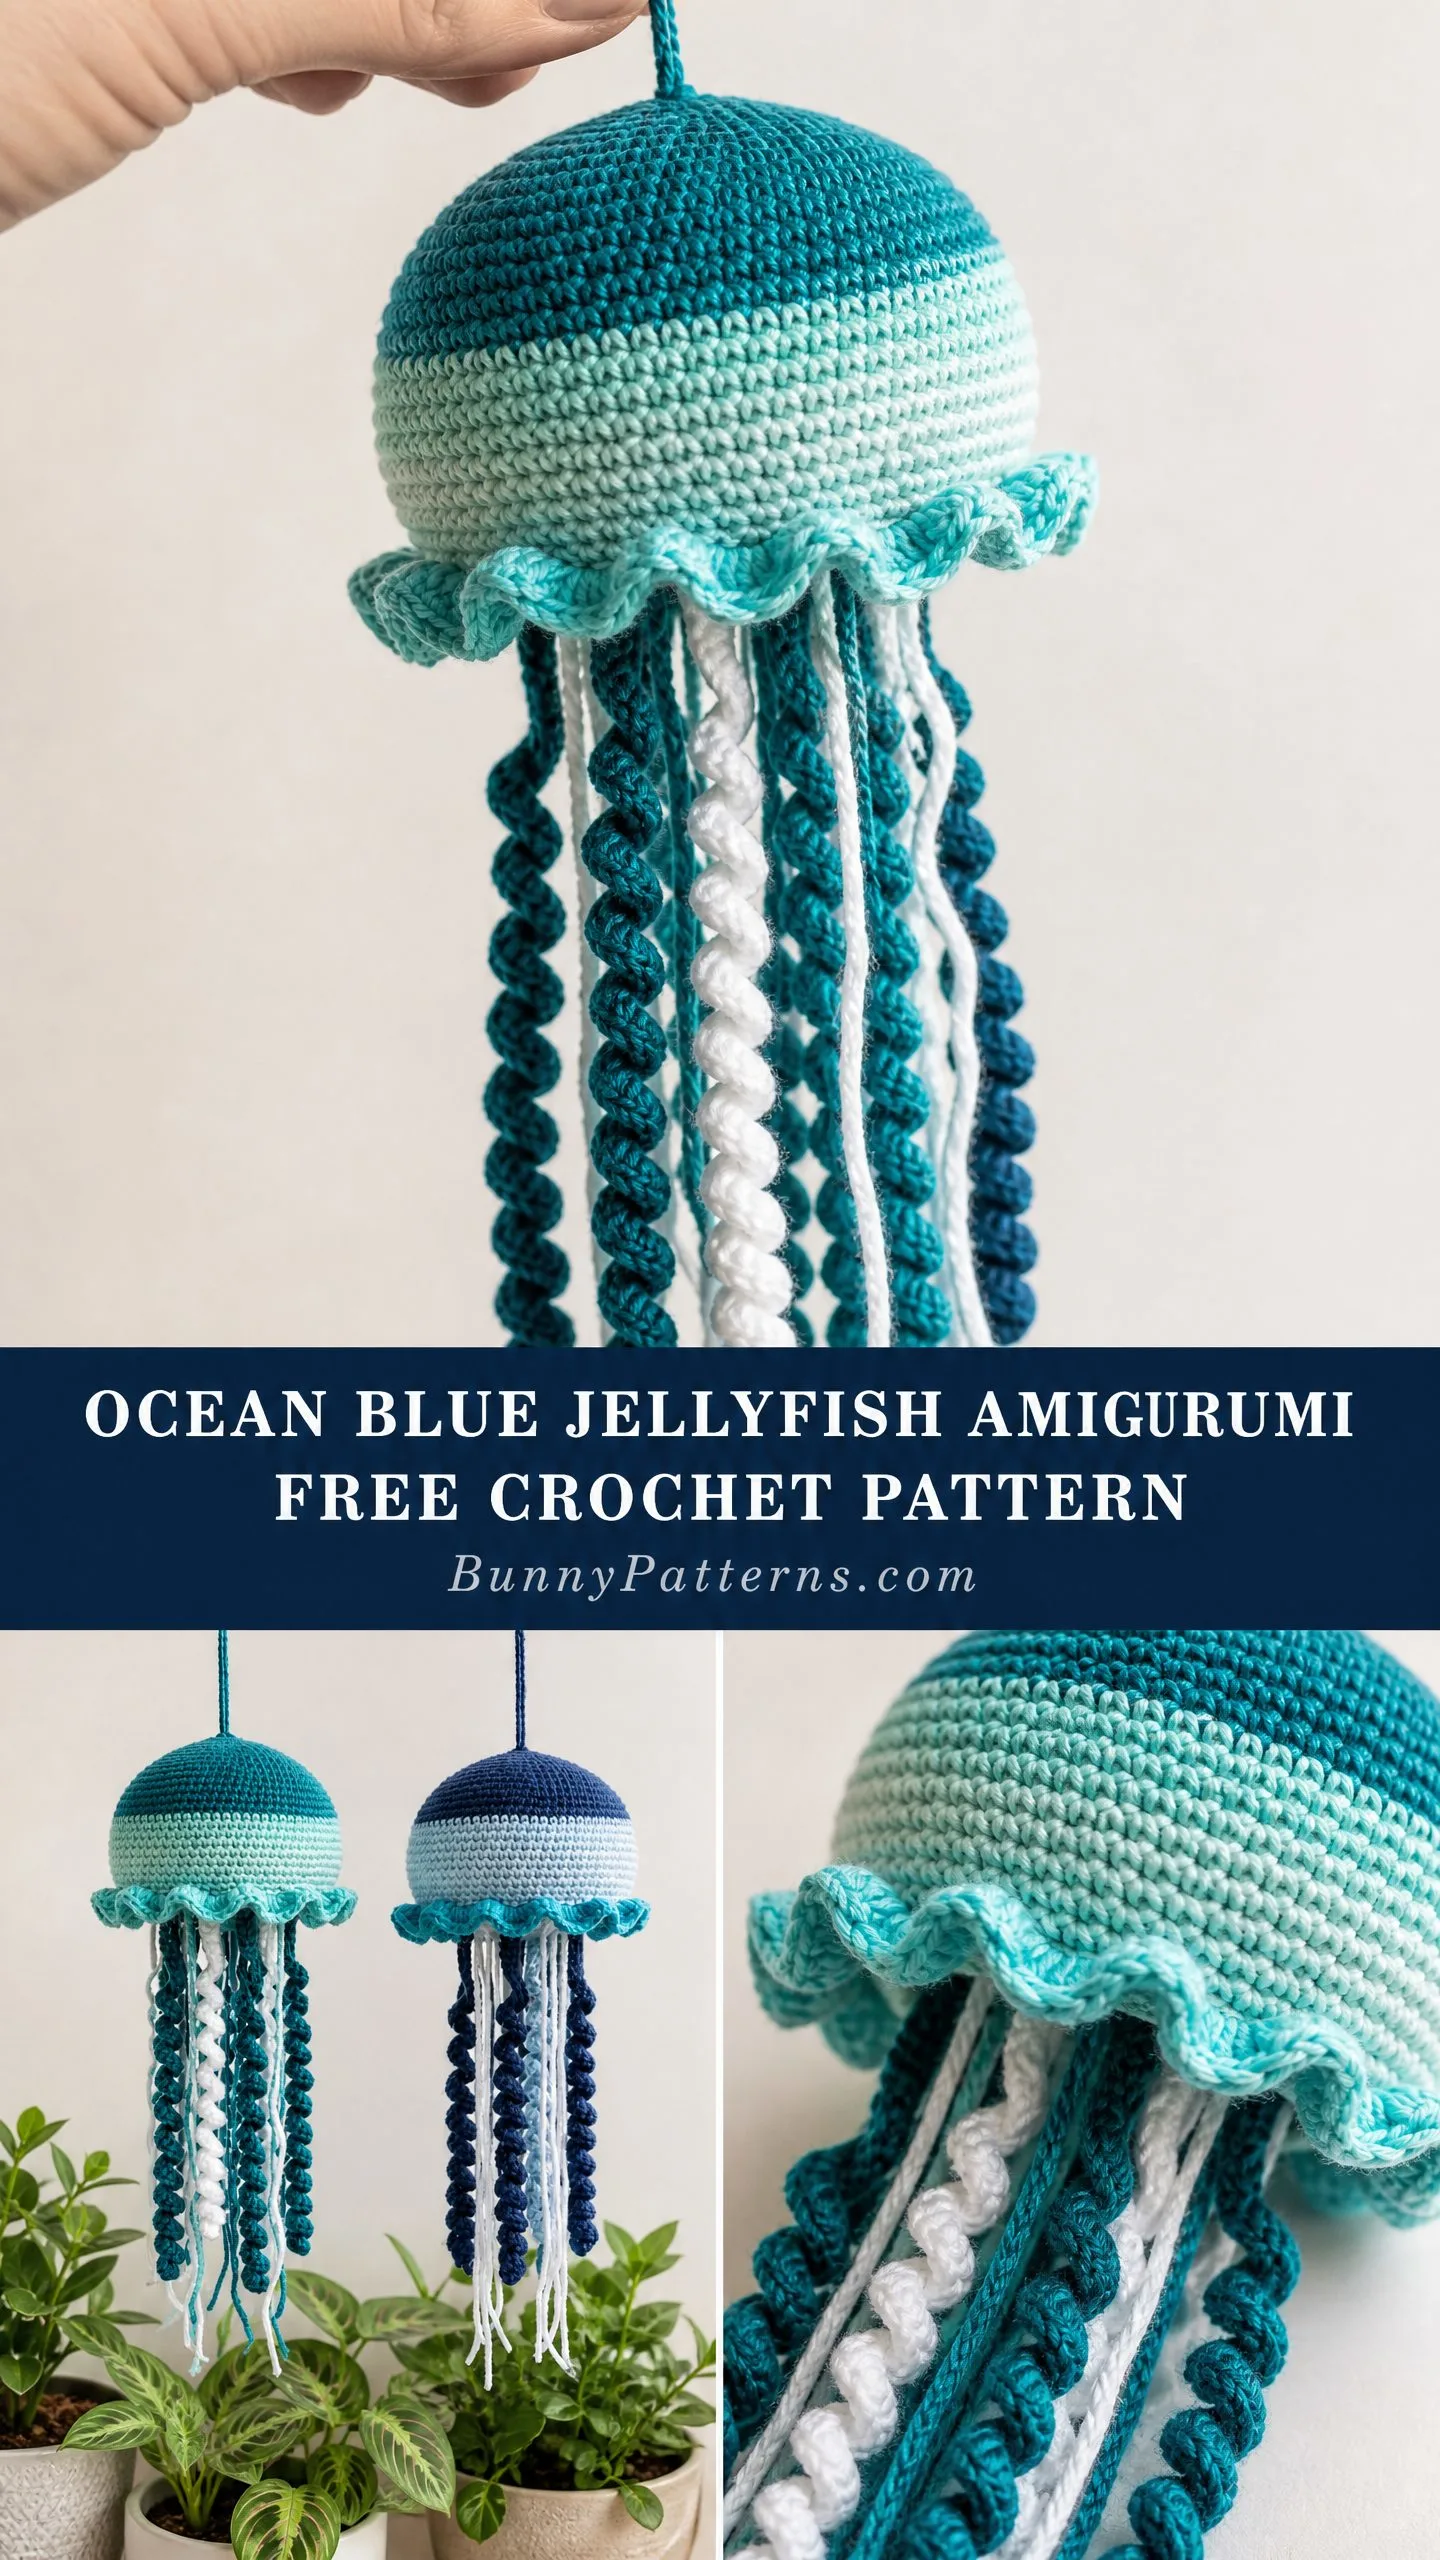
The finished piece hangs about 18 to 20 inches long and makes a striking piece of nautical home decor. I have seen these displayed in nurseries, near sunny windows, and even grouped together for an underwater effect.
If you can work in the round and make a magic ring, you can absolutely make this jellyfish. The skill level is intermediate mainly because there are multiple pieces to assemble, not because any single technique is difficult.
Materials You Will Need
Gather these supplies before you begin:
Yarn (all worsted weight):
For the Teal Colorway shown in the reference photos, substitute:
Hook: US size G-6 / 4.0 mm
Notions:
Yarn Suggestions:
Lion Brand Vanna’s Choice works beautifully for this project. The colors Navy, Dusty Blue, Aqua, and Off White give you the full palette. This yarn has excellent stitch definition, which matters for amigurumi where you want each stitch to show clearly.
Paintbox Yarns Simply DK held doubled also works well. Drops Safran Cotton at sport weight held doubled gives a crisper, stiffer fabric that holds the dome shape particularly well.
Avoid fuzzy or hairy yarns. You want smooth yarn where individual stitches are visible.
Gauge
5 stitches = 1 inch
5 rounds = 1 inch
Work a gauge swatch in single crochet (sc) in the round: 10 sc by 10 rounds should measure 2 inches by 2 inches.
Gauge matters here. If your gauge is too loose, the bell will be floppy and stuffing will show through. Switch to a smaller hook. If your gauge is too tight, the bell will be very stiff and smaller than intended. Switch to a larger hook.
Finished Size
Abbreviations and Stitch Definitions
ch = chain: yarn over, pull through loop on hook
sl st = slip stitch: insert hook, yarn over, pull through stitch and loop on hook in one motion
sc = single crochet: insert hook in stitch, yarn over, pull up a loop (2 loops on hook), yarn over, pull through both loops
sc2tog = single crochet two together (this is your decrease): insert hook in next stitch, pull up a loop, insert hook in following stitch, pull up a loop (3 loops on hook), yarn over, draw through all 3 loops
inc = increase: work 2 sc in the same stitch
dec = decrease (same as sc2tog)
BLO = back loop only: insert your hook in just the back loop of the stitch instead of both loops
FLO = front loop only: insert your hook in just the front loop of the stitch
MR = magic ring (also called magic circle): an adjustable loop that you work your first round into, then pull closed
rnd = round
st(s) = stitch(es)
sk = skip
pm = place marker
Special Techniques
Working in Continuous Rounds
Unlike traditional crochet where you join each round with a slip stitch, amigurumi is worked in a continuous spiral. You do not join at the end of each round. You do not turn your work. Use a locking stitch marker to mark the first stitch of each round and move it up as you go. This is essential for keeping track of where you are.
Color Changes
To change colors cleanly at the start of a round, work the last single crochet of the previous color until the final yarn over step. Drop the old color, pick up the new color, and draw the new color through to complete the stitch. The new color is now on your hook and you continue with it.
The Shell Stitch for the Frill
The frill creates that beautiful ruffled edge at the base of the bell. You work 5 sc into a single stitch, then skip the next stitch. This crowds extra stitches into limited space, which forces the fabric to ruffle and wave outward.
Spiral or Corkscrew Tentacles
These are easier than they look. You make a long foundation chain, then work 3 sc into every single chain stitch. Because you are tripling the number of stitches on a fixed length foundation, the piece naturally coils into a tight spiral. No shaping required.
Two-Color Twisted Spiral
For the barber pole stripe effect visible on some tentacles in the photos, hold one strand of Color D and one strand of Color E together as a single working yarn. Work the corkscrew as normal. The two colors twist around each other as the spiral forms.
Pattern Instructions
Part 1: The Bell
The bell is worked from the top down. You start with Color A for the darker dome top, then switch to Color B for the lighter lower section.
With Color A, make a magic ring.
Round 1: 6 sc into MR, pull ring closed tight. (6 sc)
Round 2: Inc in each st around. (12 sc)
Round 3: (Sc in next st, inc in next st) 6 times. (18 sc)
Round 4: (Sc in next 2 sts, inc in next st) 6 times. (24 sc)
Round 5: (Sc in next 3 sts, inc in next st) 6 times. (30 sc)
Round 6: (Sc in next 4 sts, inc in next st) 6 times. (36 sc)
Round 7: (Sc in next 5 sts, inc in next st) 6 times. (42 sc)
Round 8: (Sc in next 6 sts, inc in next st) 6 times. (48 sc)
Round 9: (Sc in next 7 sts, inc in next st) 6 times. (54 sc)
Round 10: (Sc in next 8 sts, inc in next st) 6 times. (60 sc)
Checkpoint: After Round 10, the crown should measure approximately 4.75 to 5 inches in diameter. This is the widest point of the bell.
Rounds 11 through 13: Sc in each st around for 3 rounds with no increases or decreases. (60 sc each round)
Color A is complete. Change to Color B at the end of Round 13. Cut Color A leaving a 6 inch tail to weave in later.
Rounds 14 through 17: With Color B, sc in each st around for 4 rounds. (60 sc each round)
Round 18: (Sc in next 8 sts, dec) 6 times. (54 sc)
Do NOT fasten off. Round 18 is the base edge of the bell. The frill will be worked into the front loops of this round.
Stuffing and Cord Attachment
Before working the frill and closing, attach your hanging cord. Thread approximately 12 inches of cord onto a yarn needle. Insert the needle from the outside of the bell down through the center top, going through the magic ring at the crown. Pull the cord so equal lengths hang on each side. Tie a double knot inside the bell to secure it.
Now stuff the bell firmly with polyester fiberfill. The dome should hold its shape and feel solid when pressed lightly. Do not under-stuff or the top will flatten.
Part 2: The Frill
The frill is worked into the front loops only of Round 18.
With Color B still on your hook, join Color C by drawing it through the front loop of the first stitch.
Frill Round: Working into FLO of each stitch of Round 18: (5 sc in next st, sk next st) 27 times. (135 sc total)
After the last frill stitch, sl st into the first frill sc to join. Fasten off Color C, leaving a 6 inch tail.
The frill will naturally ruffle and wave outward from the base of the bell.
Closing the Bell
Return to the back loops of Round 18. Rejoin Color B at any back loop.
Closing Round 1: (Sc in next 7 sts, dec) 6 times, working into BLO. (48 sc)
Closing Round 2: (Sc in next 6 sts, dec) 6 times. (42 sc)
Closing Round 3: (Sc in next 5 sts, dec) 6 times. (36 sc)
Closing Round 4: (Sc in next 4 sts, dec) 6 times. (30 sc)
Closing Round 5: (Sc in next 3 sts, dec) 6 times. (24 sc)
Closing Round 6: (Sc in next 2 sts, dec) 6 times. (18 sc)
Add any final stuffing needed before the opening becomes too small.
Closing Round 7: (Sc in next st, dec) 6 times. (12 sc)
Closing Round 8: Dec 6 times. (6 sc)
Fasten off, leaving a long tail. Thread the tail onto a yarn needle, weave through the front loops of the remaining 6 stitches, pull tight to close completely, and secure with a knot. Weave in all ends.
Part 3: Spiral Tentacles
Make 8 spiral tentacles total. For variety, make 5 two-color tentacles (holding Color D and Color E together) and 3 solid Color D tentacles.
Make 2 tentacles using ch 51
Make 3 tentacles using ch 61
Make 3 tentacles using ch 71
For each tentacle:
Using your chosen color(s), make the specified foundation chain.
Beginning in the second chain from the hook, work 3 sc in each chain stitch across.
Fasten off, leaving a 12 inch tail for attachment.
The tentacle will immediately coil into a tight corkscrew spiral.
Part 4: Straight Tentacles
Cut 12 lengths of Color E (white), each approximately 18 to 20 inches long.
These will be attached in pairs, folded in half, creating 6 doubled trailing strands. You may also cut a few lengths of Color D for additional dark straight tentacles if you want more fullness.
Part 5: Assembly
Attaching Spiral Tentacles:
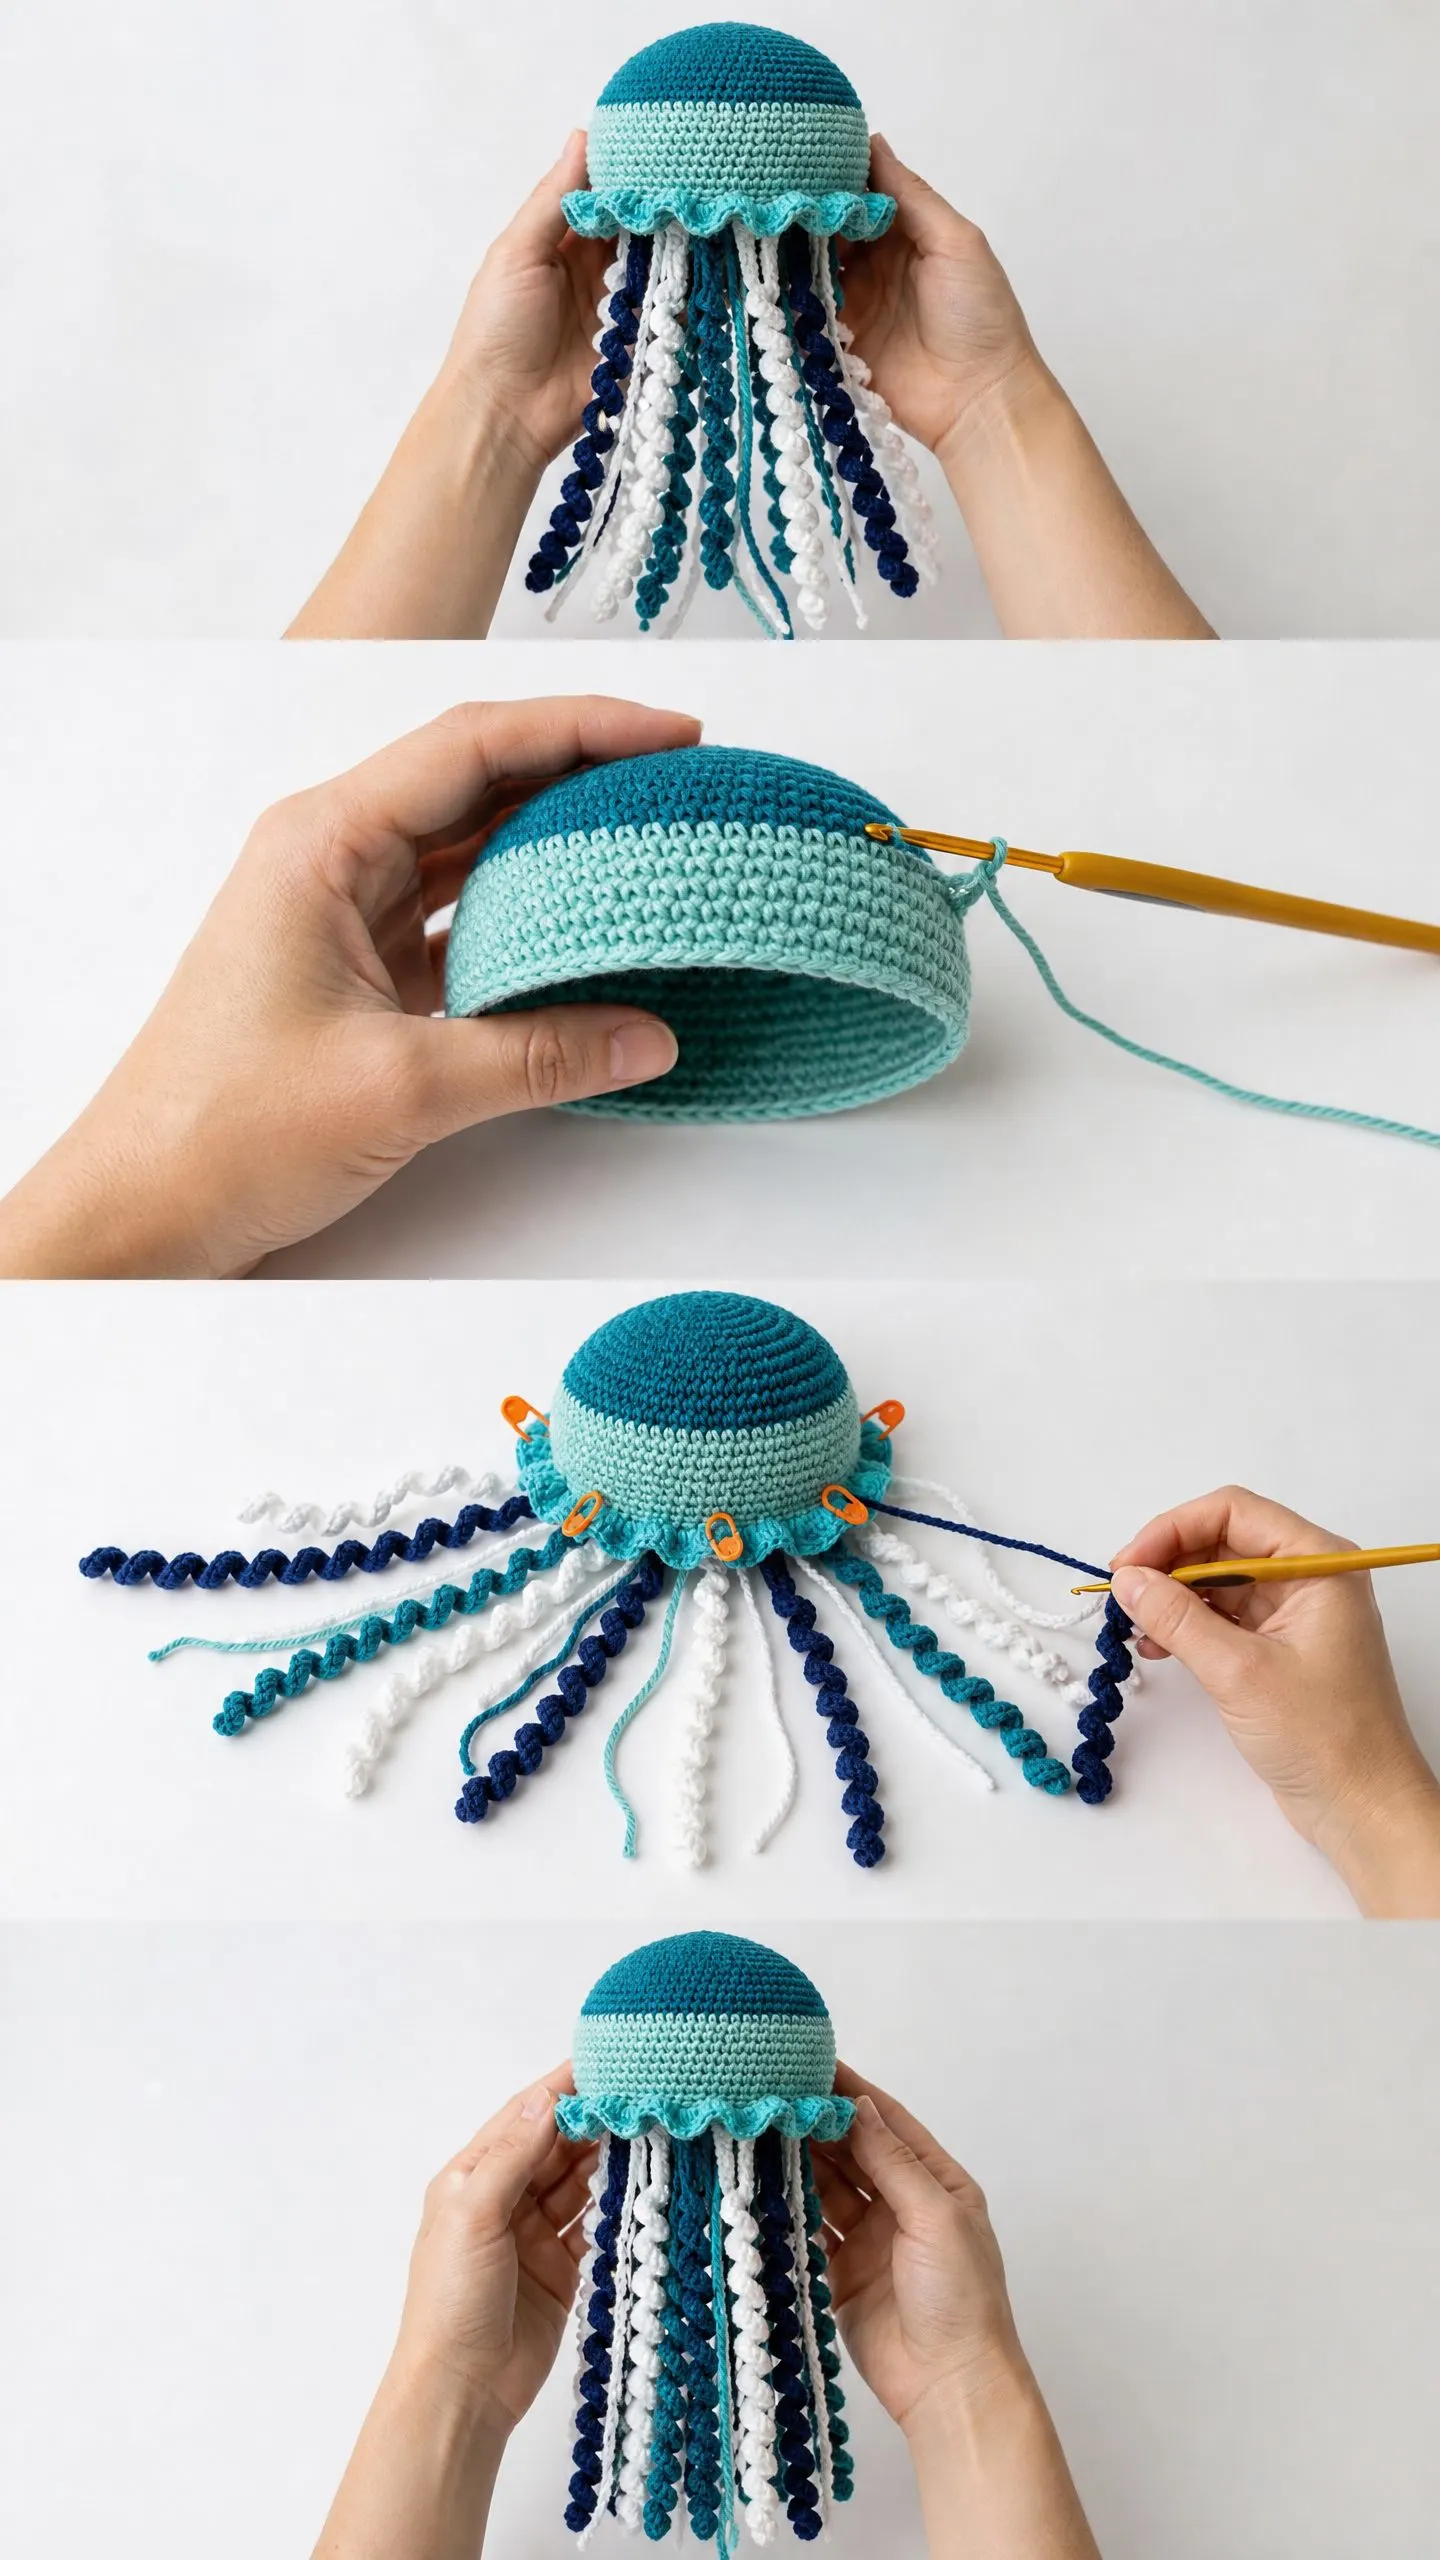
Thread the long tail on each spiral tentacle onto a yarn needle. Insert the needle up through the base of the bell, then back down through an adjacent stitch to secure. Pull snug so the top of the spiral sits flush against the underside near the frill. Tie a double knot inside if needed. Weave in all tails.
Distribute the 8 spiral tentacles evenly around the base, spacing them approximately every 6 to 7 stitches. Place longer spirals toward the center front and center back. Place shorter spirals at the sides for a natural cascading effect.
Attaching Straight Tentacles:
Fold each 18 to 20 inch length of Color E in half. Using a crochet hook, pull the folded loop through a stitch at the base of the bell between the spiral tentacles. Draw both cut ends through the loop and pull to tighten. This creates a lark’s head knot. Distribute the 6 doubled straight tentacles evenly between the spirals.
Finishing the Hanging Cord:
Tie the two ends of the hanging cord together in an overhand knot approximately 6 to 8 inches above the crown, creating a loop for hanging. Trim any excess.
Trimming Tentacles:
Trim the straight tentacles to varied lengths ranging from approximately 8 to 12 inches. This creates a natural, flowing silhouette. The spiral tentacles hang at their natural length. Allow some straight tentacles to hang longer than the spirals for layered depth.
Size Customization Tips
To make a larger jellyfish, continue increasing beyond Round 10. Each increase round adds 6 stitches following the established pattern. Round 11 would be: (sc in next 9 sts, inc) 6 times for 66 stitches. Add corresponding closing rounds in reverse.
To make a smaller jellyfish, stop the increase rounds earlier. For a 3 inch bell, stop at Round 7 with 42 stitches and proceed through even rounds before decreasing.
Care Instructions
Hand wash gently in cool water with mild detergent. Do not wring. Press water out gently and reshape while damp. Hang to dry from the cord. Do not machine wash or tumble dry.
Time Estimate
Plan for 8 to 12 hours total. The bell takes approximately 3 to 4 hours. The frill takes about 1 hour. Each spiral tentacle takes 10 to 15 minutes, so allow 2 hours for all 8. Assembly and straight tentacles take 1 to 2 hours.
I hope you love making this ocean blue jellyfish amigurumi crochet pattern as much as I enjoyed writing it up. There is something so satisfying about watching those spirals coil and seeing the whole piece come together.
If you found this crochet tutorial helpful, save it to your Pinterest boards so you can find it when you are ready to start. And please leave a comment below if you make one. I would love to hear how it turned out for you.
You Might Also Like
- Blush Pink Rose Lace Crochet Dress Free Pattern
- Dusty Rose Puff Flower Tote Free Crochet Pattern
- Ivory Pineapple Lace Girl Dress Free Crochet Pattern
- Sage Green Textured Baby Outfit Set Free Crochet Pattern