
Last summer, I found myself sitting on a friend’s porch, watching her daughter collect shells along the shoreline. She had this little bucket overflowing with scallops and tiny cone shells, and she kept running back to show us each one like it was treasure. I remember thinking how perfect those shapes would look scattered across a crocheted beach outfit. The idea stuck with me for months.
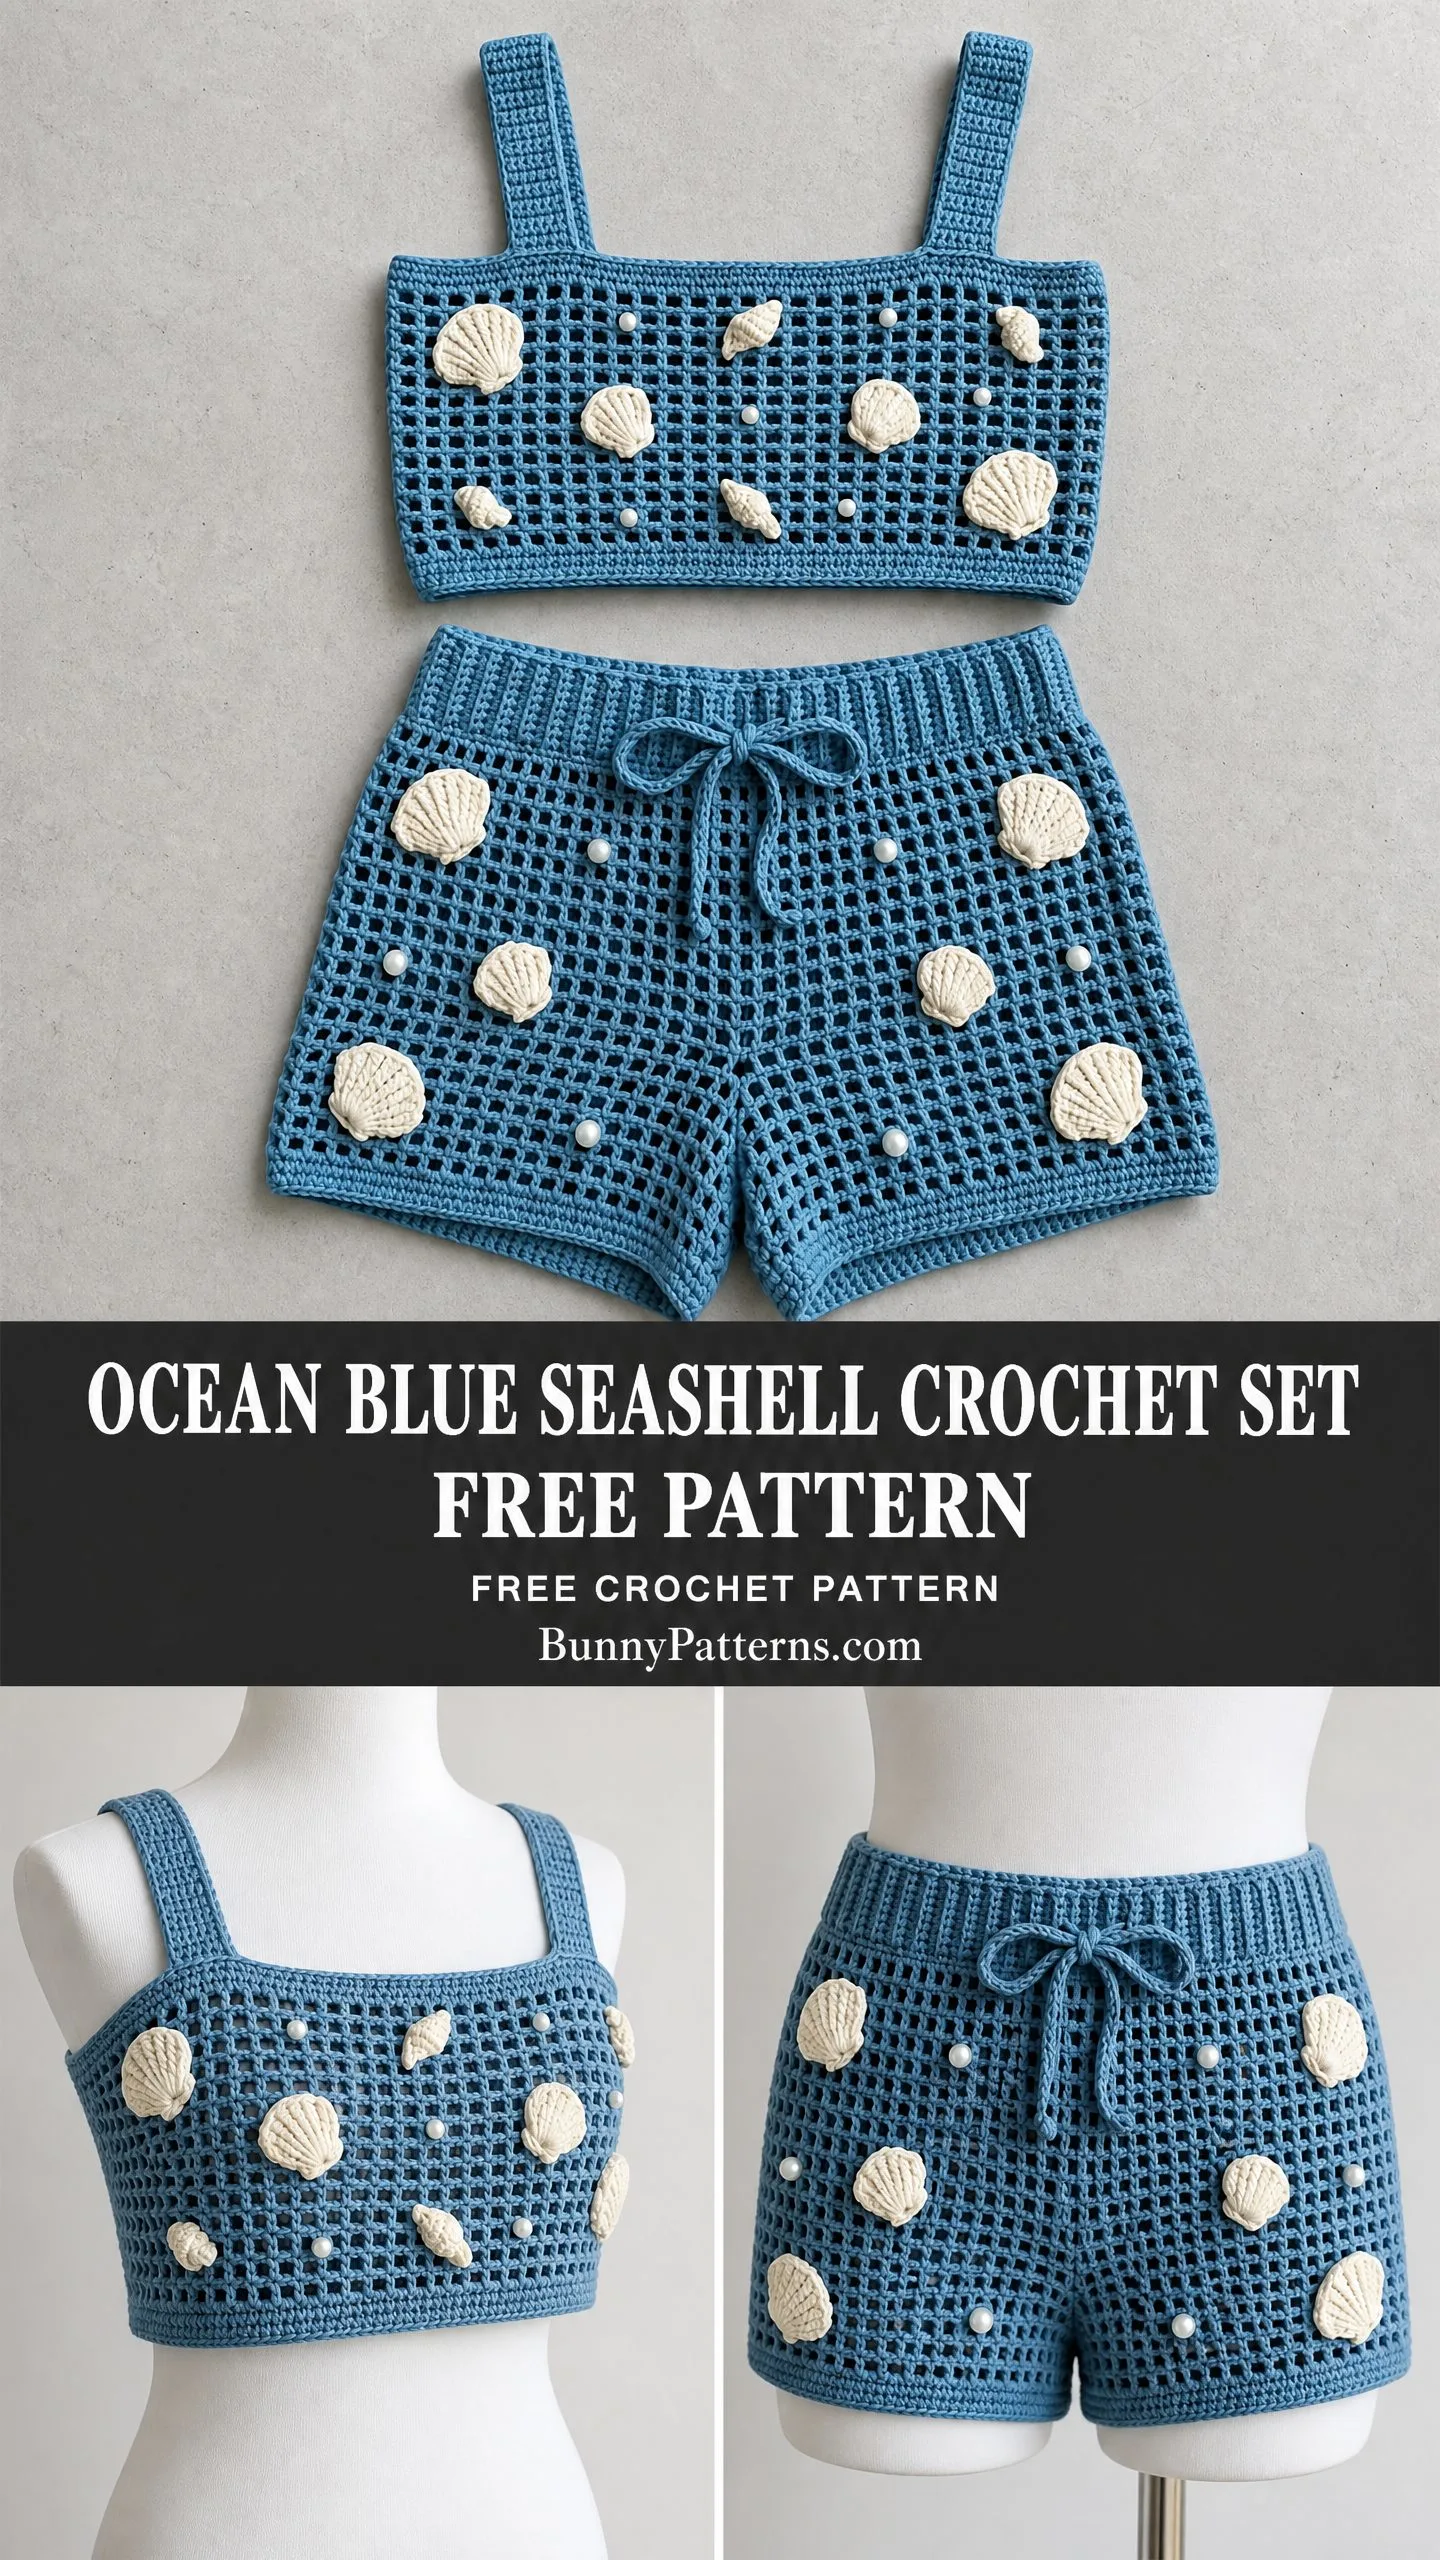
When I finally sat down to design this set, I wanted to capture that same feeling. Sandy afternoons, salt air, shells in your pocket. The dusty steel blue reminded me of the ocean on overcast days, and those cream appliques felt like the shells themselves had been stitched right onto the fabric.
This two piece set takes some time and patience, but the construction is more straightforward than it looks. If you can work a basic mesh stitch and sew pieces together, you can absolutely make this. Let me walk you through everything.
What You Will Be Making
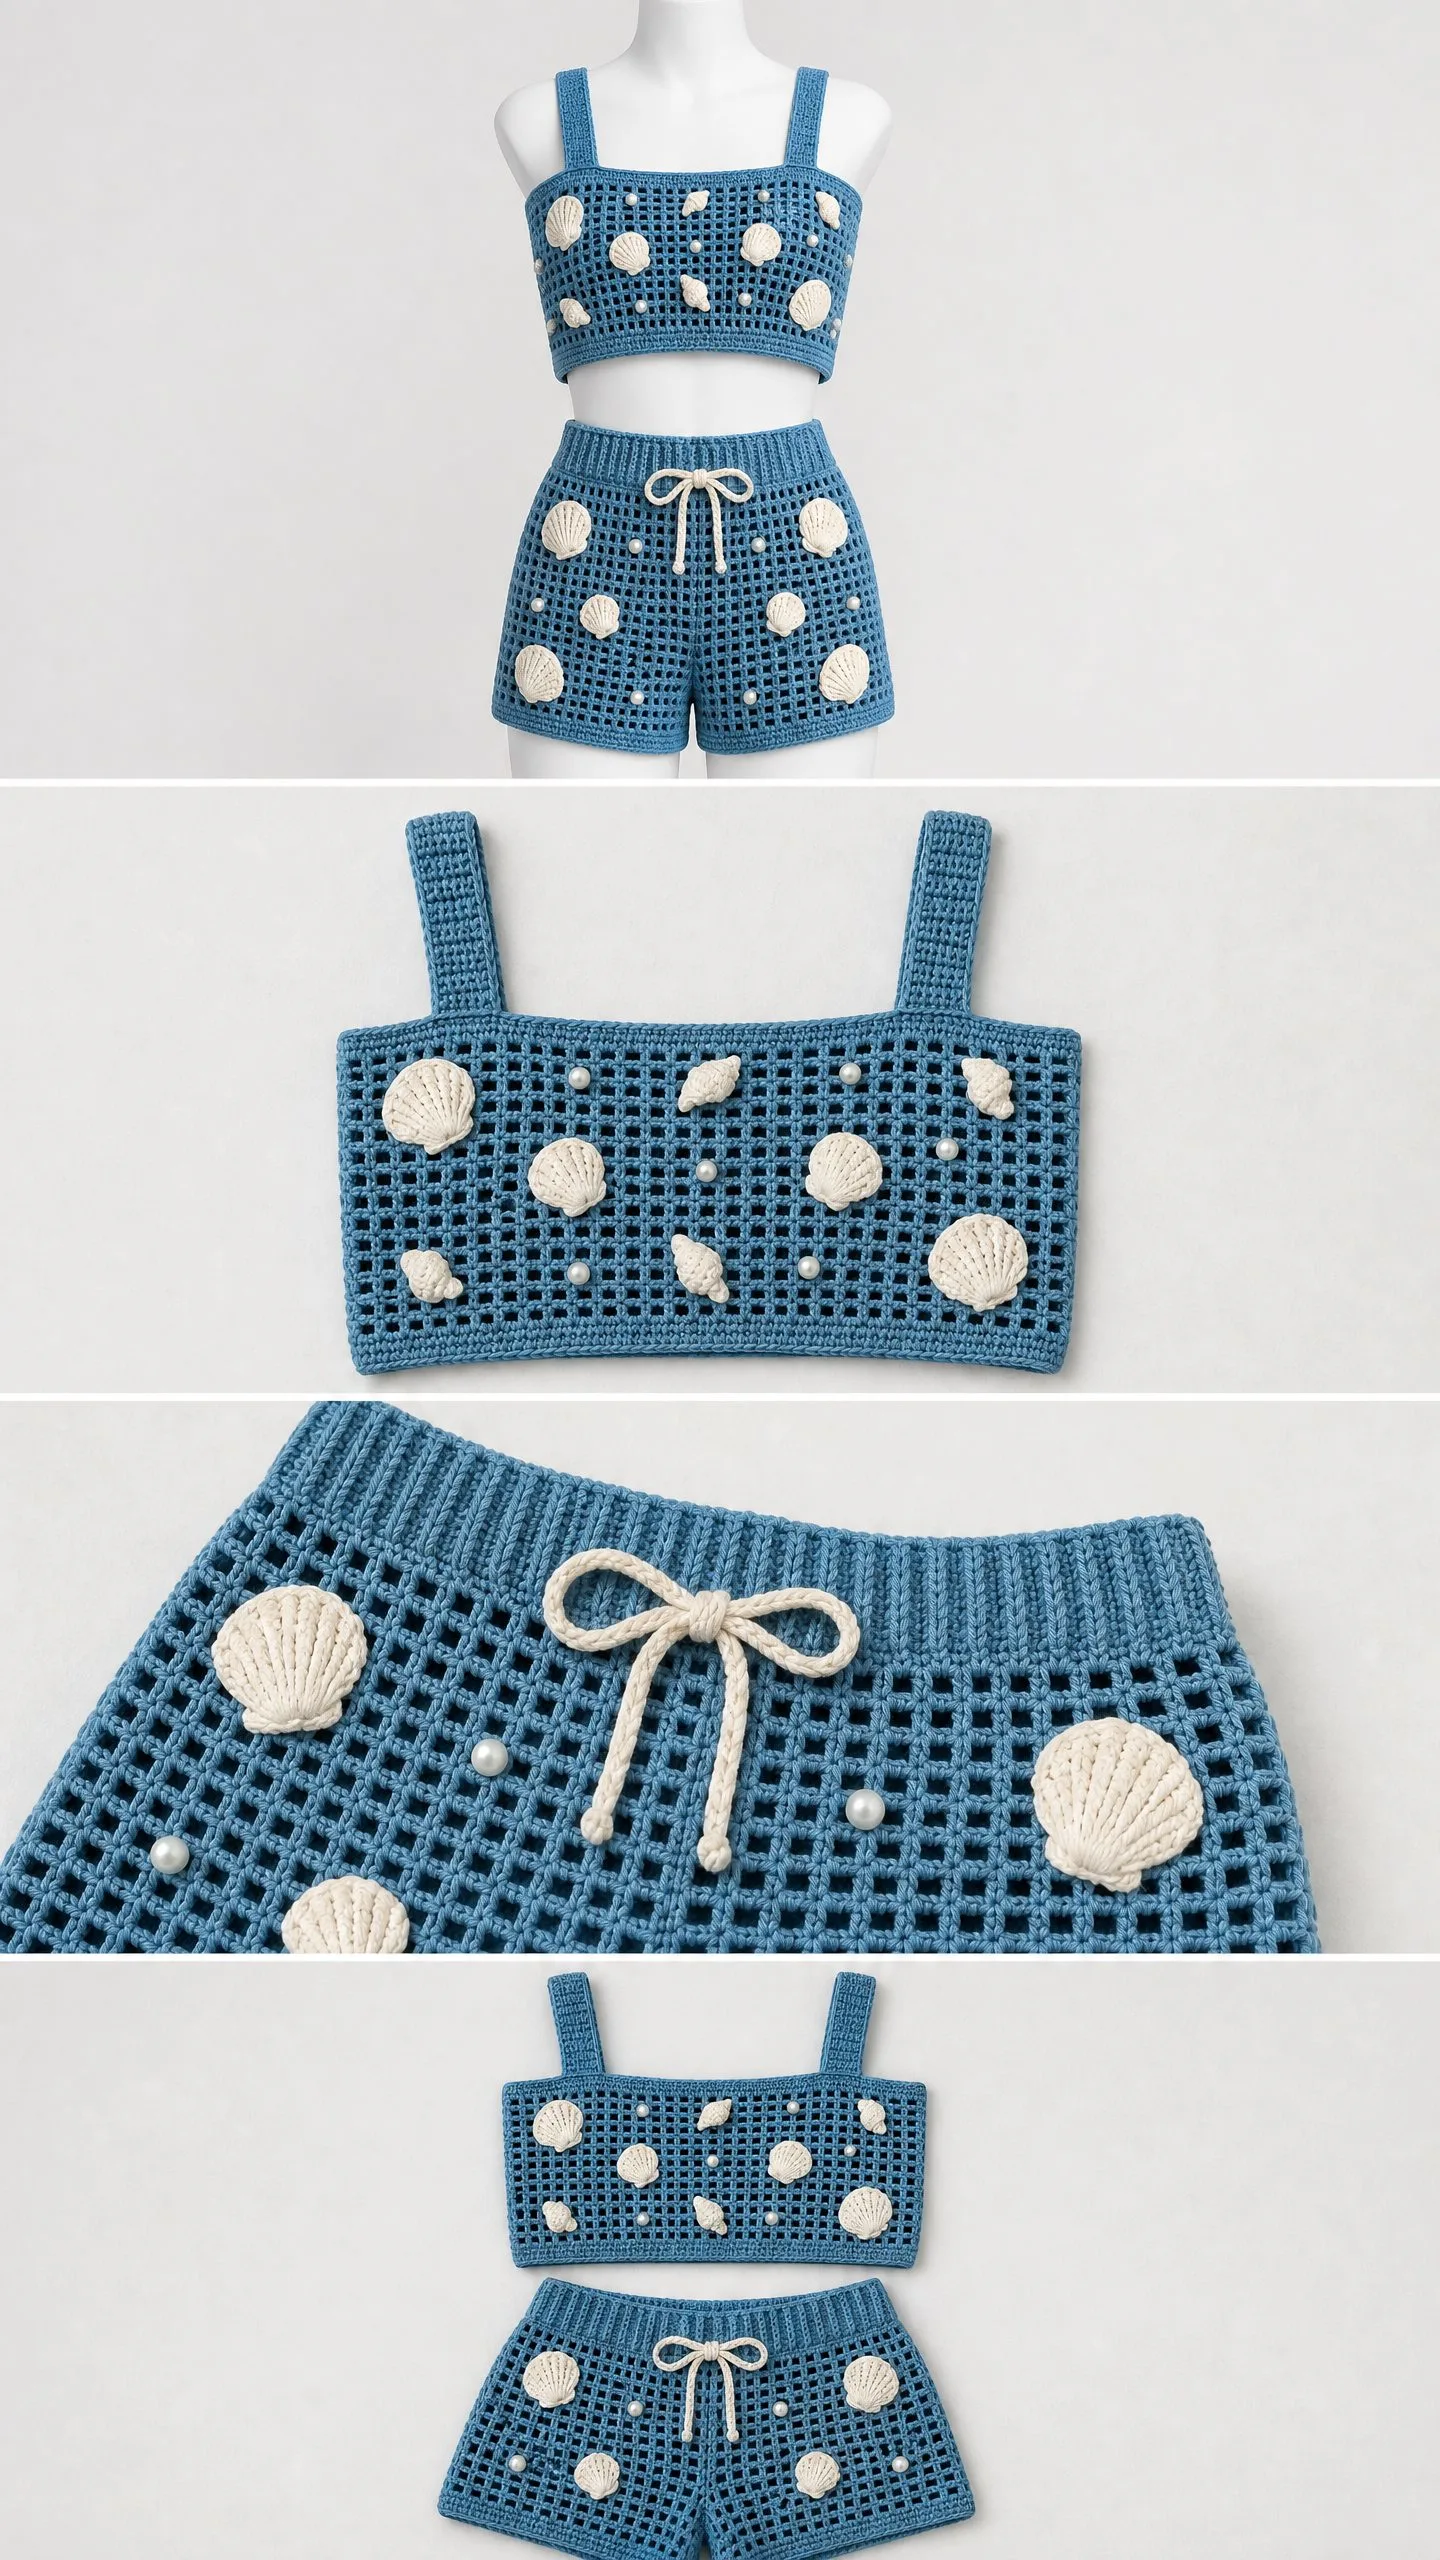
This ocean inspired crochet set includes a cropped square neck tank top and matching drawstring shorts. Both pieces use a filet style mesh grid stitch that creates an open, breathable fabric perfect for warm weather. The magic comes from the three dimensional crocheted seashell appliques in cream yarn, along with scattered pearl bead accents that catch the light.
The crop top is worked flat in two identical panels, seamed at the sides, with wide shoulder straps worked separately and attached. The shorts follow a similar flat construction for the front and back panels, with a separately worked ribbed waistband and a threaded drawstring.
This is an intermediate level project. The mesh stitch itself is highly repetitive and easy to memorize. However, you will be working multiple separate components, sewing seams, crocheting shaped appliques, and attaching beads. If you have completed two or three garment projects before and feel comfortable with seaming, you will find this enjoyable rather than frustrating.
Finished Measurements
The pattern is written for size Small/Medium.
Crop Top (Small/Medium):
Shorts (Small/Medium):
Materials Needed
Yarn:
Hooks:
Notions:
Yarn Suggestions:
Lion Brand 24/7 Cotton in "Steel Blue" and "Ecru" works beautifully for this project. The mercerized cotton has excellent stitch definition for mesh work and holds its shape after blocking. Paintbox Yarns Simply DK Cotton or WeCrochet Dishie are also great options. Avoid fuzzy or halo yarns, as they will obscure the mesh openings and applique details.
Gauge
Main fabric gauge (US G-6 / 4.00 mm hook, in Filet Mesh pattern after wet blocking):
This means 1 mesh square = 0.5 inches (1.27 cm) wide, and 1 mesh row = 0.5 inches (1.27 cm) tall.
To make a gauge swatch: Chain 22. Row 1: Sc in 2nd ch from hook, (ch 2, skip 2 ch, sc in next ch) across. Turn. Row 2: Ch 3, skip ch-2 sp, sc in next sc, (ch 2, sc in next sc) across. Turn. Repeat Row 2 for a total of 12 rows. Block your swatch and measure the center 8 mesh squares. This should equal 4 inches in each direction.
Gauge matters here because finished dimensions are calculated directly from mesh square counts. Adjust your hook size if needed.
Abbreviations and Special Stitches
Before we dive in, let me explain the stitches you will use.
Single crochet (sc): Insert hook into stitch, yarn over and pull up a loop (2 loops on hook), yarn over and pull through both loops.
Chain (ch): Yarn over, pull through loop on hook.
Slip stitch (sl st): Insert hook, yarn over, pull through stitch and loop on hook in one motion.
Half double crochet (hdc): Yarn over, insert hook into stitch, yarn over and pull up a loop (3 loops on hook), yarn over and pull through all 3 loops.
Double crochet (dc): Yarn over, insert hook into stitch, yarn over and pull up a loop (3 loops on hook), yarn over and pull through 2 loops (2 loops remain), yarn over and pull through remaining 2 loops.
Sc2tog (single crochet two together): This is a decrease. Insert hook into next stitch, yarn over and pull up a loop (2 loops on hook), insert hook into following stitch, yarn over and pull up a loop (3 loops on hook), yarn over and pull through all 3 loops. You have turned 2 stitches into 1.
Front post single crochet (fpsc): Insert hook from front to back to front around the post of the indicated stitch (not through the top), yarn over and pull up a loop, yarn over and pull through both loops.
Back post single crochet (bpsc): Insert hook from back to front to back around the post of the indicated stitch, yarn over and pull up a loop, yarn over and pull through both loops.
MSQ: Mesh square. Throughout this pattern, stitch counts for the mesh section are expressed in mesh squares. One MSQ consists of one sc and the ch 2 space between it and the next sc. The total number of sc stitches in any row equals the number of MSQ plus 1.
The Filet Mesh Pattern
This is the main background stitch for both the top and shorts. Each mesh square is formed by one sc, two chain stitches, and one sc, creating a grid of open squares.
Foundation Row (RS): Sc in 2nd ch from hook, (ch 2, skip 2 ch, sc in next ch) across. Turn.
Row 1 (WS): Ch 3 (counts as sc plus ch 2), skip first ch-2 sp, sc in next sc, (ch 2, sc in next sc) across, ending with sc in the last sc of previous row. Turn.
All subsequent rows repeat Row 1. The ch 3 turning chain at the beginning of every row counts as sc plus ch 2. The final sc of every row is worked into the top of the previous row’s ch 3 turning chain.
Crochet Pattern Instructions: Crop Top
Front Panel (make 1)
With MC and US G-6 / 4.00 mm hook, chain 100.
Foundation Row (RS): Sc in 2nd ch from hook, (ch 2, skip 2 ch, sc in next ch) across. Turn. (33 MSQ)
Row 1 (WS): Ch 3, sk first ch-2 sp, sc in next sc, (ch 2, sc in next sc) across. Turn. (33 MSQ)
Rows 2 through 15: Repeat Row 1. Turn after each row. (33 MSQ each row)
After Row 15, the panel should measure approximately 7.5 inches (19 cm) tall and 16.5 inches (42 cm) wide. Fasten off, leaving a tail of at least 18 inches (46 cm) for seaming.
Back Panel (make 1)
Repeat all instructions for Front Panel exactly. (33 MSQ, 15 rows, same dimensions)
Shoulder Straps (make 2)
With MC and US G-6 / 4.00 mm hook, chain 10.
Foundation Row (RS): Sc in 2nd ch from hook, (ch 2, skip 2 ch, sc in next ch) across. Turn. (3 MSQ)
Rows 1 through 18: Ch 3, sk first ch-2 sp, sc in next sc, (ch 2, sc in next sc) across. Turn. (3 MSQ each row)
After Row 18, the strap measures 9.5 inches (24 cm) long and approximately 1.25 to 1.5 inches wide. Fasten off, leaving a long tail. Make a second strap the same way.
Crop Top Assembly
Block all panels and straps before assembling.
Step 1, Side Seams: Place front and back panels with right sides together, aligning all mesh rows carefully. Using a tapestry needle and the long MC tail, seam both side edges using a whip stitch through the outermost sc of each edge, working from the bottom hem upward. The side seam runs the full 7.5 inch height of both panels. Repeat for the second side seam. Turn right side out.
Step 2, Edging (optional but recommended): With MC and US G-6 hook, work 1 round of sc evenly along the top edge of the joined tube and along each armhole opening. Work approximately 1 sc per sc and 2 sc per ch-2 space along mesh edges. Sl st to join. Fasten off.
Step 3, Attach Straps: Position one strap on the front panel, placing the strap ends approximately 3.5 inches (8.9 cm) in from each side edge. Pin in place. Sew the lower end of the strap to the top edge of the front panel securely using MC and a tapestry needle. Take the strap over the shoulder and pin the other end to the corresponding position on the back panel top edge. Sew the back strap end to the back panel top edge. Repeat for the second strap.
Step 4, Reinforce: Run a second pass of sewing through each strap attachment point. Weave in all ends.
Crochet Pattern Instructions: Shorts
Front Panel (make 1)
With MC and US G-6 / 4.00 mm hook, chain 106.
Foundation Row (RS): Sc in 2nd ch from hook, (ch 2, skip 2 ch, sc in next ch) 35 times across. Turn. (35 MSQ)
Rows 1 through 18: Ch 3, sk first ch-2 sp, sc in next sc, (ch 2, sc in next sc) across, sc in top of t-ch. Turn. (35 MSQ each row)
After Row 18, panel measures approximately 9 inches (22.9 cm) tall.
Back Panel (make 1)
Repeat all instructions for Front Panel exactly. (35 MSQ, 18 rows)
Waistband
The waistband is worked separately in Shell Ribbing Stitch using the smaller hook.
With MC and US E-4 / 3.50 mm hook, chain a length equal to the circumference of the shorts top edge plus 1 inch for seaming (approximately 70 to 72 chains for size S/M).
Row 1: Sc across. Turn.
Row 2: Ch 1, (fpsc around next st, bpsc around next st) across. Turn.
Repeat Row 2 until the waistband measures 2.5 inches (6.5 cm) deep. Fasten off, leaving a long tail for seaming.
Sew the waistband to the top edge of the joined shorts panels. Thread the drawstring through the top row of mesh squares just below the waistband.
Seashell Appliques
These three dimensional shells bring the whole set to life. Make the following quantities:
For the top: 4 Fan/Scallop Shells (large), 2 Cone Shells (medium), 5 Small Scallop Shells
For the shorts: 5 Fan/Scallop Shells (large), 2 Cone Shells (medium), 5 Small Scallop Shells
Fan Scallop Shell (Applique A)
With CC and US E-4 / 3.50 mm hook.
Foundation: Ch 2.
Rnd 1: Work 10 sc in 2nd ch from hook. Do not join. Place marker. (10 sc)
Row 2: Turn. Ch 1. Working in back loops only of Rnd 1 stitches, work: sc, hdc, dc, dc, dc, dc, dc, dc, hdc, sc. Turn. (10 sts)
Row 3: Ch 1. Sc in first st. Work 2 sts in each st across. (20 sts)
Row 4: Ch 1. Sc in first st. (2 sc in next st, sc in next st) across. (30 sts)
Row 5: Ch 1. Sc across all 30 sts. Turn. (30 sc)
For the shell ribs, use a tapestry needle and CC to embroider 5 straight lines from the base outward to the scalloped edge. Work 1 round of sc around the perimeter to neaten the edge. Sl st to join. Fasten off. The shell measures approximately 2 to 2.25 inches across.
Cone Shell (Applique B)
With CC and US E-4 / 3.50 mm hook, ch 4, sl st to first ch to form a ring.
Row 1 (RS): Ch 1. Work 4 sc into ring. Turn. (4 sc)
Row 2: Ch 1. 2 sc in first sc, sc in next 2 sc, 2 sc in last sc. Turn. (6 sc)
Row 3: Ch 1. Sc in each sc across. Turn. (6 sc)
Row 4: Ch 1. 2 sc in first sc, sc in next 4 sc, 2 sc in last sc. Turn. (8 sc)
Row 5: Ch 1. Sc in each sc across. Turn. (8 sc)
Row 6: Ch 1. 2 sc in first sc, sc in next 6 sc, 2 sc in last sc. Turn. (10 sc)
Row 7: Ch 1. Sc in each sc across. Turn. (10 sc)
Row 8: Ch 1. Sc2tog, sc in next 6 sc, sc2tog. Turn. (8 sc)
Row 9: Ch 1. Sc2tog, sc in next 4 sc, sc2tog. Turn. (6 sc)
Row 10: Ch 1. Sc2tog, sc in next 2 sc, sc2tog. Turn. (4 sc)
Row 11: Ch 1. Sc2tog twice. Turn. (2 sc)
Row 12: Ch 1. Sc2tog. (1 sc) Fasten off. The cone measures approximately 1.75 inches long.
Small Scallop Shell (Applique C)
With CC and US E-4 / 3.50 mm hook, ch 2.
Rnd 1: Work 6 sc in 2nd ch from hook. Sl st to first sc to join. (6 sc)
Rnd 2: Ch 1. 2 sc in each sc around. Sl st to join. (12 sc)
Rnd 3: Ch 1. (Sc in next sc, 2 sc in next sc) 7 times, sc in last sc. Sl st to join. (16 sc)
Rnd 4: Ch 1. (Sc in next sc, sk 1 sc, 5 dc in next sc, sk 1 sc) 4 times. Sl st to join. Fasten off.
The shell measures approximately 1.25 inches in diameter.
Applique Placement and Finishing
Block the assembled pieces. Lay them flat. Position appliques in a scattered, organic arrangement across both the top and shorts front panels. Place larger fan shells near corners and center areas, scatter cone shells diagonally, and fill gaps with small scallop shells.
Sew all appliques in place using CC and a tapestry needle, stitching around the perimeter of each applique and catching the bars of the mesh squares beneath.
Using your beading needle and strong thread, sew pearl beads scattered randomly between the shells. Space them roughly 1 to 1.5 inches apart, grouping 2 to 3 beads near each shell cluster.
Time Estimate
Plan for approximately 18 to 26 hours total for a size Medium. The top takes roughly 8 to 11 hours including appliques. The shorts take roughly 10 to 15 hours including appliques, waistband, and finishing. This is a lovely project to work on over several evenings or a relaxed weekend.
Blocking Tips
Cotton yarn benefits enormously from wet blocking. Soak your finished pieces in cool water for about 20 minutes, gently squeeze out excess water (do not wring), and pin flat to your blocking mats. Allow to dry completely before assembling. This relaxes the mesh, evens out your stitches, and gives the finished garment a professional look.
Final Thoughts on This Ocean Blue Seashell Crochet Set Pattern
I hope this step by step crochet tutorial gives you everything you need to create your own beachy two piece set. The filet mesh construction is beginner friendly once you get into the rhythm, and watching those seashell appliques come together is genuinely satisfying. Whether you are making this for yourself or as a thoughtful handmade gift, the finished set is sure to turn heads.
Thank you so much for choosing this pattern. I would absolutely love to see your finished set! Tag me on Instagram or share a photo in my Facebook group. Your makes always brighten my day.
If this pattern caught your eye, go ahead and save it to your Pinterest boards so you can find it when you are ready to start. And if you do make it, please drop a comment below. I love hearing which colorways you choose and seeing how these shells look scattered across different shades of yarn. Happy hooking!
You Might Also Like
- Dusty Rose Floral Granny Square Tote Free Crochet Pattern
- Mint Green Tiered Shell Dress Free Crochet Pattern
- Dusty Rose Heart Cutout Crochet Top Free Pattern
- Lavender Lace Chevron Baby Dress Free Crochet Pattern