
When I sat down to design this placemat, I had a very specific vision in mind. I wanted something that would feel like heirloom quality, with that gorgeous gradient effect you see in vintage doilies, but sized perfectly for modern table settings. The combination of dense ivory petals, those stunning ombre green rings, and delicate gold accents came together even better than I imagined.
Get the Ad-Free PDF Pattern
You can find the free pattern below, or you can purchase the ad-free printable PDF from my shop.
Get the Printable PDF →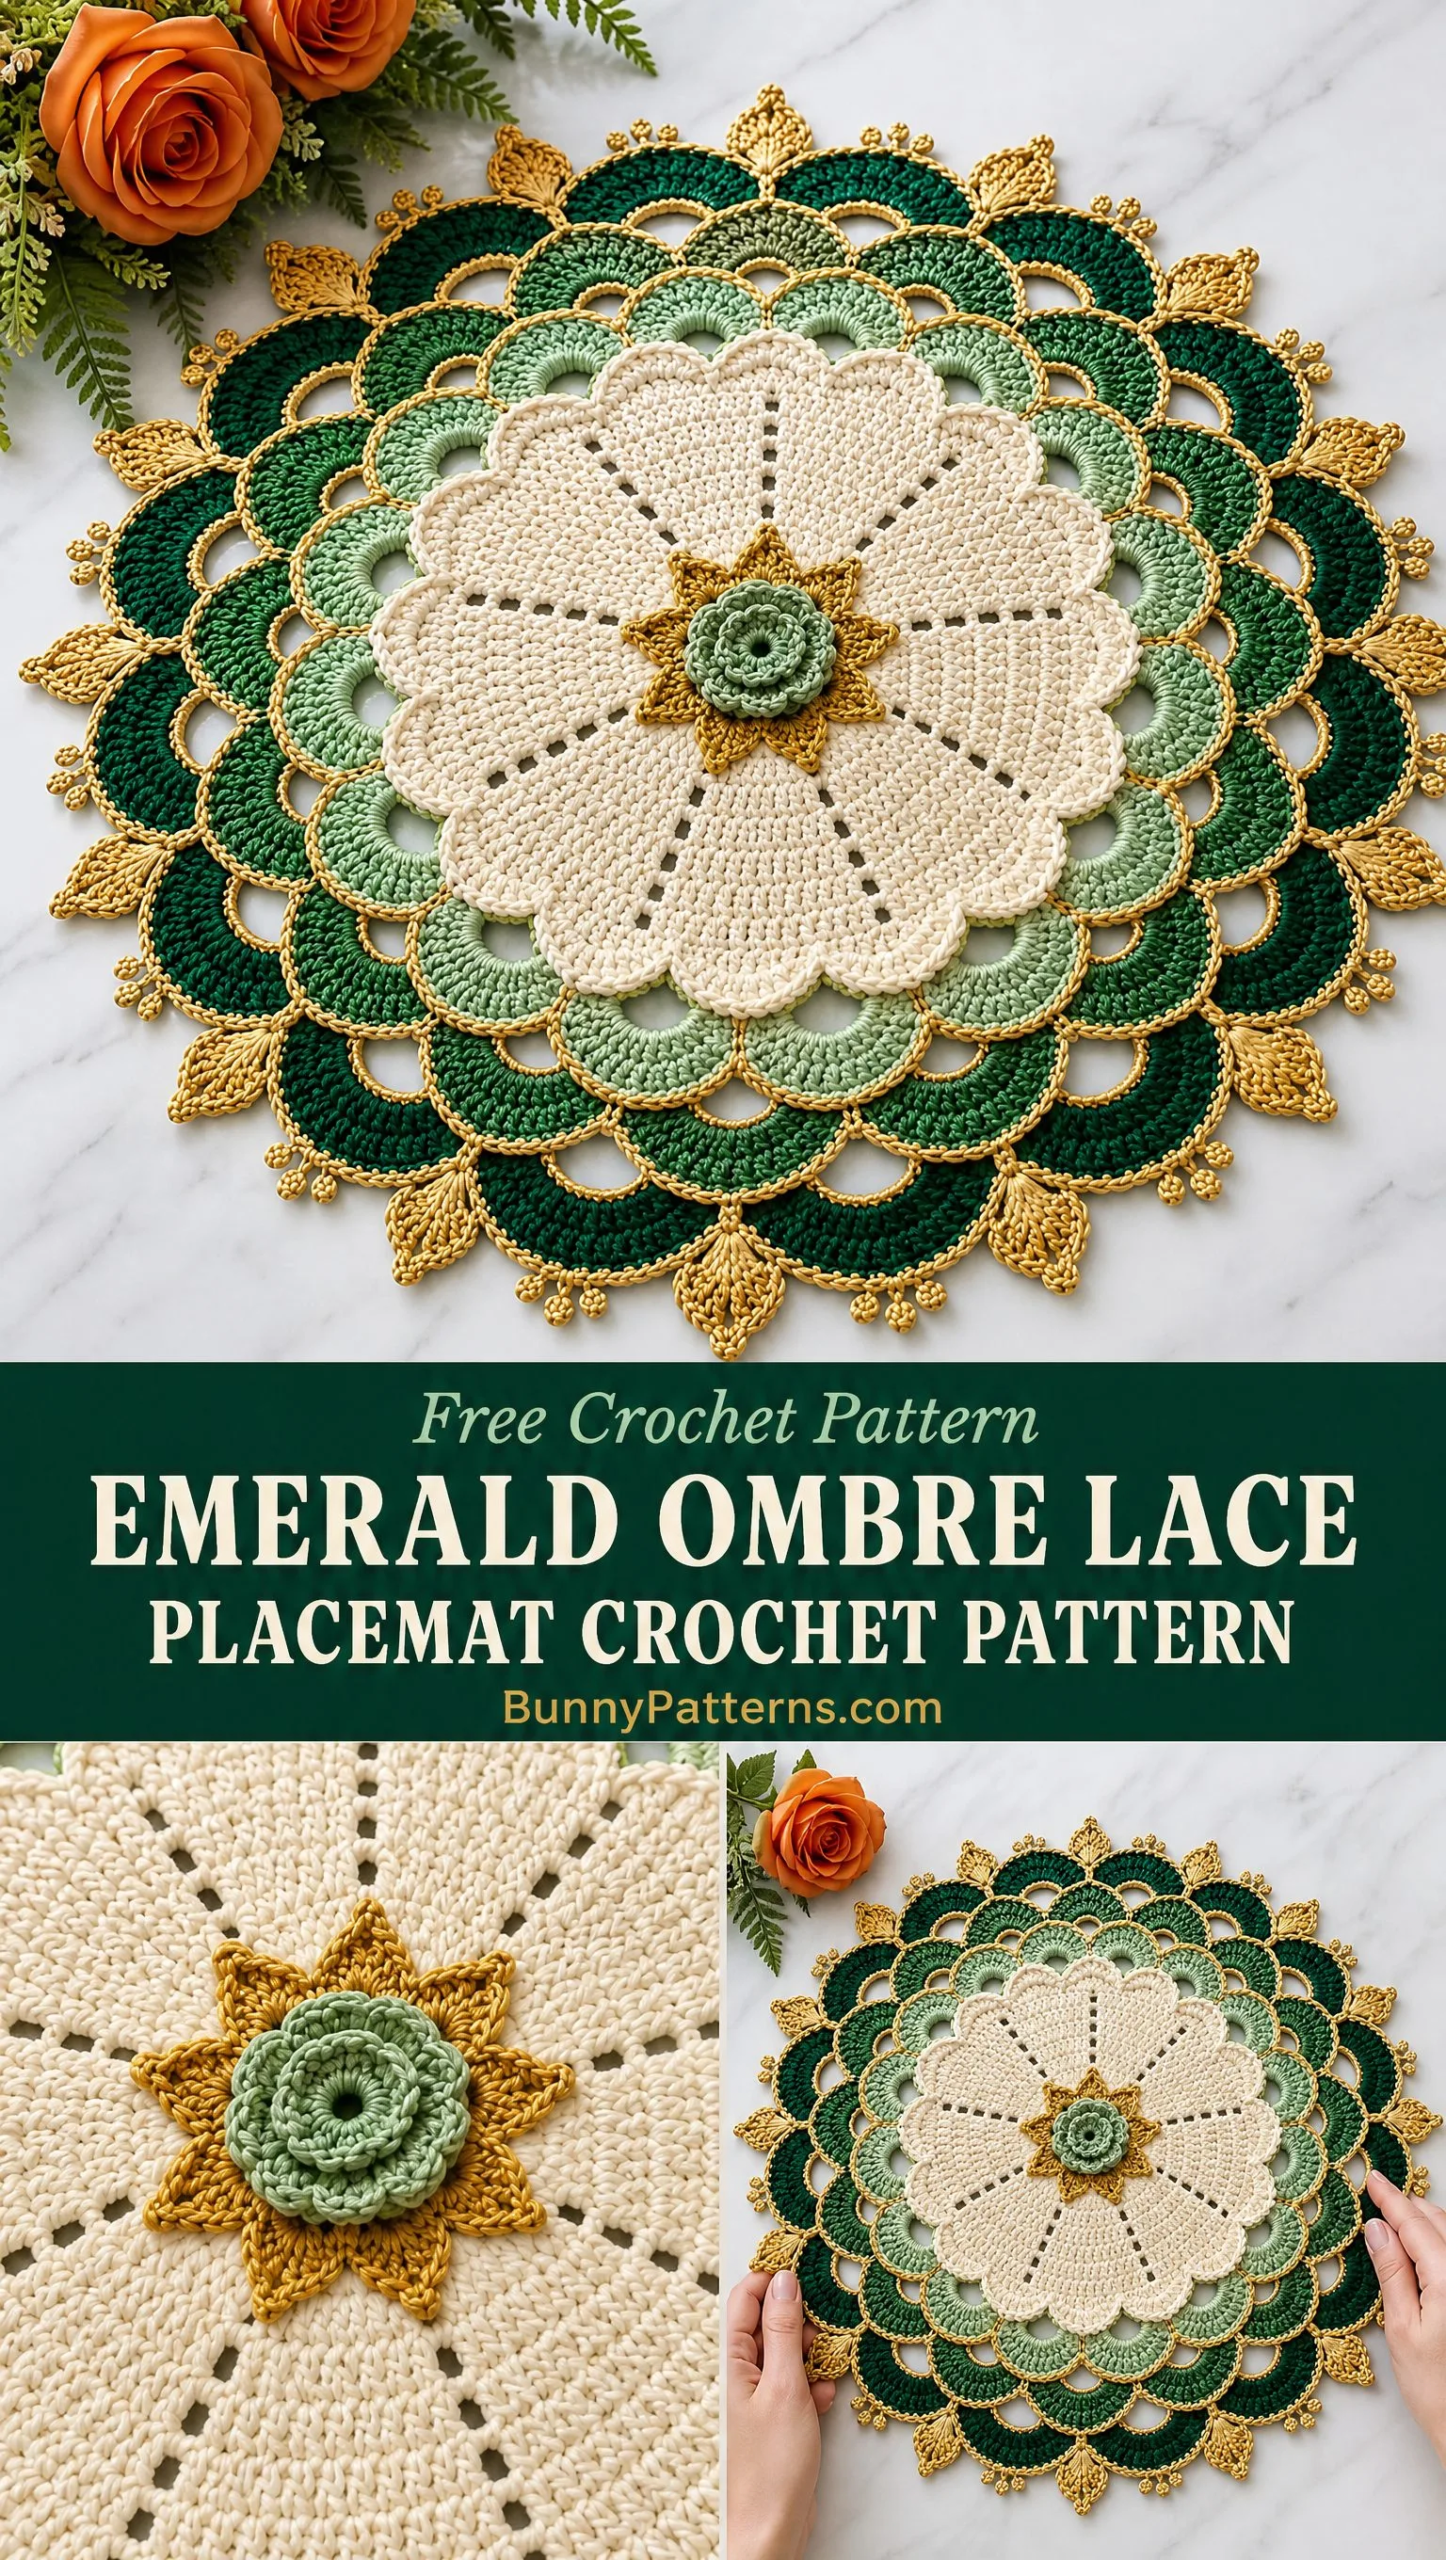
I am SO pleased with how this turned out. The way the colors transition from pale mint through jade and emerald to deep forest creates such depth. And that little sage rosette nestled on top of the gold star in the center? It is the perfect finishing touch.
This is definitely an intermediate project, but do not let that intimidate you. If you can work double crochet shells and follow a rhythm, you have got this. Let me walk you through every single step.
About This Emerald Ombre Lace Placemat Pattern
This lace placemat crochet pattern creates a stunning 16.5 inch (42 cm) diameter centerpiece after blocking. The construction works from the center outward in joined rounds, with a separate center appliqué sewn on at the end.
The design features a dense ivory flower center with 12 narrow eyelet spokes radiating outward. Four progressively deeper green shell and arch rings surround the center, each outlined with fine gold thread. The outermost round alternates pointed gold leaves with tiny three picot crowns for that crisp ornamental finish you can see in the photos.
What makes this special: The ombre effect happens naturally as you change colors through the four lace rings. Each ring uses the same basic technique, just in a deeper shade of green. Once you understand the rhythm of one ring, the others follow the same logic.
Skill Level
Intermediate. You should be comfortable with basic crochet stitches, working in joined rounds, and changing colors. The pattern uses standard stitches throughout, but keeping track of the 12 radial sections and 24 arch positions requires attention to detail.
Materials You Will Need
Yarn: Sport or light DK weight mercerized cotton, plus fine metallic accent thread
Here are the specific colors and approximate amounts:
| Material | Amount | Use |
|---|---|---|
| Ivory cotton | 75 to 90 yards (69 to 82 m) | Center flower |
| Pale mint cotton | 35 to 45 yards (32 to 41 m) | Arch ring 1 |
| Jade cotton | 35 to 45 yards (32 to 41 m) | Arch ring 2 |
| Emerald cotton | 40 to 50 yards (37 to 46 m) | Arch ring 3 |
| Deep forest cotton | 45 to 55 yards (41 to 50 m) | Arch ring 4 |
| Sage cotton | 8 to 12 yards (7 to 11 m) | Center rosette |
| Fine gold crochet thread or metallic strand | 45 to 60 yards (41 to 55 m) | Star, arch edging, outer trim |
Hook: 3.25 mm (US D-3), or size needed for gauge
Notions:
Gauge and Finished Size
Gauge is not critical, but consistent tension matters. After Round 9 of the ivory center, the piece should measure about 8.5 to 9 inches (21.5 to 23 cm) across, lightly smoothed.
The finished placemat should block to approximately 16.5 inches (42 cm) in diameter.
Gauge troubleshooting: If your center is larger, switch to a smaller hook before beginning the lace rings. If smaller, use a slightly larger hook.
Abbreviations (US Terms)
Let me define every abbreviation you will encounter:
Special Stitches
These are the specific stitch combinations used in this pattern:
3-dc shell: Work 3 double crochet stitches in the indicated space. This creates a small fan shape.
5-dc fan: Work 5 double crochet stitches in the indicated chain space. A medium sized fan.
7-dc fan: Work 7 double crochet stitches in the indicated chain space. A larger, more dramatic fan.
Leaf point: Chain 7. Slip stitch in 2nd chain from hook, single crochet in next chain, half double crochet in next, double crochet in next, treble crochet in next, double crochet in last chain. Slip stitch to the base space. This creates a pointed leaf shape.
Three-picot crown: Work (picot, single crochet in same base point) 3 times, keeping the three picots compact. Creates a decorative crown effect.
Gold surface edge: With gold held behind the work, join at one end of a colored arch and work slip stitch loosely through the outer top loops along the curve. Do not pull tight. The gold should sit as a fine outline.
Pattern Notes Before You Begin
Read these tips carefully. They will save you frustration later.
The main body is worked in joined rounds from the center outward. Join each round with a slip stitch unless otherwise stated.
The ivory center is divided into 12 radial wedges. A chain 1 eyelet separates each wedge. These eyelets become the visible spokes you can see in the finished piece.
Important: Count the 12 spokes at the end of every ivory round. If one is missing, correct the round before continuing. Trust me on this one.
Each lace ring has 24 arches, which means two arches aligned with each ivory wedge. Place markers every two arches if that helps you keep track.
Work metallic gold with relaxed tension. If using a very thin metallic sewing style thread, hold it double or together with a strand of matching gold crochet thread for easier handling.
Block after all surface edging and the center appliqué are complete.
Main Placemat Instructions
Ivory Flower Center
With ivory, make a magic ring. Chain 3 counts as the first double crochet throughout the center unless noted.
Round 1: Chain 3, 11 double crochet in magic ring. Join. Tighten ring. 12 dc.
Round 2: Chain 3, double crochet in same stitch, 2 double crochet in each remaining stitch around. Join. 24 dc.
Round 3 (establish spokes): Chain 3, double crochet in same stitch, chain 1, skip next stitch. 2 double crochet in next stitch, chain 1, skip next stitch. Repeat from * around. Join to top of beginning chain 3. 12 two-dc wedges and 12 chain 1 spokes.
Round 4: Slip stitch into first double crochet of wedge if needed. Chain 3, double crochet in same stitch, double crochet in next double crochet, chain 1. 2 double crochet in first double crochet of next wedge, double crochet in next double crochet, chain 1. Repeat from * around. Join. Each wedge = 3 dc.
Round 5: Chain 3, double crochet in same stitch, double crochet in each double crochet across wedge, chain 1. 2 double crochet in first double crochet of next wedge, double crochet in each remaining double crochet of wedge, chain 1. Repeat from * around. Join. Each wedge = 4 dc.
Round 6: Repeat Round 5 increase method. Each wedge = 5 dc. Maintain one chain 1 spoke between wedges.
Round 7: Repeat increase method. Each wedge = 6 dc.
Round 8: Repeat increase method. Each wedge = 7 dc.
Round 9: Repeat increase method. Each wedge = 8 dc. Do not fasten off.
Round 10 (scalloped flower edge): Chain 1, single crochet in first double crochet. Working across each 8-dc wedge: skip 1 double crochet, 5 double crochet in next double crochet, skip 1 double crochet, single crochet in next 2 double crochet, 5 double crochet in next double crochet, skip 1 double crochet. Single crochet in chain 1 spoke. Repeat this sequence around, adjusting only the final single crochet so each wedge forms two rounded lobes. Join and fasten off.
Lightly steam or finger shape the 24 small scallops.
Foundation for the Lace Rings
Join pale mint with a single crochet in any chain 1 spoke from Round 9, inserting the hook from the front between the scallops so the attachment sits neatly behind the ivory edge.
Foundation Round: Chain 5, single crochet in the valley between the two scallops of the same wedge, chain 5, single crochet in the next chain 1 spoke. Repeat around. You will have 24 chain 5 arches. Join to first single crochet.
These 24 positions are maintained through all four green rings.
Ombre Lace Ring 1: Pale Mint
Round 11: Slip stitch into first chain 5 arch. Chain 1. Work 7 double crochet in each chain 5 arch, single crochet in each anchoring single crochet between arches. Join. 24 pale mint fans.
Round 12 (open windows): Chain 1, single crochet in first anchor single crochet. Chain 6, single crochet in center double crochet (4th double crochet) of next 7-dc fan, chain 6, single crochet in next anchor single crochet. Repeat from * around. Join.
This creates paired oval openings beneath the next ring.
Ombre Lace Ring 2: Jade
Round 13: Join jade in any center single crochet from Round 12. Chain 1, single crochet in same stitch. Chain 5, single crochet around the next pair of chain 6 loops at their meeting point (catch both loops together), chain 5, single crochet in next center single crochet. Repeat from * around. Join. 48 chain 5 arches grouped as 24 pairs.
Round 14: Slip stitch into first chain 5 arch. 5 double crochet in arch, single crochet in the joining single crochet, 5 double crochet in next arch, single crochet in next center single crochet. Repeat from * around. Join. 48 small jade fans.
Round 15 (reset to 24 arches): Chain 7, single crochet between the two 5-dc fans that form one pair, chain 7, single crochet in the space between this pair and the next pair. Repeat from * around. Join. 48 chain 7 loops arranged in pairs, with a clear oval window below each fan.
Ombre Lace Ring 3: Emerald
Round 16: Join emerald in any single crochet between paired loops. Chain 1, single crochet in same point. Work 7 double crochet in next chain 7 loop, single crochet in the single crochet between the pair, 7 double crochet in next chain 7 loop, single crochet in next between-pair single crochet. Repeat from * around. Join. 48 emerald fans.
Round 17: Chain 8, single crochet in center double crochet of next fan, chain 8, single crochet in the valley after that fan. Repeat from * around. Join. Keep all loops loose and even.
Ombre Lace Ring 4: Deep Forest
Round 18: Join deep forest in any valley single crochet. Slip stitch into next chain 8 loop. Chain 3, 6 double crochet in same loop, single crochet in next center single crochet. 7 double crochet in next chain 8 loop, single crochet in next valley or center single crochet as it appears. Repeat from * around. Join. 48 deep forest fans.
Round 19 (stabilizing chain): Chain 1, single crochet in same point. Chain 4, single crochet in center double crochet of next fan, chain 4, single crochet in next valley. Repeat from * around. Join. Fasten off deep forest.
Gold Edge on the Four Green Rings
Use gold thread and the Gold surface edge technique described in the special stitches section.
Outline only the curved outer crest of each colored fan, not the lower chain windows. Work around Ring 1, fasten off. Repeat separately for Rings 2, 3, and 4.
Keep the slip stitches relaxed so the lace stays flat. Weave each gold tail into the back of the matching ring for at least 1 inch (2.5 cm) before trimming.
Outer Gold Leaf and Picot Border
Join gold in any valley single crochet of Round 19. The border alternates a pointed leaf at one valley with a three picot crown at the next valley.
Border Round 1: Chain 1, single crochet in same valley. Chain 4, single crochet in center of next deep forest fan, chain 4, single crochet in next valley. Repeat from * around. Join. This makes a gold guide chain around the perimeter.
Border Round 2: At the first valley work 1 Leaf point. Slip stitch along the next chain 4 segment to the fan-center single crochet, then work a Three-picot crown into that single crochet. Slip stitch along the next chain 4 segment to the next valley. Work 1 Leaf point. Continue alternating leaf point at each valley and three-picot crown at each fan-center single crochet around. Join invisibly and fasten off.
Center Appliqué: Gold Star
With gold, make a magic ring.
Star Round 1: Chain 1, work 8 single crochet in magic ring. Join. 8 sc.
Star Round 2: Chain 5. Slip stitch in 2nd chain from hook, single crochet in next chain, half double crochet in next, double crochet in next. Slip stitch in next base single crochet. Repeat from * 8 times. Fasten off, leaving a 10 inch (25 cm) sewing tail.
Flatten the eight points with your fingers.
Center Appliqué: Sage Rosette
With sage, make a magic ring.
Rosette Round 1: Chain 1, 8 single crochet in magic ring. Join. 8 sc.
Rosette Round 2 (inner petals): Chain 3, 2 double crochet in same stitch, chain 3, slip stitch in same stitch. Slip stitch in next single crochet. Repeat from * around. 8 compact petals.
Rosette Round 3 (outer petals): Working behind Round 2, slip stitch around the post area between petals, chain 4. Repeat from * around. Join to form 8 back loops. In each chain 4 loop work (single crochet, half double crochet, 3 double crochet, half double crochet, single crochet). Join and fasten off, leaving a sewing tail.
Assembly
Step 1: Center the gold star over the middle of the ivory flower. Rotate it so the points fall between the major ivory spoke lines rather than directly on top of them.
Step 2: Using the gold tail, tack the star at the base of every point. Keep the stitches small and invisible from the front.
Step 3: Place the sage rosette directly over the star center. Sew through the underside of the rosette only, catching the gold star and ivory base without flattening the petals.
Step 4: Weave in all remaining ends on the wrong side, changing direction once or twice so the ends cannot work loose.
Blocking and Finishing
Proper blocking transforms this piece from nice to stunning. Do not skip this step.
Step 1: Soak the placemat in cool water for 10 to 15 minutes, then gently squeeze out excess water in a towel. Do not wring.
Step 2: Pin the ivory center first, keeping all 12 spokes radial and evenly spaced.
Step 3: Pin each green ring so the 24 paired arches remain aligned. Open the oval windows with your fingers before pinning the fan crests.
Step 4: Pin every gold leaf point and each picot crown individually. Aim for a finished diameter of about 16.5 inches (42 cm).
Step 5: Allow to dry completely before unpinning. If metallic thread feels stiff, shape it with fingers rather than pressing with a hot iron.
Troubleshooting Common Issues
| Issue | Adjustment |
|---|---|
| Center cups upward | Your ivory increases are too tight. Rework the last increase round with looser tension or a hook 0.25 mm larger. |
| Center ripples | Your increases are too loose. Use a smaller hook for the ivory section or remove one increase from each wedge on the final increase round. |
| Green arches pull inward | Increase each chain loop by 1 chain on the affected ring. |
| Green rings ruffle | Decrease each chain loop by 1 chain, or work 5-dc fans instead of 7-dc fans on that ring. |
| Gold edging puckers | Remove it and rework the surface slip stitches with a larger hook or markedly looser tension. |
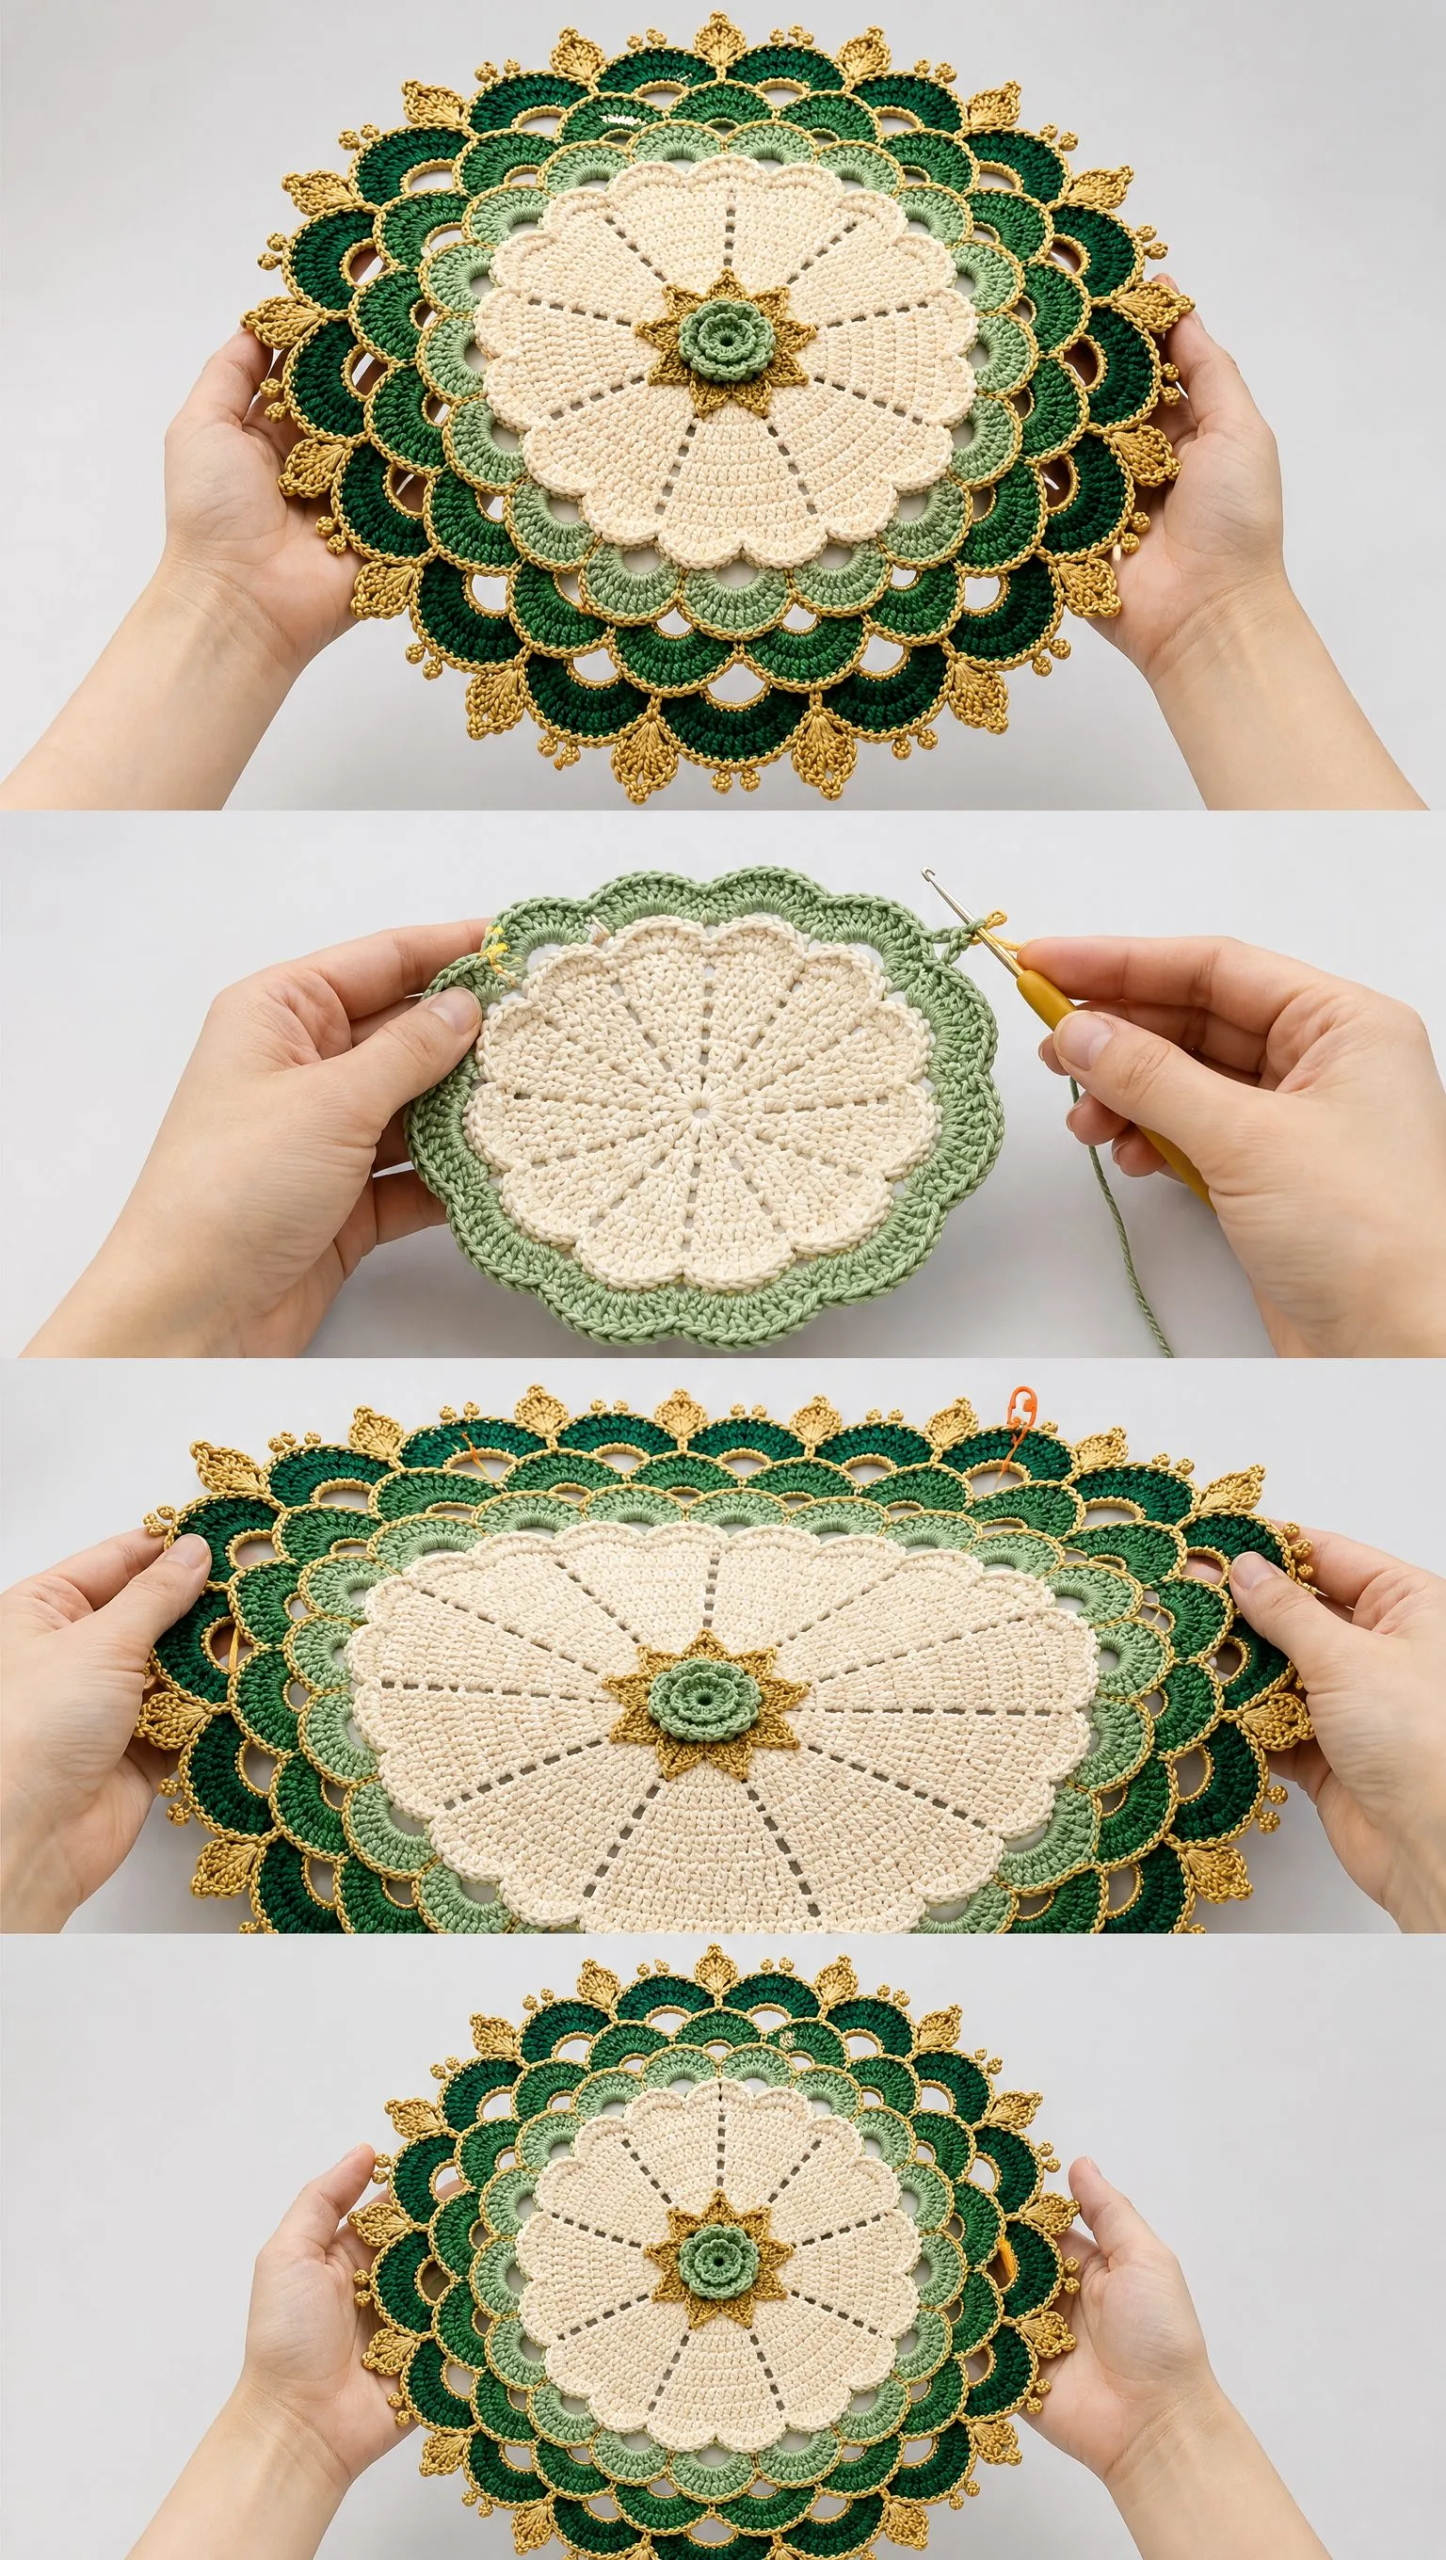
Color Placement Quick Reference
Keep this handy while you work:
Final Thoughts on This Crochet Placemat Pattern
This Emerald Ombre Lace Placemat makes such a gorgeous statement piece for your table. Whether you are setting it under a vase, using it as a centerpiece doily, or gifting it to someone who appreciates handmade artistry, the finished result is truly special.
The ombre progression through those green shades creates visual depth that photographs beautifully too. And those gold accents catch the light in the most lovely way.
Thank you so much for choosing this pattern. I hope you enjoy every stitch of this project. If you make one, I would absolutely love to see it. Tag me on Instagram or share a photo in my Facebook group. Seeing your finished pieces genuinely makes my day.
If this pattern is calling to you, go ahead and save it to your Pinterest boards so you can find it when you are ready to start. And please drop a comment below if you make this placemat. I love hearing how projects turn out and seeing the color combinations you choose.
Want a Quick & Easy Printable Version?
Get a clean, beautifully formatted PDF of this pattern — easy to follow step by step, ready to print or save on any device. No scrolling, no distractions, just the pattern.
Get the Printable PDF →You Might Also Like
- Lavender Butterfly Bathroom Set Free Crochet Pattern
- Lavender Heart Granny Square Baby Blanket Free Crochet Pattern
- Unicorn Rainbow Hooded Baby Poncho Free Crochet Pattern
- Sage Green Moss Stitch Baby Romper Free Crochet Pattern