
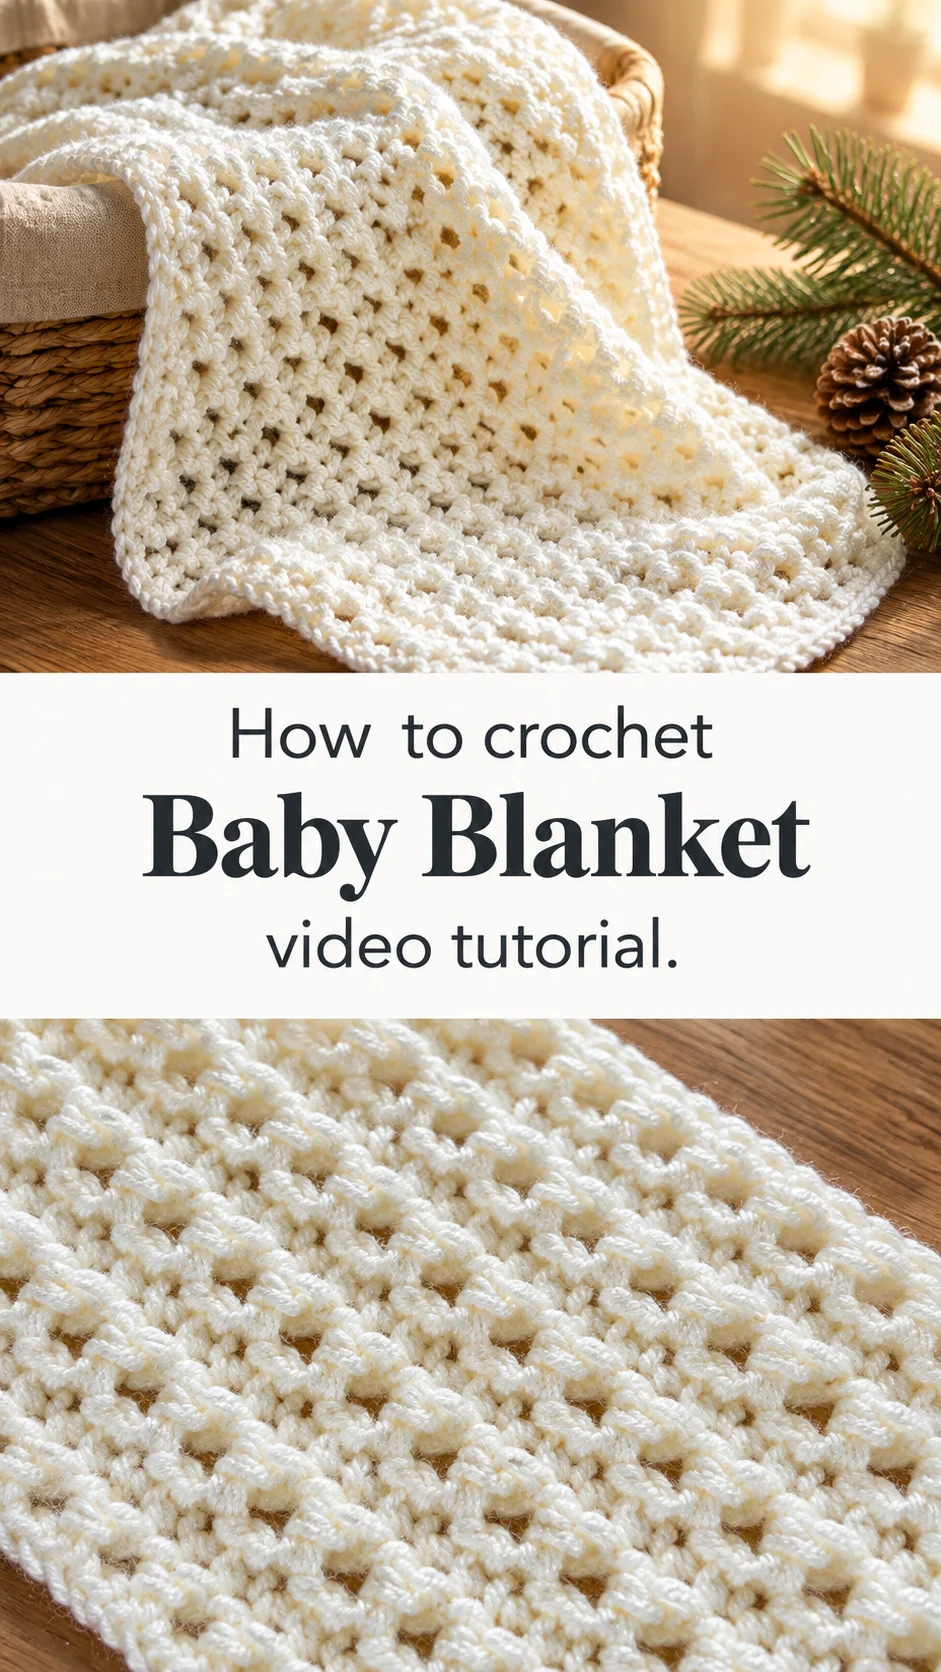
A crochet baby blanket in soft cream, worked in an open lattice of tiny windows, feels light on the arm and gentle on a newborn’s skin, and it grows quickly enough to finish in a few evenings.
The Crochet Baby Blanket
A crochet baby blanket like this one is a study in quiet texture. The cream yarn is smooth and slightly glossy, and the fabric is built from small, evenly spaced openings that run in neat horizontal bands. Between the bands sit slim ridges that give the surface a gentle rib, so the blanket looks airy without looking flimsy. A narrow, firm edge frames the whole piece and keeps the sides crisp. Because the fabric is open, it drapes softly over a pram, a crib rail or a parent’s shoulder. It is warm enough for layering yet breathable enough for mild evenings. The pale colour suits every nursery and every baby, whatever the surprise.
Beyond the nursery, a blanket like this travels well. It folds small enough for a changing bag, and it doubles as a light cover for a car seat or a stroller. It also makes a lovely gift, since the stitch looks far more complicated than it is. Plain. Simple. Elegant.
Baby Blanket Related Posts:
- Crochet Wooden Handle Bag: A Chic Boho Accessory
- Crochet Lisianthus Roses: A Fresh and Delicate Bloom
- Crochet Ribbed Cowl: A Warm and Cozy Neck Essential
- Crochet Dream Dress: A Romantic Handmade Masterpiece
Materials
For a crochet baby blanket in this style, choose a smooth, soft yarn that is gentle on skin and kind to repeated washing. The yarn in the photos has a slight sheen and a tightly plied look, which suggests a fine acrylic or a cotton-acrylic blend, and either one keeps the little openings crisp. A medium-weight yarn paired with a hook of about 4 to 5 mm is a sensible general range for lace-like fabric of this kind. A hook one step larger than the label suggests will make the fabric more fluid, which suits a blanket. Pick a light, solid colour so the openings read clearly; very dark yarns hide the pattern. You will also need a tapestry needle for weaving in ends, scissors, and a flat surface for blocking. Buy all the yarn from the same dye lot, because a slight colour shift is easy to spot in a pale shade.
Choosing the Best Yarn for a Baby
Softness comes first. A baby’s skin is delicate, so test the yarn against your cheek or the inside of your wrist before buying. If it feels scratchy there, it will feel worse after washing.
Acrylic and acrylic blends are the practical choice. They survive frequent machine washing, dry quickly and keep their colour. Cotton is cooler and has a matte, natural feel, but it is heavier and can stretch, so an open fabric in pure cotton may sag over time.
Avoid fuzzy or mohair-type yarns for a design like this. Loose fibres can shed near a baby’s face, and the fuzz would blur the crisp openings that make the pattern worth admiring.
If you are unsure, buy a single skein and work a small swatch first. Wash it, dry it and see how it behaves. That small test saves a great deal of disappointment later.
Understanding the Stitch Pattern
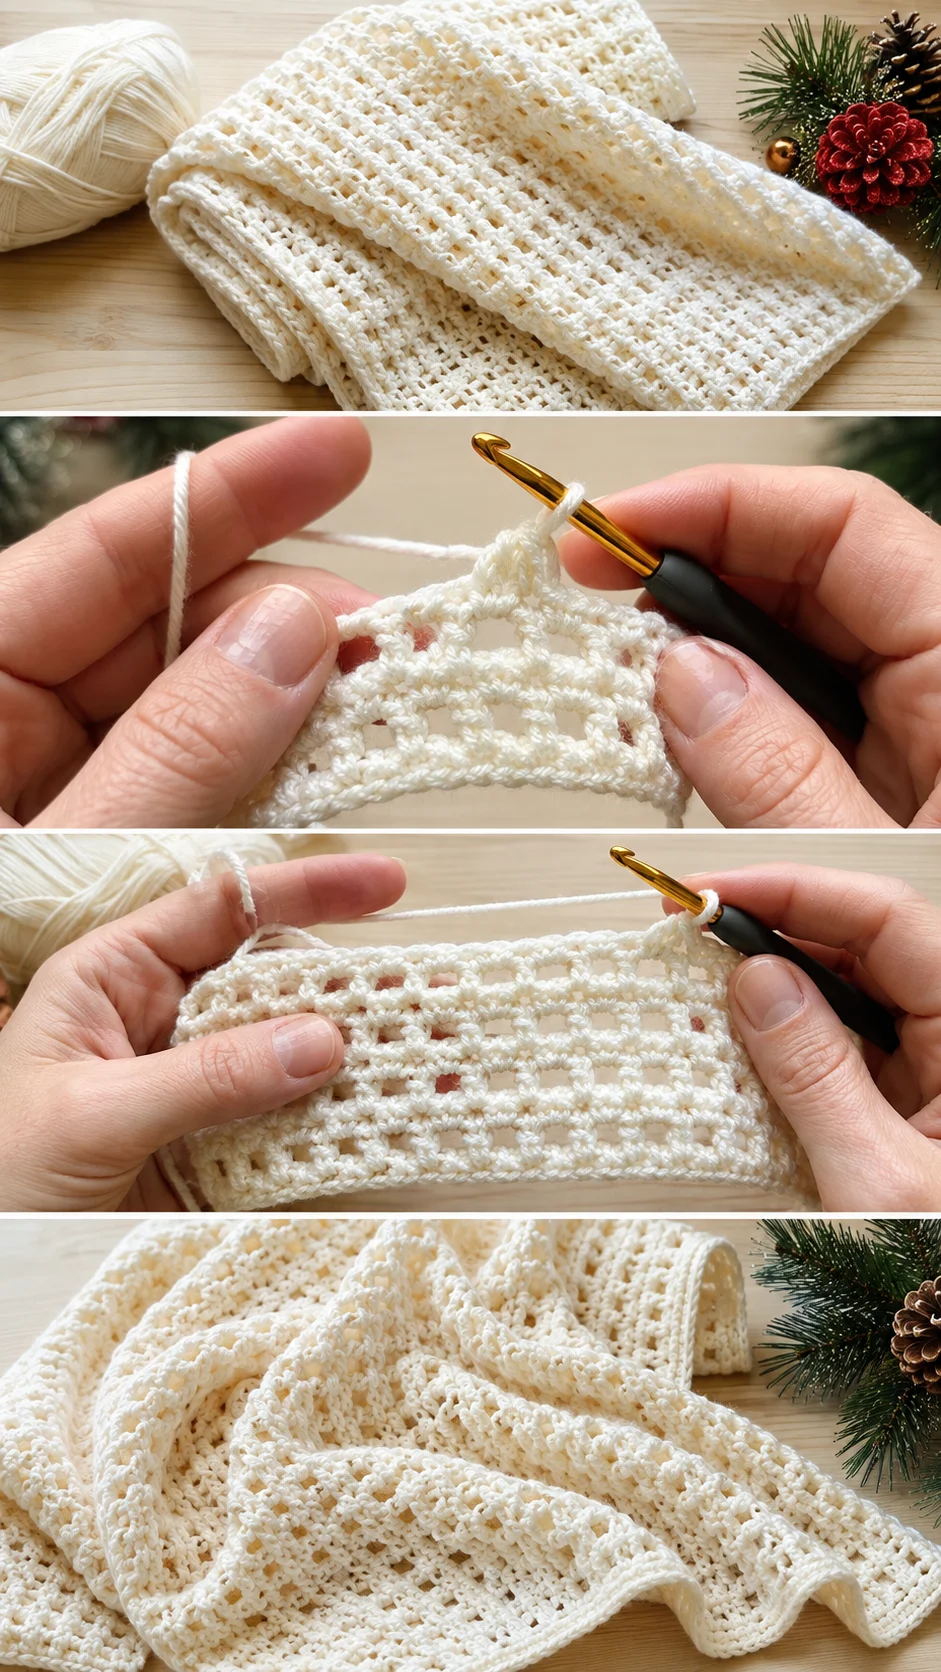
The fabric alternates two kinds of rows. One type creates the rounded little windows, and the other forms the slim raised ridge that separates each band. In the photos, the ridges look like they are worked into the front loops only, which would explain the soft horizontal rib. Together they produce a rhythm of open, closed, open, closed.
This is a flat, straight-edged piece, worked back and forth in rows, so it needs no shaping at all. The repeat is short, which means you will memorise it after a few bands and can then crochet while chatting or watching a film. That ease is a real advantage for a project this size.
The part that takes patience is the first few rows. The windows must be even, and it is easy to skip a stitch at the end of a row. Count your stitches at the end of every row for the first few bands, and the edges will stay straight from then on.
Watching the Tutorial Closely
The video tutorial shows the front-loop stitch being worked on the third row, and that is the moment to pause and replay. Notice which loop the hook enters and how the yarn is held, because the ridge only forms if you pick up the correct loop. Watch the turn at the end of each row as well, since that is where most beginners lose a stitch.
Planning Size and Yardage
The tutorial demonstrates the pattern on a small sample, so the blanket size is yours to decide. A pram or stroller blanket is smaller and quicker, while a crib blanket needs noticeably more yarn. Since the pattern repeats over a set number of stitches, you can enlarge it simply by chaining more at the start and following the tutorial’s note on the repeat.
Open fabrics use less yarn than dense ones, but the amount still depends on your tension. Buy one more skein than seems necessary. If you run short in the last bands, a dye-lot mismatch will show as a visible stripe.
If the blanket starts to look narrower toward the top, you are probably dropping a stitch at one end or pulling the first stitch too tightly. Count, then unravel to the faulty row; it is a gentler fix than carrying on and hoping.
Keeping the Edges Neat
The blanket in the photos has a clean, slightly raised edge that makes the whole piece look finished. That neatness is earned in the turning chain. Keep it loose, and place the first stitch of each row in the right spot rather than burying it in the chain.
If the sides ripple, your turning chain is likely too tight or too loose. Try a slightly different chain length on a swatch and compare. If the edges flare outward, you are probably adding an extra stitch at the end of the row, so check your count.
A narrow border worked around all four sides, in the same yarn, will also firm up the shape. It is optional, but it gives a handmade blanket the finish of a shop-bought one.
How to Style a Crochet Baby Blanket
In the photos, the cream blanket is laid in a long, flat fold, which shows the pattern off well. That same fold looks charming draped over the arm of a rocking chair or across the foot of a crib. The pale colour suits white, grey and wood nurseries equally.
For photographs, spread it under a sleeping baby so the open windows catch the light. Wrap it loosely over a stroller on cool days, or fold it into a basket beside the nursing chair. Every use shows off the texture.
As a gift, roll the blanket and tie it with a ribbon, or tuck it inside a keepsake box with a small toy. A handmade blanket in a neutral colour is welcome at any baby shower, because it suits any family.
Finishing Tips for a Soft, Even Blanket
Weave in every end carefully, running the tail back and forth through the ridges rather than the openings. Loose ends near a baby are a hazard, so tug each one gently to be sure it holds.
Block the finished piece. Pin it flat, mist it with water, or follow the care label on the yarn, and let it dry fully. Blocking opens the windows evenly and relaxes the ridges, so the pattern looks as crisp as it does in the photos.
If the fabric feels stiff after finishing, your hook was probably too small for the yarn. Wash and block it, and it will soften a little. For the next blanket, go up half a hook size.
Caring for Your Blanket
Wash gently, in a lukewarm cycle, and use a mild detergent without strong fragrance. Baby skin reacts to scented products, and harsh cleaners roughen the fibres over time. Place the blanket in a mesh laundry bag so the open stitches do not catch on other items.
Dry it flat, away from direct heat, to preserve its shape. Many acrylic blends tolerate a low tumble dry, but check the yarn label first. Store it folded in a breathable cotton bag, not in plastic, which can trap moisture.
A Gentle Handmade Keepsake
This crochet baby blanket is a soft, lacy piece with a simple rhythm and a classic look. It rewards a smooth, baby-safe yarn and an even hand with the windows.
Four things decide how it turns out: a yarn that feels soft against the skin, a hook size that keeps the fabric fluid, careful stitch counting at the edges, and a good blocking at the end. Get those right and the blanket will outlast the nursery.
Made once, loved for years.
Video tutorial for this crochet baby blanket by Massive Crochet (massivecrochet.com), whose free patterns made this lovely stitch easy to follow.
VIDEO
Follow us on Pinterest and subscribe to the Newsletter so you don’t miss a thing!
Tutorial and photos of this baby blanket by: Massive Crochet.