
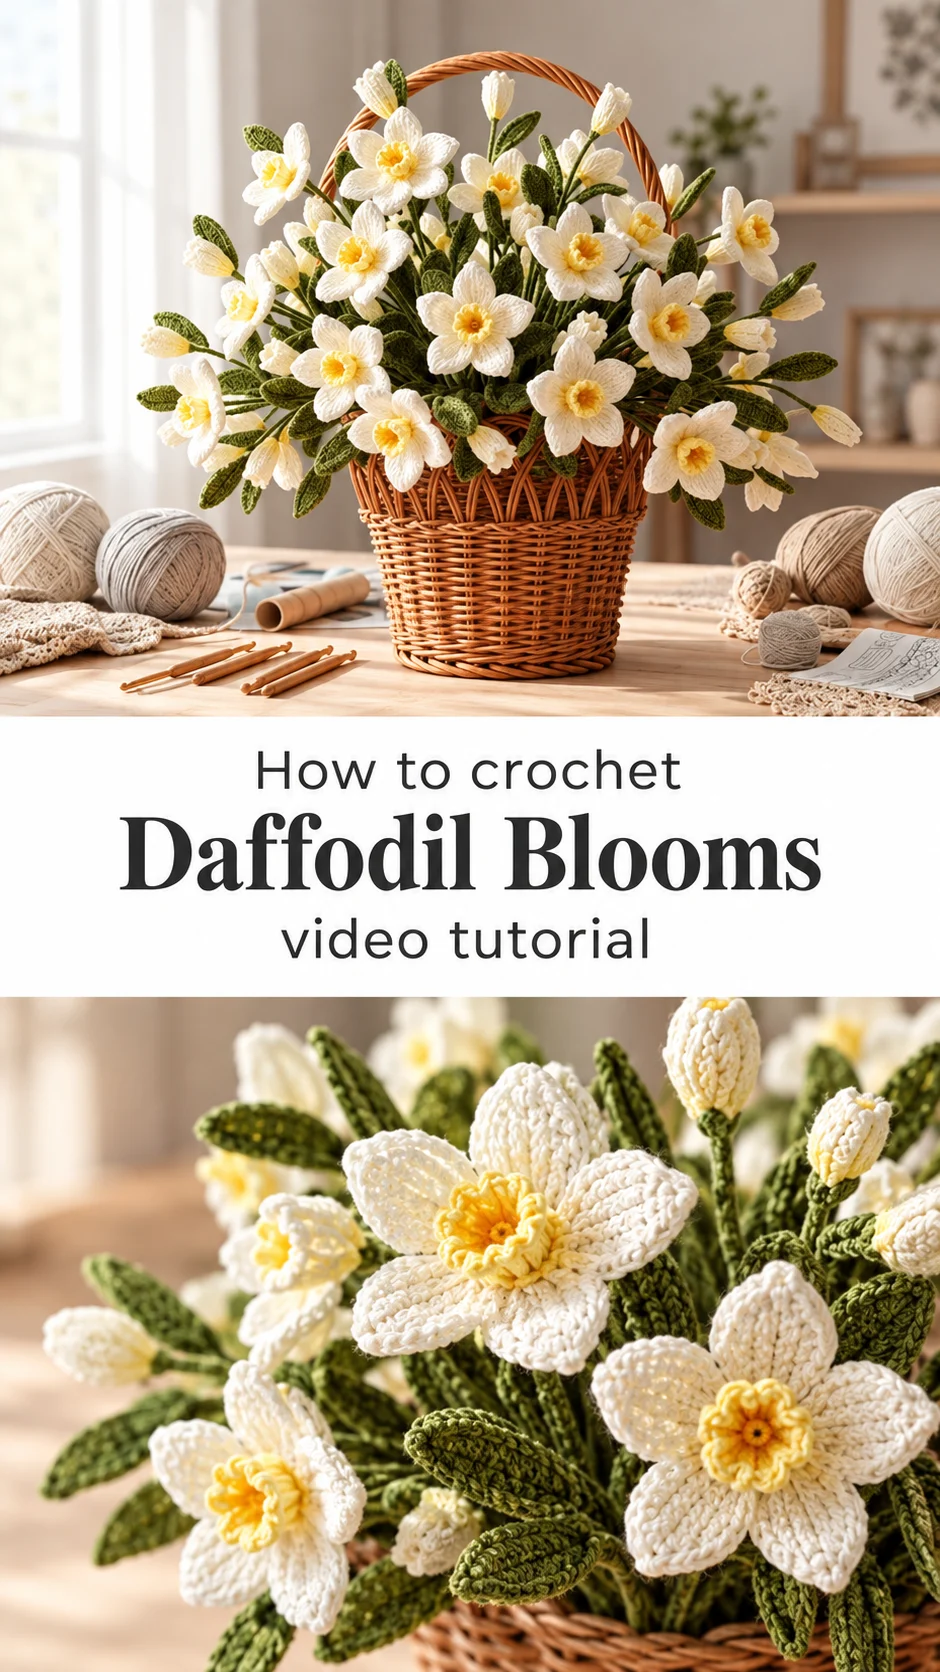
Crochet blooms in cream and soft yellow, gathered into a woven basket, bring the freshness of early spring indoors without a single petal ever wilting.
[[IMAGE_1]]
The Crochet Blooms
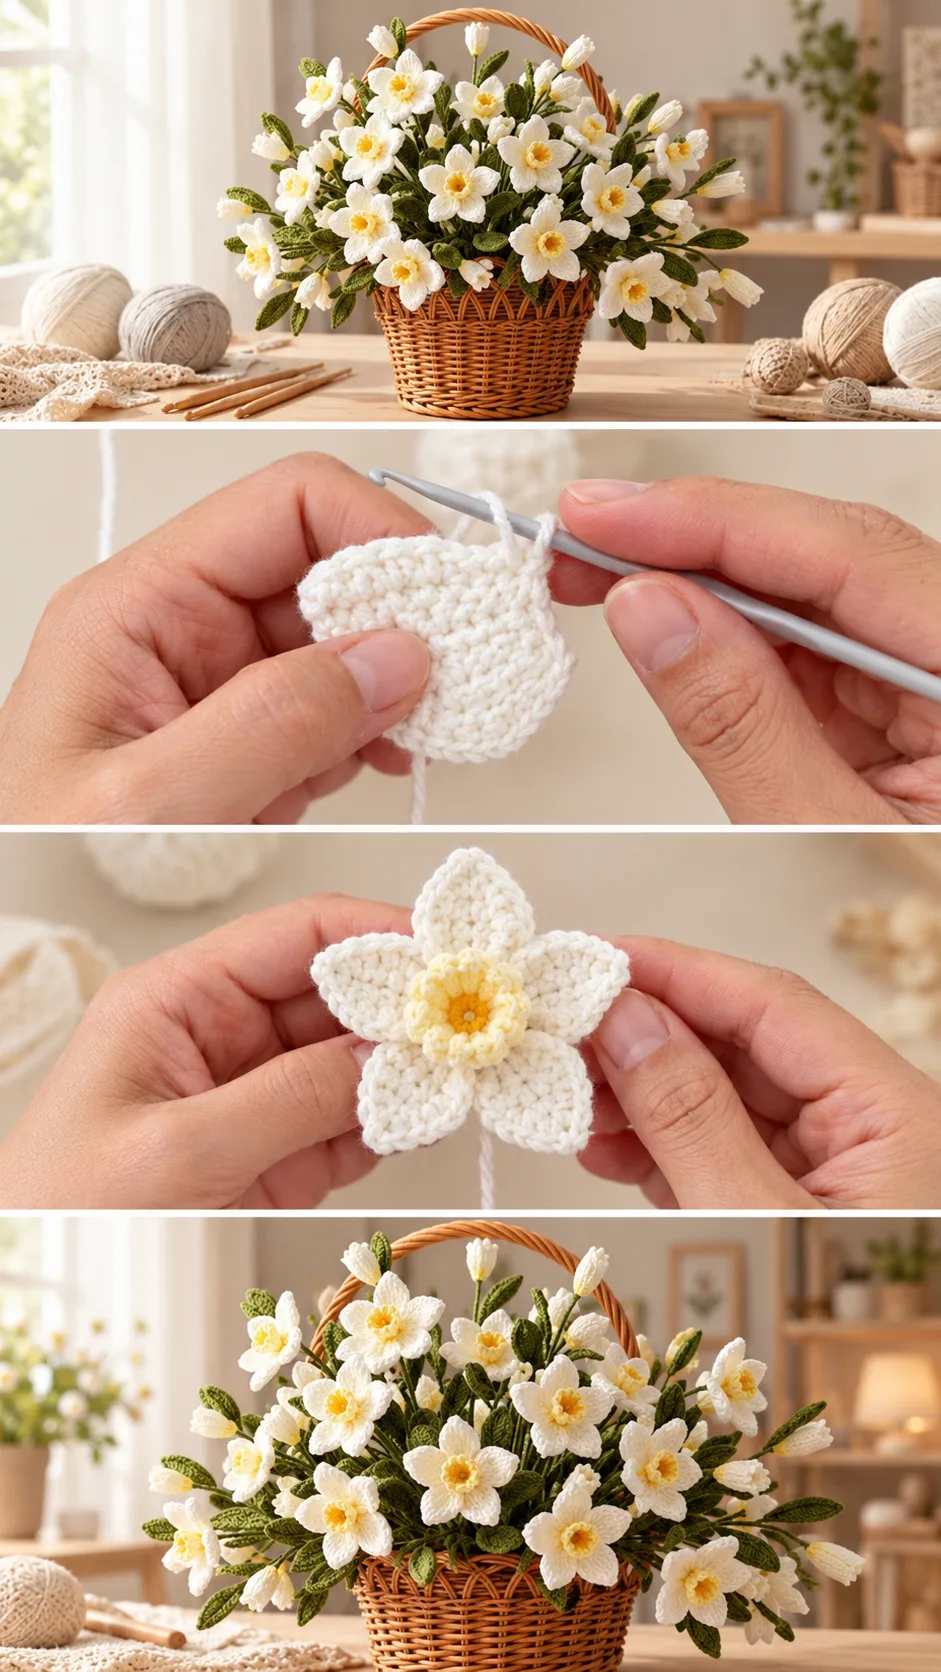
Crochet blooms like these are narcissus-style flowers, worked in creamy white with a small ruffled yellow cup at the heart of each one. Every flower has six pointed petals that fan out flat, and the centre rises into a short trumpet that gives the bloom its dimension. Slim olive green leaves and tiny closed buds fill the gaps between the open flowers. Together they make a full, airy arrangement that sits in a round wicker basket with a high arched handle. The petals look firm and slightly ribbed, so they hold their shape instead of drooping. A bunch like this suits a sunny windowsill, a dining table or a shelf that needs a lift. It never needs water, and it never fades.
Beyond decoration, a basket of yarn flowers works as a gift for Mother’s Day, a birthday, a housewarming or a quiet thank you. It also teaches a lot in one project, since you make the same few shapes again and again. By the last flower, the petals feel automatic. Short, repeatable, rewarding.
[[IMAGE_2]]
Crochet Blooms Related Posts:
- Crochet Ruffle Baby Booties: A Sweet Handmade Treasure
- Crochet Magic Ring: A Simple and Timeless Technique
- Crochet Basket Weave Phone Bag: A Chic Everyday Essential
- Crochet Crocodile Stitch Bag: A Textured Elegant Treasure
Materials
For crochet blooms of this kind, plan on a smooth, mercerized cotton or a fine cotton blend in cream or ivory, a pale butter yellow for the centres, and two shades of olive or moss green for leaves and stems. Cotton matters here because it gives crisp stitch definition and keeps the petals standing, whereas fuzzy acrylic tends to blur the ribbed texture and flop. Choose a small hook, roughly 2 to 3 mm, and work a little tighter than the yarn label suggests so the fabric stays dense. Floral wire wrapped in green yarn is the usual way to give stems their upright stance, so have thin wire and wire cutters nearby. You will also want a tapestry needle, a small amount of toy filling for any bud that needs body, and a basket with floral foam or crumpled paper in the base to hold the stems at different heights.
[[IMAGE_3]]
Choosing Colours for a Spring Bouquet
The palette in the photos is restrained: warm cream petals, a buttery yellow cup, and deep olive leaves. That contrast is what makes the flowers read as narcissus rather than generic blossoms.
If you want a softer look, swap pure white for ivory or a pale oatmeal, which feels gentler against a wooden basket. For a brighter version, pick a sunnier yellow for the cups and a fresh grass green for the leaves. Avoid stark optical white beside a very pale yellow, because the cup will disappear and the flower loses its focal point.
Use two greens rather than one. A darker shade for leaves and a slightly lighter one for stems adds depth that a single flat green cannot. Keep dye lots matched within each colour so the petals do not look patchy across the bouquet.
How the Petal Texture Is Made
The petals show a fine vertical ribbing, which suggests they are worked in short, tight stitches in rows rather than in open lace. This dense fabric is what gives each petal a slightly sculpted, almost paper-like edge. A tight tension is your friend here.
Each flower is built from a flat star of petals, then the centre is shaped into a small ruffled cup that stands up from the middle. The cup is the detail that makes the bloom three-dimensional, so give it your patience. Worked in the round with a gentle flare at the rim, it should look like a tiny frilled trumpet.
If the cup collapses inward, the stitches are too loose or the yarn is too soft. Go down half a hook size, or stiffen the centre lightly with a few stitches of filling pushed inside. If the petals curl backward instead of lying flat, the outer round has too many stitches for its base; ease off on the last round.
Watch the tutorial closely when the cup is formed. Pause where the hands turn the work, because the way the yarn is held at that moment decides how neatly the ruffle sits.
Making the Leaves, Buds and Stems
The secondary pieces carry as much charm as the flowers. Slim, pointed leaves in olive green add movement, and small closed buds in cream with a hint of yellow show the flowers at an earlier stage. Mixing open blooms and buds keeps the arrangement from looking like a row of identical heads.
Work leaves in a narrow oval with a clear tip, and make a few in different lengths. Buds are small, slightly elongated teardrops that can be lightly stuffed so they stay plump. Make more leaves than you think you need, since they fill the basket and hide the stem bases.
Stems are most reliable when wire is wrapped smoothly with green yarn from the flower base downward. Leave a little yarn tail at the top to anchor each flower, and secure the wrapping at the bottom with a dab of fabric glue. If the stems bend under the weight of a bloom, double the wire or add a second wrap of yarn.
Keeping Stems Neat
Lumpy wrapping shows through the fine cotton and looks untidy in a full bouquet. Wrap in even, slightly overlapping turns and keep light tension on the yarn as you go. Trim any fuzz as you work.
Assembling the Basket
Assembly is where scattered pieces become a bouquet. In the photos the flowers fan outward and upward from the centre, with some blooms tilted forward and others resting at the sides, and the handle frames the whole display.
Start by fixing a block of floral foam or tightly packed paper in the basket, then insert the tallest flowers at the back and centre. Add the mid-height blooms next, and tuck buds low and to the sides so they peek out from between the open flowers. Leaves go in last, angled outward to soften the edges and cover the foam.
Step back often and turn the basket. A bouquet that looks full from the front can look bare from the side. Bend stems gently to shift a flower’s angle, and leave a little space between blooms so each cup stays visible.
How to Style a Crochet Blooms Basket
The basket in the photos sits on a light wooden table among balls of cream and grey yarn, which suits a craft room beautifully. The warm wicker and the pale petals share the same soft, natural mood.
Beyond the craft corner, it looks lovely at the centre of a Sunday brunch table or on an entryway console beside a small lamp. In a bedroom, it works on a dresser against a plain wall where the olive leaves stand out. As a gift, tie a ribbon to the handle and add a handwritten card.
Keep it out of strong direct sun, which can fade coloured yarn over time. Away from kitchen steam and cooking oils, the cotton stays crisp and clean.
Tips for a Polished Finish
Weave in every tail well, since loose ends tend to poke through the dense fabric of a petal. Use the tapestry needle to bury ends inside the stitches along the back of each flower, then trim close.
If petals look slightly uneven, a light steam held a few centimetres away, without touching, relaxes the cotton and helps the points sit evenly. For a firmer finish, a little diluted fabric stiffener brushed on the petals helps them keep their star shape. Do this sparingly, because too much makes yarn feel hard and shiny.
To dust the finished bouquet, use a soft brush or a hairdryer on the cool, low setting. If a flower gets dirty, spot clean with a damp cloth rather than soaking it, since wet wire can rust inside the stems.
A Handmade Spring That Stays
These crochet blooms turn simple cotton and a few lengths of wire into a basket of spring that lasts. The result depends on a few choices: smooth cotton for crisp petals, a tight tension, well-wrapped stems, and an arrangement with mixed heights.
Take your time with the ruffled yellow cups, because they give each flower its character. Make plenty of leaves and buds, and play with the layout until the basket looks full from every side.
Fresh forever.
Video tutorial for these crochet blooms by tallermanualperu. Follow the full step-by-step on their channel and subscribe for more flower projects.
[[VIDEO]]
Follow us on Pinterest and subscribe to the Newsletter so you don’t miss a thing!
Tutorial and photos of this blooms by: tallermanualperu.