
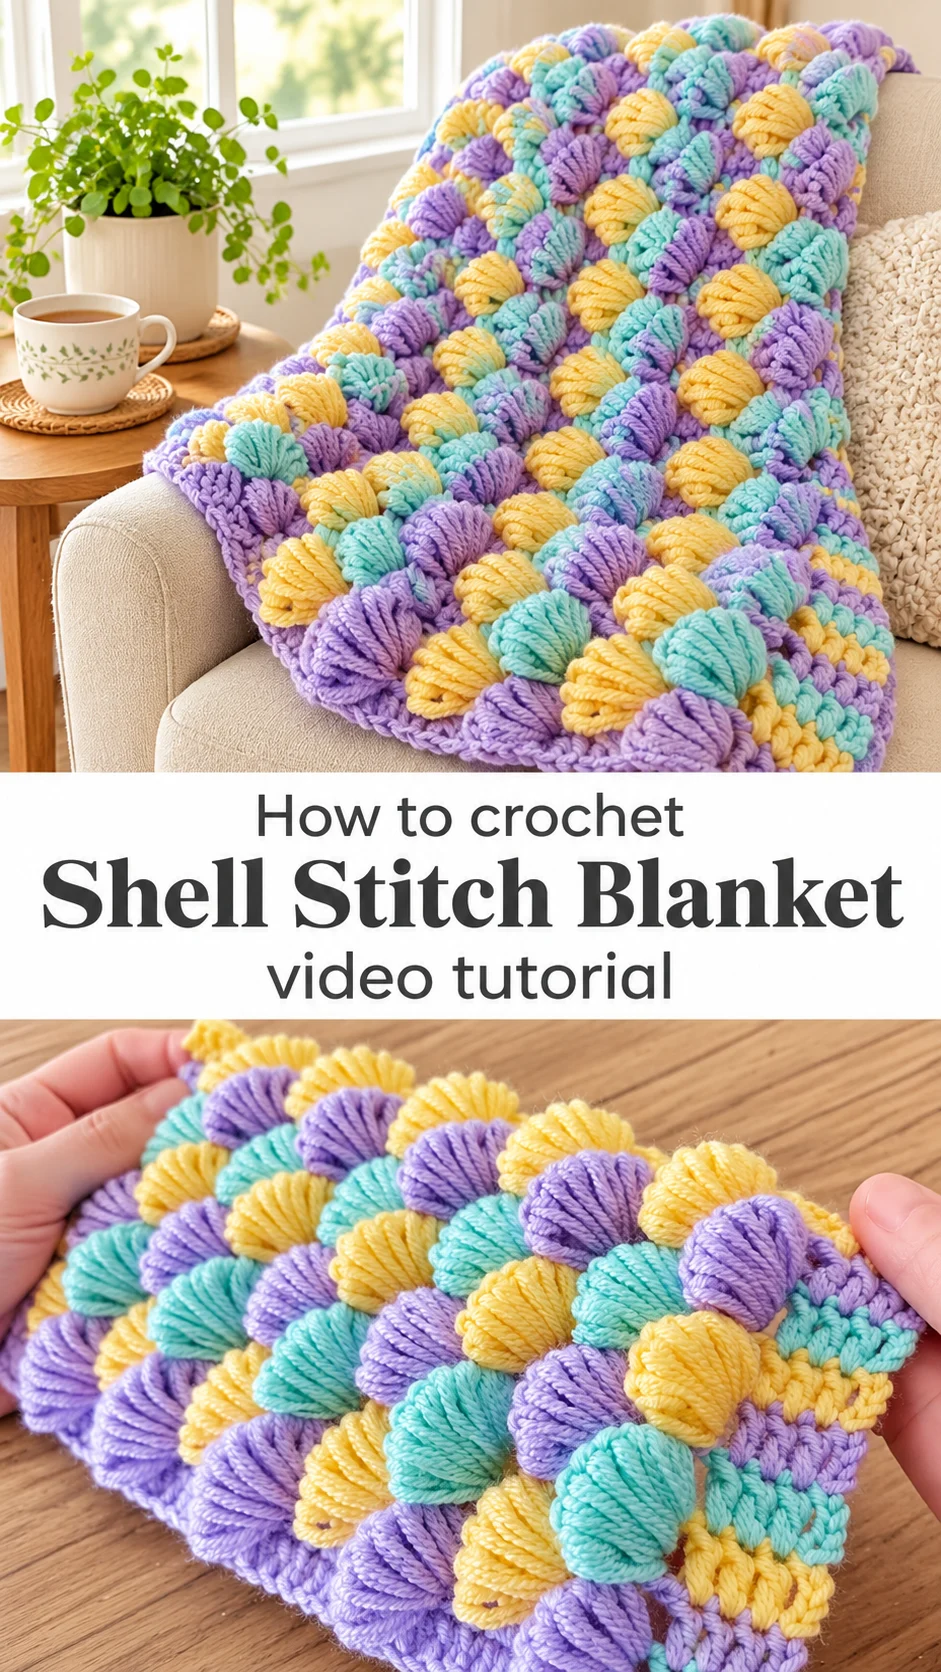
A crochet shell stitch blanket in lilac, butter yellow and soft mint turns plain yarn into rows of plump, overlapping scallops that look sculpted and feel pleasantly bumpy under your hands.
The Crochet Shell Stitch Blanket
The crochet shell stitch blanket is built from rounded, fan-shaped puffs that stack like scales on a fish. Each shell is wrapped in tight vertical strands of yarn, so the surface reads as three-dimensional rather than flat. Three pastel colours rotate through the rows: lilac, buttery yellow and pale mint. Because every shell sits slightly over the one below it, the colours blend into a playful, overlapping pattern. A plain stripe of flat stitches along the side edge shows what lies underneath. The texture is the star here. This is a piece for the nursery, the reading chair or the end of a sofa, where little fingers and tired hands will keep stroking it.
Beyond its looks, the pattern is a gentle way to practise a stitch that rewards patience. The repeat is easy to memorise, and the colour changes keep each row feeling fresh. It also makes a thoughtful baby gift, since the soft shells cushion the fabric and invite touch. Slow, steady work.
Stitch Blanket Related Posts:
- Crochet Magic Ring: A Timeless Foundation Stitch
- Crochet Daisy Keychain: A Charming Floral Accent
- Crochet Mandala Placemat: A Timeless Table Accent
- Crochet Decorative Squares: A Colorful Handmade Collection
Materials
For a crochet shell stitch blanket, choose a smooth, soft yarn with a slight sheen, because the puffs show every strand and a fuzzy fibre would blur their clean lines. The yarn in the photos looks like a mid-weight acrylic or cotton blend with a gentle twist, and a similar yarn gives the same defined, rounded shells. You need three colours in pastel shades: a lilac, a butter yellow and a mint green work beautifully, and the lilac also suits the foundation and border. Use a hook that matches the yarn label, or go down half a size if you want the shells to stand up more firmly. A tapestry needle is needed for weaving in ends, and a few stitch markers help you keep your place on the long rows. Buy a little extra of every colour, since textured stitches use far more yarn than flat ones.
Choosing the Best Yarn for Defined Shells
Yarn choice decides whether the shells look crisp or slumped. A smooth, round yarn with a firm twist lets each wrapped strand sit neatly beside its neighbour, which is exactly what you see in the finished piece.
Soft acrylic is the practical pick for a blanket that will be washed often, and it holds its bounce well. A cotton blend gives a slightly heavier, cooler fabric with excellent stitch definition, though it can feel stiffer while you work. Avoid mohair or brushed yarns, because the halo hides the wrapped texture that makes this pattern special.
Colour matters just as much as fibre. The lilac, yellow and mint in the photos are close in tone, so none of them overpowers the others and the scallops read as a soft gradient. If you prefer something bolder, keep the three colours at similar brightness, otherwise one shade will dominate every row.
How the Shell Texture Is Made
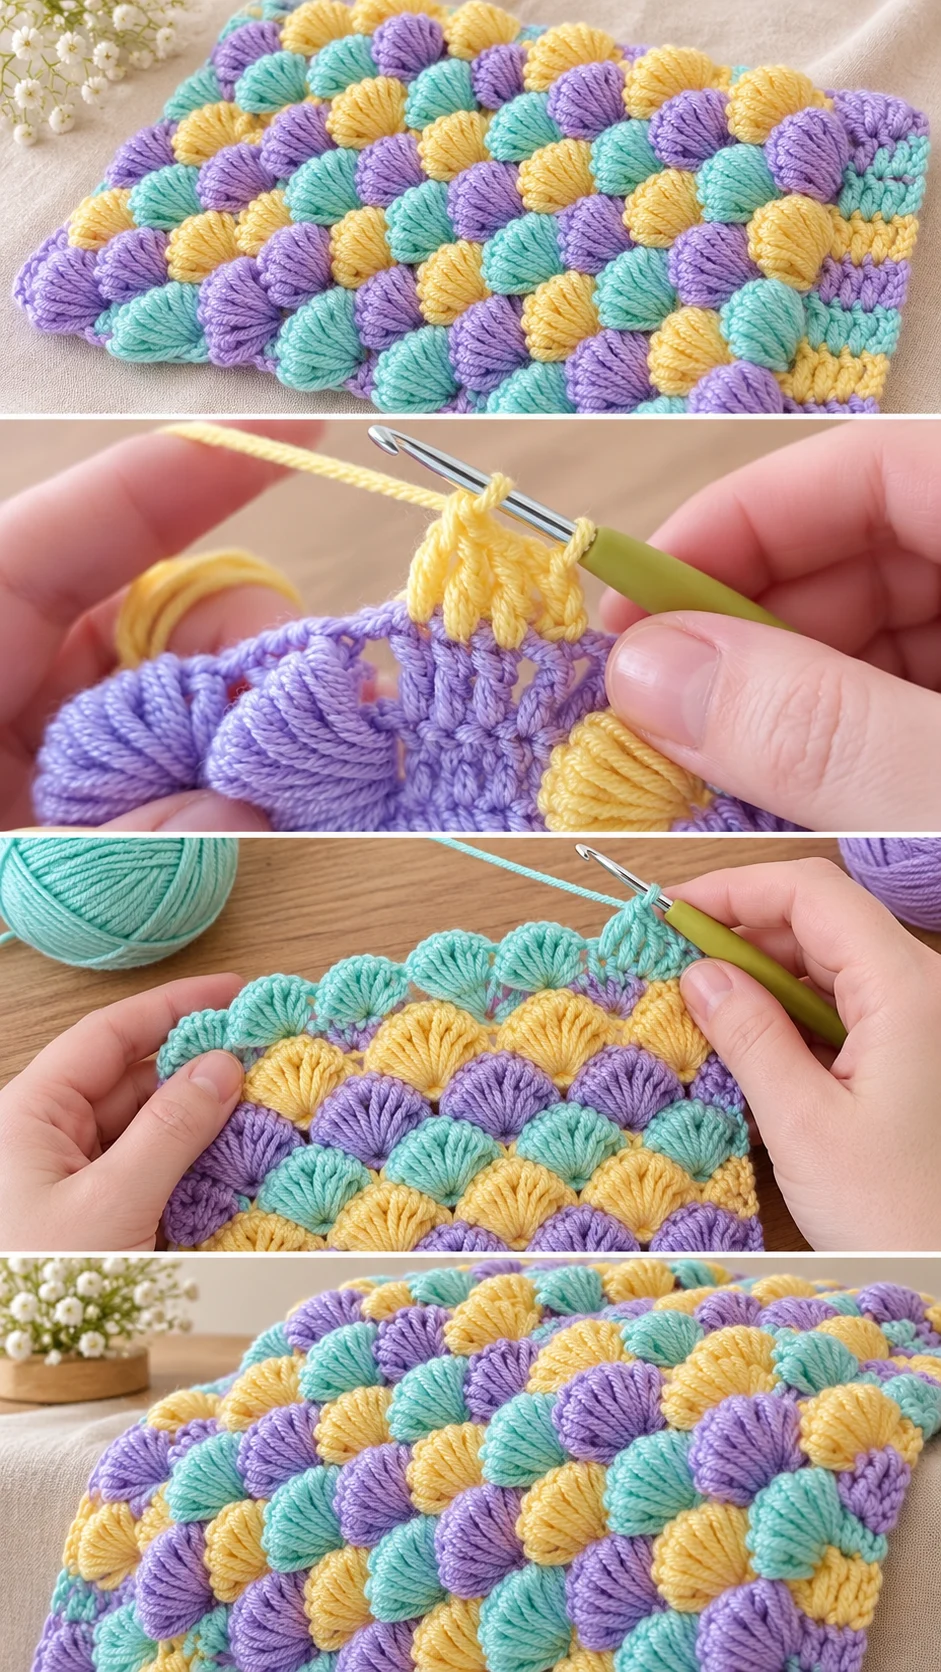
The shells are puff-style clusters, where the yarn is wrapped and pulled up several times into one stitch before being closed off. That is why each shell looks like a small fan of vertical strands. They sit in a single stitch space, and the spacing between them gives the rounded outline.
Between the shell rows, a base of simple flat stitches carries the fabric and anchors each cluster. You can see this base clearly along the edge, where tidy horizontal bands in each colour sit under the puffs. Colour changes happen at the start of a row, so the new shade appears as a fresh line of scallops.
The difficult part is keeping the puffs even. If the wraps are pulled too tight, the shells look pinched and the fabric curls. If they are too loose, they flop open and lose that fan shape. Aim for relaxed, consistent tension, and pause the video where the creator pulls the loops up so you can copy the hand position.
Keeping Every Shell Even
Count the wraps on each puff, since an extra loop makes one shell visibly larger than its neighbours. Stop and check the first few shells of each row against the ones below before you carry on. If your shells start leaning to one side, your hook is likely entering the stitch at a different angle each time, so keep the same grip throughout.
Colour Planning and Row Order
The rotation of lilac, yellow and mint is what gives this blanket its candy-like rhythm. Each colour is worked for one shell row, then the next takes over, so the scallops cascade diagonally across the surface. Keep the same order through the whole piece, or the diagonal effect will break.
Wind the three colours into separate balls before you start, and keep them in a bag or bowl where they cannot tangle. Because each colour is used every third row, carrying yarn up the side is not practical for this kind of texture. Cut and weave in, or join each new colour neatly at the row start.
If your blanket will have a plain border, the lilac edging seen in the photos frames the pastel shells well. A darker or lighter border changes the whole mood, so test a swatch of the three colours against it first.
Keeping the Edges Straight
Textured stitches pull in at the sides, so blankets like this often narrow as they grow. Count your stitches at the end of every few rows and compare them to the starting number. If the edge begins to ripple or draw inward, you probably have a missed or doubled stitch at the turn.
The flat band visible at the side of the piece acts as a stabiliser. Work the first and last stitches of each row with the same care as the shells, and the edge stays crisp. A firm, even border at the end will tidy up small wobbles.
If the finished piece looks too narrow, a light steam and gentle shaping can relax it. Do not press the iron onto the puffs, though, because it will flatten them.
How to Style a Crochet Shell Stitch Blanket
In the photos, the blanket is folded to show off the scalloped rows, and that is the best way to display it. Drape it over the arm of a sofa so the shells face outward, or lay it across the foot of a bed where the colours catch the light.
In a nursery, it works as a cot cover or pram throw, especially with neutral wood furniture and soft white walls. In a living room, folded over a woven basket, it adds a splash of colour without needing extra cushions. The lilac, yellow and mint also pair well with grey, cream or natural linen.
As a gift, roll it loosely and tie it with a ribbon in one of the three colours. The textured surface is part of the present, so avoid wrapping it flat in paper where the puffs get squashed.
Tips for a Neat Finish
Weave in ends along the flat bands rather than through the puffs, where a stray tail can poke through the wrapped strands. If a shell looks uneven once the row is done, it is easier to undo the whole row than to fix a single stitch.
If your fabric feels stiff, your hook is probably too small for the yarn, so go up half a size on the next attempt. If the shells look flat, you may be wrapping too loosely or pulling the loops up too short. If the blanket curls at the top and bottom, a simple border in the lilac will flatten it.
Block lightly. Pin the finished blanket to its intended size, mist it, and let it dry flat. This evens the shells without crushing them.
Caring for Your Blanket
Wash on a gentle cycle in cool water, since heat can fuzz acrylic and shrink cotton blends. Use a mild detergent and skip fabric softener, which can make the yarn slippery and dull the sheen. Dry flat, away from direct sun, because the pastels can fade over time. Store folded loosely rather than hung, so the weight of the blanket does not stretch the shells.
A Cheerful Handmade Keepsake
This crochet shell stitch blanket is a soft, scalloped surface made of wrapped puffs in lilac, yellow and mint. Whether it turns out well depends on a few things: a smooth yarn, even tension on every shell, a steady colour order and a straight edge.
Watch the video closely, pausing where the loops are pulled up, and take your time on the first few rows. Once the rhythm settles, the blanket grows quickly.
Small shells, one by one.
Video tutorial by Örgü Diyarı, who shows how to work this crochet shell stitch blanket step by step.
Follow us on Pinterest and subscribe to the Newsletter so you don’t miss a thing!
Tutorial and photos of this shell stitch blanket by: Örgü Diyarı KNİTTİNG .