
Alright, yarn lovers, this is your sign to dig into that stash and pull out those gorgeous skeins you have been saving for "the right project." The Strawberry Fields Granny Square Tote is absolutely that project. This structured market bag combines a classic diamond-textured body with adorable hand-stitched strawberry appliqués, and the construction is more straightforward than it looks. You will work flat panels, seam them together, and add the berries at the end. If you can single crochet confidently and follow a simple pattern repeat, you can make this bag. Fair warning though: once you finish one, you will probably want to make three more in different colors.
Get the Ad-Free PDF Pattern
You can find the free pattern below, or you can purchase the ad-free printable PDF from my shop.
Get the Printable PDF →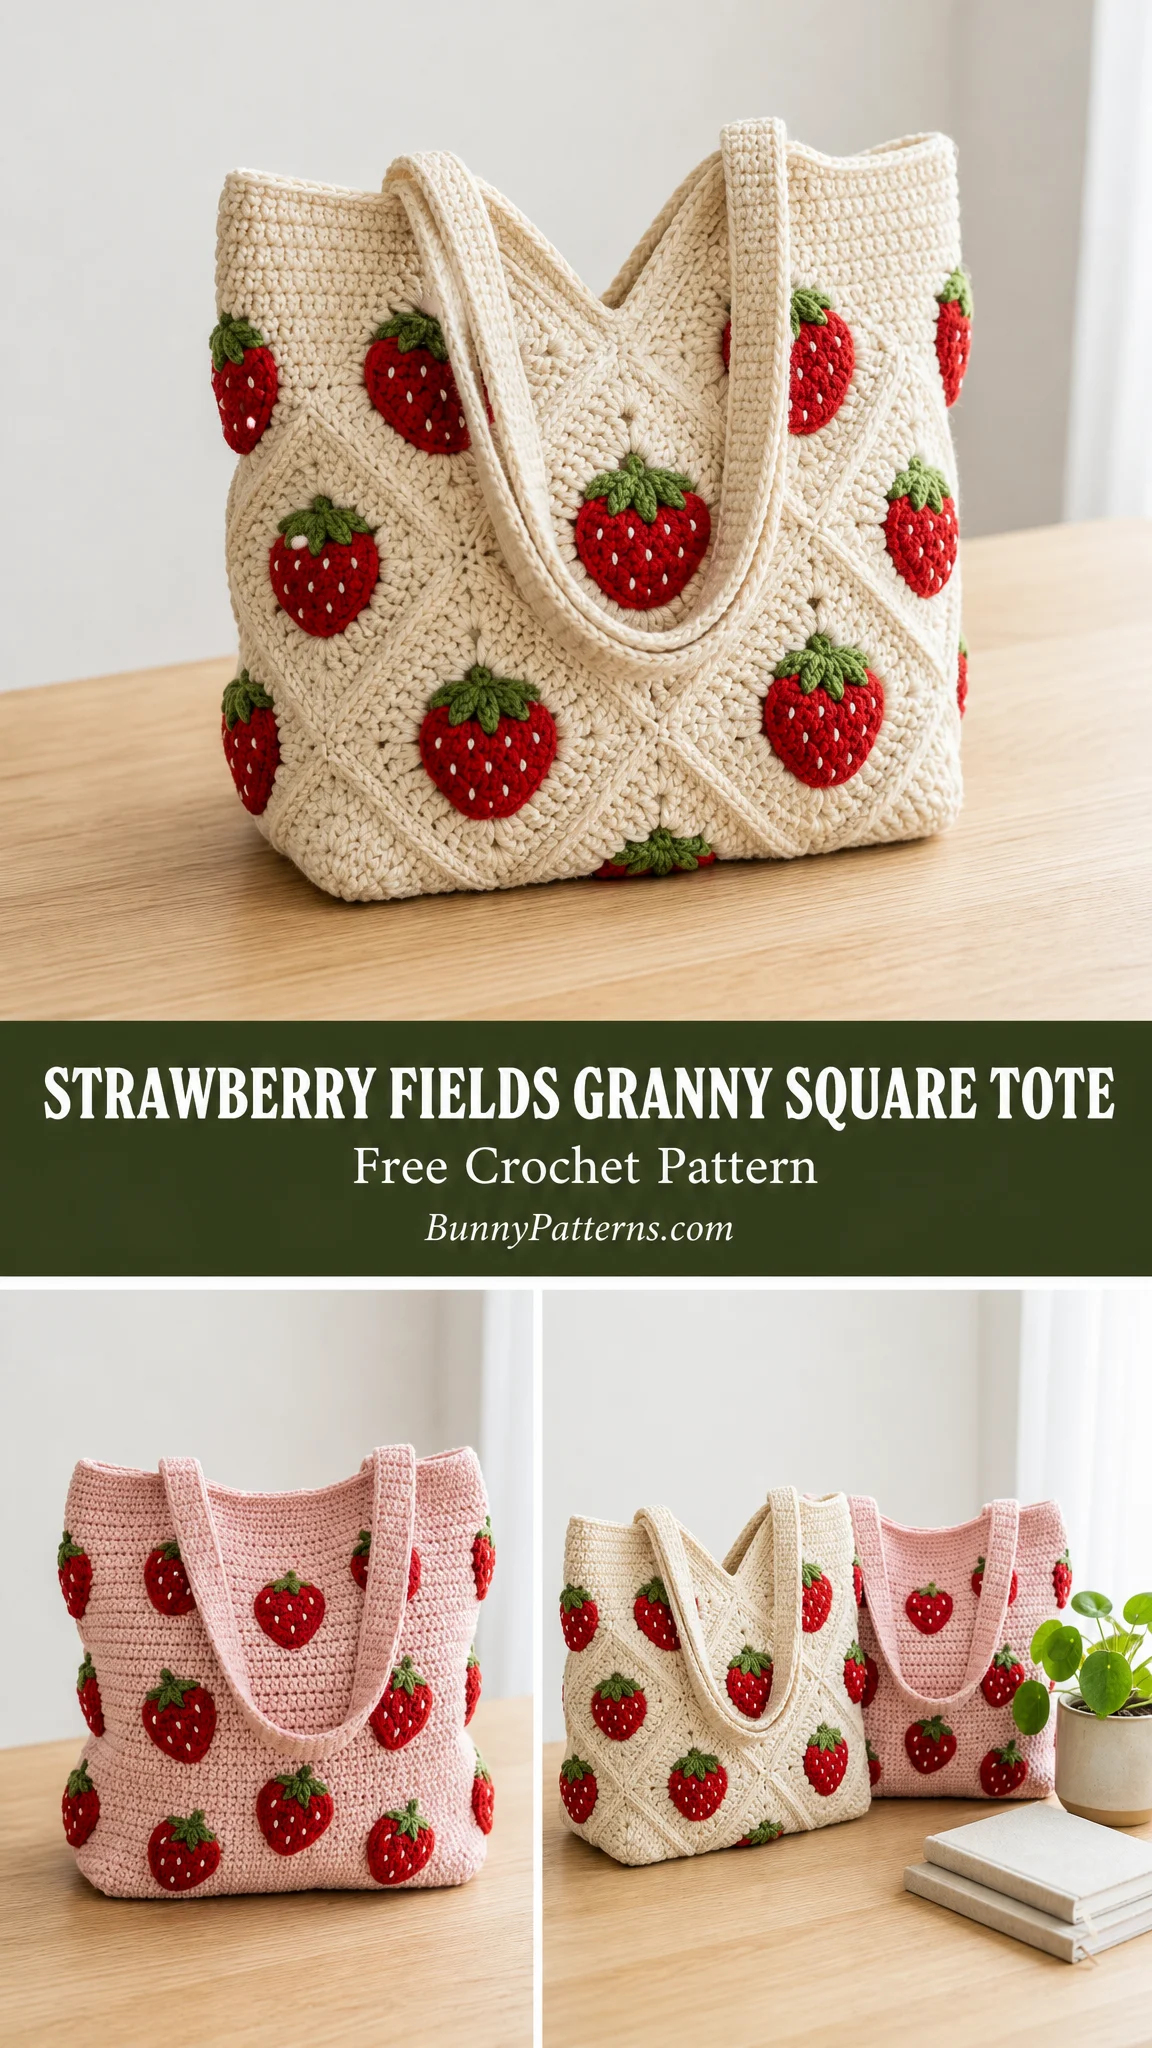
Why You Will Love This Strawberry Tote Pattern
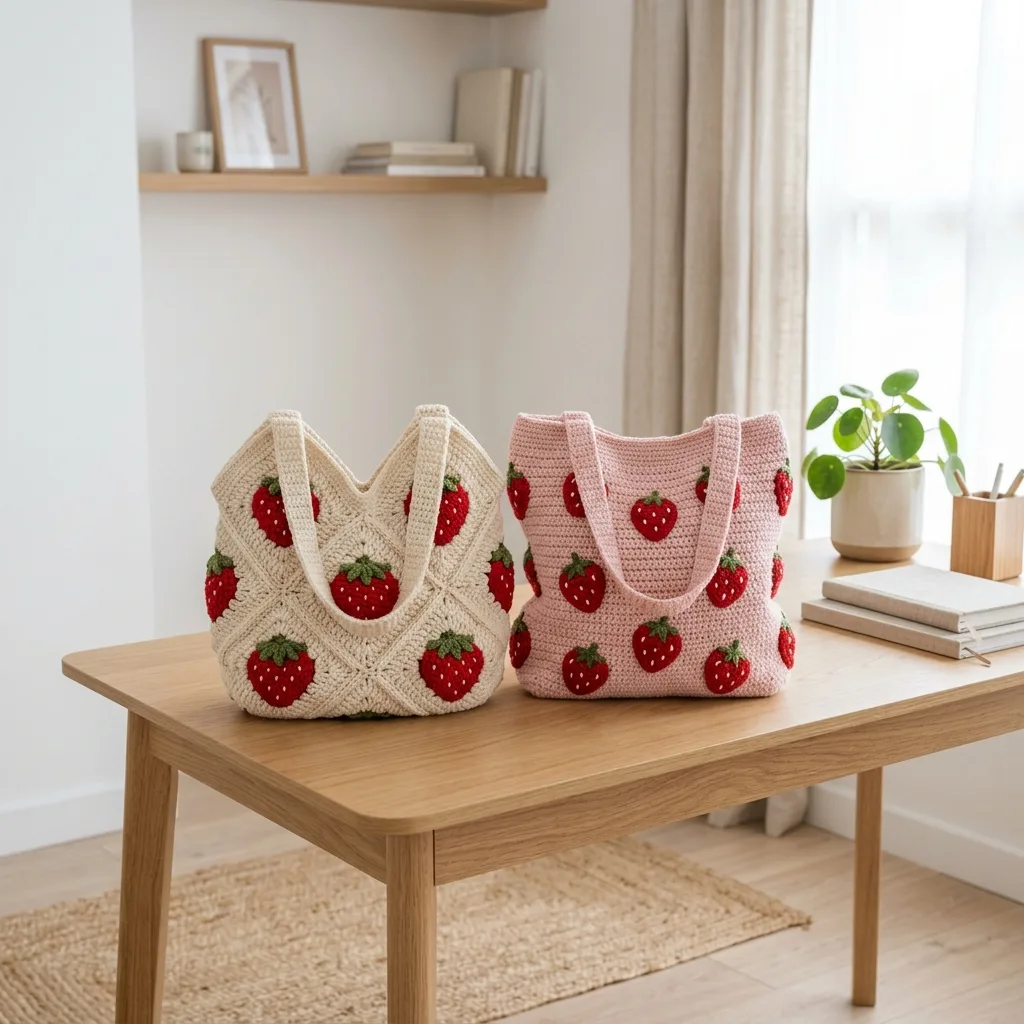
This tote hits that sweet spot between cottagecore charm and everyday practicality. The finished bag measures approximately 28 cm wide by 28 cm tall by 12 cm deep (that is about 11 by 11 by 4.7 inches for my imperial friends), which gives you plenty of room for farmers market hauls, library books, or your current work-in-progress.
The diamond texture on the body panels creates a beautiful lattice effect that looks intricate but is actually just a clever combination of back loop only (BLO) stitches on alternating rows. And those strawberries? They are crocheted separately and sewn on at the end, so you can customize the placement however you like.
Cotton yarn is strongly recommended for this project because it gives the bag structure and helps it hold its shape. Acrylic will work in a pinch, but expect a softer, slouchier result.
Materials You Will Need
Before you start, gather these supplies:
Yarn (Worsted Weight #4)
| Color | Amount | Yardage |
|---|---|---|
| Beige or Cream (main color) | ~250 g | ~547 yd / 500 m |
| Red (strawberries) | ~80 g | ~175 yd / 160 m |
| Green (leaf tops) | ~25 g | ~55 yd / 50 m |
| White (seeds) | ~5 g | ~11 yd / 10 m |
These amounts are generous and include a buffer for swatching and seaming.
Recommended Yarn Brands
Lily Sugar’n Cream (100% cotton) is budget-friendly, holds its shape beautifully, and comes in a wide color range for both the cream base and bright red berries.
Paintbox Cotton Aran offers a smooth, even ply with excellent stitch definition, which really makes that diamond texture pop.
Scheepjes Catona (held double) gives you vibrant, true reds and greens for standout berries. You will need to hold two strands together to reach worsted weight.
Tools and Notions
Gauge
16 single crochet (sc) stitches by 18 rows = 10 cm by 10 cm (4 by 4 inches)
Work your gauge swatch in single crochet (sc) with the 4.0 mm hook. Gauge is not critical for fit since this is a bag, but it does affect finished size and how much yarn you will use. If your swatch is too small, go up a hook size. Too big? Go down.
Skill Level and Time Estimate
This pattern is rated Intermediate. You will need to single crochet confidently, work in rows and a simple oval shape, seam panels together, and do basic surface embroidery for the strawberry seeds.
Time estimate: 14 to 20 hours total, depending on your pace. Roughly speaking, the panels take 8 to 11 hours, the berries take 3 to 5 hours, and assembly takes 3 to 4 hours.
Abbreviations
Let me define every stitch abbreviation before we dive in:
Construction Overview
This tote is built from six flat pieces: two body panels (front and back), two side panels, one oval base, and two handles. The strawberry appliqués are made separately and attached during final assembly. Everything gets seamed together with whip stitch for a clean, sturdy finish.
Piece Checklist
Step 1: Front and Back Panels (Make 2)
Each panel is a 28 by 28 cm square worked flat in single crochet. The diagonal texture comes from alternating between back loop only stitches and both loops, which creates that lovely lattice "granny" look.
Foundation
With your beige yarn, ch 46 (approximately 28 cm).
Row 1: Sc in 2nd ch from hook and in each ch across. 45 sc. Ch 1, turn.
Textured Body
Rows 2 and onward: Sc in each st across. On RS rows, work in the back loop only (BLO). On WS rows, work in both loops. This subtle alternation builds the diagonal ridged texture. Ch 1, turn at the end of each row.
Build to Height
Continue until the panel measures 28 cm (11 inches) tall. This will be approximately 50 rows. Fasten off and weave in ends.
Make a second identical panel.
Left-handed note: Work back-loop rows on the side facing you. The texture will mirror but reads identically. Mark your RS so both panels match.
Step 2: Side Panels and Base
Side Panels (Make 2)
Foundation: With beige, ch 20 (approximately 12 cm). Sc in 2nd ch from hook and across. 19 sc. Ch 1, turn.
Work to height: Sc in each st every row until the panel measures 28 cm (11 inches). This is about 50 rows. Fasten off.
Make 2 side panels.
Base (Make 1)
The base is a firm single crochet oval measuring 28 by 12 cm. This gives the tote its flat bottom so it can stand upright on its own.
Start the oval: With beige, ch 28. Working around both sides of the chain: sc in 2nd ch from hook, sc across to the last ch, work 3 sc in the end chain, then sc back along the opposite side of the foundation chain, work 2 sc in the final ch. Join with sl st.
Increase rounds: Work in continuous rounds, adding 6 evenly-spaced increases per round (3 at each curved end) until the oval measures 28 by 12 cm. Sl st to finish and fasten off.
Structure tip: Keep your base tension snug. A firm base is what lets the tote stand on its own. If your base ripples or waves, go down a hook size for the base only.
Step 3: Strawberry Appliqués (Make 12)
These little berries are where the magic happens. You will make the red body, add a green leaf top, embroider the seeds, and then set them aside for attachment during assembly.
Berry Body (Red)
Start with a magic ring: work 6 sc into the ring.
Round 2: Inc in each st around. 12 sc.
Round 3: *Sc, inc* repeat 6 times. 18 sc.
Rounds 4 and 5: Sc around. 18 sc.
Round 6: *Sc, dec* repeat 6 times. 12 sc.
If you want raised, puffy berries, stuff them lightly with a tiny bit of fiberfill at this point.
Round 7: Dec 6 times. 6 sc.
Fasten off, leaving a tail for sewing.
Leaf Top (Green)
With green yarn, make a small 5-point calyx: ch 3, then work *sl st in center ring, ch 3* and repeat 5 times to form five tiny points. Alternatively, work 5 ch-3 picots around a center ring. Sew the calyx to the top of the berry, covering the starting end.
Seeds (White Embroidery)
With white embroidery thread and a tapestry needle, embroider 10 to 14 small straight "grain" stitches scattered over the red body in a V-pattern. Keep them tiny and slightly slanted for a natural look.
Set your finished berries aside. You will attach them during assembly. Make 12 total, about 6 per body panel.
Left-handed note: Magic ring rounds will spiral the opposite way for left-handed crocheters, and that is perfectly fine. Keep your stitch count per round identical to the numbers above.
Step 4: Handles (Make 2)
Long Strip
With beige, ch 90 (approximately 56 cm). Sc in 2nd ch from hook and in each ch across. About 89 sc. Ch 1, turn.
Work 5 to 6 rows of sc to create a width of approximately 3 cm.
Fold and Seam
Fold the strip lengthwise and whip stitch the long edge closed for a firm, rounded handle. Fasten off.
Make 2 handles.
Step 5: Assembly and Finishing
Now comes the satisfying part where all your pieces come together into a finished bag.
Place the Berries
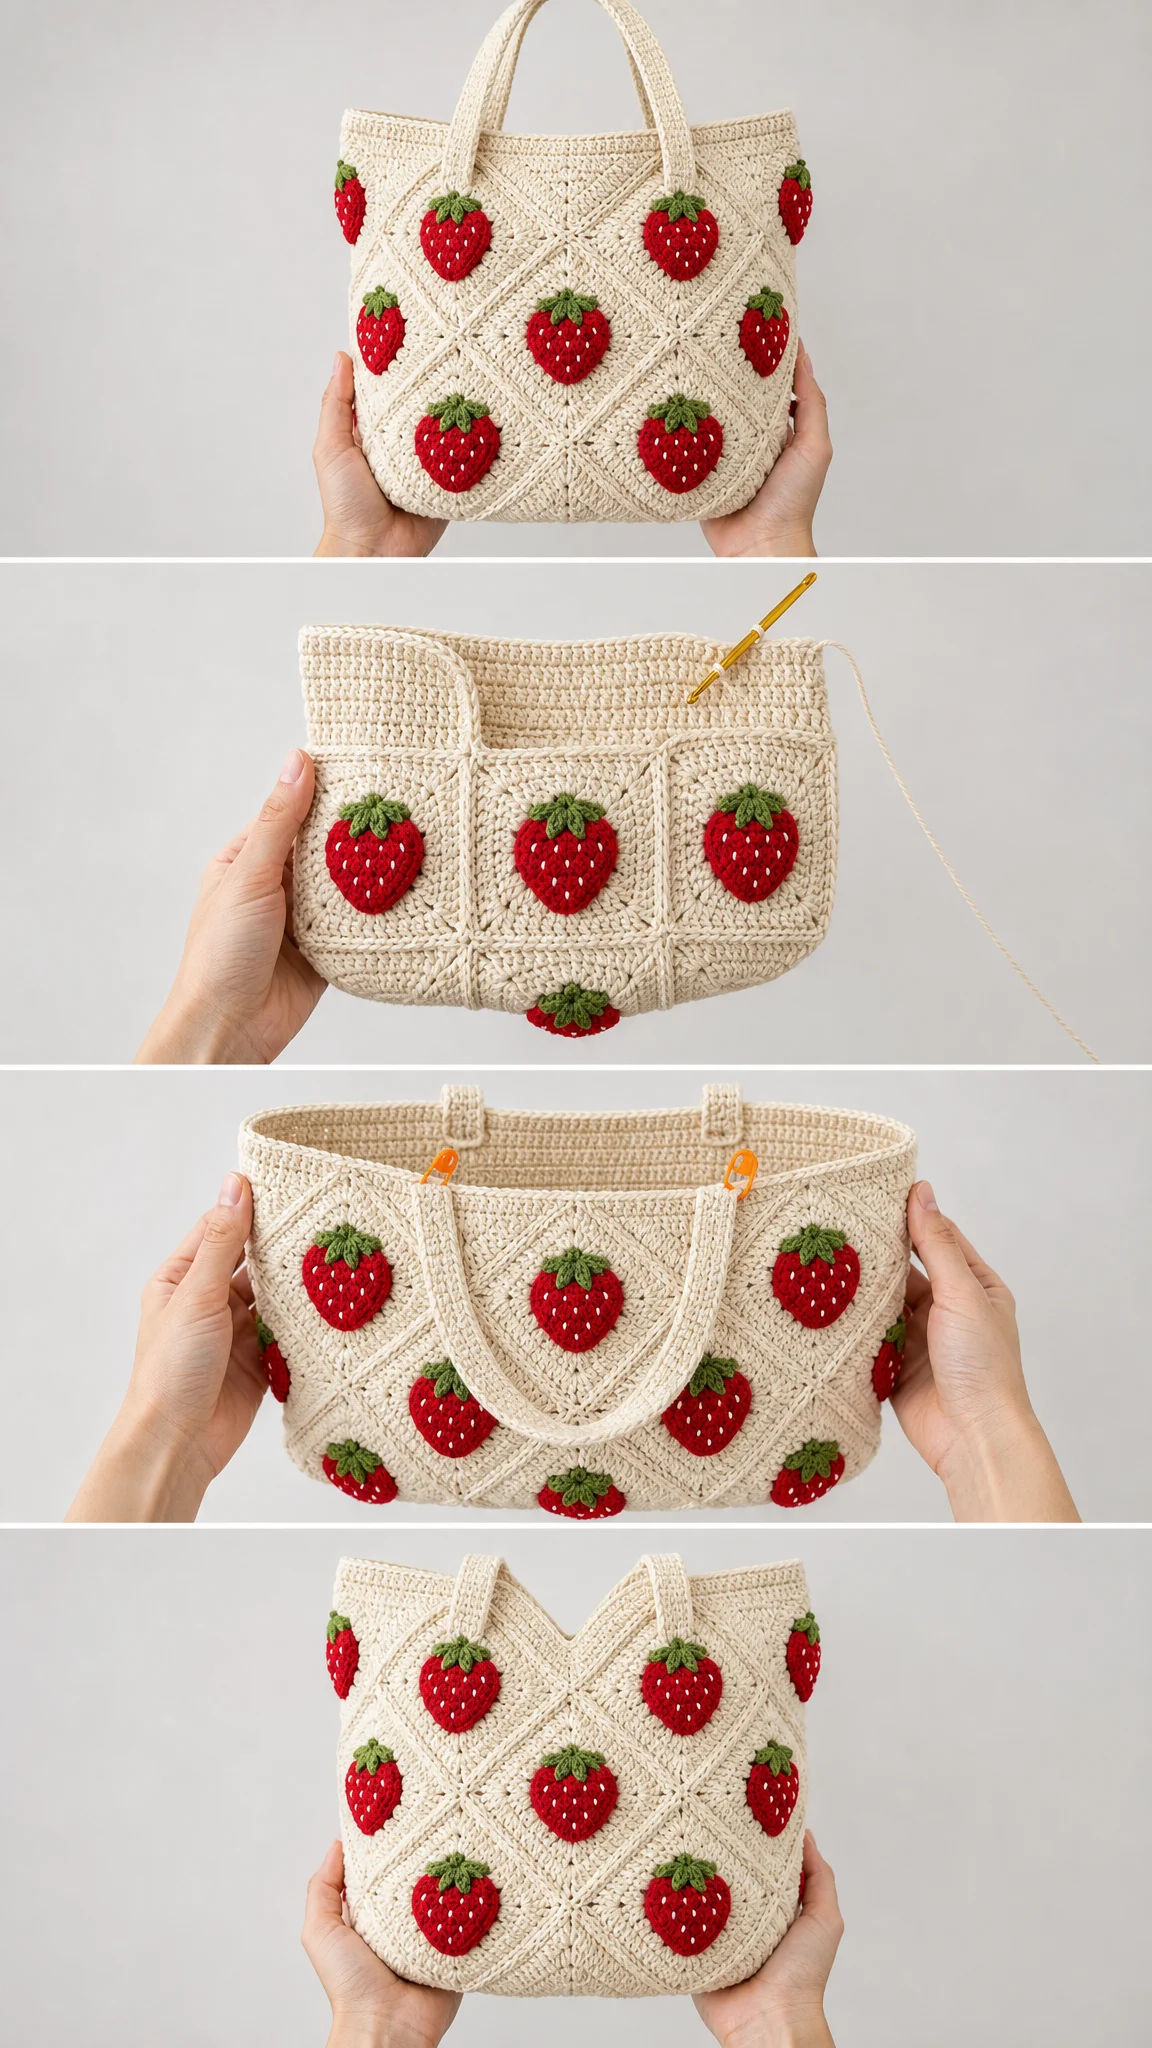
Arrange approximately 6 strawberries on each body panel, centering them in the diamond texture created by your BLO rows. Once you are happy with the placement, slip stitch or whip stitch each one down using matching thread.
Seam the Sides
With WS together (so the seam is on the inside), whip stitch the side panels to the front and back panels along both vertical edges.
Attach the Base
Pin the oval base to the bottom opening. Whip stitch all the way around for a firm, square-bottomed tote.
Handles and Finishing
Securely stitch handle ends to the top inside edge of each body panel. Space them evenly, about 7 to 8 cm from each side edge.
Weave in all remaining ends.
Optional finishing: Sew in a fabric lining for a polished interior, and add a magnetic snap closure to keep your belongings secure.
Tips for Success
Block your panels before assembly if they are curling or uneven. A quick steam block or wet block will make seaming much easier.
Use stitch markers to mark the corners of your oval base. This helps you line everything up evenly when attaching it to the body.
Double-check your strawberry placement before sewing. Pin or tape them in place first and step back to make sure the spacing looks balanced.
Reinforce your handles by stitching them down twice. These will carry the weight of whatever you put in the bag, so secure attachment is important.
Customization Ideas
Want to make this pattern your own? Here are some ideas:
Final Dimensions
| Measurement | Metric | Imperial |
|---|---|---|
| Width | 28 cm | 11.0 in |
| Height | 28 cm | 11.0 in |
| Depth (gusset) | 12 cm | 4.7 in |
| Handle length | 56 cm | 22.0 in |
I really hope you enjoy making this Strawberry Fields Granny Square Tote as much as I enjoyed putting together this pattern. It is such a cheerful, practical project, and those little strawberry appliqués never fail to make me smile. If you make one, I would absolutely love to see it! Tag me on Instagram or share in my Facebook group. Happy hooking, friends!
If you want to come back to this pattern later, go ahead and save it to your Pinterest boards so it is easy to find when you are ready to start. And please drop a comment below if you make this tote. I love seeing your finished projects and hearing about any modifications you tried!
Want a Quick & Easy Printable Version?
Get a clean, beautifully formatted PDF of this pattern — easy to follow step by step, ready to print or save on any device. No scrolling, no distractions, just the pattern.
Get the Printable PDF →You Might Also Like
- Lavender Dream Mesh Crochet High Tops Free Pattern
- Lavender Crochet Sandals in Modern Bedroom Free Pattern
- Lavender Heart Granny Square Baby Blanket Free Crochet Pattern
- Cream Boho Tassel Fringe Clutch Free Crochet Pattern