
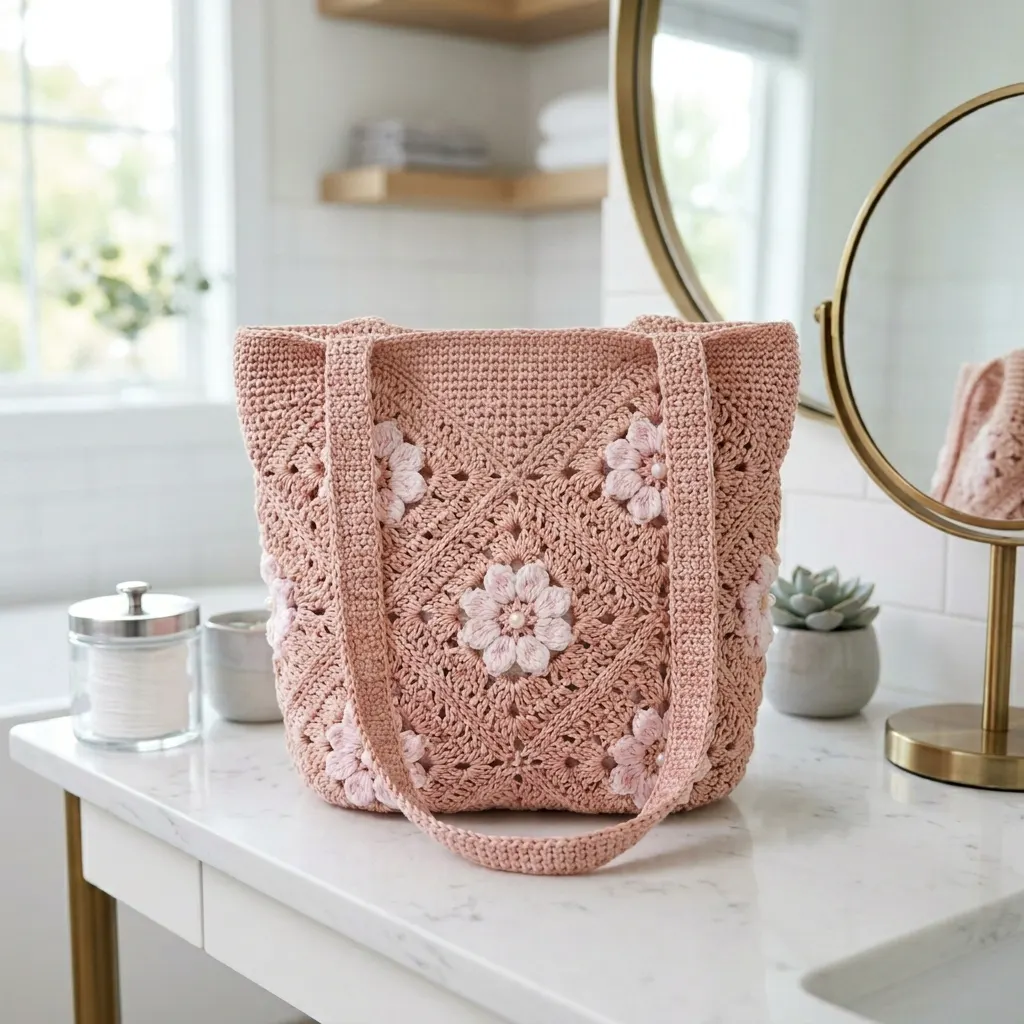
I don’t know about you, but I have a serious weakness for bags that look way more complicated than they actually are. This Cherry Blossom Granny Bag gives you all the "wow, you made that?" reactions with none of the intimidating stitch work. Just classic granny squares, a few puffy little flowers, and suddenly you have a structured tote that looks like it belongs in a boutique.
Get the Ad-Free PDF Pattern
You can find the free pattern below, or you can purchase the ad-free printable PDF from my shop.
Get the Printable PDF →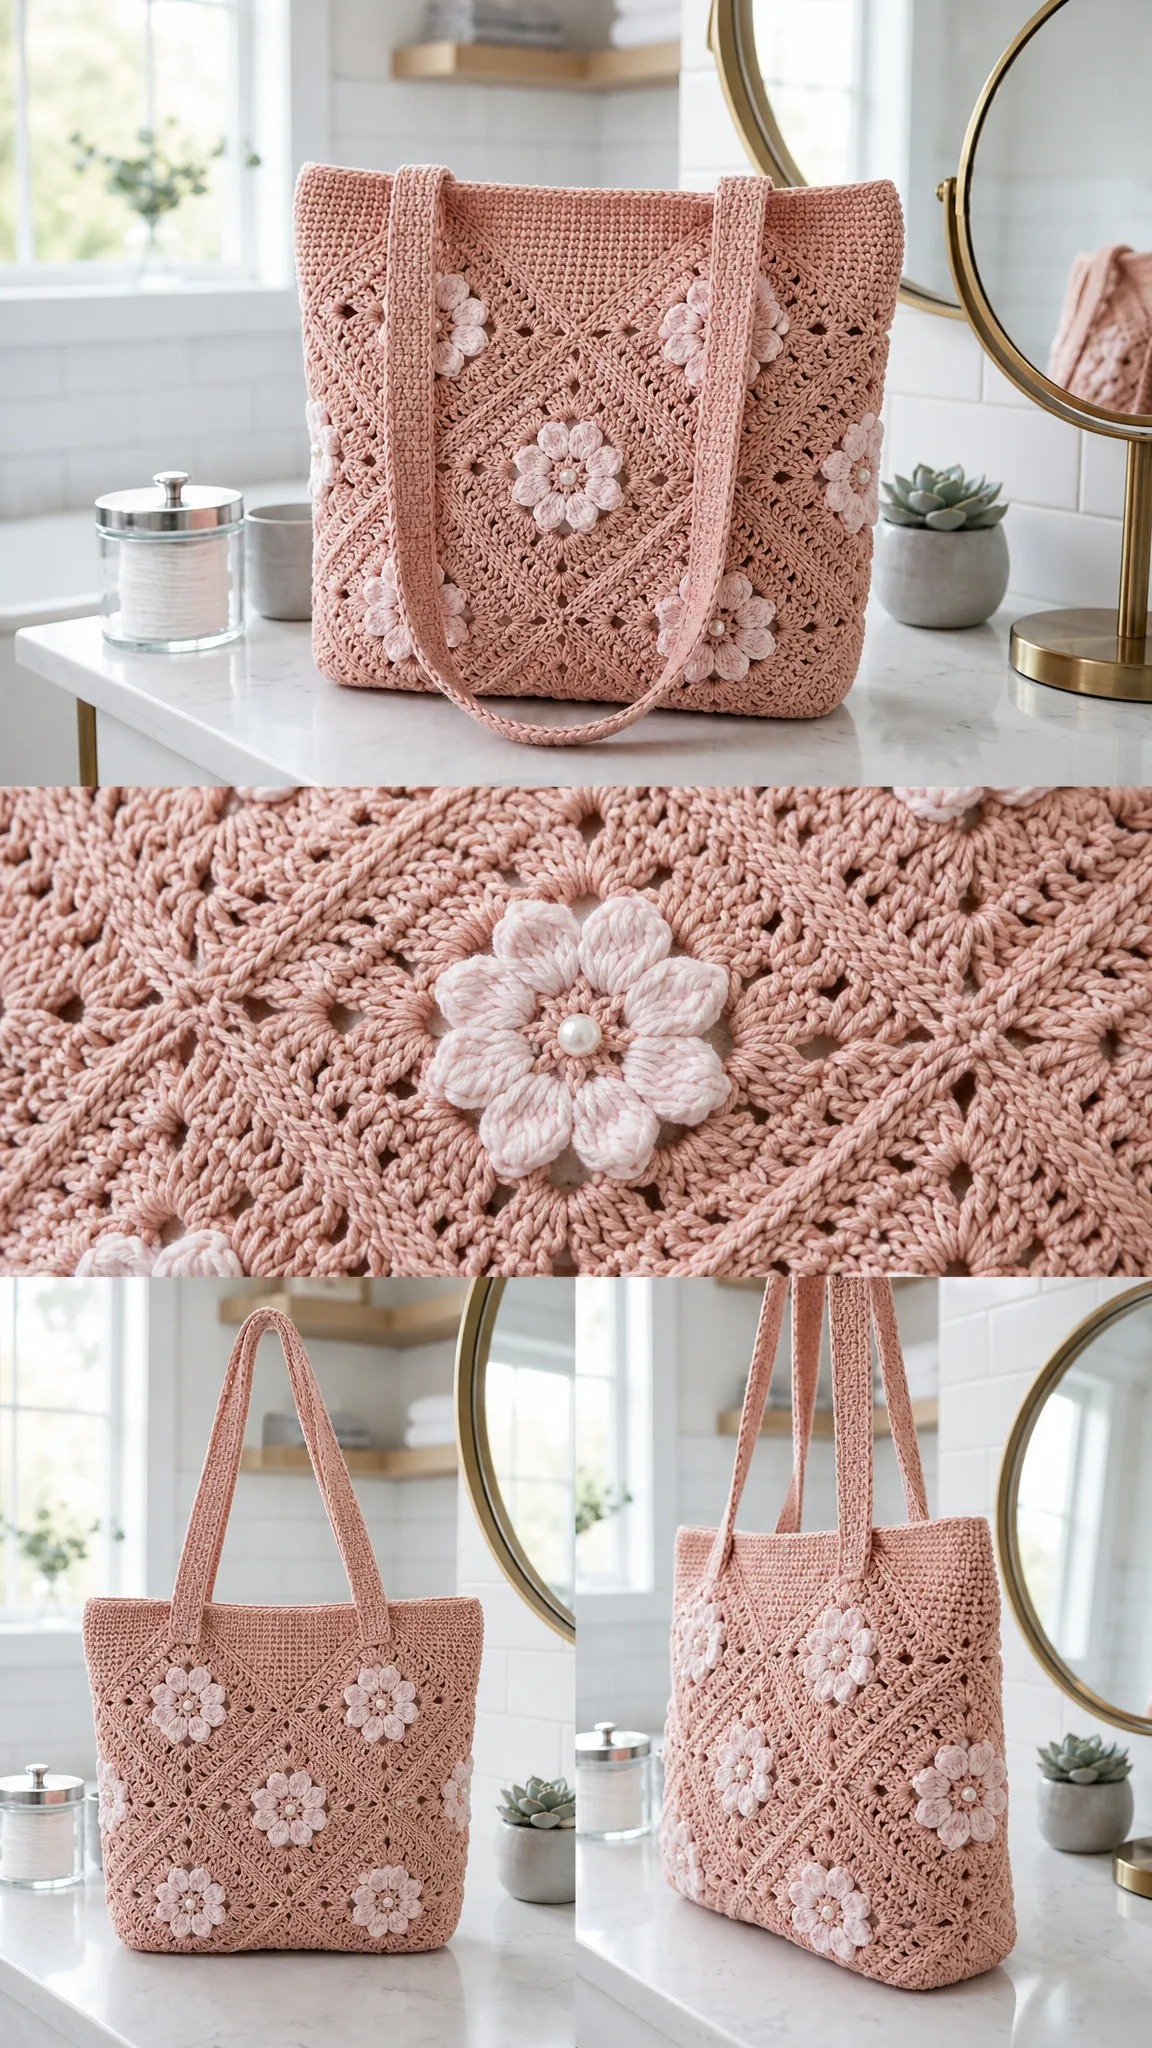
The soft dusty pink cotton paired with those delicate three-dimensional blossoms creates something that feels romantic and modern at the same time. It’s the kind of bag you’ll reach for all spring and summer, whether you’re heading to the farmers market or just need something pretty to carry your current project around in.
Let me walk you through everything you need to make your own.
About This Cherry Blossom Granny Bag Pattern
This tote is built from 27 "lacy diamond" granny squares joined together to form a structured box shape. The squares create that classic openwork texture we all love, while the gusset gives the bag real depth so it can actually hold your stuff. Scattered across the front, back, and sides are 12 raised puff stitch cherry blossoms that add gorgeous dimension without adding difficulty.
The whole thing works up in 100% cotton yarn, which means it holds its shape beautifully and only gets softer with use. Cotton also gives you that crisp stitch definition that really shows off the diamond pattern in each square.
Skill level: Intermediate
Finished dimensions: 12 inches wide × 11.5 inches tall × 4.5 inches deep (30.5 × 29 × 11.5 cm). Strap drop measures approximately 9.5 inches (24 cm).
Time to complete: 20 to 28 hours
This is a perfect project for confident beginners ready to level up or intermediate crocheters looking for something satisfying to work on over a few evenings.
Materials You’ll Need
Yarn
You’ll need 100% cotton yarn in worsted weight (#4):
Main Color (MC) in Dusty Pink:
Approximately 750 to 850 yards (685 to 780 meters)
Contrast Color (CC) in Soft Blush:
Approximately 110 to 140 yards (100 to 130 meters)
Suggested Yarn Brands
Any worsted weight cotton will work beautifully, but here are three that show off the stitches especially well:
1. Lion Brand 24/7 Cotton offers a mercerized finish with a soft sheen that flatters the diamond motif and gives crisp stitch definition.
2. WeCrochet Dishie (Worsted) is matte, sturdy, and budget friendly. It gives the tote plenty of body and structure.
3. Paintbox Yarns Cotton Aran has a huge color range, making it easy to find a true dusty pink with a matching soft blush.
A note on substitutions: Mercerized cotton adds drape and shine while matte cotton adds body and helps the bag hold its shape. Cotton and linen blends give a more rustic look. I’d avoid pure acrylic if you want the tote to stand up on its own. Whatever you pick, buy a little extra (around 800 yards MC and 150 yards CC) and always check your gauge.
Hook and Notions
Gauge
16 single crochet (sc) × 18 rows = 4 inches (10 cm)
One finished granny square should measure approximately 4 inches (10 cm) square after 5 rounds.
Gauge matters more than hook size here, so change your hook to match if needed. A slightly firm gauge gives you a more structured bag that holds its shape better.
For left-handed makers: Work every round and row in the opposite direction (counter-clockwise where right-handers go clockwise). Every motif in this pattern is symmetrical, so your finished pieces come out identical. They’re simply mirrored as you work.
Abbreviations and Special Stitches
ch – chain
sc – single crochet (insert hook, yarn over, pull up a loop, yarn over, pull through both loops)
dc – double crochet (yarn over, insert hook, yarn over, pull up a loop, yarn over, pull through 2 loops, yarn over, pull through remaining 2 loops)
sl st – slip stitch (insert hook, yarn over, pull through stitch and loop on hook in one motion)
puff – puff stitch (see special instructions below)
yo – yarn over
st(s) – stitch(es)
sp(s) – space(s)
rnd(s) – round(s)
beg – beginning
rep – repeat
MC / CC – main color / contrast color
Special Stitch: Puff Stitch
The puff stitch creates those beautiful rounded petals on the cherry blossoms. Here’s how to work it:
Yarn over, insert your hook in the stitch or space, yarn over and pull up a loop to about ⅜ inch (1 cm). Repeat [yarn over, insert in the same place, yarn over, pull up a loop] three more times. You’ll have 9 loops on the hook. Yarn over and draw through all 9 loops, then chain 1 to close.
The key to plump, rounded petals is keeping your loops even and tall. Don’t pull them too tight!
Pattern Notes Before You Begin
How the Bag is Built
The construction is straightforward once you understand the pieces:
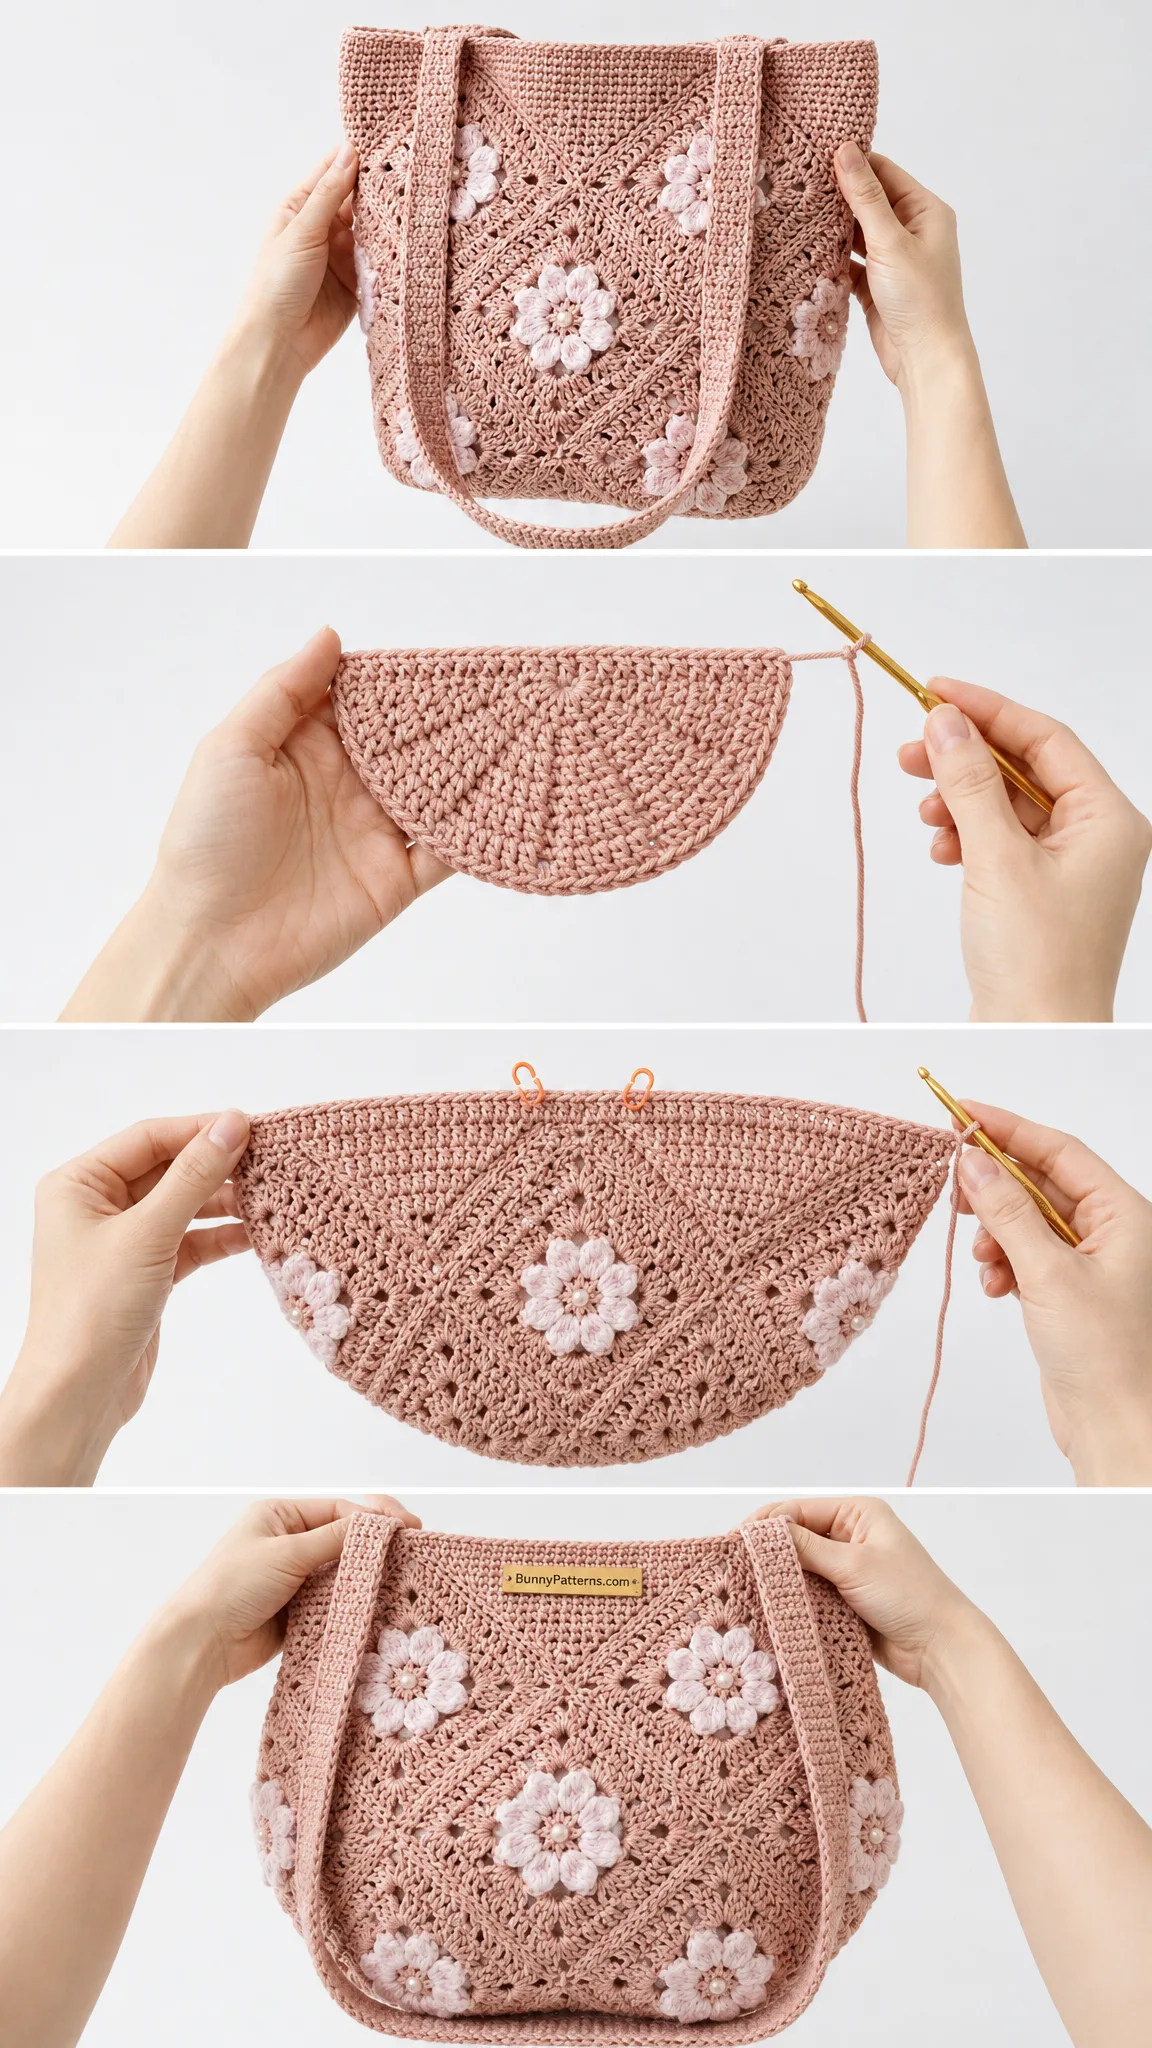
1. Make 27 granny "lacy diamond" squares in MC. These form the body of the bag.
2. Make 12 cherry blossom puff flowers in CC. These are your 3D details.
3. Assemble panels: Front (3×3 squares), Back (3×3 squares), and one Gusset strip (1×9 squares). Attach the flowers.
4. Join the gusset to the front and back to form the box-shaped tote.
5. Add the top edge and two straps.
6. Install the magnetic snap, add optional lining, and finish.
Part 1: Granny Square (Make 27)
Work these in joined rounds using MC. The beginning ch-3 counts as the first dc. After Round 5, each square should measure about 4 inches (10 cm).
Foundation: With MC, make a magic ring (or ch 4 and join with sl st to form a ring).
Rnd 1: Ch 3, 2 dc in ring, ch 2, [3 dc in ring, ch 2] 3 times; join with sl st to top of beg ch-3. *4 dc-groups, 4 ch-2 corners*
Rnd 2: Sl st into next ch-2 corner sp. Ch 3, (2 dc, ch 2, 3 dc) in same corner sp, ch 1; *(3 dc, ch 2, 3 dc) in next corner sp, ch 1; rep from * twice; join. *Corners doubled, 4 ch-1 sides*
Rnd 3: Sl st to next corner sp. Ch 3, (2 dc, ch 2, 3 dc) in same corner sp; *ch 1, 3 dc in next ch-1 side sp, ch 1, (3 dc, ch 2, 3 dc) in next corner sp; rep from * around, ending ch 1, 3 dc in last side sp, ch 1; join. *1 group per side*
Rnd 4: Work as established: (3 dc, ch 2, 3 dc) in each corner sp, 3 dc in each ch-1 side sp, ch 1 between every group; join. *2 groups per side*
Rnd 5: Repeat Rnd 4. *3 groups per side*
Fasten off and weave in ends. Make 27 total.
Sizing tip: If your square is larger or smaller than 4 inches (10 cm), add or omit one round (keeping all 27 identical), or change your hook size. Matching squares equal a tidy, professional bag.
Part 2: Cherry Blossom (Make 12)
These sweet little 3D puff flowers work up quickly in CC.
Foundation: With CC, make a magic ring.
Rnd 1: Ch 1, puff in ring, ch 2; [puff in ring, ch 2] 4 times; join with sl st to top of first puff. *5 puff petals*
Pull the magic ring tight so the petals draw together into a blossom. Fasten off, leaving a 12 inch (30 cm) tail for sewing.
Center: Sew a 4 to 6 mm pearl bead to the middle of each flower, or work a few French knots in MC for a softer look.
Make 12 total.
For fuller blossoms: If you want extra dimension, after Rnd 1 add a Rnd 2 of (sc, ch 2, sc) in each ch-2 sp to layer a second row of petals behind the first. Cherry blossoms have five petals, and these little puffs capture exactly that.
Part 3: Assemble the Panels
Joining the Squares
Use whip stitch with MC and a yarn needle for the cleanest look. You can also join-as-you-go on Rnd 5 if you prefer that method.
For a flat seam, hold two squares with wrong sides together and whip stitch through the back loops, working from corner ch-2 to corner ch-2.
Front panel: Arrange 9 squares in a 3×3 grid. Join into 3 rows of 3, then join the rows. This creates a panel approximately 12 × 12 inches. Block to 12 × 11.5 inches (30.5 × 29 cm).
Back panel: Work exactly as the front (9 squares).
Gusset: Join 9 squares into one long 1×9 strip. This measures approximately 4 × 36 inches (10 × 91 cm).
Attaching the Blossoms
Label the front grid by row: A B C (top row), D E F (middle row), G H I (bottom row).
Front: Attach a flower to the center of squares B, D, E, F, and H. This creates a diamond shape around the central blossom. *5 flowers*
Back: Repeat the same diamond placement. *5 flowers*
Gusset: Attach 1 flower to the center of each side section (the 2nd and 8th squares in the strip). *2 flowers*
Sew each blossom flat at its center with the long tail, then lightly tack a petal tip or two so it sits proud of the fabric. Attach all 12 flowers before final assembly so the tails stay hidden inside.
Part 4: Join Into a Bag
Now we bring it all together!
1. Pin the gusset strip around the front panel: Begin at the top of the left edge, down the left side (3 squares), across the bottom (3 squares), and up the right side (3 squares). The 9 gusset squares line up with the 9 edge-squares of the front.
2. Whip stitch (or sl st) the gusset to the front along those three sides, easing gently around the two bottom corners.
3. Repeat to join the back panel to the opposite long edge of the gusset.
4. Leave the top edges of the front and back open. This is the bag’s opening.
Seam style note: Joining with wrong sides together puts a soft ridge on the outside for a cozy, handmade look. Right sides together hides the seam. Pick the look you love and keep it consistent on all seams.
Part 5: Top Edge and Straps
Top Edge
Rnd 1: Join MC at a side seam. Sc evenly around the whole opening, working about 1 sc per st, with 2 sc across each seam to keep it flat; join.
Rnd 2: Ch 1, sc in each sc around; join. Fasten off.
Straps (Make 2)
Row 1: Ch 6. Sc in 2nd ch from hook and in each ch across. *5 sc*
Row 2+: Ch 1, turn, sc in each sc across.
Repeat Row 2 until the strap measures 22 inches (56 cm). The strap will be about 1 inch (2.5 cm) wide. Fasten off, leaving a long tail.
Attach: On the front top edge, pin the two ends of one strap about 3 inches (7.5 cm) in from each side seam. Sew down firmly with several passes. Repeat with the second strap on the back. Finished strap drop is approximately 9.5 inches (24 cm).
For the pictured look: You can tack each strap down the front face from the top edge toward the base, so it lies flat against the diamond panel like a tote.
Part 6: Closure and Finishing
Magnetic Snap
Center the two halves of the 18 mm magnetic snap on the inside top edge of the front and back, about ¾ inch (2 cm) below the rim. Back each half with a small square of felt or fabric to spread the load, push the prongs through, and fold them flat.
Lining (Optional)
Cut lining fabric to the bag’s measurements plus a ½ inch (1.3 cm) seam allowance all around. You’ll need two 12 × 11.5 inch panels plus one 4.5 × 35 inch gusset, or you can make a simple folded pouch. Sew into a bag, press the top edge under, slip it inside, and hand-stitch to the top round.
Final Finishing
Weave in all remaining ends. Lightly block the finished tote by spritzing with water, patting into a crisp box shape, and letting it dry. Your blossom bag is ready!
Care Instructions
Tips for Success
Test your gauge first. I know it’s tempting to skip this step, but making one test square before you commit to all 27 will save you so much frustration.
Keep your puff stitches loose. The trick to plump, pretty petals is pulling up tall loops and keeping even tension. If yours look flat, try going up a hook size just for the blossoms.
Block your squares before joining. Even if they look fine, a quick spray and pin will help them all match up perfectly when you start seaming.
Attach flowers before assembly. This keeps all your tails and knots hidden inside the bag where nobody will see them.
I hope you absolutely love making this Cherry Blossom Granny Bag as much as I loved designing it. There’s something so satisfying about watching those squares stack up and then come together into a real, usable, beautiful bag.
If you make one, I would love to see it! Save this pattern to your Pinterest boards so you can find it when you’re ready to start, and please leave a comment below to share how yours turns out. Happy hooking!
Want a Quick & Easy Printable Version?
Get a clean, beautifully formatted PDF of this pattern — easy to follow step by step, ready to print or save on any device. No scrolling, no distractions, just the pattern.
Get the Printable PDF →You Might Also Like
- Blush Pink Round Chain Bag Free Crochet Pattern
- Pastel Rainbow Kitty Tote Bag Free Crochet Pattern
- Blush Pink Shell Clutch with Pearl Accents Free Crochet Pattern
- Galaxy Purple Chameleon Amigurumi Free Crochet Pattern