
Let me guess. You took one look at this structured little backpack with its shell stitch texture and thought, "No way I can make that." I get it. Crocheted bags with hardware, linings, and multiple panels can seem intimidating. But here is the truth: if you can work a double crochet and follow a simple repeat, you can absolutely make this bag. The starburst stitch looks intricate, but it is just a 6-dc cluster worked into one stitch, then anchored with a single crochet on the next row. That is it. The fancy texture happens almost automatically once you get the rhythm. Whether you are an intermediate crocheter ready to level up or a confident beginner looking for your first bag project, this Lavender Mini Backpack crochet pattern breaks everything down into manageable pieces. Flat panels, simple seaming, and clear assembly steps. You have got this.
Get the Ad-Free PDF Pattern
You can find the free pattern below, or you can purchase the ad-free printable PDF from my shop.
Get the Printable PDF →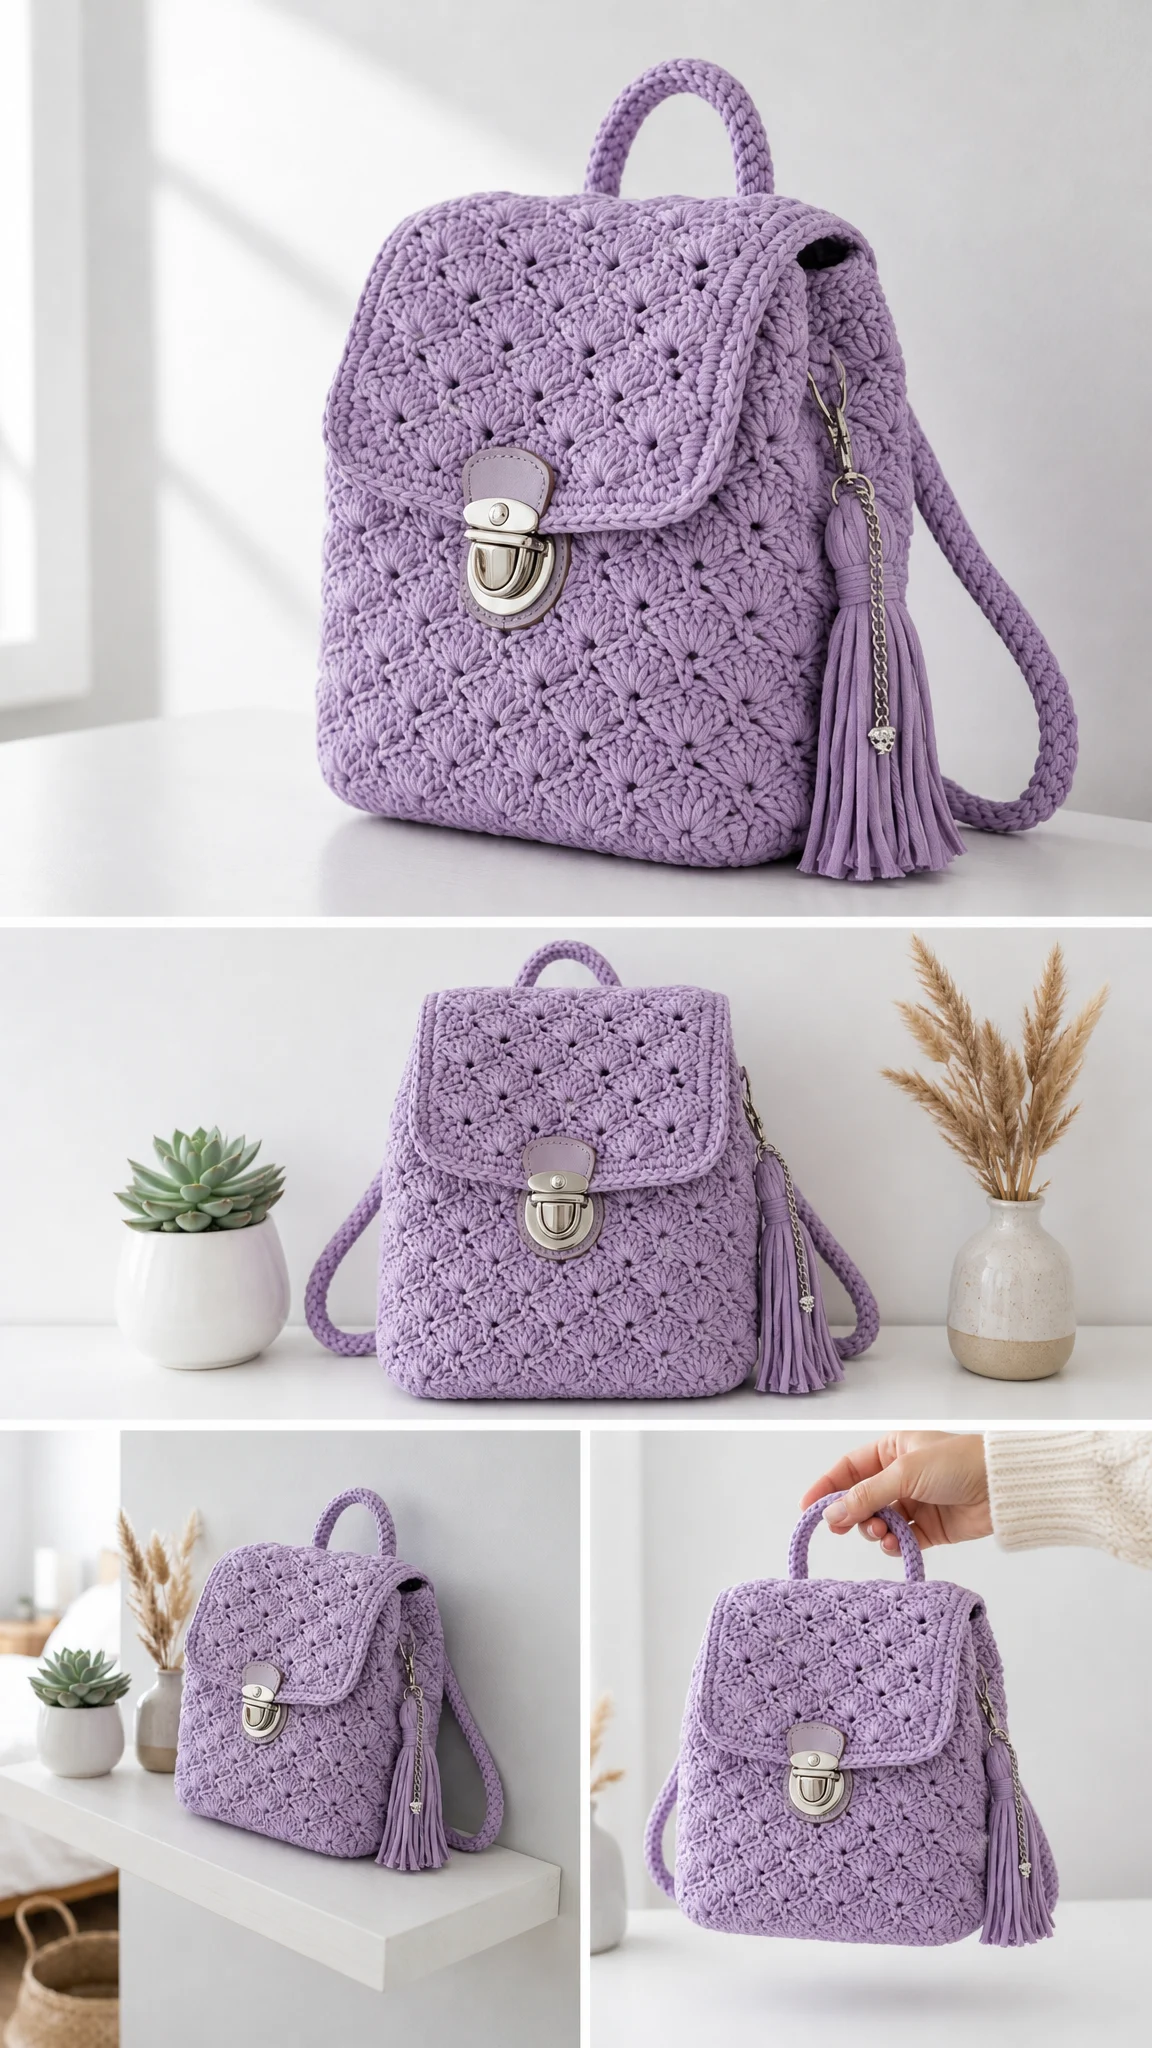
About This Crochet Pattern
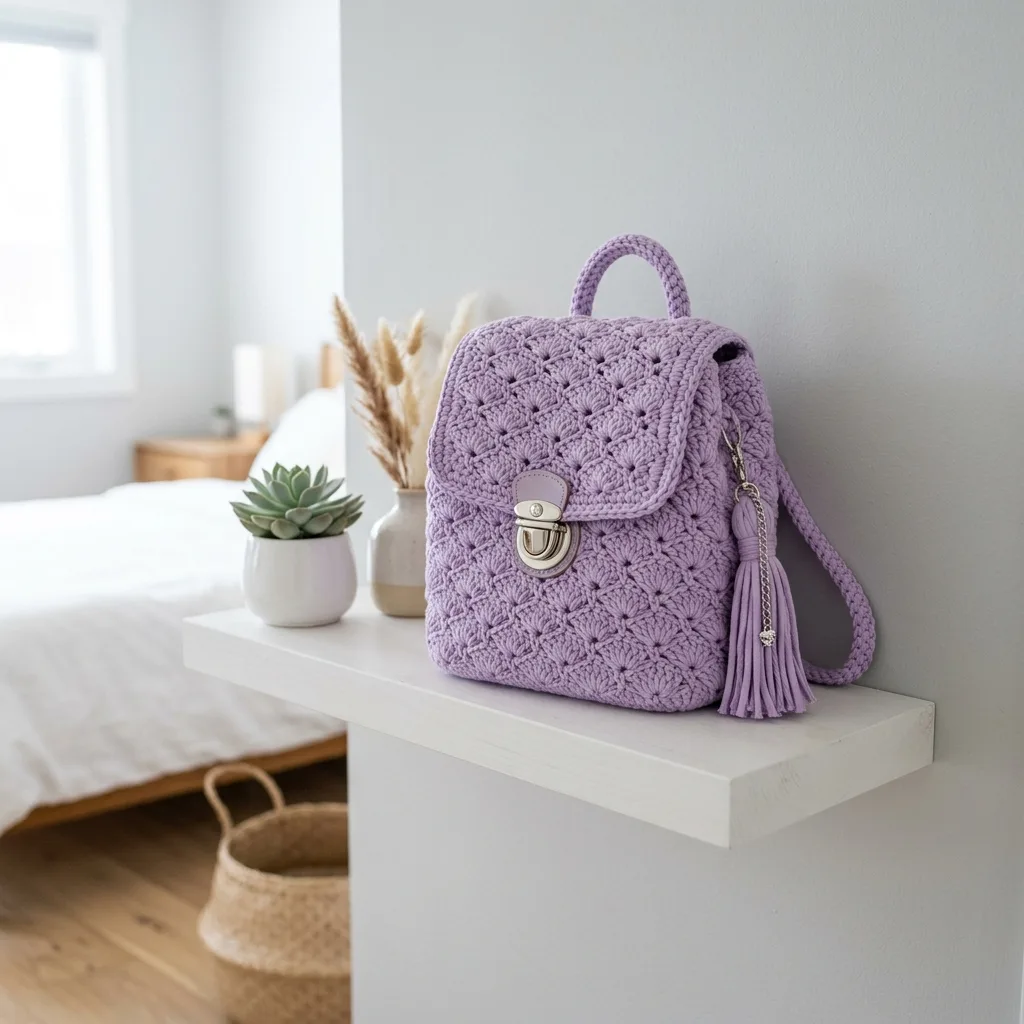
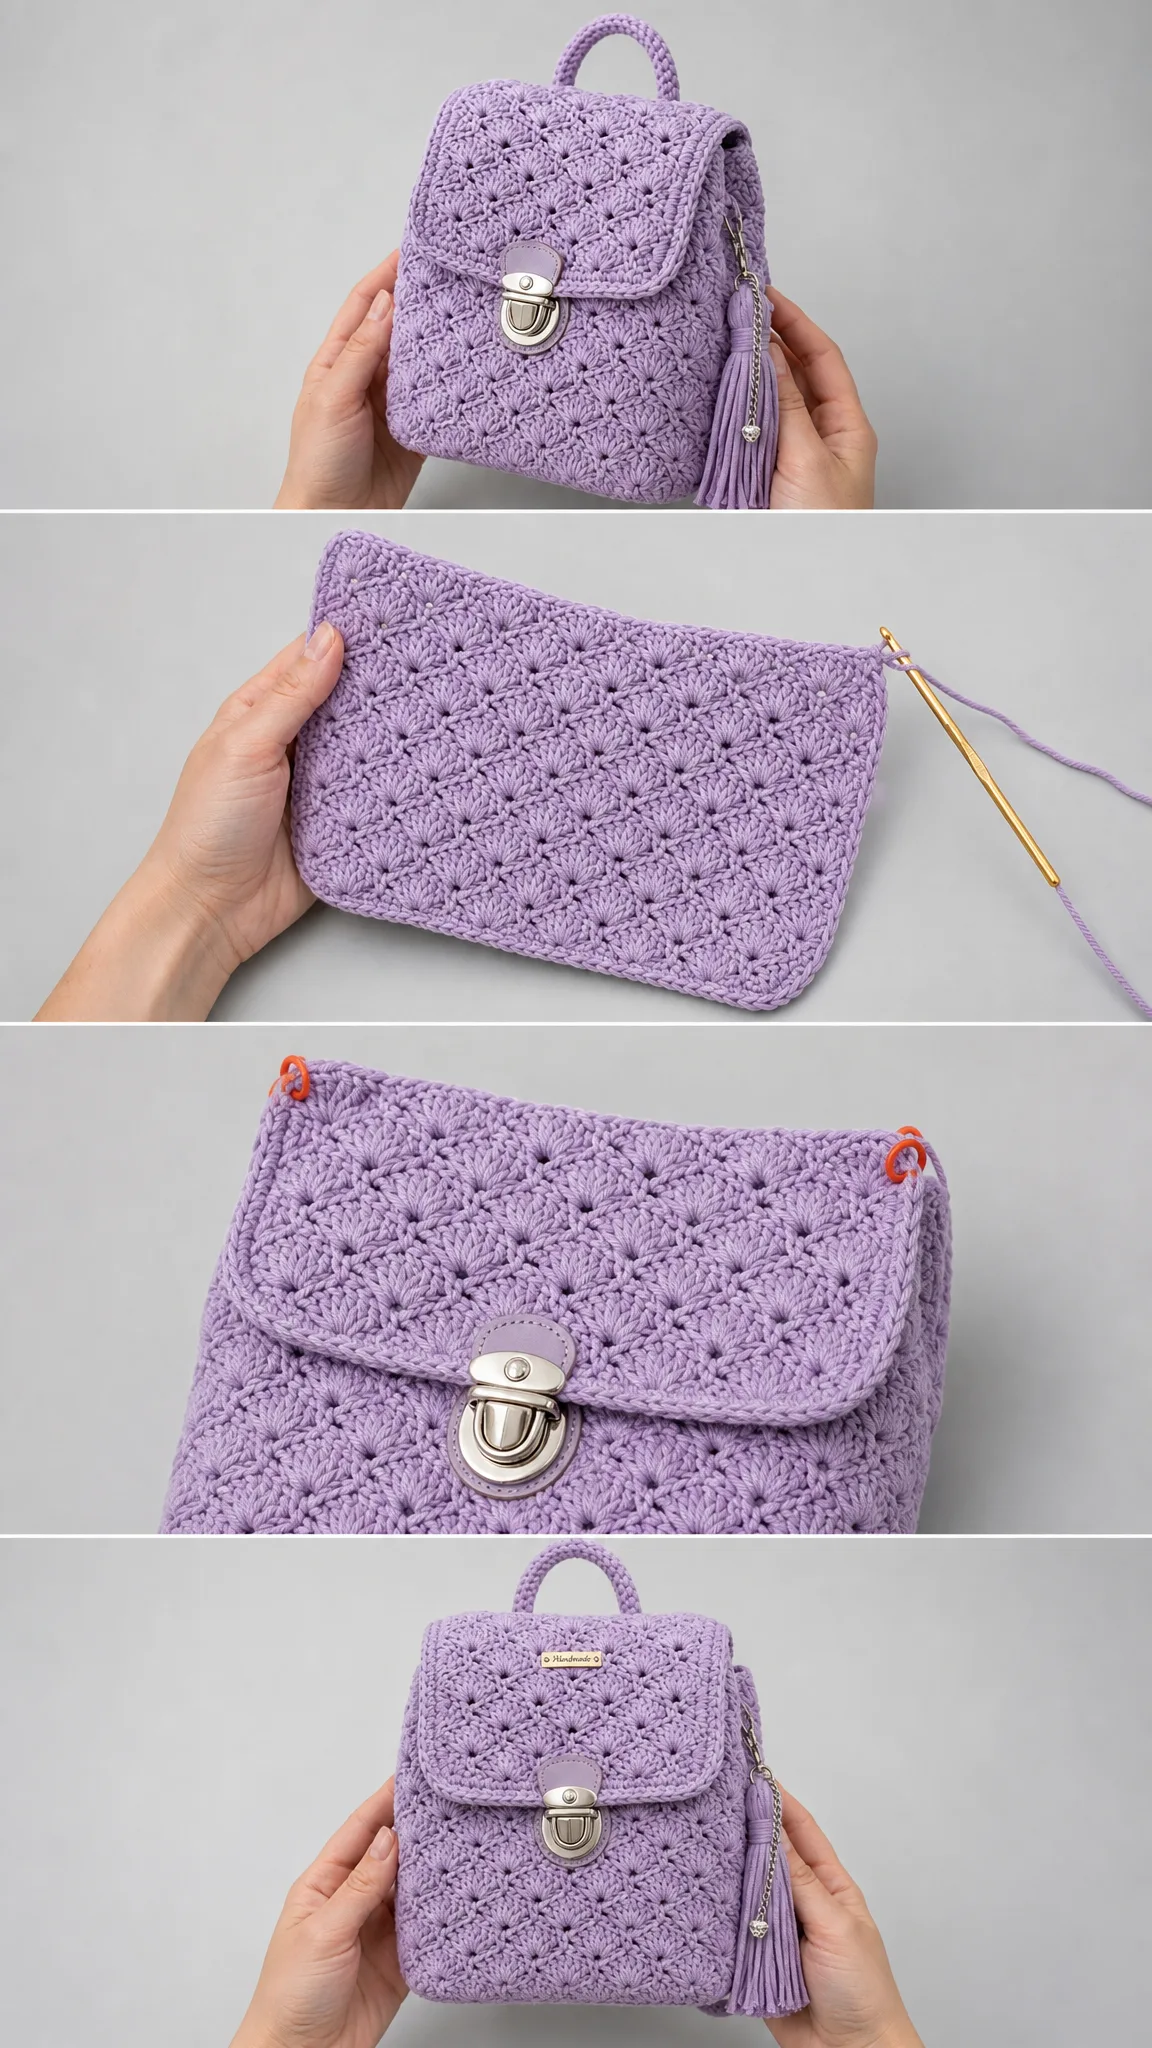
This mini backpack works up in a dense, textured starburst stitch that feels squishy in your hands and looks like something you would find in a boutique. The structured flap closes with a metal turn-lock clasp, giving it a polished, professional finish that elevates the whole design.
The finished bag measures 9.5 inches tall, 7.5 inches wide, and 4 inches deep. That makes it the perfect size for your everyday essentials: phone, keys, cards, a lip balm, maybe a small wallet. It is a true mini, roomy enough to be functional but compact enough to stay lightweight and cute.
Crocheted in worsted weight cotton, this backpack holds its shape beautifully and only gets softer with use. Cotton is the ideal choice here because it provides structure without being stiff, and it will not stretch out over time like acrylic might.
Skill Level: Intermediate
Time to Complete: 8 to 12 hours
Materials You Will Need
Gather these supplies before you begin. Having everything ready makes the process so much smoother.
Yarn:
Hook:
Notions and Hardware:
Yarn Suggestions and Substitutions
Any smooth worsted-weight cotton with good stitch definition will showcase the starburst texture beautifully. Here are three reliable options:
Lily Sugar’n Cream (Solids): 100% cotton, sturdy and matte. Widely available and budget-friendly. Excellent for a structured bag that holds its shape.
Paintbox Yarns Cotton Aran: Smooth, round plied cotton in a huge shade range. Easy to find a true lavender plus a soft accent purple.
Scheepjes Catona (held double): Mercerized cotton with a subtle sheen for a more luxe, refined finish. Use a heavier blend or hold double to reach worsted weight.
Important Substitution Notes:
Gauge
In starburst pattern: approximately 4 clusters by 8 rows equals 4 inches (10 cm).
Gauge is not critical for this project due to the dense texture, but keep your tension consistent throughout for an even, professional-looking shape.
Abbreviations and Stitch Definitions
Let me walk you through every abbreviation used in this pattern. If any of these are new to you, take a moment to practice them before starting the panels.
Understanding the Starburst Cluster Stitch
The fabric for this backpack is built from 6-dc clusters (also called "shells") that are offset from row to row. Each shell fans into a space, then the next row anchors a single stitch into the center of the shell below before opening a new cluster in the next single crochet.
Think of it like brickwork. The shells stack in a staggered pattern, creating that beautiful textured surface you see in the photos. Once you complete two or three rows, the rhythm becomes almost meditative.
Left-Handed Crocheters: This pattern works perfectly for you. Simply work in the mirror image by reversing "left/right" references and working rows from the opposite edge. The stitch counts stay identical because the shell and single crochet offset is symmetrical.
The Pattern Instructions
Front and Back Panels (Make 2)
You will make one Front Panel and one Back Panel. Both are worked flat in the starburst stitch and are identical.
Foundation: With main yarn and 3.5 mm hook, chain a multiple that fits your shell repeat. Chain 32 for a panel approximately 7.5 inches (19 cm) wide. Chain 3 more to turn.
Row 1 (RS): Work 1 sc in 2nd ch from hook, *sk 2 ch, 6 dc in next ch (shell made), sk 2 ch, sc in next ch; rep from * across. Turn.
Row 2: Ch 3, 2 dc in first sc, *sc in center of next shell, 6 dc (shell) in next sc; rep from * across, ending 3 dc in last sc. Turn.
Row 3: Ch 1, sc in first dc, *6 dc in next sc, sc in center of next shell; rep from * across. Turn.
Rows 4 onward: Repeat Rows 2 and 3, keeping shells centered over the sc of the previous row. Work until panel measures 9.5 inches (24 cm) tall. Fasten off.
Make the Back Panel identical to the Front. Mark the right side of each panel with a stitch marker so you seam them facing the correct direction later.
Side Panels (Make 2)
Setup: Chain to approximately 4.0 inches (10 cm) wide. Work the starburst repeat in rows until the panel measures 9.5 inches (24 cm) tall, matching the height of your Front and Back panels. Fasten off, leaving a long tail for seaming.
Bottom Panel (Make 1)
Setup: Chain to match the panel width, approximately 7.5 inches (19 cm). Work in sc rows only (for a firm, flat base rather than shells) until the rectangle measures 4.0 inches (10 cm) deep. Fasten off, leaving a long tail.
A solid single crochet base gives the backpack a stable, flat bottom so it stands upright on its own. This is a small but important detail that makes the bag look much more professional.
Flap (Make 1)
Setup: Chain to match panel width. Work the starburst repeat for approximately 4 inches, then begin shaping the rounded lower edge.
Shaping: Over the final rows, decrease 1 cluster at each end by working sc in place of an end shell. Do this every other row to taper the corners into a soft curve, mirroring the photos. Fasten off.
Edging: Join yarn at one top corner and work 1 row of sc evenly around the two sides and curved lower edge for a clean, defined border. Fasten off.
Straps (Make 2)
Method: Chain a length to fit comfortably as a shoulder strap. Try 22 to 26 inches (56 to 66 cm), then adjust based on your preference. Work sc rows 4 to 5 stitches wide, or fold and seam a tube for a rounded strap. Keep them firm since they carry the weight of the bag. Fasten off.
Top Handle (Make 1)
Method: Crochet a short tube approximately 4 inches (10 cm) long, or make a tight 3-strand braid. Seam into a loop, ready to attach at the top center.
Assembly Instructions
Take your time with assembly. This is where a handmade bag starts to look truly professional.
Step 1: Side Panels to Body
With right sides together, use whip stitch to seam each Side Panel to the Front and Back panels. Working inside out gives you an invisible finish on the outside.
Step 2: Bottom Panel
Seam the Bottom to the lower edge of the joined body, easing the corners neatly.
Step 3: Flap
Seam the straight top edge of the Flap to the top of the Back Panel.
Step 4: Top Handle
Sew the handle securely to the top center, just in front of the flap seam.
Assembly Tip: Use stitch markers to align side seams before sewing. This prevents any shifting and keeps your lines straight.
Hardware and Finishing
Lining (Optional)
Using the crocheted panels as templates, cut fabric pieces adding a 1 cm seam allowance. Sew into a fabric box, then hand-stitch inside the bag before finishing the flap. Lining adds body and keeps small items from poking through the texture.
Attaching Hardware
Turn-Lock Clasp: Attach the silver turn-lock to the faux-leather tab and stitch or rivet the tab to the front panel, positioned to meet the flap when closed. The mating plate sits on the underside of the flap.
D-Rings and Sliders: Loop each strap through a slider for adjustability. Attach the strap ends to the back using the 8 mm D-rings at the top. Stitch the lower ends to the base of the back panel.
Tassel Charm: Clip the chain of the silver tassel charm to a side D-ring for the perfect finishing accent.
Blocking and Shaping
Lightly stuff with fiberfill if you want a more structured shape, then steam-block gently to even out the stitches and set the form. Let the bag dry fully before use.
Pro Tip: A little fabric glue on the tab and hardware backs keeps everything rock-solid for daily wear.
Tips for Success
Tension matters. Keep your stitches consistent throughout all panels. If one panel is tighter than another, they will not line up properly during assembly.
Count your clusters. At the end of each row, do a quick count to make sure you have the right number of shells. Catching a mistake early saves frogging later.
Block before seaming. Gently blocking each panel before assembly makes everything line up much more easily.
Do not rush the seaming. This step transforms separate pieces into a cohesive bag. Neat, even whip stitches make a huge difference in the final appearance.
Make It Your Own
While this pattern creates a beautiful lavender backpack, you can easily customize it to suit your style:
I hope you love making this Lavender Mini Backpack as much as I loved designing it. There is something deeply satisfying about creating a bag that looks like it belongs in a shop window but was made entirely by your own hands. If you make one, I would absolutely love to see it! Tag me on Instagram or share a photo on Facebook so I can cheer you on.
If this pattern is going on your to-make list, go ahead and pin it to your Pinterest board so you can find it easily when you are ready to start. And please drop a comment below if you make one. I love hearing which colors you choose and seeing how your finished bags turn out!
Want a Quick & Easy Printable Version?
Get a clean, beautifully formatted PDF of this pattern — easy to follow step by step, ready to print or save on any device. No scrolling, no distractions, just the pattern.
Get the Printable PDF →You Might Also Like
- Rainbow Pastel Snake Plushie Free Crochet Pattern
- Blush Pink Round Chain Bag Free Crochet Pattern
- Blush Pink Spiral Envelope Clutch Free Crochet Pattern
- Midnight Blue Floral Bell Sleeve Top Free Crochet Pattern