
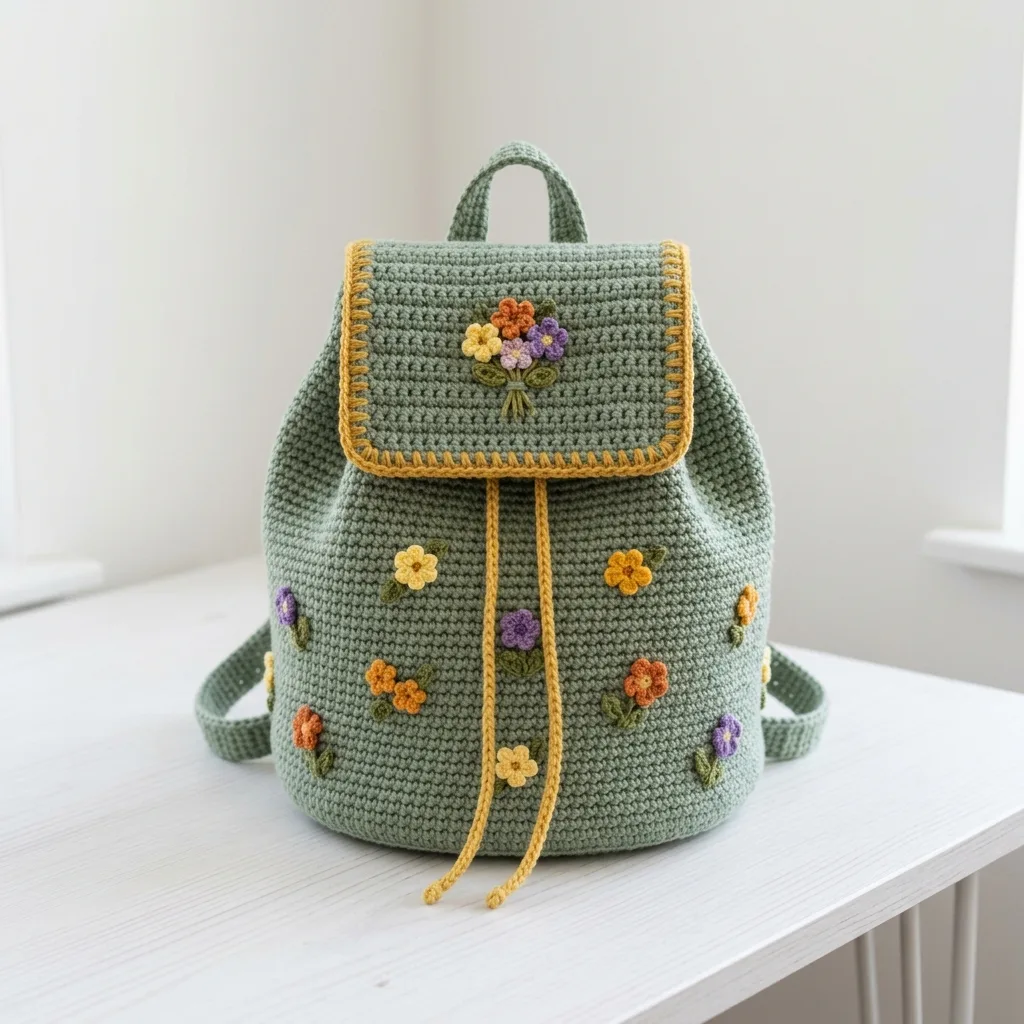
A crocheted backpack that actually holds its shape, looks adorable, and works up in a weekend? That’s exactly what this Sage Wildflower Backpack delivers. Made almost entirely in single crochet with a 4.0 mm hook and worsted weight cotton, this project is perfect for confident beginners ready to level up or intermediate crocheters looking for a satisfying make. The construction is straightforward: you’ll work an oval base, build the body in continuous rounds, add a flap with sweet corner shaping, then scatter hand-sewn flower and leaf appliqués wherever you like. It makes a wonderful gift for a nature-loving friend, a functional bag for farmers market trips, or a cozy accessory for yourself. The finished size is roomy enough to carry essentials (about 28 cm tall by 24 cm wide) without being bulky.
Get the Ad-Free PDF Pattern
You can find the free pattern below, or you can purchase the ad-free printable PDF from my shop.
Get the Printable PDF →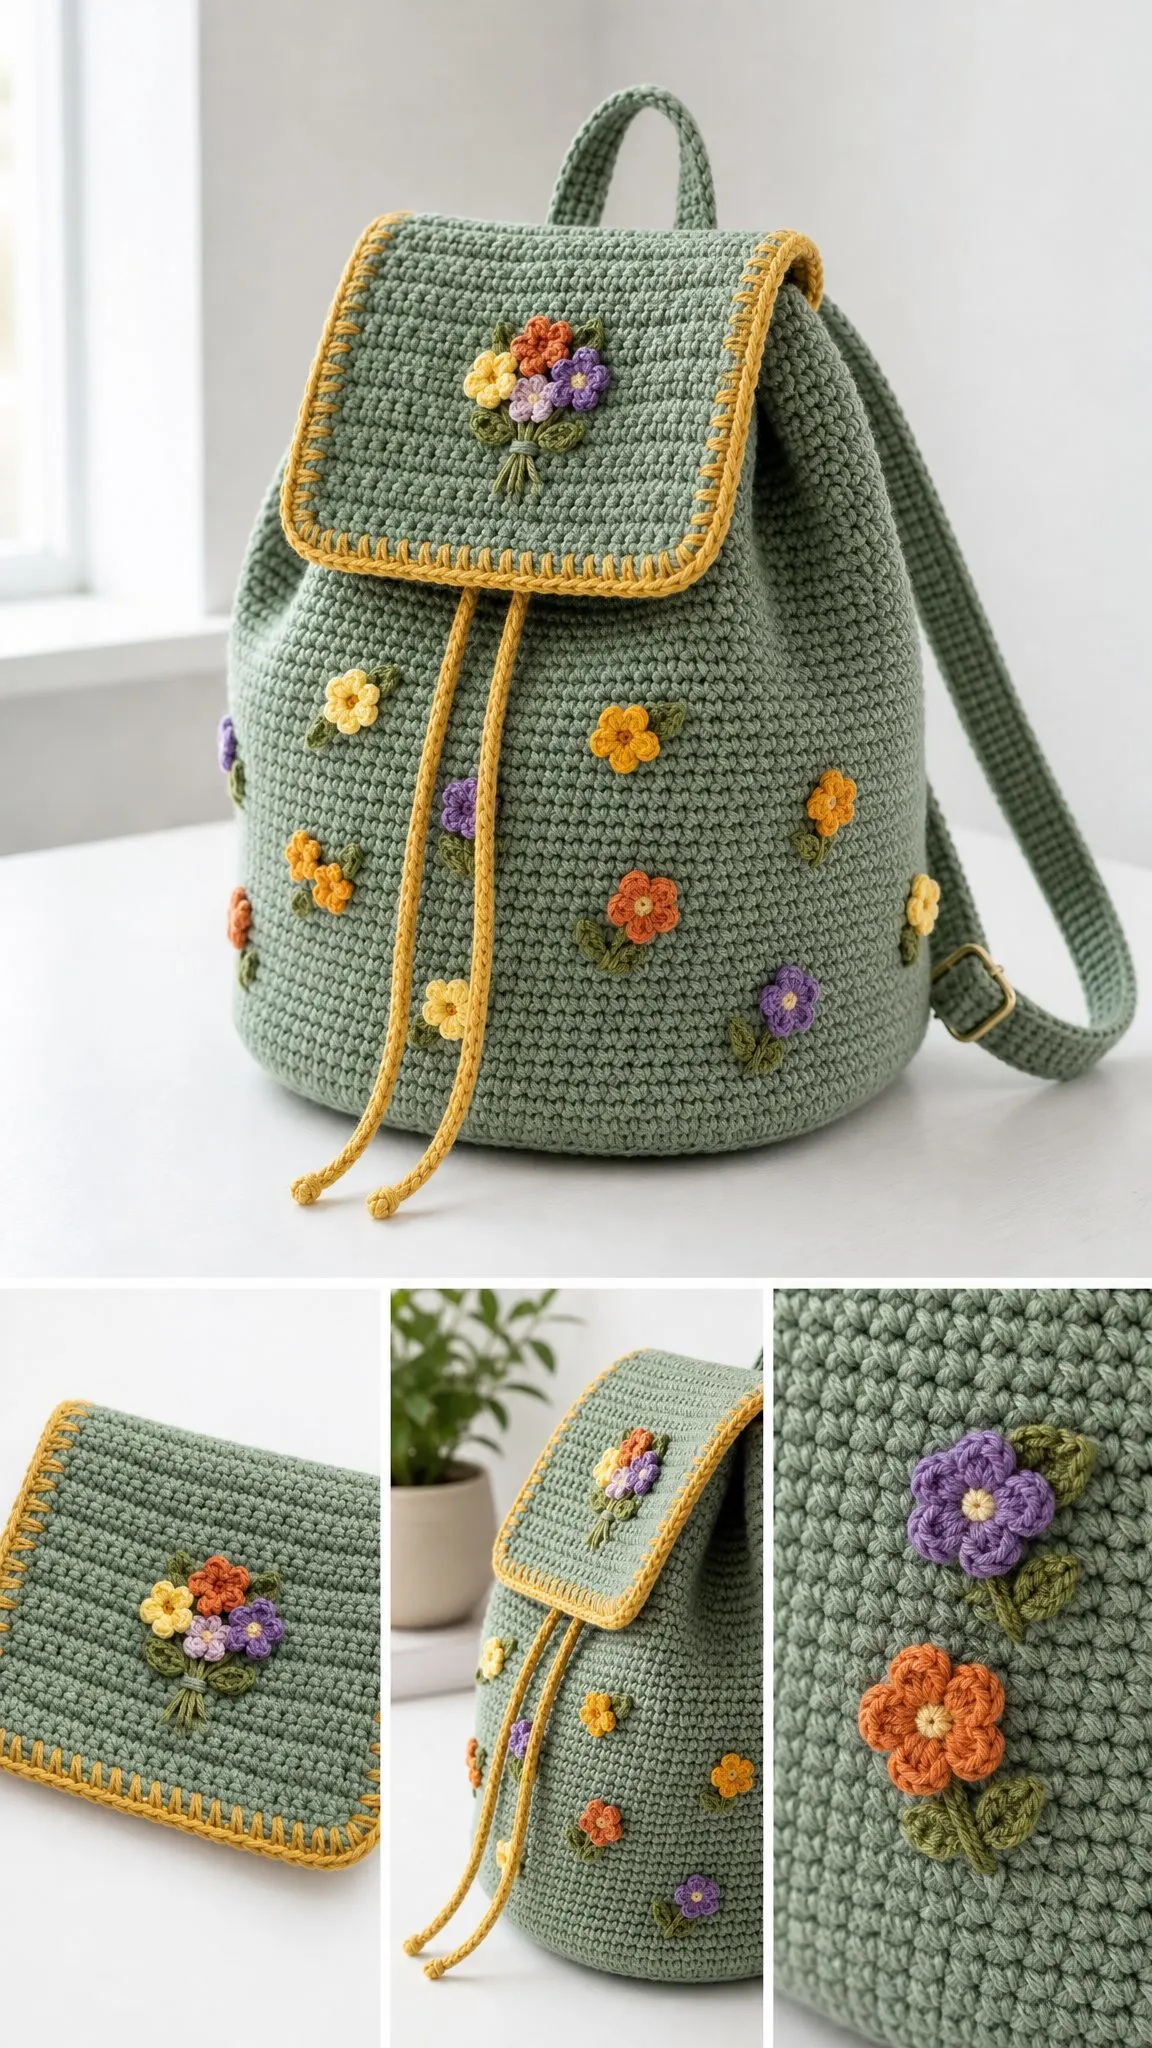
Why You’ll Love This Pattern
This backpack combines practical construction with whimsical charm. The sage green body provides a neutral canvas, while the mustard yellow trim and colorful wildflower appliqués bring it to life. What I especially appreciate is how the pattern lets you customize the flower placement. You crochet all the blooms and leaves separately, lay them out on the finished bag, shuffle until you’re happy, then sew them down. No pressure to get it perfect on the first try.
The cinch-top closure uses a simple eyelet round and a drawcord, so there’s no fiddly hardware to source. The shoulder straps are worked flat in single crochet, making them sturdy enough to carry books, snacks, or a small tablet without stretching out.
Materials You’ll Need
Gather these supplies before you start. The pattern uses worsted weight cotton yarn (weight category 4) in seven colors. Cotton gives the crispest structure for a bag, though you can substitute a cotton blend or smooth acrylic if you prefer something lighter.
Yarn amounts (generous estimates):
| Color | Name | Purpose | Yards | Meters |
|---|---|---|---|---|
| A | Sage Green | Main body, base, flap, straps, handle | 300 yd | 275 m |
| B | Mustard Yellow | Trim, flap border, drawcord | 60 yd | 55 m |
| C | Lavender | Flowers | 15 yd | 14 m |
| D | Purple | Flowers | 15 yd | 14 m |
| E | Peach | Flowers | 15 yd | 14 m |
| F | Yellow | Flowers and centers | 15 yd | 14 m |
| G | Olive Green | Leaves and stems | 30 yd | 27 m |
Total: approximately 450 yards (410 meters)
Recommended yarn brands:
Tools:
Gauge
16 sc × 18 rows = 10 cm × 10 cm (4 × 4 inches) in single crochet.
Gauge matters more for a bag than for a garment. A loose gauge gives you a floppy, gappy bag that won’t hold its shape. If your swatch is too big, go down a hook size. If it’s too small, go up. Cotton worked at a firm tension holds the shape best.
Take time to swatch before diving in. It’s worth the extra fifteen minutes.
Stitch Abbreviations
This pattern uses US crochet terms. Here’s every abbreviation you’ll encounter:
Finished Dimensions
Before You Begin
A few notes to set you up for success:
The base, body, and flap use continuous rounds or rows. Don’t join unless the pattern specifically tells you to. Move your stitch marker up each round so you always know where you started.
Keep a row counter or notepad handy. Single crochet rounds look identical, and it’s easy to lose count around round 25.
The invisible decrease keeps your fabric smooth. Instead of working into both loops of each stitch, you insert your hook into the front loop only of the next two stitches, then single crochet them together. It’s worth practicing if you haven’t used it before.
Weave in ends as you go where possible. This project has several pieces, and dealing with all the tails at the end can feel overwhelming.
Part 1: The Oval Base
Color A (Sage Green) | Worked in continuous rounds
The base is a flat oval that forms the bottom of your backpack. Don’t join rounds. Place a marker in the first stitch and move it up as you go.
Foundation: With A, ch 23.
Rnd 1: Sc in 2nd ch from hook and in each ch to the last ch (21 sc), 3 sc in the last ch to round the end. Rotate to work along the opposite side of the foundation chain, sc in each ch across (21 sc), 3 sc in the final ch. PM in first st. (48 sts)
Rnd 2: Sc in next 21, [2 sc in next st] x3, sc in next 21, [2 sc in next st] x3. (54 sts)
Rnd 3: Sc 21, [sc 1, 2 sc in next] x3, sc 21, [sc 1, 2 sc in next] x3. (60 sts)
Rnd 4: Sc 21, [sc 2, 2 sc in next] x3, sc 21, [sc 2, 2 sc in next] x3. (66 sts)
Rnd 5: Sc 21, [sc 3, 2 sc in next] x3, sc 21, [sc 3, 2 sc in next] x3. (72 sts)
Rnd 6: Sc 21, [sc 4, 2 sc in next] x3, sc 21, [sc 4, 2 sc in next] x3. (78 sts)
Rnd 7: Sc 21, [sc 5, 2 sc in next] x3, sc 21, [sc 5, 2 sc in next] x3. (84 sts)
Rnd 8: Sc 21, [sc 6, 2 sc in next] x3, sc 21, [sc 6, 2 sc in next] x3. (90 sts)
Your base should now lie flat as a smooth oval, about 22 × 12 cm (8.75 × 4.75 inches).
Troubleshooting: If your count is off by one stitch, don’t worry. Oval bases can vary slightly depending on how you turn the ends. Just make sure you end with 90 stitches by the end of Round 8. Add or skip a single increase if needed. It won’t affect the finished bag.
Part 2: The Body and Drawcord Channel
Color A (Sage Green) | Continuous rounds on 90 sts
Rnd 9 (fold round): Sc in the back loop only of each st around. This creates a neat crease so the base sits flat and the walls stand up cleanly. (90 sts)
Rnds 10–43: Sc in each st around (through both loops). Continue until the body measures about 20 cm (8 inches) from the base. That’s roughly 34 rounds. (90 sts)
Tip: The sides should rise straight up, not flare outward. If your bag is widening, your tension has loosened. Snug your stitches back up or drop down a hook size. Place a marker every 10 rounds so you can measure your progress easily.
Rnd 44 (eyelets): [Sc 8, ch 2, skip 2 sts] x9 around. This creates 9 drawcord eyelets evenly spaced around the top. (72 sc + 9 ch-2 spaces)
Rnd 45: Sc in each st, and work 2 sc in each ch-2 space around. (90 sts)
Rnds 46–48: Sc in each st around. (90 sts)
Rnd 49 (top edge): Sl st loosely in each st around. Fasten off A and weave in the end.
The body is complete. You now have a soft bucket shape with a row of eyelets near the top for threading the drawcord.
Optional: For a crisper opening, work Round 49 in Color B (mustard) as a slip stitch round to echo the flap trim. You could also add a single round of reverse single crochet (crab stitch) for extra definition.
Part 3: The Flap
Color A (Sage Green) | Worked flat in rows
Foundation: With A, ch 29.
Row 1: Sc in 2nd ch from hook and in each ch across. Ch 1, turn. (28 sts)
Rows 2–17: Sc in each st across. Ch 1, turn. (28 sts) The flap should measure approximately 9 cm (3.5 inches) tall at this point.
Row 18: Sc2tog, sc to last 2 sts, sc2tog. Ch 1, turn. (26 sts)
Row 19: Sc2tog, sc to last 2 sts, sc2tog. Ch 1, turn. (24 sts)
Row 20: Sc2tog, sc to last 2 sts, sc2tog. (22 sts) Fasten off A.
The decreases gently round the two bottom corners of the flap, giving it that soft curved shape you see in the photos.
Flap Border
Color B (Mustard Yellow) | The signature trim
1. With the right side facing, join B at the top-right corner of the flap (where Row 1 began).
2. Sc evenly down the right side, across the shaped bottom, and up the left side. Work about 1 sc per row-end and 1 sc per stitch along the bottom. Leave the straight top edge plain because it will attach to the bag. Fasten off.
3. Work a round of sl st back over those sc for the raised mustard outline shown in the photos.
For the blanket-stitch look: The decorative loops in the sample are blanket stitch worked by hand with a yarn needle. Using Color B, work evenly spaced blanket stitches around the same three edges. This step is optional, but it’s what gives the flap its cottage-y, handcrafted finish.
Part 4: Handle, Straps, and Drawcord
Top Handle
Color A | Make 1
Foundation: With A, ch 6.
Row 1: Sc in 2nd ch from hook and across. Ch 1, turn. (5 sts)
Rows 2–16: Sc in each st across. Ch 1, turn. (5 sts) The handle should measure approximately 9 cm (3.5 inches).
Fasten off, leaving a long tail for sewing. You’ll fold this into a loop during assembly.
Shoulder Straps
Color A | Make 2
Foundation: With A, ch 8.
Row 1: Sc in 2nd ch from hook and across. Ch 1, turn. (7 sts)
Next rows: Sc in each st across, ch 1, turn, until the strap measures 55–60 cm (22–24 inches) or your preferred length. (7 sts)
Taper (optional): Over the last 4 rows, sc2tog at the start of each row until 3 sts remain. This creates a tapered tip. Fasten off, leaving a long tail.
Make a second strap to match.
Important: Straps are personal. Pin them onto the bag and try wearing it before you commit to a length. Everyone’s torso is different.
Drawcord
Color B | Make 1
Simple cord: With B, leave a 15 cm tail, then ch about 130 (approximately 75 cm / 30 inches). Fasten off, leaving another 15 cm tail.
I-cord option: For a rounder, more polished cord, work a 3-stitch or 4-stitch i-cord to the same length. Either version looks lovely.
Part 5: Flowers and Leaves
Now for the fun part. You’ll make a little garden of appliqués and sew them on at the very end. Mix the colors freely. There’s no wrong arrangement.
Small Flower
Colors C, D, E, F | Make 10–12 total
Rnd 1: Make a magic ring. Into the ring work [ch 2, 2 dc, ch 2, sl st] x5 to make 5 petals. Join to the base of the first petal. Pull the ring tight. (5 petals)
Fasten off, leaving a tail for sewing.
Center (optional): With F (or a contrasting color), work 2–3 French knots in the middle of the flower. You can also leave the center plain.
Bouquet Flower (Fuller)
Colors C, D, F | Make 3 for the flap
Rnd 1: Make a magic ring, 10 dc in ring, sl st to join, pull tight. (10 dc)
Rnd 2: [Ch 3, skip 1 dc, sl st in next dc] x5 to form 5 rounded petals. Fasten off, leaving a tail. (5 petals)
These fuller flowers become the focal blooms of the posy on the flap.
Leaf
Color G | Make 10–12
Foundation: With G, ch 6.
Leaf: Starting in 2nd ch from hook: sc, hdc, dc, hdc, then 3 sc in the last ch (the tip). Rotate to work the opposite side of the chain: hdc, dc, hdc, sc, sl st in the last ch. Fasten off, leaving a tail.
Stems (optional): For the bouquet on the flap, add a few short stems by surface slip-stitching or back-stitching short lines in G beneath the flowers.
Batch it: Crochet all your flowers and leaves in one cozy session, then lay them out together. It’s the most satisfying part of this project, and it helps you balance the colors before committing to placement.
Assembly
Lightly block or steam each piece to shape first, then assemble in this order. Use Color A and a yarn needle unless noted otherwise.
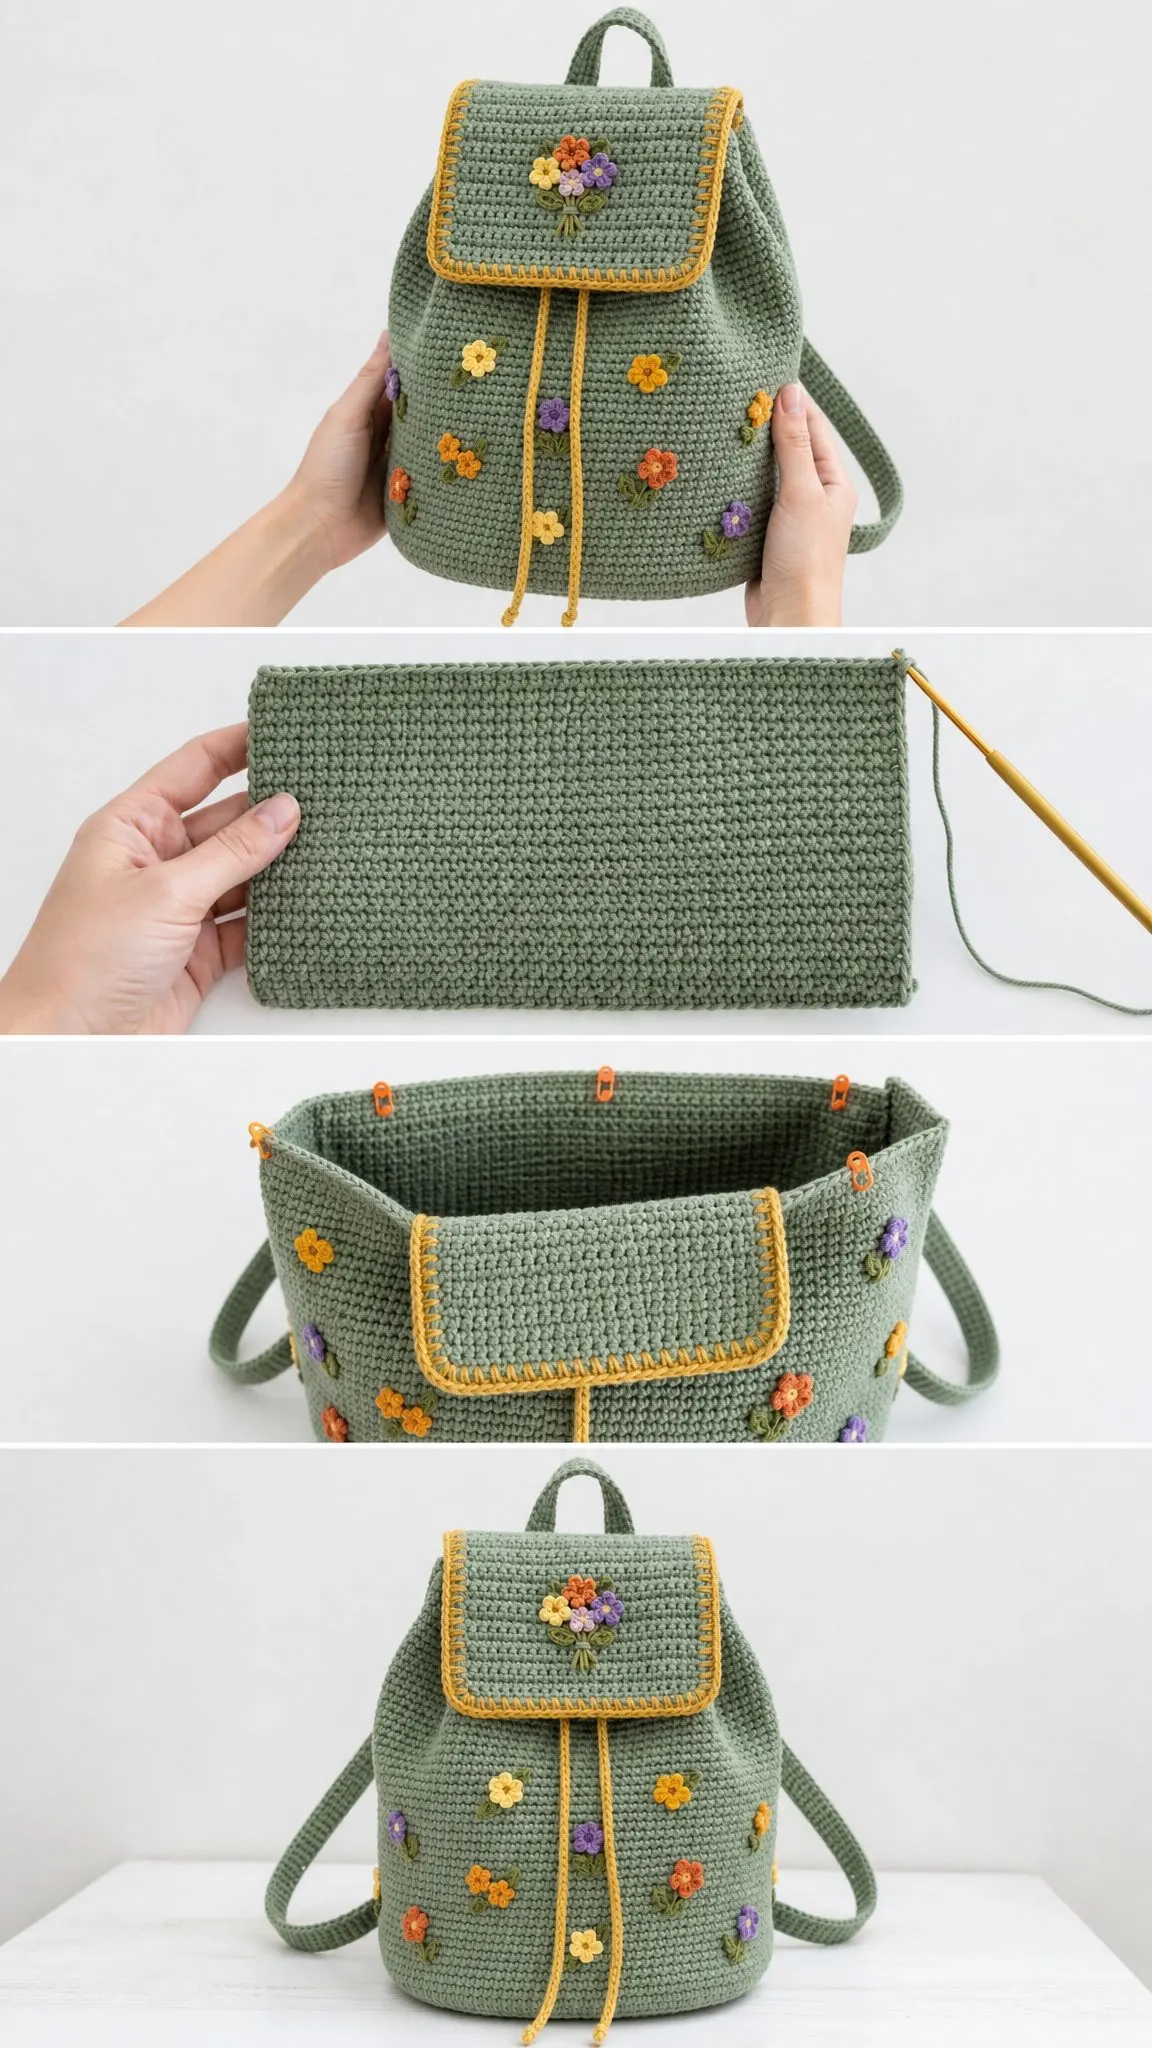
1. Attach the flap. Center the plain top edge of the flap along the back top opening of the bag, about 1 cm (0.5 inch) below the rim. Whip stitch it down securely all the way across.
2. Add the top handle. Fold the handle strip into a loop and sew both ends, side by side, to the back just above the flap seam. Space them about 3 cm (1.25 inches) apart.
3. Sew the shoulder straps. Pin the top (wide) ends of both straps to the back, just below the flap seam and about 6–7 cm (2.5 inches) apart, centered. Pin the lower (tapered) ends near the base on the lower back, splayed slightly outward. Try the bag on, adjust the positioning, then stitch all four ends down very securely. Straps carry the weight of everything you put in the bag, so reinforce with extra passes.
4. Thread the drawcord. Weave the mustard cord in and out through the 9 eyelets, beginning and ending at the center front. Even up the ends, knot them together, and add a cord stopper or small tassels if you like.
5. Arrange the bouquet. Cluster the 3 fuller flowers with a few leaves on the flap to form a posy. Use the photos as a guide. Pin everything first, then sew each flower down through the center. Add a few stem lines in Color G underneath using surface slip stitch or backstitch.
6. Scatter the wildflowers. Dot the small flowers and remaining leaves across the body front and sides. Pin the whole arrangement first, step back, adjust, then sew each piece down securely.
7. Finish. Weave in all remaining ends. Give the whole bag a light steam or block to even everything out.
Care, Lining, and Tips
Optional Fabric Lining
A fabric lining keeps small items from poking through the stitches and helps the bag hold its shape over time. Cut a simple tube plus oval base from cotton fabric (about 1 cm larger all around for seam allowance), sew it up, and hand-stitch the top edge to the inside just below the eyelets.
Shaping and Structure
For a firmer base, cut a piece of plastic canvas or stiff felt to match the oval base size and drop it inside before adding your lining. Cotton yarn worked at a firm gauge will already stand up nicely on its own, but the insert adds extra stability if you plan to carry heavier items.
Washing and Care
Hand wash cool with a gentle detergent. Press out water in a towel without wringing. Reshape while damp and dry flat away from direct heat. If you used acrylic yarn, a cool machine wash on the gentle cycle is usually fine, but hand washing protects the delicate appliqués.
Quick Troubleshooting
Bag flares out? Your tension loosened mid-body. Go down a hook size or snug your stitches tighter.
Gappy fabric? Same fix. Cotton at a firm gauge gives a denser, sturdier bag.
Flap won’t lie flat? Steam-block it under a damp cloth and let it dry with something flat and heavy on top.
Eyelets uneven? Double-check that you skipped exactly 2 stitches and worked 2 sc back into each ch-2 space on Round 45.
You Did It!
Your Sage Wildflower Backpack is finished. This is such a satisfying project because you end up with something genuinely useful and undeniably cute. The combination of structured single crochet and playful flower appliqués makes it special without being fussy.
Wear it to the farmers market, pack it for a picnic, or gift it to someone who loves all things cottagecore. However you use it, I hope it brings you joy every time you slip it over your shoulders.
Thank you so much for making this pattern with me. If you enjoyed the process, I’d love to see your finished backpack! Share a photo on Instagram or Facebook and tag me so I can admire your work. Seeing your creations truly makes my day.
If you loved making this Sage Wildflower Crochet Backpack, save this pattern to your Pinterest boards so you can find it again whenever inspiration strikes. And please drop a comment below if you give it a try. I’d love to hear how yours turns out and see which flower colors you chose!
Want a Quick & Easy Printable Version?
Get a clean, beautifully formatted PDF of this pattern — easy to follow step by step, ready to print or save on any device. No scrolling, no distractions, just the pattern.
Get the Printable PDF →You Might Also Like
- Lavender Purple Dreamy Tassel Clutch Free Crochet Pattern
- Cream White Nursery Wall Organizer Free Crochet Pattern
- Midnight Blue Floral Bell Sleeve Top Free Crochet Pattern
- Dusty Rose Fringed Pocket Wrap Free Crochet Pattern