
I don’t know about you, but I have been searching for the perfect crochet backpack pattern for ages. Something that looks polished enough to carry around town, but still has that handmade charm I love. This Lavender Sunflower Drawstring Backpack checks every single box. All the style of a boutique bag with none of the complicated construction headaches.
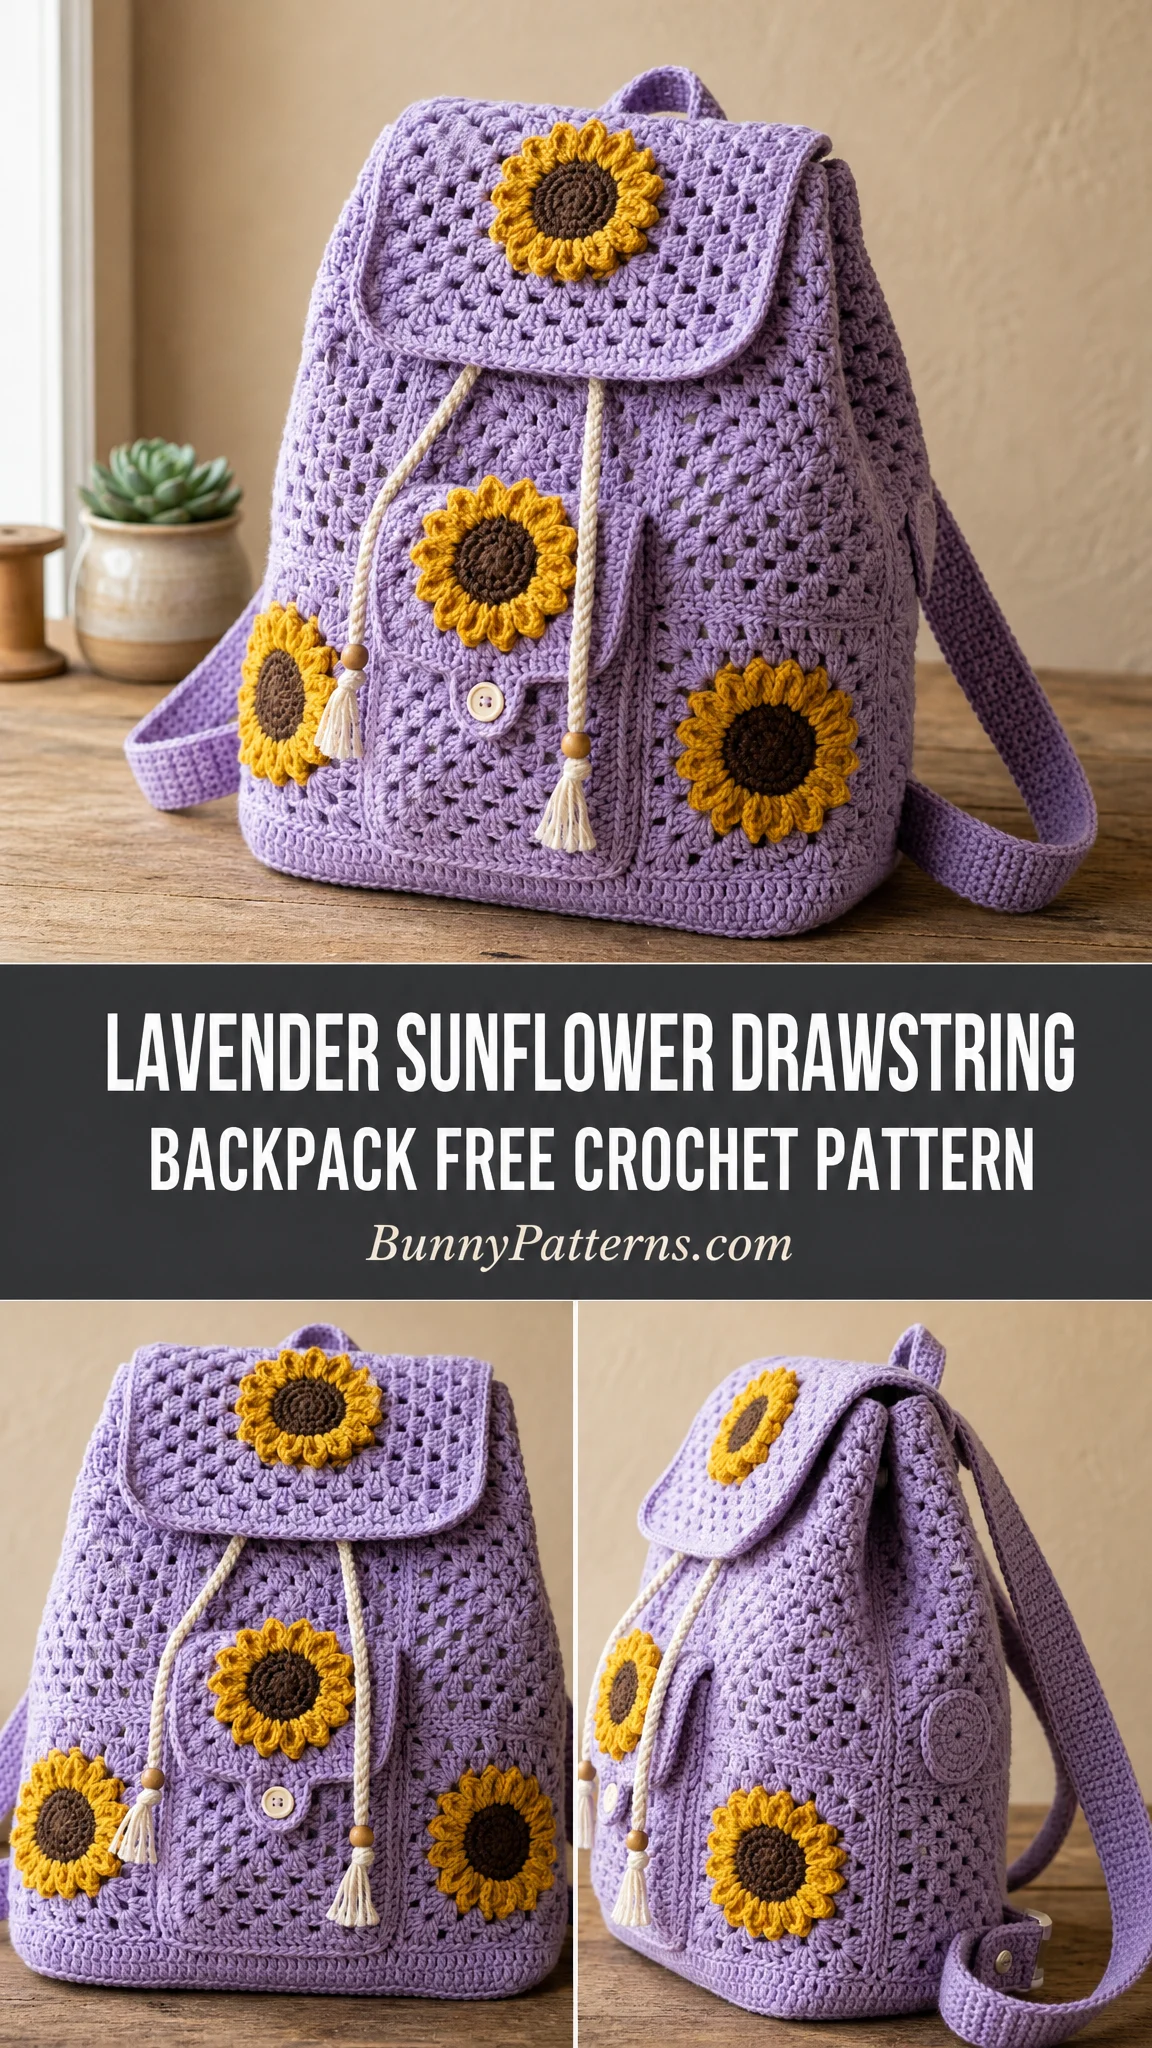
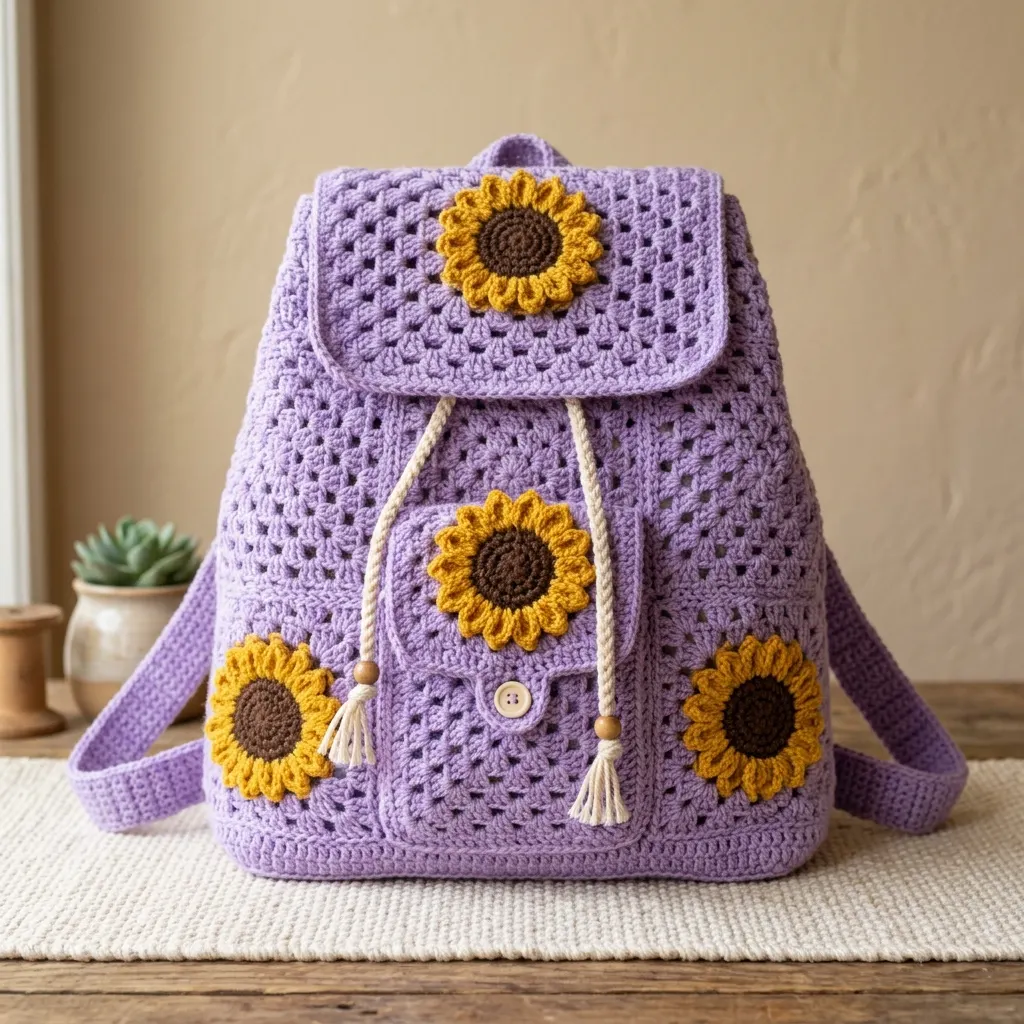
This stunning backpack features a gorgeous granny-style texture in soft lavender, adorned with cheerful sunflower appliqués that absolutely pop against the purple background. The drawstring closure keeps everything secure, while the front pocket adds practical storage for your essentials. Whether you are heading to a farmer’s market, a summer festival, or just running errands around town, this bag makes a statement.
Project Overview
Skill Level: Intermediate
Finished Dimensions: Approximately 11 inches wide x 12 inches tall x 4.5 inches deep (28 x 30.5 x 11.5 cm)
Estimated Time: 12 to 18 hours
This backpack is rated intermediate because it combines several techniques: working flat panels, seaming pieces together, creating appliqués, and constructing functional elements like straps and a drawstring closure. If you are comfortable with basic crochet stitches and have made a few projects before, you can absolutely tackle this one.
Materials You Will Need
Before you begin, gather all your supplies. Having everything ready makes the process so much smoother.
Yarn (Worsted Weight Cotton):
Tools:
Cotton yarn works beautifully for this project because it holds its shape well and creates a sturdy finished bag. The granny-style openwork pattern benefits from cotton’s crisp stitch definition. If you prefer a softer drape, you could substitute a cotton blend, but pure cotton will give you the most structured result.
Gauge
Getting your gauge right matters for this project since you want all your panels to fit together properly.
16 single crochet stitches x 18 rows = 4 inches / 10 cm using a 4.5 mm hook
Take a few minutes to make a gauge swatch before diving in. If your swatch comes out larger, try going down a hook size. If it comes out smaller, go up a hook size. Trust me, this step saves frustration later when you are seaming pieces together.
Abbreviations and Stitch Definitions
Let me walk you through all the abbreviations used in this pattern. Even if you know these by heart, a quick refresher never hurts.
ch = chain (wrap yarn over hook, pull through loop on hook to create a foundation stitch)
sl st = slip stitch (insert hook, yarn over, pull through both loops at once for a flat joining stitch)
sc = single crochet (insert hook, yarn over, pull up a loop, yarn over, pull through both loops)
hdc = half double crochet (yarn over, insert hook, pull up a loop, yarn over, pull through all three loops)
dc = double crochet (yarn over, insert hook, pull up a loop, yarn over, pull through two loops, yarn over, pull through remaining two loops)
inc = increase (work two stitches into one stitch from the previous row)
rep = repeat
st/sts = stitch/stitches
sp = space
Special Stitches
This pattern uses two special stitch combinations that create the beautiful texture you see in the finished bag.
Granny Cluster: Work 3 double crochet stitches into the same space. This is the building block of the classic granny square texture and creates those lovely open spaces in the fabric.
Sunflower Petals: These are 2 double crochet cluster petals worked around a center ring. The petals radiate outward from the brown center to create that iconic sunflower look.
Pattern Notes
This pattern uses US crochet terminology. If you typically work from UK patterns, remember that US double crochet equals UK treble crochet.
Check your stitch counts at the end of every round and row. This habit catches mistakes early before they become bigger problems. I like to count every few rows while watching TV, so it does not feel like a chore.
Swatch before starting to ensure proper sizing.
Pattern Instructions
Main Panels (Make 2)
You will create two identical panels for the front and back of your backpack.
Foundation: Chain 45.
Row 1: Single crochet in the 2nd chain from hook and across. (44 sts)
Rows 2 through 54: Work the granny texture panel while maintaining 44 stitches equivalent width throughout.
The granny texture creates that beautiful open, lacy look you see in the photos. Those little holes in the fabric are characteristic of this style and give the bag its vintage charm.
Make sure to create two identical panels. I recommend finishing both before moving on to the gusset so you can compare them and ensure they match in size.
Side Gusset
The gusset forms the sides and bottom of your backpack, giving it that nice boxy shape.
Foundation: Chain 17.
Rows 1 through 54: Work single crochet for the entire side and base strip.
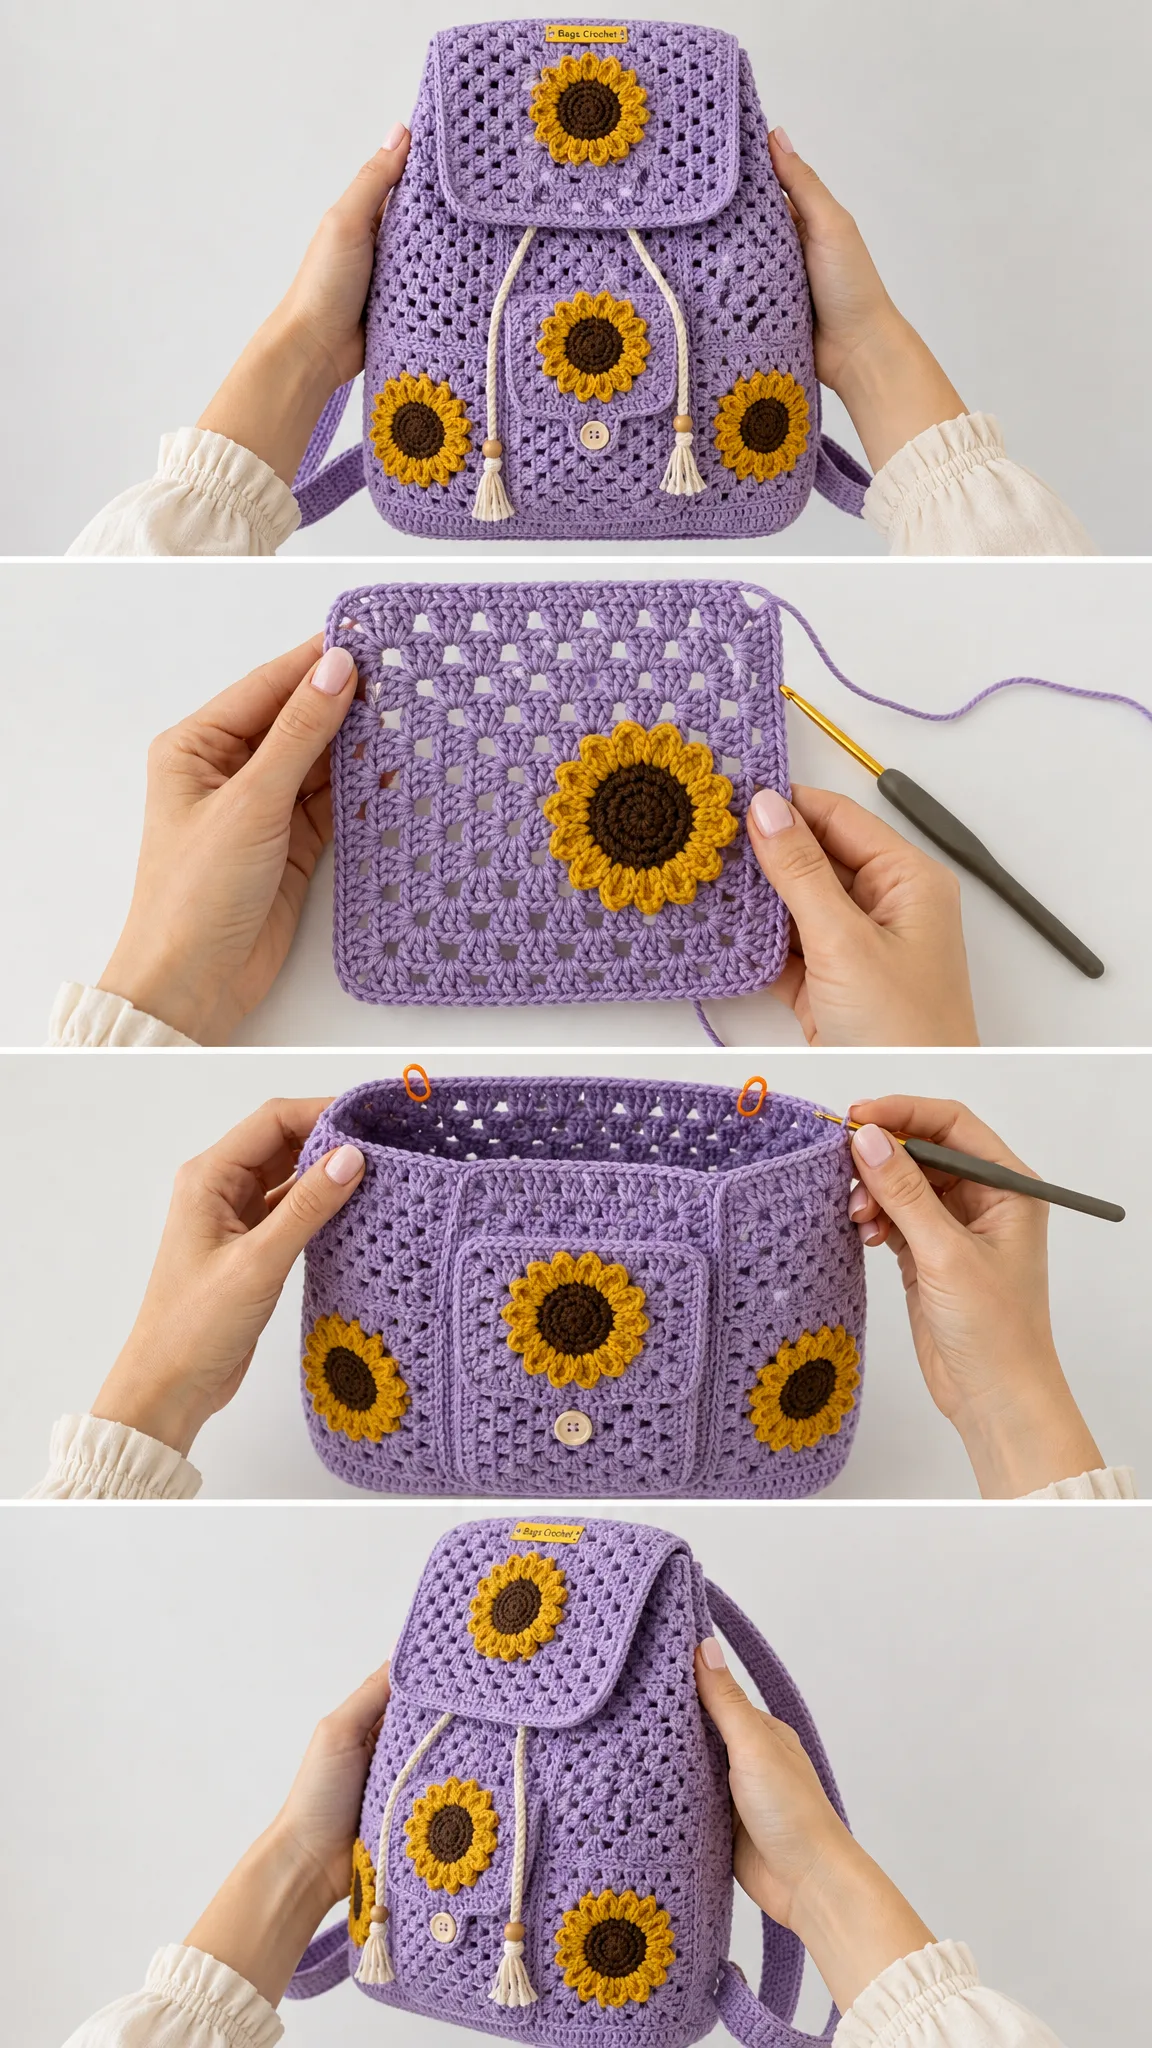
Once your gusset strip is complete, seam it around the front and back panels. This creates the three-dimensional structure of the bag. Take your time with the seaming, using a whip stitch or mattress stitch for a clean finish.
Flap
The flap adds both style and function, keeping the drawstring closure protected.
Join your yarn to the back top edge of the bag.
Setup: Work 44 stitches across.
Rows 1 through 16: Work even without any increases or decreases.
Rows 17 through 22: Decrease 1 stitch at each side every row until you have 32 stitches remaining.
Edging: Round the edge with single crochet all the way around for a polished finish.
The shaping at the end of the flap creates that lovely curved edge you see in the photos. It softens the look and makes the flap drape nicely over the front of the bag.
Front Pocket
Every good backpack needs a pocket for easy access items like your phone or keys.
Foundation: Chain 21.
Body: Work 24 rows in your chosen stitch pattern.
Mini Flap: Add a small flap to the top of the pocket.
Assembly: Sew the completed pocket centered on the front panel of your backpack.
Position the pocket at a height that feels comfortable for reaching in while wearing the bag. The button closure (visible in the photos) keeps small items secure.
Sunflower Appliqués
These cheerful sunflowers are what make this bag truly special. You will make five total.
Large Sunflowers: Make 4
Small Sunflower: Make 1
Each sunflower starts with a brown center ring, then gold petals are worked around it using the 2 double crochet cluster technique. The contrast between the dark brown center and bright gold petals mimics a real sunflower beautifully.
Placement:
The cream yarn is used for the drawstring tassels, which add a lovely finishing touch.
Drawstring and Straps
Drawstring:
Work an eyelet round near the top of the bag body. This creates holes for threading your drawstring through.
Crochet a cord approximately 40 inches long. You can create a simple chain cord or a more substantial i-cord depending on your preference. Thread through the eyelets.
Straps:
Make two straps, each approximately 28 inches long.
The straps should be sturdy enough to support the weight of whatever you carry. A simple single crochet strip worked in rows creates a flat, comfortable strap that does not dig into your shoulders.
Finishing Your Backpack
The finishing steps bring all your pieces together into a polished final product.
Block Lightly: Steam or wet block your pieces before assembly. This evens out your stitches and makes seaming easier.
Weave Ends: Take time to weave in all your yarn tails securely. A bag gets a lot of use, so you want those ends to stay put.
Attach Straps: Sew straps securely to the back panel. Position them at a comfortable width apart.
Thread Drawstring: Weave your cord through the eyelet holes, leaving equal lengths on each side for pulling closed.
Sew Motifs: Attach all sunflower appliqués in their designated positions using matching thread and a tapestry needle.
A Note on Individual Results
This pattern is designed to help you create a similar crochet project, but individual results may vary depending on your yarn, tension, hook size, and finishing technique. You may need to make small adjustments on your side to achieve the closest possible result to the finished project shown.
Do not stress if your backpack looks slightly different from the photos. That is the beauty of handmade items, and each one is unique.
Care Instructions
To keep your backpack looking its best:
Cotton yarn can stretch when wet, so always support the bag while it dries rather than hanging it. With proper care, your backpack will last for years of adventures.
Why You Will Love Making This Backpack
This project hits that sweet spot between challenging enough to be interesting and achievable enough to actually finish. The granny-style texture works up relatively quickly once you get into the rhythm, and those sunflower appliqués are satisfying little wins along the way.
The lavender and gold color combination is absolutely gorgeous, but this pattern works beautifully in any color scheme. Imagine it in cream with pink flowers, navy with white daisies, or sage green with wildflower motifs. The possibilities are endless.
If you have been wanting to try bag construction but felt intimidated, this is a wonderful project to build your skills. The flat panel construction keeps things straightforward, and the seaming is minimal compared to more complex bag designs.
Tips for Success
Count your stitches regularly. I cannot stress this enough. Catching a mistake in row 5 is so much easier than discovering it in row 45.
Use stitch markers liberally. Mark the beginning of rounds, mark pattern repeats, mark anything that helps you keep track.
Take breaks. This is a bigger project, so pace yourself. Working in shorter sessions helps prevent fatigue mistakes and keeps crochet enjoyable.
Try on the straps before final attachment. Everyone carries bags differently, so adjust strap placement to suit your body and preferences.
Thank you so much for choosing this pattern for your next crochet adventure. I truly hope you enjoy making this beautiful sunflower backpack as much as I enjoyed designing it. There is something so satisfying about carrying a bag you made with your own hands.
If you make this backpack, I would absolutely love to see it! Please consider saving this pattern to your Pinterest boards so you can find it easily when you are ready to start. And if you finish your backpack, drop a comment below with your experience or any tips you discovered along the way. Your fellow crafters and I always love hearing how projects turn out. Happy crocheting!
You Might Also Like
- Sage Green Romantic Peplum Crochet Top Free Pattern
- Sage Green Meadow Crochet Robe Free Pattern
- Mint Chocolate Daisy Granny Square Blanket Free Crochet Pattern
- Warm Autumn Terracotta Shoulder Bag Free Crochet Pattern