
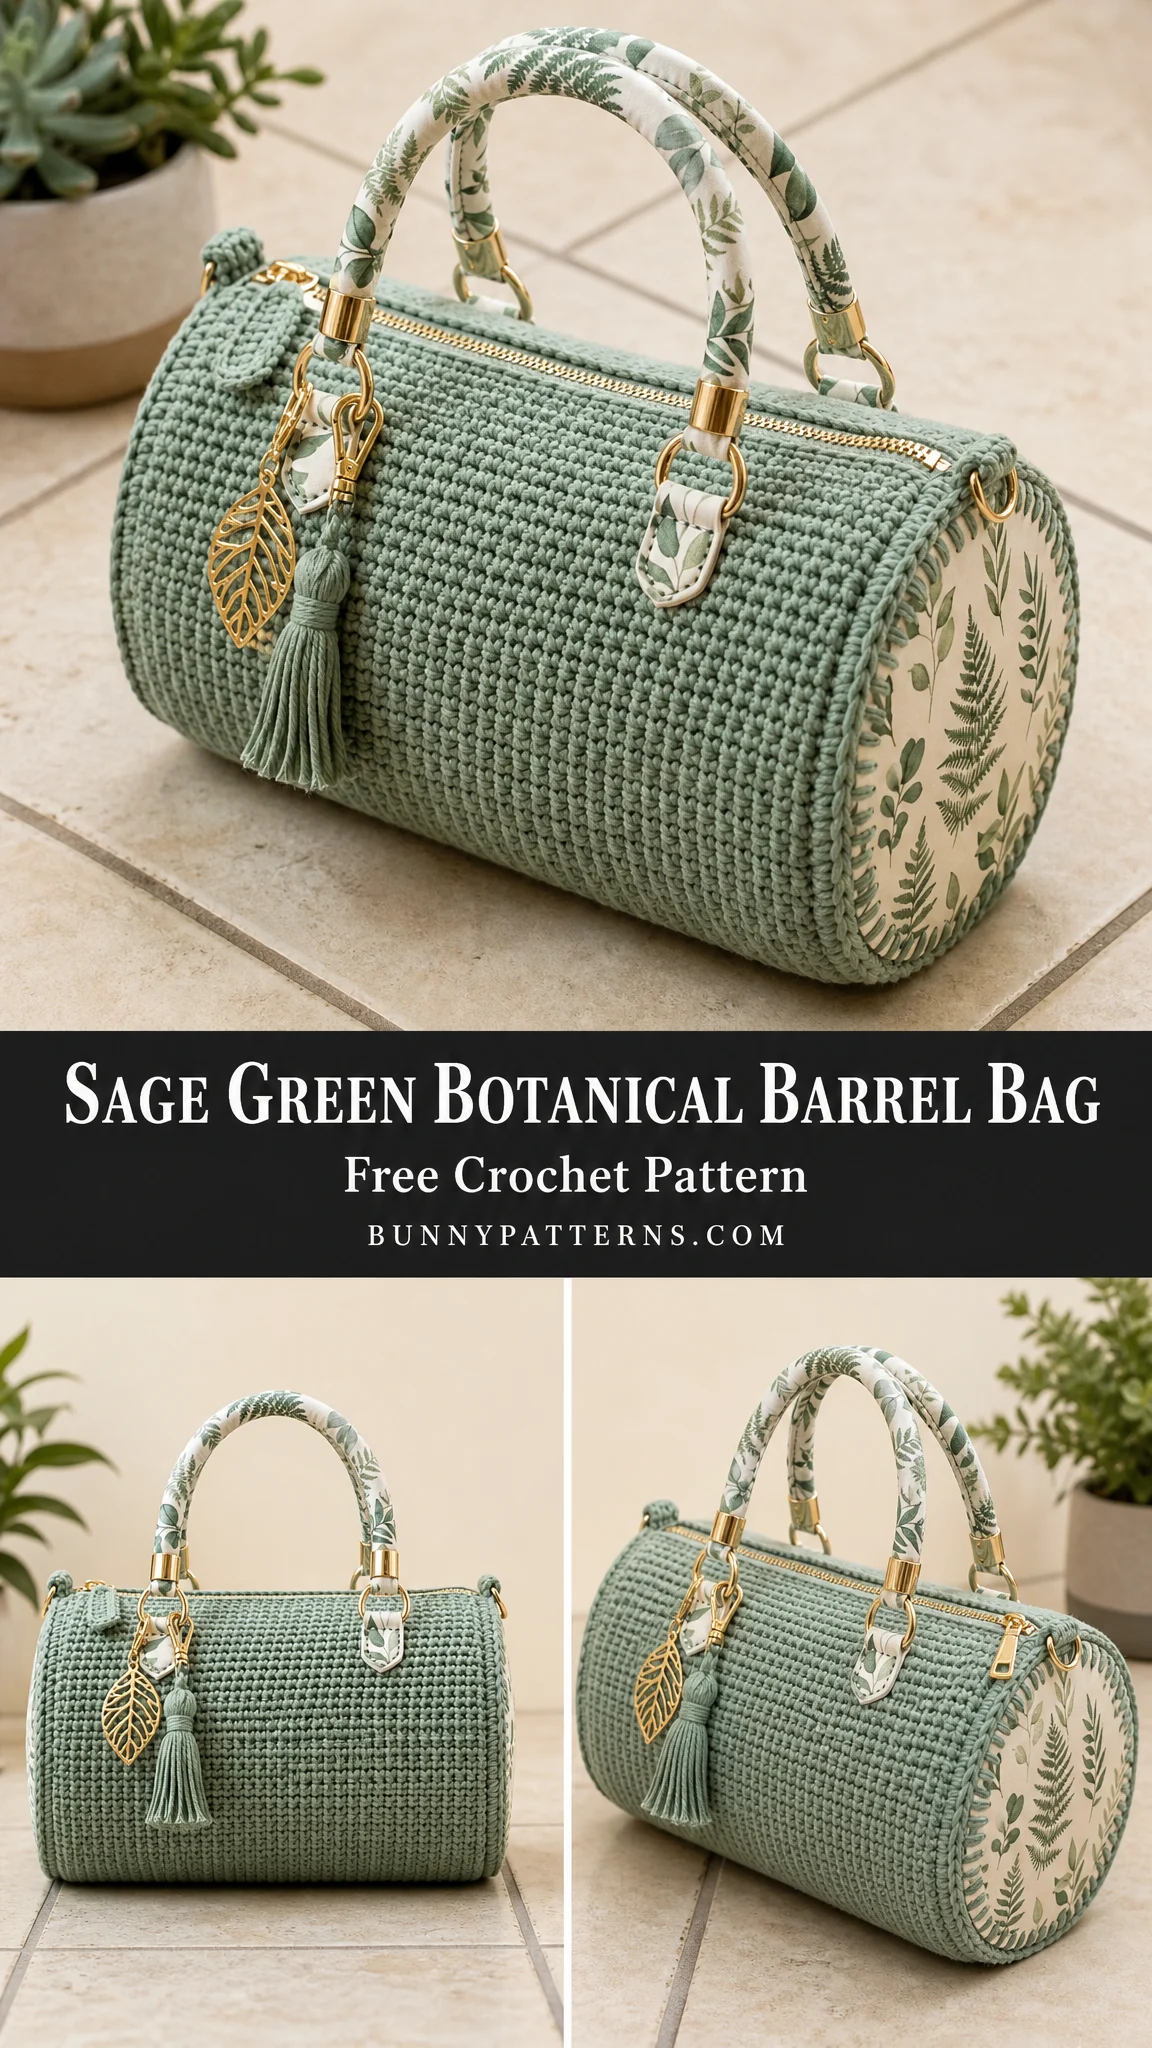
A stylish handbag that holds its shape, looks polished, and works up with basic stitches? That’s exactly what this barrel bag delivers. The Sage Green Botanical Barrel Bag uses single crochet throughout, making it perfect for confident beginners ready to tackle their first structured accessory project. The cylindrical shape gives you plenty of room for essentials, the fabric-covered handles add a designer touch, and the botanical end panels bring in that fresh, nature-inspired aesthetic everyone loves right now. Whether you’re making this for yourself or as a gift for someone who appreciates handmade quality, this bag works up faster than you might expect and looks absolutely stunning when finished.
About This Barrel Bag Pattern
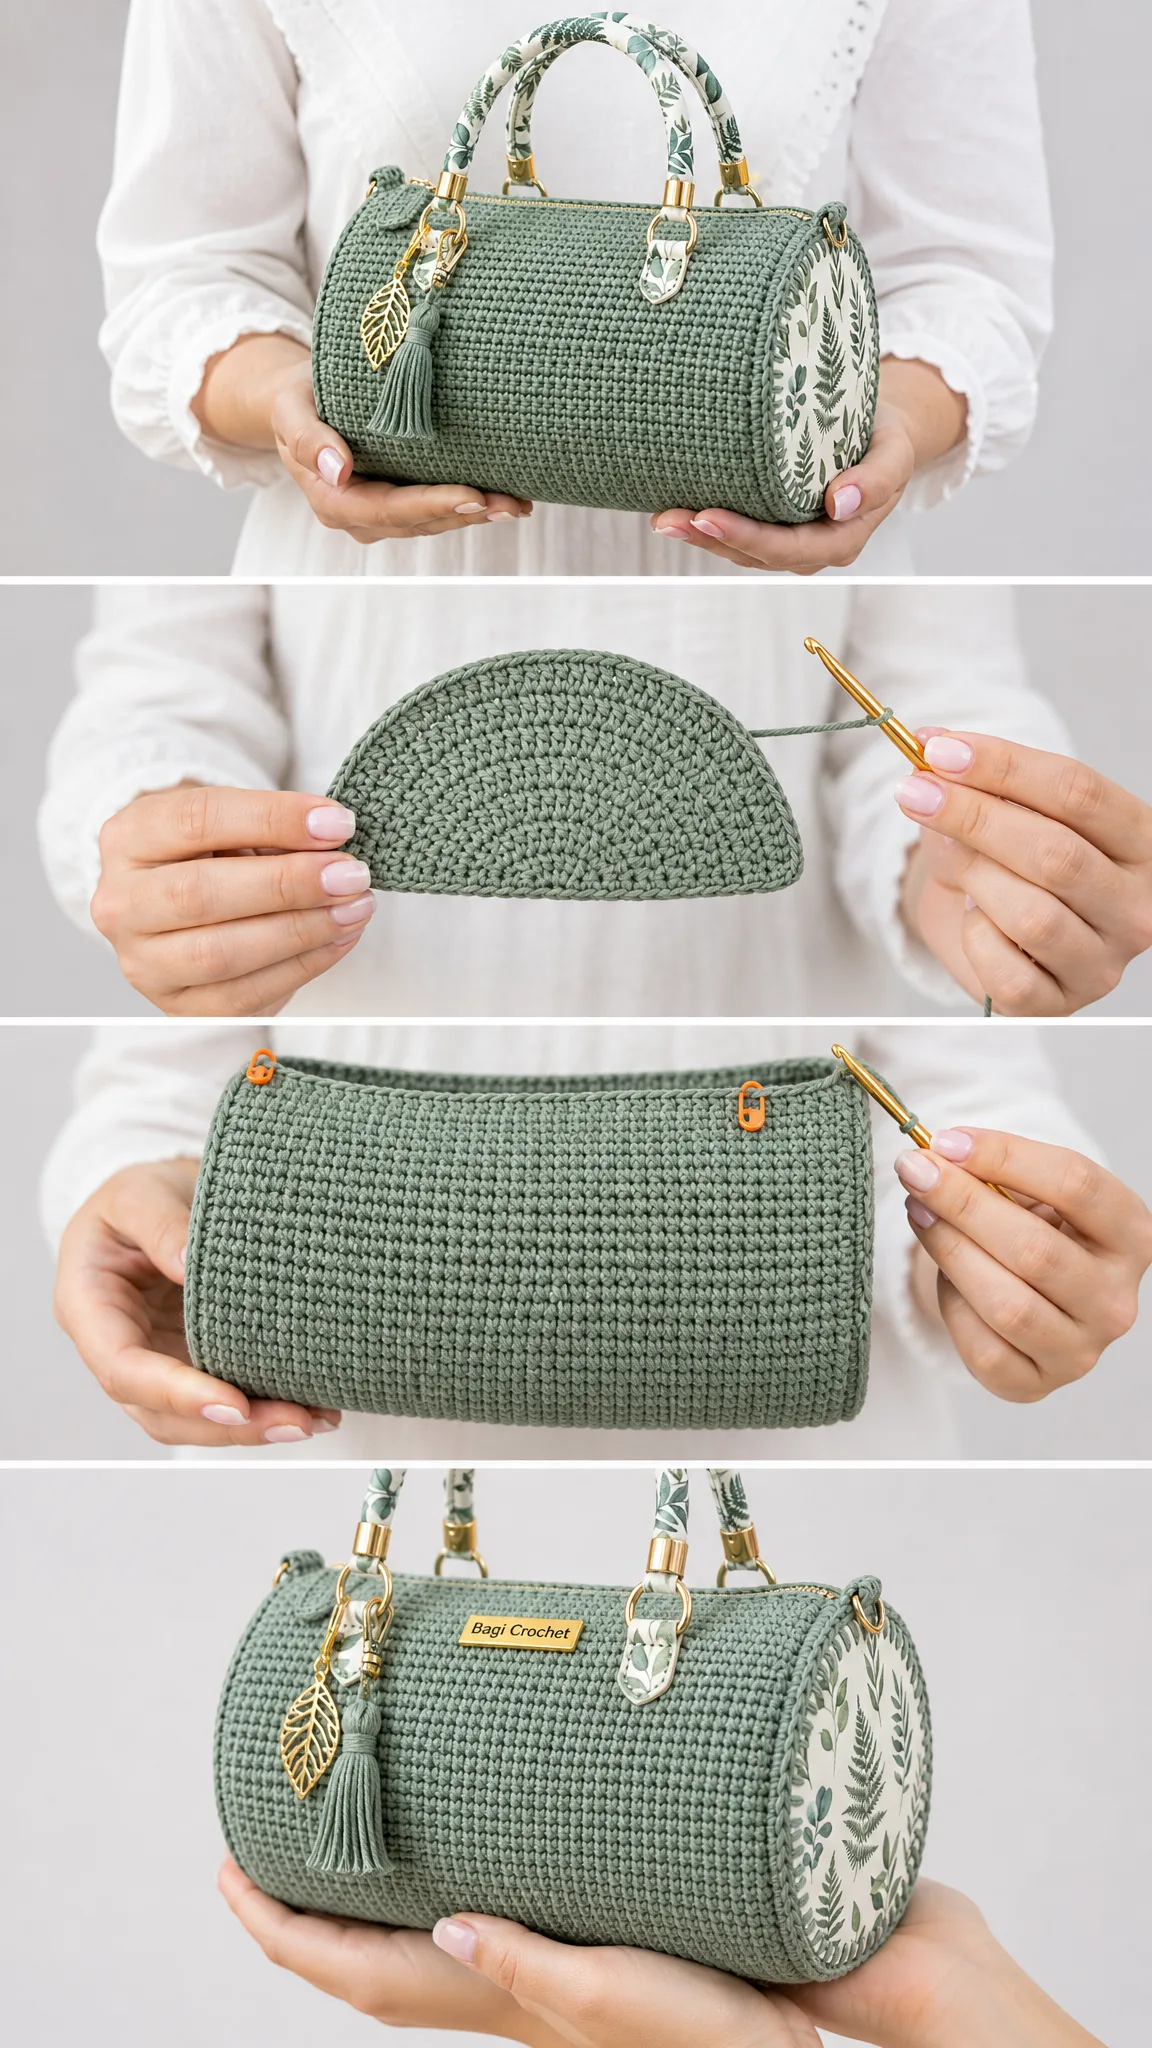
This elegant cylindrical crochet handbag is worked in continuous rounds, which means no joining at the end of each round and no visible seam line running down your work. The body of the bag is created first, then two separate circular end panels are crocheted and sewn in place. The result is a structured, professional-looking purse that rivals anything you’d find in a boutique.
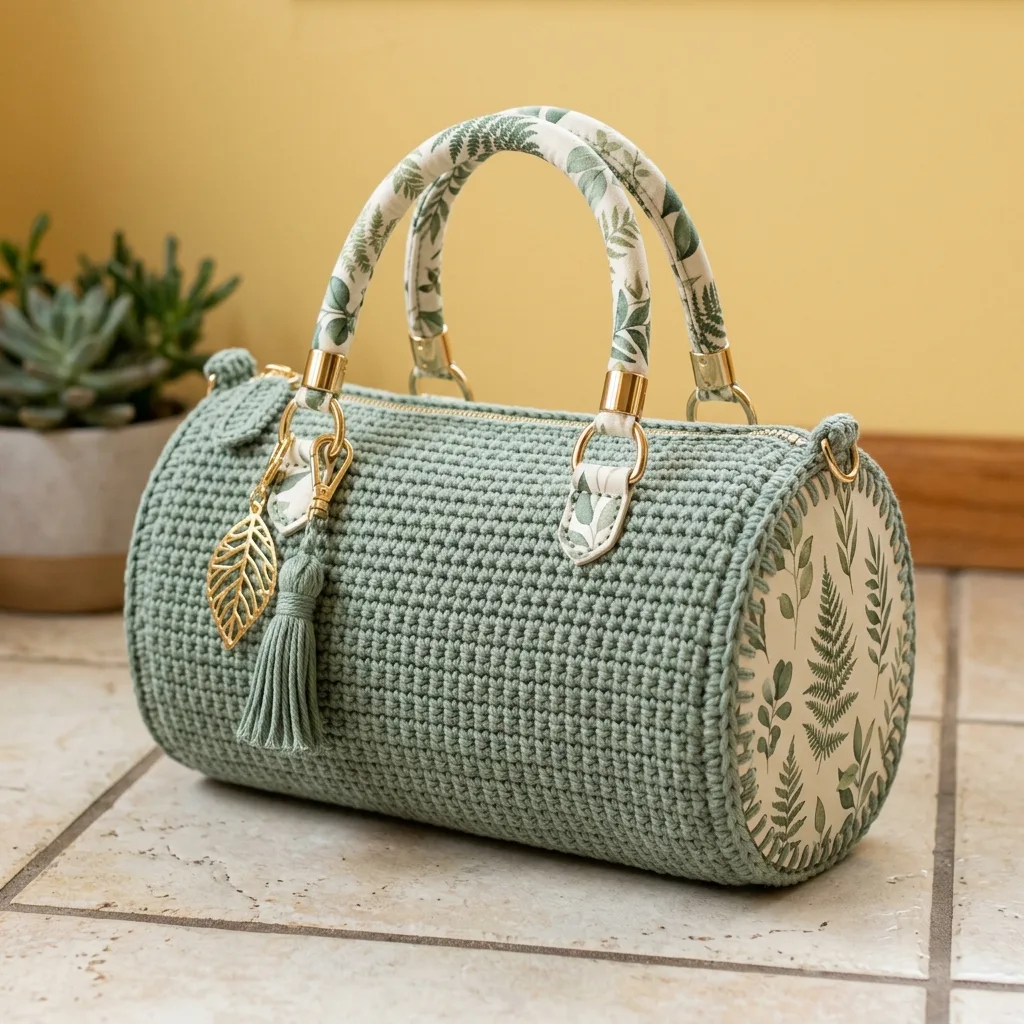
What makes this bag special is the combination of the textured crochet body with decorative fabric panels on each end. The handles are wrapped in coordinating botanical print fabric, and gold hardware elevates the whole piece. A zipper closure keeps your belongings secure, while a matching tassel and leaf charm add that finishing flourish.
Skill level: Confident beginner to intermediate. If you can work single crochet in the round and you’re comfortable with basic increases, you can absolutely make this bag.
Materials You Will Need
Gathering your supplies before you start ensures a smooth crafting experience. Here’s everything the pattern calls for:
Yarn:
Hook:
Notions and Hardware:
Gauge:
18 single crochet stitches and 20 rounds equals 4 inches (10 cm) square
Taking a few minutes to check your gauge before starting will save you frustration later. If your gauge is off, your bag will end up a different size than intended. Too many stitches per inch? Go up a hook size. Too few? Go down a hook size.
Stitch Guide and Abbreviations
This pattern uses US crochet terminology throughout. Here are all the stitches and abbreviations you’ll encounter:
ch = chain. Wrap yarn over hook and pull through the loop on your hook. This creates one chain stitch.
sl st = slip stitch. Insert hook into stitch, yarn over, and pull through both the stitch and the loop on your hook in one motion. Used for joining and moving yarn position.
sc = single crochet. Insert hook into stitch, yarn over and pull up a loop (2 loops on hook), yarn over and pull through both loops. This is your main stitch for the entire bag.
inc = increase. Work 2 single crochet stitches into the same stitch. This adds one stitch to your count.
dec = decrease. Insert hook into next stitch and pull up a loop, insert hook into following stitch and pull up a loop (3 loops on hook), yarn over and pull through all 3 loops. This removes one stitch from your count.
BLO = back loop only. Instead of inserting your hook under both loops at the top of a stitch, insert it under only the back loop (the one farther from you).
MR = magic ring. Also called magic circle or adjustable ring. This technique creates a tight, closed center for working in the round.
A note for left-handed crocheters: You may mirror the orientation of your work without changing any stitch counts. The pattern works exactly the same way.
Pattern Instructions
Now for the fun part. Let’s make your barrel bag!
Body of the Bag
The body is worked in continuous rounds, which means you won’t join at the end of each round. Use a stitch marker to keep track of where each round begins.
Foundation: Chain 41.
Round 1: Single crochet in the 2nd chain from the hook and across the entire chain. When you reach the last chain, work 3 single crochet into that final chain stitch. This creates your turn to work along the opposite side of the foundation chain. Continue with single crochet across the other side of the chain, working 38 single crochet stitches. Work 2 single crochet in the final chain to complete the oval. (82 stitches)
Rounds 2 through 18: Single crochet around, working one single crochet in each stitch. (82 stitches)
Continue working even rounds until your body measures approximately 11 inches (28 cm) in length. This is your checkpoint to make sure you’re on track before moving on.
Helpful tip: The body creates an elongated tube shape. Don’t worry if it looks a bit flat at first. Once you attach the circular end panels and add the internal structure, everything comes together beautifully.
End Panels (Make 2)
These circular panels close off each end of your barrel bag. They’re worked from the center outward using the magic ring technique.
Round 1: Create a magic ring. Work 6 single crochet into the ring. Pull the tail to close the ring tightly. (6 stitches)
Round 2: Increase in every stitch around. (12 stitches)
Round 3: *Single crochet in the next stitch, increase in the following stitch.* Repeat from * to * around. (18 stitches)
Round 4: *Single crochet in the next 2 stitches, increase in the following stitch.* Repeat from * to * around. (24 stitches)
Round 5: *Single crochet in the next 3 stitches, increase in the following stitch.* Repeat from * to * around. (30 stitches)
Round 6: *Single crochet in the next 4 stitches, increase in the following stitch.* Repeat from * to * around. (36 stitches)
Round 7: *Single crochet in the next 5 stitches, increase in the following stitch.* Repeat from * to * around. (42 stitches)
Round 8: *Single crochet in the next 6 stitches, increase in the following stitch.* Repeat from * to * around. (48 stitches)
Round 9: *Single crochet in the next 7 stitches, increase in the following stitch.* Repeat from * to * around. (54 stitches)
Round 10: *Single crochet in the next 8 stitches, increase in the following stitch.* Repeat from * to * around. (60 stitches)
Fasten off, leaving a long tail for sewing. Weave in the starting tail from your magic ring.
Repeat to make a second identical panel.
Assembly and Finishing
This is where your bag really comes to life. Take your time with these finishing steps for a polished result.
Attaching the End Panels
Position one circular end panel at one opening of the body tube. The right sides should face outward. Using your tapestry needle and the long tail you left, whip stitch or mattress stitch the panel to the body, working through both pieces evenly around the entire circumference.
Repeat with the second panel on the other end.
Pro tip: Pin or clip the panel in place before sewing to make sure it’s centered and even. This prevents puckering and ensures a professional finish.
Installing the Zipper and Lining
Before inserting your zipper, you may want to add a fabric lining to the interior of your bag. This protects the crochet from wear, keeps small items from poking through, and gives the bag more structure.
Cut your lining fabric to fit the interior dimensions of your completed bag body. Hand sew or machine stitch the lining together, then slip it inside the crocheted body with wrong sides together.
Position your 12-inch zipper along the top opening of the bag. Hand sew the zipper tape to the crochet fabric, taking care to keep your stitches small and even. The zipper should sit at the top edge where the body meets near the handles.
Wrapping and Attaching Handles
The fabric-wrapped handles give this bag its signature botanical look. Take your handle hardware and wrap coordinating fabric strips around each handle, securing with fabric glue or by sewing the ends in place.
Attach the wrapped handles to your bag using the hardware rings or loops. Position them evenly on either side of the zipper opening.
Adding the Tassel and Charm
Create a simple yarn tassel using matching sage green yarn, or purchase a premade tassel. Attach it to one of the handle rings along with a decorative charm. The sample features a gold leaf charm that complements the botanical theme perfectly.
Notes and Tips for Success
Individual results may vary. Your finished bag might look slightly different depending on your specific yarn, personal tension, hook size, and finishing techniques. This is completely normal! You may need to make small adjustments along the way to achieve the closest possible result to the finished project shown in the photos.
About yarn choice: Cotton yarn works beautifully for this project because it holds its shape well and has a lovely drape. Avoid super soft or stretchy yarns, which might cause the bag to sag when filled.
Structure options: For an even sturdier bag, consider adding plastic canvas or cardboard wrapped in fabric to the bottom and sides before inserting your lining.
Color variations: While the pattern is named for sage green, this design looks stunning in virtually any color. The pink version shown in the supplementary photos proves just how versatile this pattern really is. Choose a fabric that complements your yarn color for the end panels and handle wraps.
Care Instructions
To keep your handmade bag looking beautiful for years:
Avoid machine washing and drying, which can distort the shape and damage the hardware.
License Information
This pattern is for personal use only. Please do not copy, resell, redistribute, mass produce, or teach from this pattern without written permission from the designer. Finished items may be sold in small quantities, and credit to BunnyPatterns.com is appreciated.
I hope you love making this barrel bag as much as I enjoyed sharing it with you! It’s one of those projects that looks incredibly impressive but is actually very achievable once you break it down into steps. The hardest part might be choosing your yarn color.
If you found this pattern helpful, I’d love for you to save it to your Pinterest boards so you can find it easily when you’re ready to start. And please, if you make this bag, drop a comment below or tag me in your photos. Seeing your finished projects genuinely makes my day, and I’d love to cheer you on!
You Might Also Like
- Pink Rose Garden Crochet Vase Free Crochet Pattern
- Blush Pink Tiered Baby Romper Free Crochet Pattern
- Ocean Blue Coastal Granny Square Backpack Crochet Pattern
- Autumn Burnt Orange Maple Leaf Earrings Free Crochet Pattern