
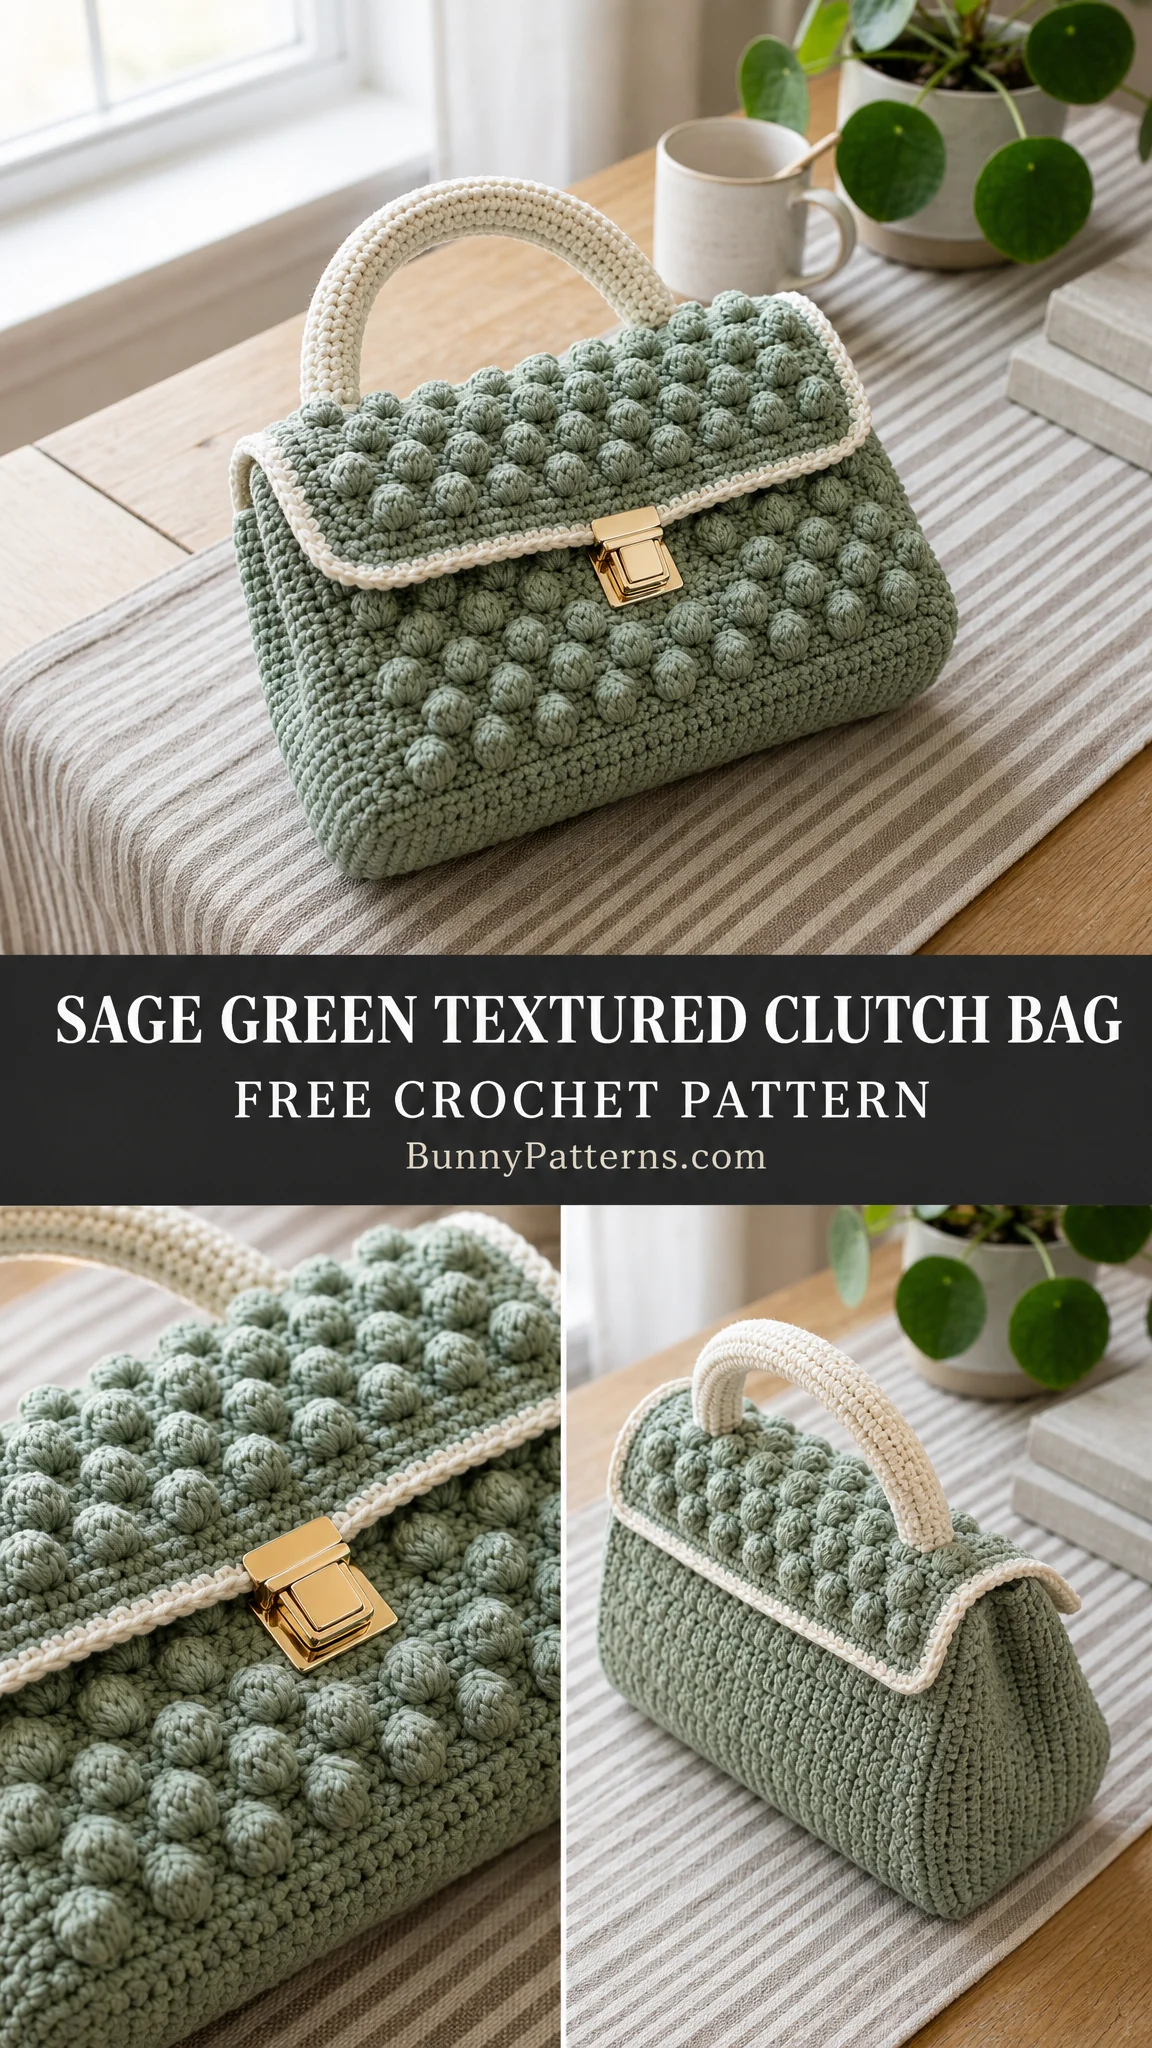
Bobble stitch bags look intimidating. All those little textured bumps popping out in perfect rows? It seems like something only advanced crocheters can pull off. But here is the truth: if you can work a double crochet, you can absolutely make this bag. The bobble stitch is just five double crochets squeezed into one stitch, and once you get the rhythm, your hands will do it automatically. This elegant sage green clutch bag works up in one flat piece, folds into shape, and suddenly you have a structured handbag that looks like it came from a boutique. Whether you are a confident beginner ready to level up or an experienced crocheter looking for a satisfying weekend project, this pattern breaks everything down into manageable steps.
About This Textured Clutch Bag Pattern
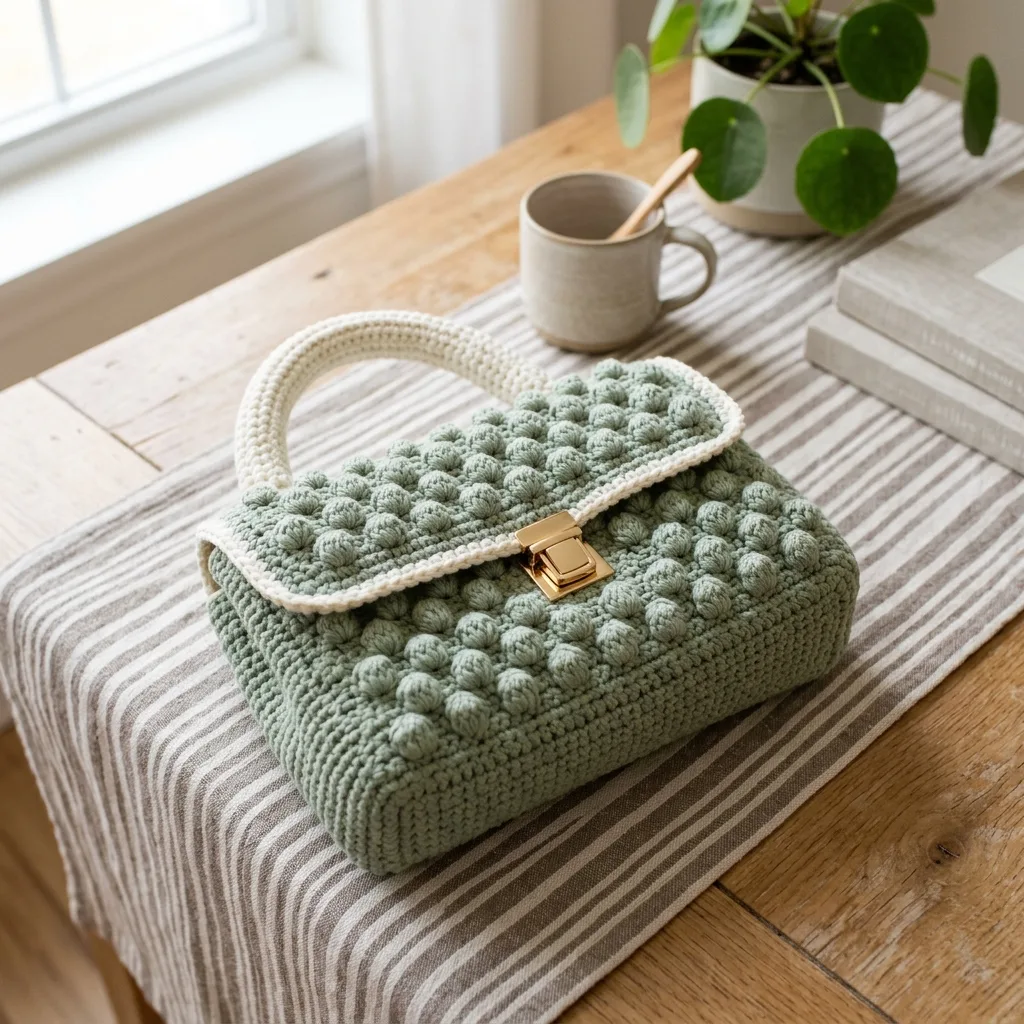
This gorgeous clutch bag features an all-over bobble texture that creates a stunning quilted appearance. The construction is surprisingly straightforward. You work the entire body as one flat rectangle, then fold the lower section upward to form the pouch and seam the sides closed. The flap folds over the top and fastens with a magnetic clasp for a polished, professional finish.
The cream-colored handle and border provide a beautiful contrast against the sage green body, giving the bag a designer look. The finished piece measures approximately 11 inches by 7 inches before folding, creating a perfectly sized clutch for everyday essentials or a special night out.
What makes this pattern beginner-friendly is the repetitive nature of the stitch pattern. Once you complete one bobble row and one single crochet row, you simply repeat that sequence throughout the textured section. No complicated shaping, no confusing decreases, just satisfying, rhythmic stitching.
Materials You Will Need
Gathering your supplies before you start makes the whole process smoother. Here is everything you need to complete this textured clutch bag:
Yarn:
Hook:
Notions:
Why cotton cord yarn? This type of yarn gives the bag structure and body. It holds its shape beautifully and creates crisp, defined bobbles. The slight stiffness of cotton cord means your finished bag will stand upright and look polished rather than floppy.
Gauge
Getting your gauge right ensures your bag turns out the correct size.
14 single crochet stitches by 14 rows equals 4 inches (10 cm)
Take a few minutes to swatch before beginning. If your swatch is too small, try going up a hook size. If it is too large, go down a hook size. This step is especially important for a structured item like a bag where size and drape matter.
Stitch Guide and Abbreviations
Let me walk you through each stitch and abbreviation used in this pattern:
ch (chain): The foundation stitch. Yarn over, pull through the loop on your hook. This creates the base row that all other stitches build upon.
sc (single crochet): Insert hook into stitch, yarn over and pull up a loop (two loops on hook), yarn over and pull through both loops. This is the most basic crochet stitch and creates a tight, dense fabric.
sl st (slip stitch): Insert hook into stitch, yarn over and pull through both the stitch and the loop on your hook in one motion. Used for joining and creating invisible connections.
bobble (5-dc bobble): This creates those gorgeous textured bumps. Here is how to work it: *yarn over, insert hook into stitch, yarn over and pull up a loop, yarn over and pull through two loops* five times in the same stitch (six loops on hook), then yarn over and pull through all six loops. The bobble pops toward you as you close it.
inc (increase): Work two stitches into the same stitch to add one stitch to your count.
dec (decrease): Work two stitches together to reduce your count by one stitch.
Pattern Instructions
Now for the exciting part. Follow these steps carefully, and check your stitch count at the end of each row.
Foundation and Base Section
Foundation: Chain 41.
Rows 1 through 12: Single crochet 40 stitches across. (40 sts)
At the end of Row 12, you should have a neat rectangle of dense single crochet fabric. This forms the back panel of your bag.
Textured Bobble Section
This is where the magic happens. You will alternate between bobble rows and single crochet rows to create that beautiful quilted texture.
Rows 13 through 36: Repeat the following two-row sequence:
Continue this pattern, maintaining 40 stitches in each row. The bobble rows create the raised texture, while the single crochet rows provide a flat background that makes the bobbles pop.
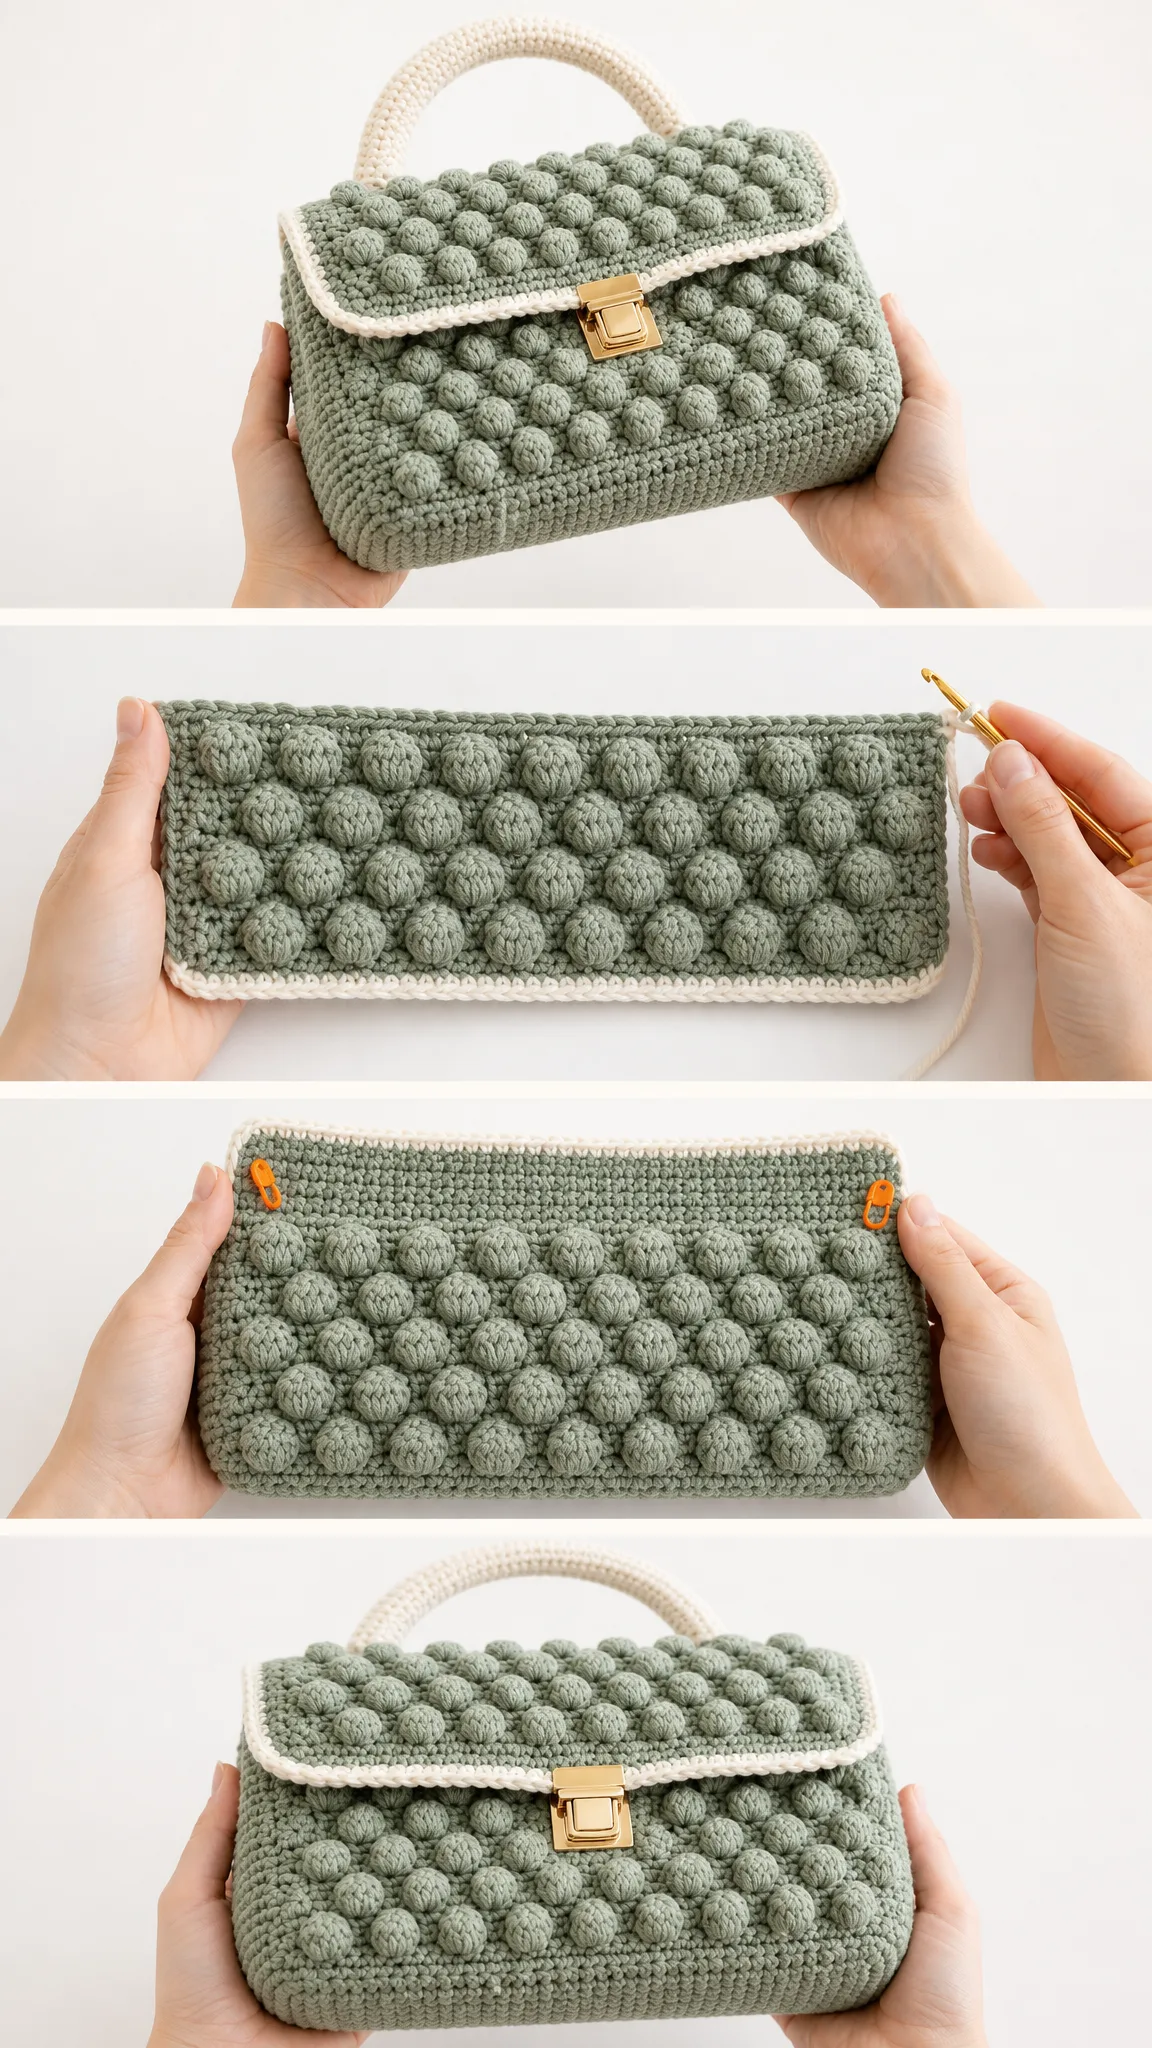
Tip for bobble rows: Work your bobbles in a staggered pattern so they do not stack directly on top of each other. This creates the diamond-like quilted effect you see in the photos. Push each bobble to the front (right side) of your work as you complete it.
Flap Section
Rows 37 through 52: Single crochet 40 stitches across for the flap. (40 sts each row)
The flap is worked in plain single crochet, which provides a nice visual break from the textured body and creates a smooth surface for attaching your clasp.
Border
Border Round: Using your contrast color, single crochet evenly around the entire piece.
Work your way around all four sides, placing approximately 3 single crochets for every 2 rows along the side edges. Add 3 single crochets in each corner to keep the border lying flat. This border frames the piece beautifully and adds that designer touch.
Handle
Handle: Chain 56, then work 55 single crochets back across the chain.
Sew the handle securely to the top corners of the bag, positioning it on the back panel just behind where the flap folds over.
Checkpoint
Before assembling, lay your piece flat and measure. The body should measure approximately 11 inches by 7 inches before folding. If your measurements are significantly different, check your gauge and adjust as needed.
Assembly and Construction
Now comes the satisfying part where your flat rectangle transforms into a structured bag.
1. Fold the lower section upward to create the pouch. The bobble-textured portion should form the front of your bag.
2. Seam the sides using a whip stitch or mattress stitch with your tapestry needle. Work through both layers, creating neat, secure seams that will hold up to daily use.
3. Fold the flap down over the front of the bag to check positioning before attaching the clasp.
Finishing Your Clutch Bag
Installing the magnetic clasp: Position the clasp centered on the flap, marking where the two pieces need to go. Follow the manufacturer’s instructions for your specific clasp. Most magnetic clasps have prongs that push through the fabric and fold flat on the back side.
Steam blocking: Lightly steam block your finished bag to even out the stitches and help the piece hold its shape. Hold your steamer or iron a few inches above the fabric and let the steam do the work. Do not press directly on the bobbles.
Weaving in ends: Weave all yarn tails securely through multiple stitches on the wrong side of your work. For a bag that will see regular use, I recommend weaving each tail through at least 2 inches of stitches, then doubling back for extra security.
Care Instructions
Your handmade clutch bag deserves proper care to keep it looking beautiful.
Avoid machine washing or drying, as the agitation can distort the bobble texture and damage the magnetic clasp.
Tips for Success
Keep your tension consistent. Bobble stitches can pull your work tighter than single crochet rows. Pay attention to your tension and try to keep it even throughout.
Count your stitches regularly. It is easy to accidentally skip a stitch after completing a bobble. Get in the habit of counting at the end of every few rows.
Use stitch markers. Place a marker at the beginning of each row to help you keep track of where you are in the pattern.
Work your bobbles firmly. Do not be afraid to pull that final yarn over snugly when closing your bobble. This helps the bobble pop forward and creates a more defined texture.
Making It Your Own
While the sage green and cream combination shown is absolutely stunning, this pattern works beautifully in any color combination. Consider rich burgundy with cream (as shown in the reference photos), navy with gold accents, or classic black with silver hardware for an evening look.
You can also experiment with the handle length. The 55 single crochet handle creates a short top handle, but you could easily extend the chain and work a longer strap for a crossbody option.
Why You Will Love This Pattern
This textured clutch bag sits right in that sweet spot between challenging enough to keep you engaged and simple enough to be relaxing. The bobble stitch rhythm becomes almost meditative once you get going, and watching the texture emerge row by row is genuinely satisfying.
The finished bag makes an impressive handmade gift. It looks far more complicated than it actually is, which means you get all the compliments without all the stress. Plus, the structured shape and professional hardware elevate it beyond typical crochet accessories.
I hope you enjoy making this beautiful textured clutch bag as much as I enjoyed putting this pattern together for you. There is something so rewarding about carrying a bag you made with your own hands, especially one this elegant. If you make one, I would absolutely love to see it! Tag me on Instagram or share a photo in our Facebook group.
If this pattern is calling your name, go ahead and save it to your Pinterest boards so you can find it easily when you are ready to start. And please drop a comment below once you finish yours. I love hearing which colors you chose and seeing your gorgeous finished bags!
You Might Also Like
- Lavender Dream Mesh Crochet High Tops Free Pattern
- Mustard Yellow Duck Toilet Paper Cozy Free Crochet Pattern
- Dusty Rose Fringed Pocket Wrap Free Crochet Pattern
- Lavender Mini Backpack Free Crochet Pattern