
I call this one the Spring Garden tote, and it started as a sketch in my notebook about three years ago. I kept imagining a bag that felt like carrying a little wildflower patch around with you. Cheerful puff stitch blooms in every color, framed in soft sage green, with enough structure to actually hold your farmers market haul or library books. When I finally sat down to work out the math, I knew I wanted it to feel vintage but look fresh. The result is this 18 square beauty that makes me smile every single time I pick it up.
Get the Ad-Free PDF Pattern
You can find the free pattern below, or you can purchase the ad-free printable PDF from my shop.
Get the Printable PDF →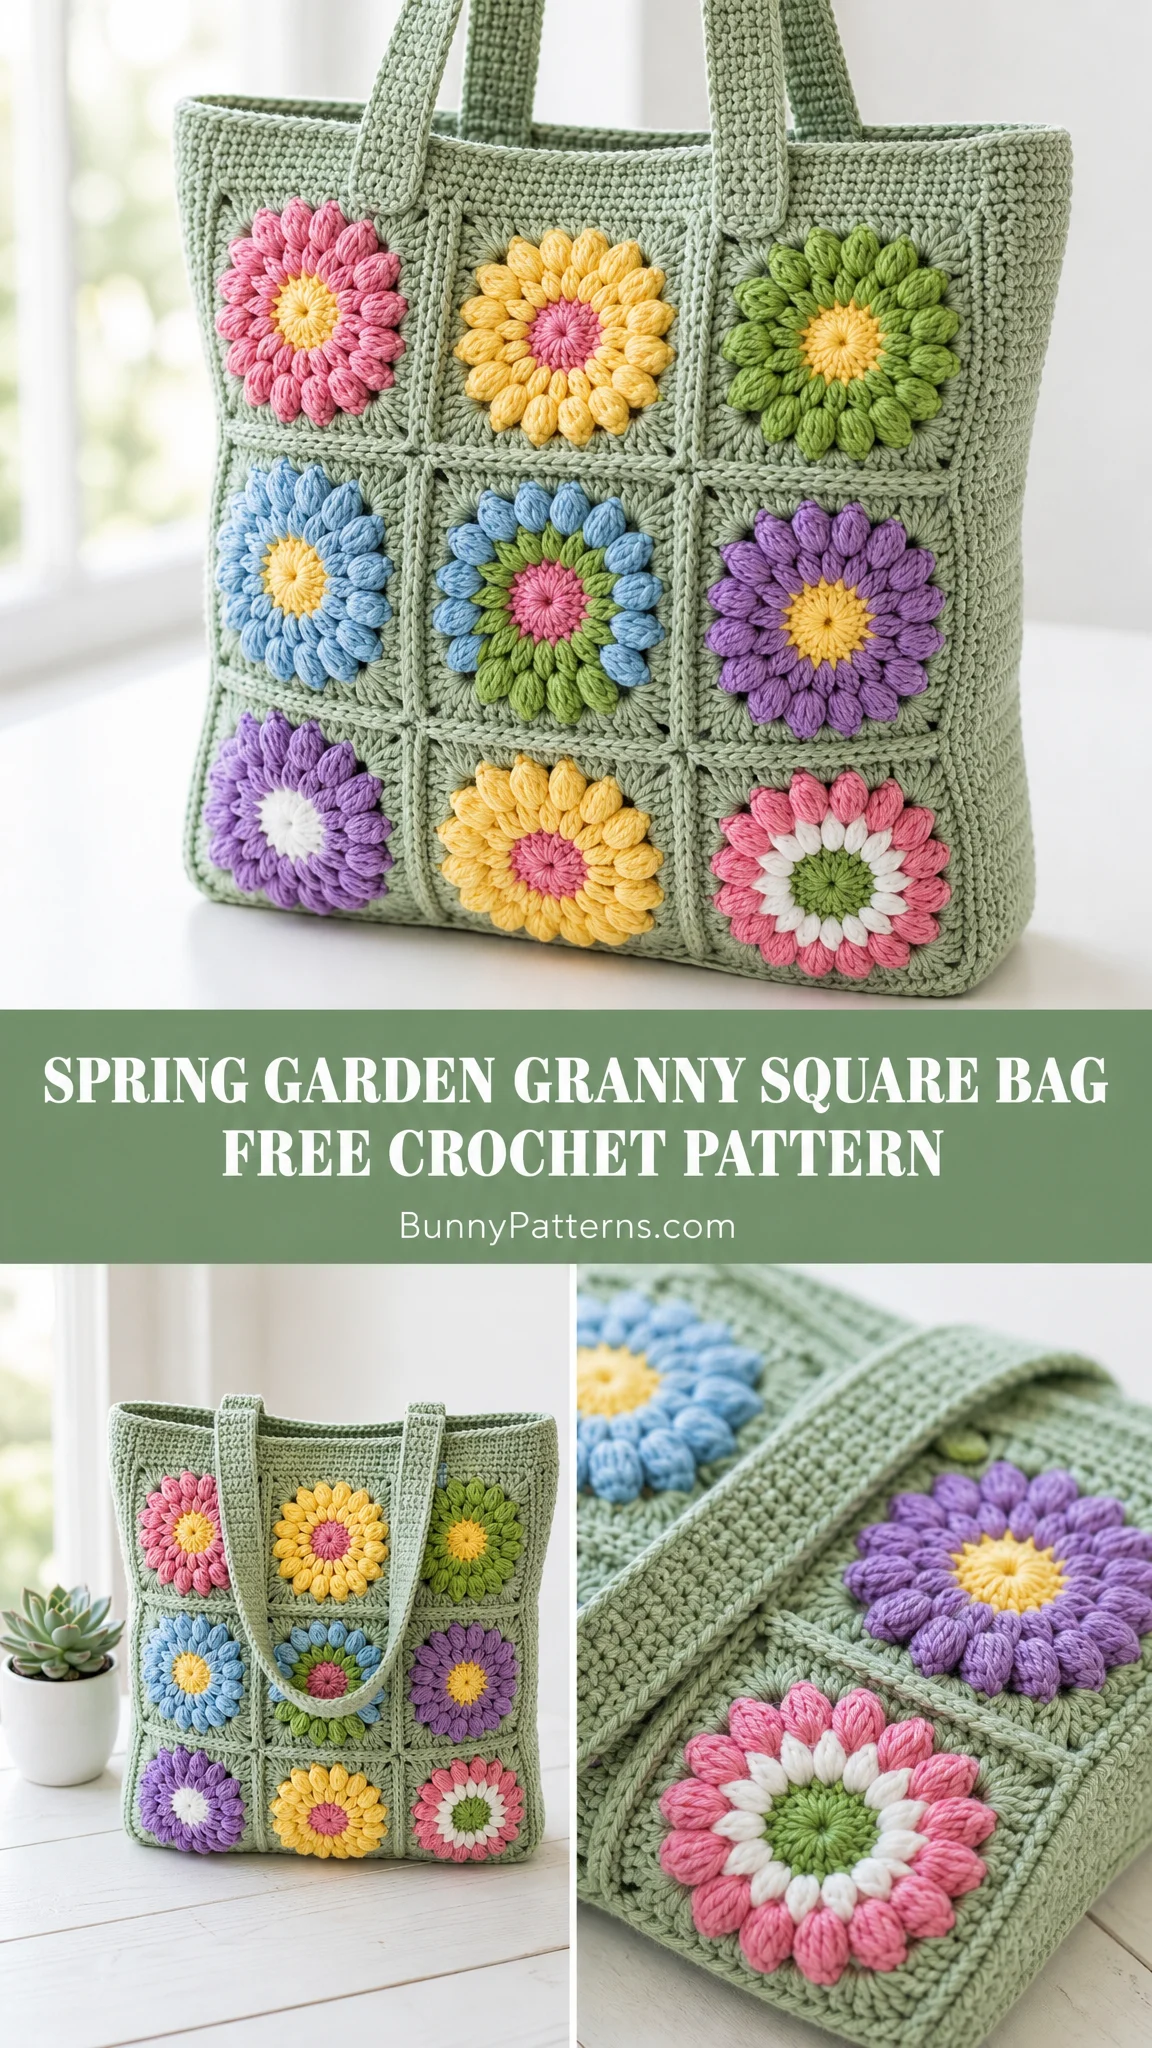
This granny square bag pattern combines classic puff stitch flowers with a modern construction method. You will make individual floral squares, join them into panels, add a sturdy gusset for depth, and finish with a clean top band and two comfortable shoulder straps. There is even an optional matching mini pouch if you want a coordinated set.
Let me walk you through everything you need to make your own.
What You Will Need
Before you start crocheting, gather these materials. Having everything ready makes the process so much smoother.
Yarn:
Hook:
Notions:
Optional extras:
Yarn Recommendations
Cotton yarn gives this bag the structure it needs to hold its shape. Here are some options that work beautifully:
Lily Sugar’n Cream offers firm cotton with excellent structure for bags. Paintbox Cotton Aran provides smooth stitch definition and comes in tons of colors. Knit Picks Dishie is durable cotton with good body.
You can substitute any worsted cotton or cotton blend that meets gauge after blocking. I recommend avoiding very stretchy acrylic for the straps unless you plan to add lining or webbing reinforcement.
Gauge Information
Getting your gauge right matters for this project. Your finished bag dimensions depend on it.
Gauge: 18 single crochet (sc) and 20 rows equals 4 inches (10 cm) in firm single crochet, blocked.
Square checkpoint: One completed flower square, after Round 5 and blocking, should measure 4.5 inches (11.5 cm).
Take time to make a gauge swatch before diving in. If your squares come out too big, try a smaller hook. Too small? Go up a hook size.
Finished Dimensions
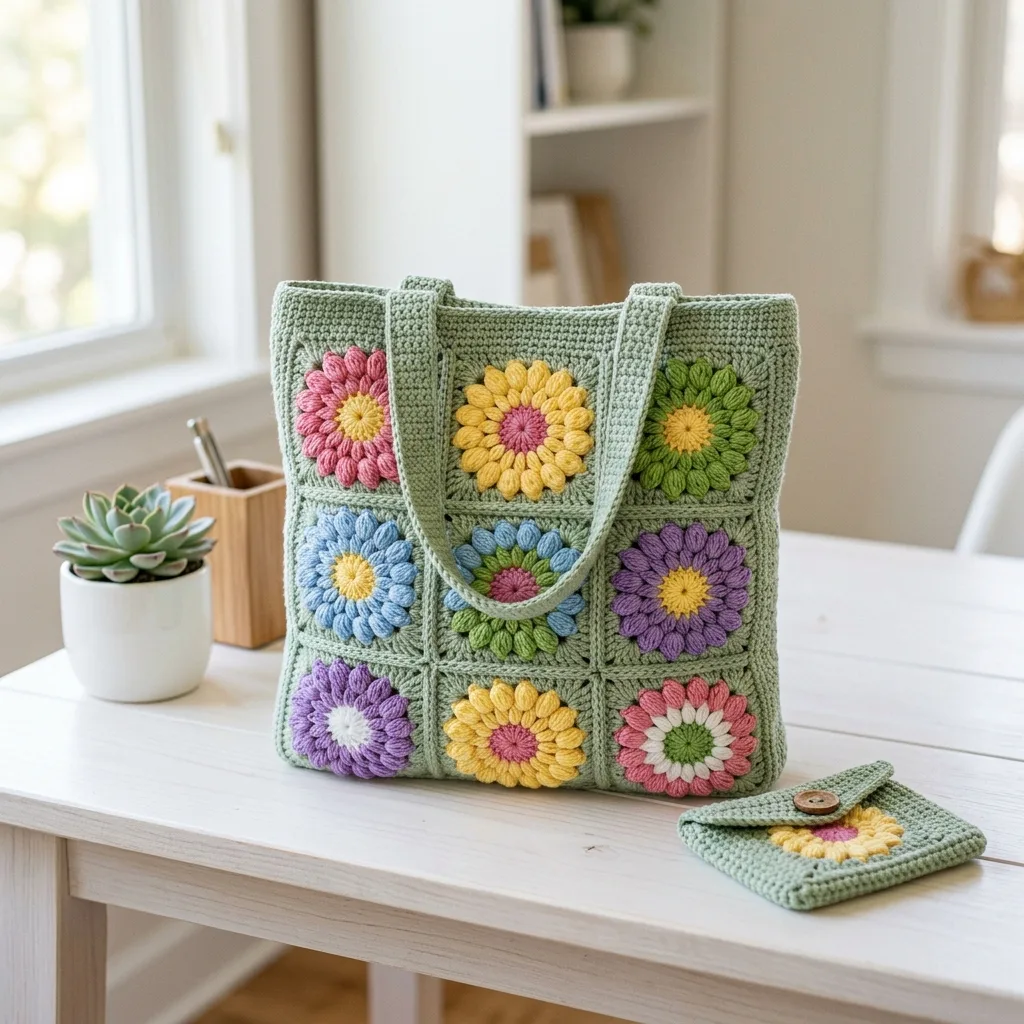
Your completed Spring Garden tote will measure approximately:
This does not include the strap drop, which adds about 9 inches (23 cm).
Stitch Abbreviations and Definitions
Let me explain every stitch you will use in this pattern. Even if you know these already, it helps to review the specific definitions.
ch = chain: Yarn over, pull through the loop on your hook. This creates the foundation for most crochet work.
ch-sp = chain space: The gap or hole created by a chain in the previous row or round.
dc = double crochet: Yarn over, insert hook, yarn over and pull up a loop, yarn over and pull through 2 loops, yarn over and pull through remaining 2 loops. Creates a taller stitch.
hdc = half double crochet: Yarn over, insert hook, yarn over and pull up a loop, yarn over and pull through all 3 loops at once.
rep = repeat: Work the instructions again as directed.
rnd = round: One complete trip around your work when crocheting in the round.
RS = right side: The front or public side of your work.
sc = single crochet: Insert hook, yarn over and pull up a loop, yarn over and pull through both loops. The most basic crochet stitch.
sl st = slip stitch: Insert hook, yarn over and pull through both the stitch and the loop on your hook in one motion. Used for joining and moving yarn position.
sp = space: A gap in your work, usually created by chains.
st(s) = stitch(es): Individual loops of crochet.
WS = wrong side: The back or inside of your work.
yo = yarn over: Wrap the yarn around your hook from back to front.
UK crocheters note: US sc equals UK dc. US dc equals UK tr.
Special Stitches
These techniques give your flower squares their signature look.
Puff Petal
This creates those gorgeous puffy flower petals. Here is exactly how to make one:
Yarn over, insert hook in the indicated stitch or space, yarn over and pull up a loop. Repeat this sequence 3 more times (4 total yarn overs and pull ups). You will have 9 loops on your hook. Yarn over and pull through all loops on hook. Chain 1 to close the puff.
The puff looks complicated but becomes rhythmic once you get going. Keep your tension loose enough that pulling through all those loops does not feel like a struggle.
Standing Single Crochet
This lets you join a new color cleanly without the bulk of a slip knot showing.
Make a slip knot on your hook. Insert hook in the indicated stitch. Yarn over and pull up a loop. Yarn over and pull through both loops.
Invisible Join
This technique makes your round endings look seamless, like they never ended at all.
Cut yarn, pull the tail through your final stitch. Thread the tail onto your tapestry needle. Insert the needle under both loops of the first stitch of the round. Bring the needle back down through the center of the final stitch. This mimics a stitch perfectly.
Mattress Seam for Squares
This creates a nearly invisible seam between your granny squares.
Hold both pieces with the right sides facing up. Working with your tapestry needle, catch the outer loops or inside bars of matching edge stitches. Pull gently every few stitches to close the seam. Keep tension even throughout.
How to Make the Flower Square Motif
You will make 18 of these squares total. Use varied petal colors for that garden style mix. Block every single square to 4.5 inches (11.5 cm) before joining them together.
Round 1 (Flower Center)
With your flower center color (yellow, pink, or white), make a magic ring. Chain 1. Work 12 single crochet into the ring. Join with a slip stitch to the first single crochet.
Stitch count: 12 sc
Round 2 (Petals)
Join your petal color. Chain 1. Work 1 puff petal in each single crochet around. Join to the first petal’s closing chain.
Stitch count: 12 petals, 12 chain spaces
Round 3 (First Border)
Join sage in any chain space. Treat this space as a corner.
*Work (3 dc, ch 2, 3 dc) in the corner space. Chain 1. Work 3 dc in the next space. Chain 1. Work 3 dc in the next space. Chain 1.* Repeat from * to * 3 more times (4 times total). Join.
Stitch count: 48 dc, 8 ch-1 spaces, 4 ch-2 corners
Round 4 (Second Border)
Chain 1. In each corner ch-2 space, work (2 sc, ch 2, 2 sc). Work 1 sc in each dc and 1 sc in each ch-1 space around. Join.
Stitch count: 72 sc, 4 corner spaces
Round 5 (Final Border)
Chain 1. In each corner ch-2 space, work (2 sc, ch 2, 2 sc). Work 1 sc in each sc around. Join invisibly. Fasten off.
Stitch count: 88 sc, 4 corner spaces (22 sc per side)
Motif Checkpoint
Before moving on, verify your square. Each side should have 22 single crochet between corners. A row of 3 squares should measure about 13.5 inches (34 cm) after blocking and seaming.
Assembling the Bag Panels
Now comes the fun part where your individual squares become something bigger.
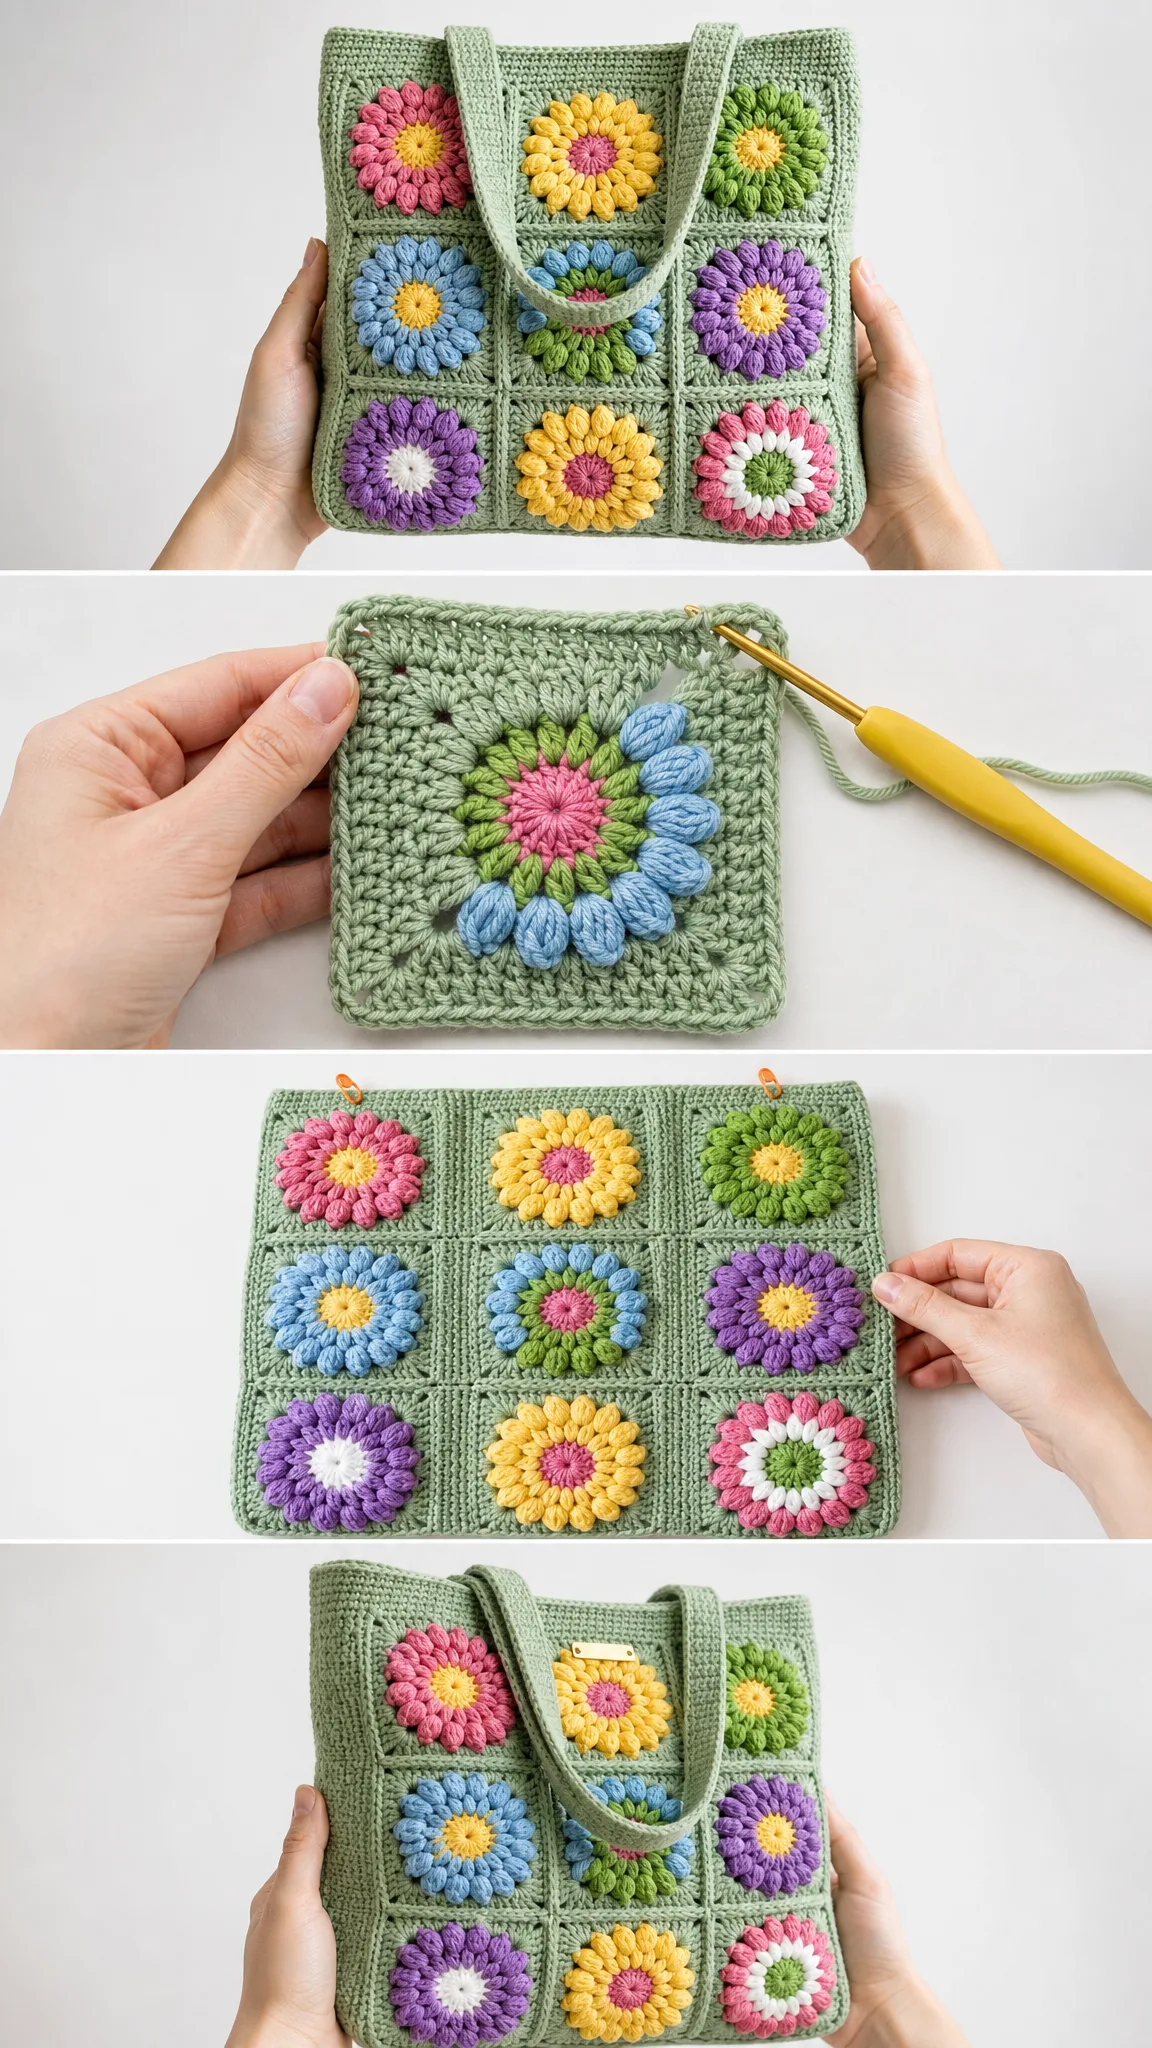
Arrange 9 squares for the front panel and 9 squares for the back panel. Each panel uses a 3 wide by 3 tall grid layout. Mix your flower colors so no two identical flowers sit directly next to each other.
Joining Method
You have two options depending on the seam look you prefer. Place two squares right sides together for a hidden seam, or right sides up for a visible decorative seam.
Match the 22 edge stitches on one square to the 22 edge stitches on the next square. Sew or slip stitch through corresponding stitches. Keep your corners aligned and do not seam into the ch-2 corner spaces unless you are closing a panel corner.
Seaming Order
Join the vertical seams first (3 vertical joins per panel). Then join the horizontal seams (3 horizontal joins per panel). Each panel has 6 short internal seams total.
Panel Checkpoint
Each finished panel should measure about 13.5 inches wide by 13.5 inches tall (34 by 34 cm) before adding the top band. The outside perimeter of each panel stays open for attaching the gusset and top band.
Creating the Gusset
The gusset gives your bag depth and structure. It runs from the top of one side, down, across the bottom, and up the other side.
Row 1
With sage, chain 17. Single crochet in the 2nd chain from hook and in each chain across. Chain 1, turn.
Stitch count: 16 sc
Rows 2 through 203
Single crochet in each stitch across. Chain 1, turn after every row except the final row.
Stitch count: 16 sc per row (approximately 40.5 inches or 103 cm long total)
Attaching the Gusset
Pin the gusset starting from the top left edge of your front panel. Continue down the side, across the bottom, and up the opposite side. The 16 row width creates the bag depth. Seam in place. Repeat for the back panel.
Adding the Top Band
The top band finishes the opening and provides a sturdy place to attach your straps.
Round 1
Join sage at the back top center. Single crochet evenly around the top opening: 66 across the front, 66 across the back, 16 across each gusset end. Join.
Stitch count: 164 sc
Round 2
Chain 1. Single crochet around, decreasing 4 stitches evenly spaced. Join.
Stitch count: 160 sc
Rounds 3 through 8
Chain 1. Single crochet in each stitch around. Join each round. Fasten off after Round 8.
Stitch count: 160 sc
Making the Straps
Make 2 straps using these instructions.
Chain 11.
Row 1: Single crochet in the 2nd chain from hook and in each chain across. (10 sc)
Rows 2 through 80: Chain 1, turn. Single crochet in each stitch across. (10 sc)
Edging: Single crochet evenly around all strap edges, working 3 sc in each corner for smooth turning. Fasten off.
Attaching the Straps
Position each strap on the inside of the top band, about 3 inches (7.5 cm) from the side seams. For maximum durability, sew a 2 inch (5 cm) rectangle with an X inside the rectangle. This distributes the weight and prevents the straps from pulling loose.
Your finished strap drop should be approximately 9 inches (23 cm).
Optional Matching Mini Pouch
This little pouch coordinates perfectly with your tote. Use it for stitch markers, cards, earbuds, or small essentials.
Body Row 1
With sage, chain 25. Single crochet in the 2nd chain from hook and in each chain across. Chain 1, turn.
Stitch count: 24 sc
Rows 2 through 42
Single crochet in each stitch across. Chain 1, turn.
Stitch count: 24 sc
Folding and Seaming
Fold the lower 28 rows upward to create the pocket portion, leaving 14 rows for the flap. Seam both sides closed.
Pocket depth: approximately 2.8 inches (7 cm)
Flap Edging
Single crochet evenly around the flap. At the center point, work chain 6 to create a button loop.
Flower Accent
Make Rounds 1 and 2 of the flower motif only and sew it to the pouch flap. Add a button to the pouch front so the ch-6 loop closes neatly over it.
Finishing Your Bag
Almost done! These final steps make a real difference in how polished your bag looks.
Weave in all yarn ends on the wrong side. Take your time with this step.
Steam lightly or wet block the entire bag to square up the panels and calm any seam puckering.
For bags that will carry heavy items, consider adding a fabric lining. It protects the crochet and adds durability.
For an extra crisp upper edge, sew grosgrain ribbon or cotton webbing just inside the top band before attaching the straps.
Care Instructions
Your cotton bag will last for years with proper care.
Hand wash in cool water. Reshape while damp and dry flat. Cotton bags may stretch when wet, so support the full bag while lifting and drying. Never hang it by the straps while wet.
Troubleshooting Common Issues
Even experienced crocheters run into problems sometimes. Here are solutions for the most common ones.
Squares are different sizes: Block all squares to the same 4.5 inch (11.5 cm) measurement before joining. Blocking works wonders.
Panel ripples or waves: Check that each seam joins exactly 22 stitches to 22 stitches. Also verify that corner spaces are not accidentally crowded with extra stitches.
Top opening flares outward: Make sure you work those 4 decreases in Top Band Round 2. Also use a firm tension throughout the band.
Straps stretch over time: Use cotton yarn for the straps. Sew secure X-box attachments. Consider lining the straps with ribbon or webbing for extra support.
Customization Ideas
Make this pattern your own with these modifications.
Smaller tote: Use 2 by 3 squares per face (12 squares total) and shorten the gusset to match the new side-bottom-side distance.
Larger market bag: Use 4 by 3 squares per face (24 squares total) and lengthen the gusset accordingly. Keep the top band stitch count even so strap placement stays balanced.
Adjust depth: Gusset width controls how deep your bag sits. At the stated gauge, 12 sc gives about 2.75 inches (7 cm), 16 sc gives about 3.5 inches (9 cm), and 20 sc gives about 4.5 inches (11.5 cm).
Color placement tips: Use at least five flower colors for that lively garden effect. Place the brightest yellow flowers near the center and lower edge. Balance darker purple or green flowers toward opposite corners.
Durability upgrade: For daily use, add a boxed cotton lining. Cut lining fabric to match your front, back, and gusset measurements. Sew the lining, then hand stitch it just below the top band.
Tips for Left-Handed Crocheters
Work the same stitch counts as written. Your motifs will spiral in the opposite direction, which is completely fine. Just keep all right sides facing outward when arranging and joining the panels.
Skill Level and Time Estimate
This pattern is rated intermediate. You should be comfortable with puff stitches, granny style corners, joining techniques, structured seaming, and finishing.
Plan for about 10 to 14 relaxed hours to complete the entire tote. The squares go quickly once you get into a rhythm, and the assembly is straightforward once all your pieces are blocked and ready.
Final Thoughts
This Spring Garden granny square bag brings together so many things I love about crochet. The meditative rhythm of making identical motifs. The creative fun of choosing flower colors. The satisfaction of assembling pieces into something useful and beautiful. And that moment when you fill it with your essentials and head out the door.
I hope you enjoy making this tote as much as I enjoyed designing it. Thank you for trusting me with your precious crafting time.
If you make one, I would absolutely love to see it! Share your finished bag on Instagram or Facebook and tag me so I can admire your color choices and celebrate with you.
Save this pattern to your Pinterest boards so you can find it whenever inspiration strikes. And please leave a comment below if you make this bag or have any questions along the way. I read every single one and love hearing from fellow makers.
Want a Quick & Easy Printable Version?
Get a clean, beautifully formatted PDF of this pattern — easy to follow step by step, ready to print or save on any device. No scrolling, no distractions, just the pattern.
Get the Printable PDF →You Might Also Like
- Blush Pink Tiered Baby Romper Free Crochet Pattern
- Dusty Rose Mesh Crochet Sneaker Boots Free Pattern
- Sunshine Daisy Bow Crochet Vest Free Crochet Pattern
- Mustard Yellow Sunshine Slipper Boots Free Crochet Pattern