
I don’t know about you, but I’ve always been a sucker for statement sweaters. You know the ones. They look like they belong in a boutique window with a price tag that makes you wince. All the cozy warmth of a chunky knit with none of the "did I just spend my grocery budget on a sweater" guilt. This Periwinkle Hydrangea Closet Sweater is exactly that kind of piece. Plush, cropped, covered in dimensional flowers that practically pop off the fabric. And you’re going to make it yourself.
Get the Ad-Free PDF Pattern
You can find the free pattern below, or you can purchase the ad-free printable PDF from my shop.
Get the Printable PDF →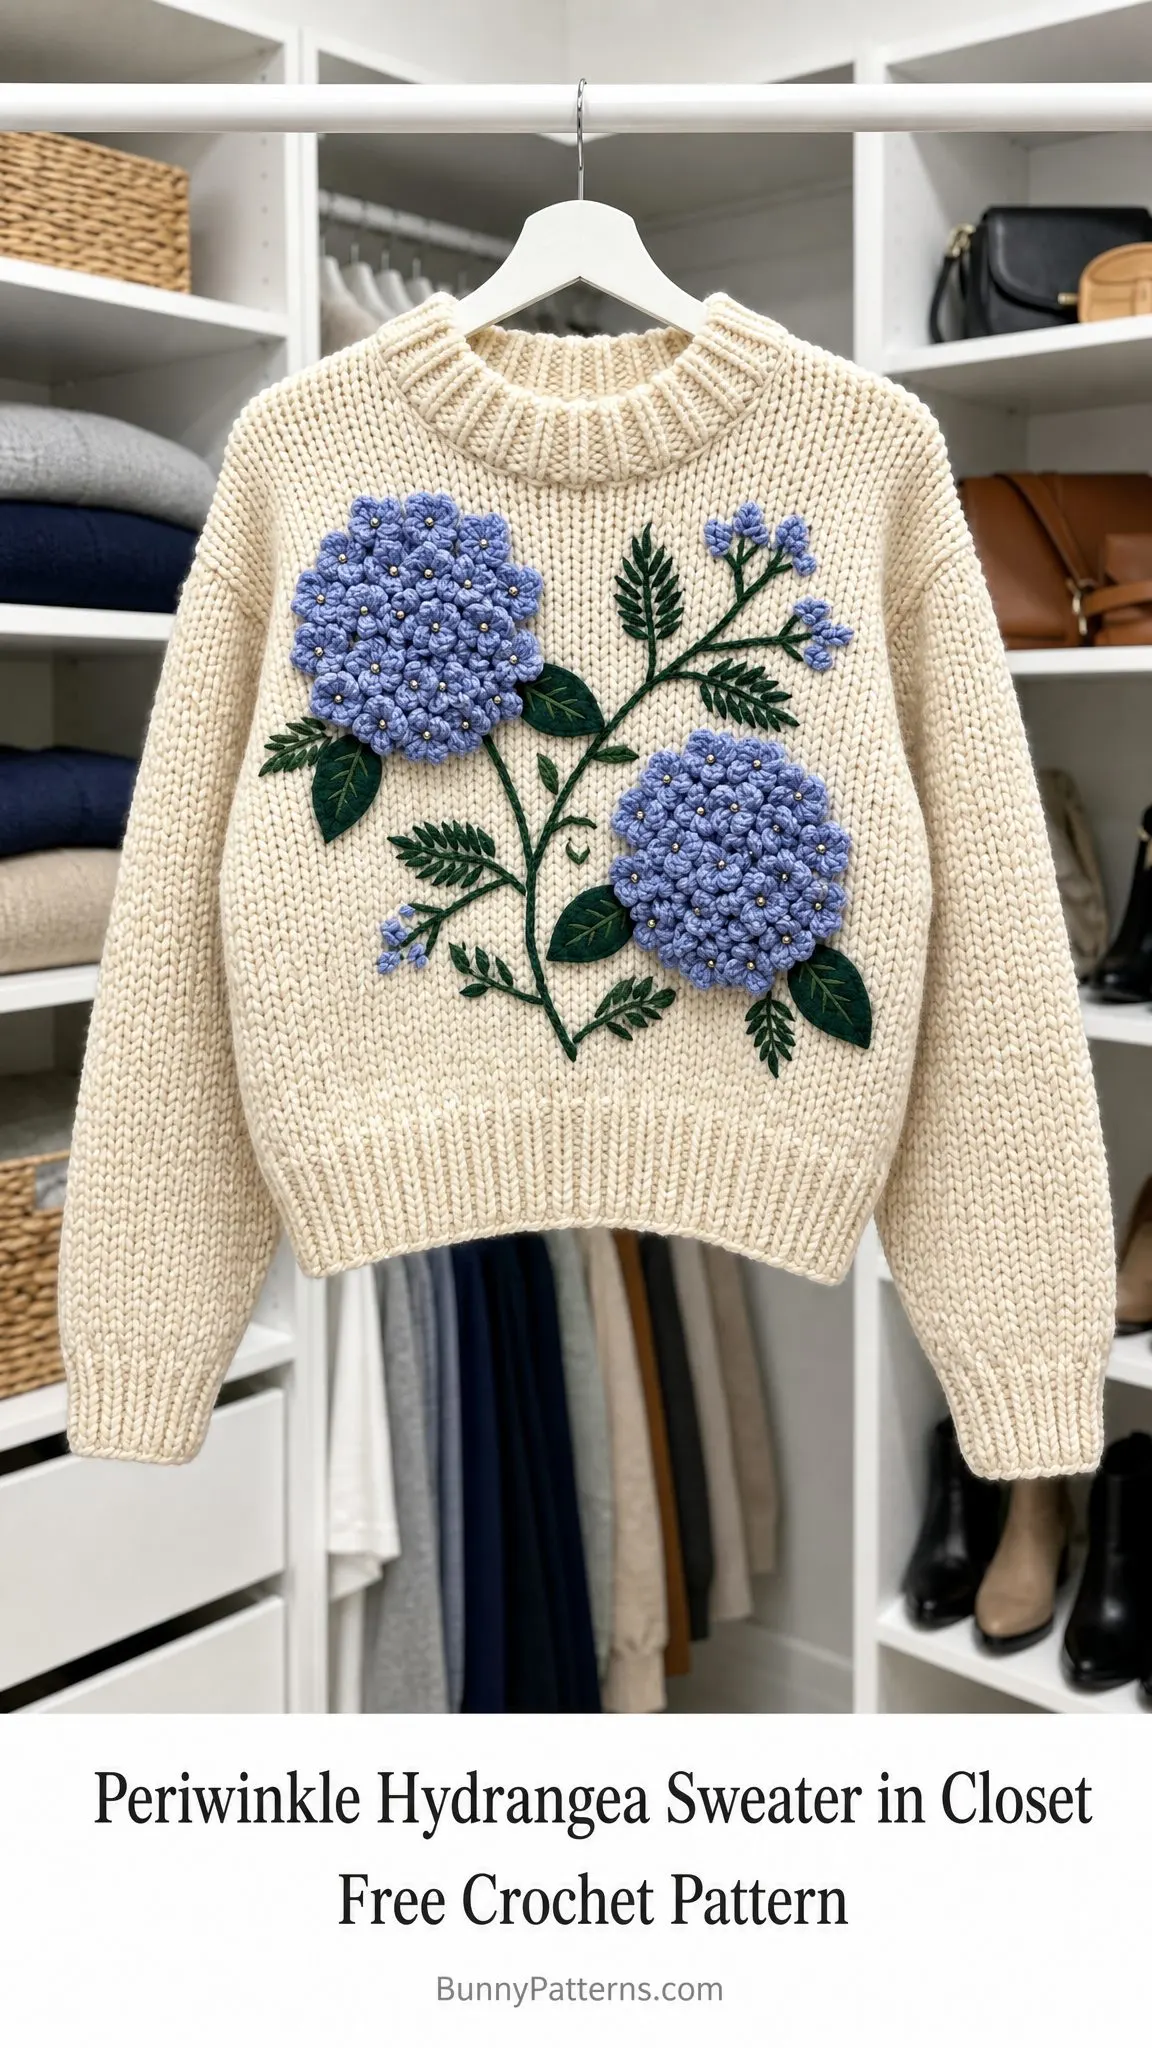
Why This Sweater Pattern is Worth Your Time
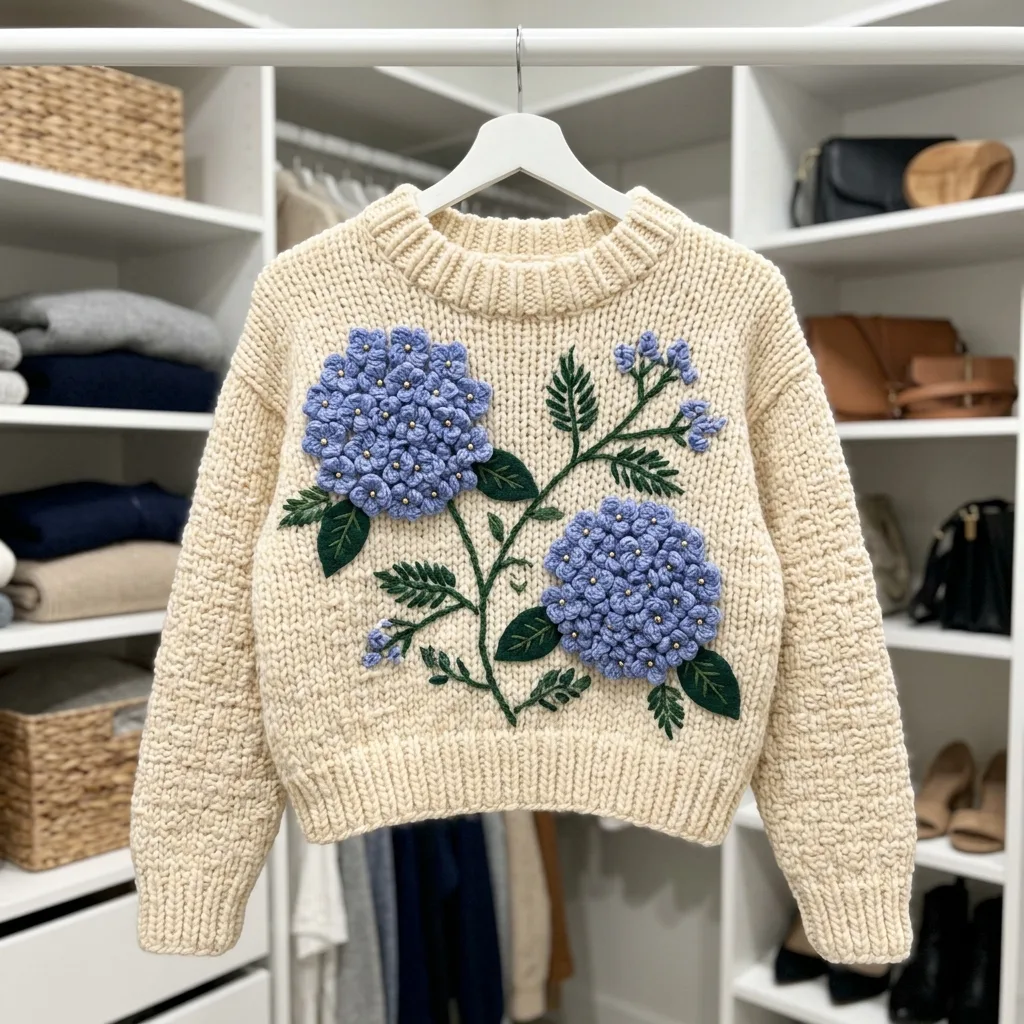
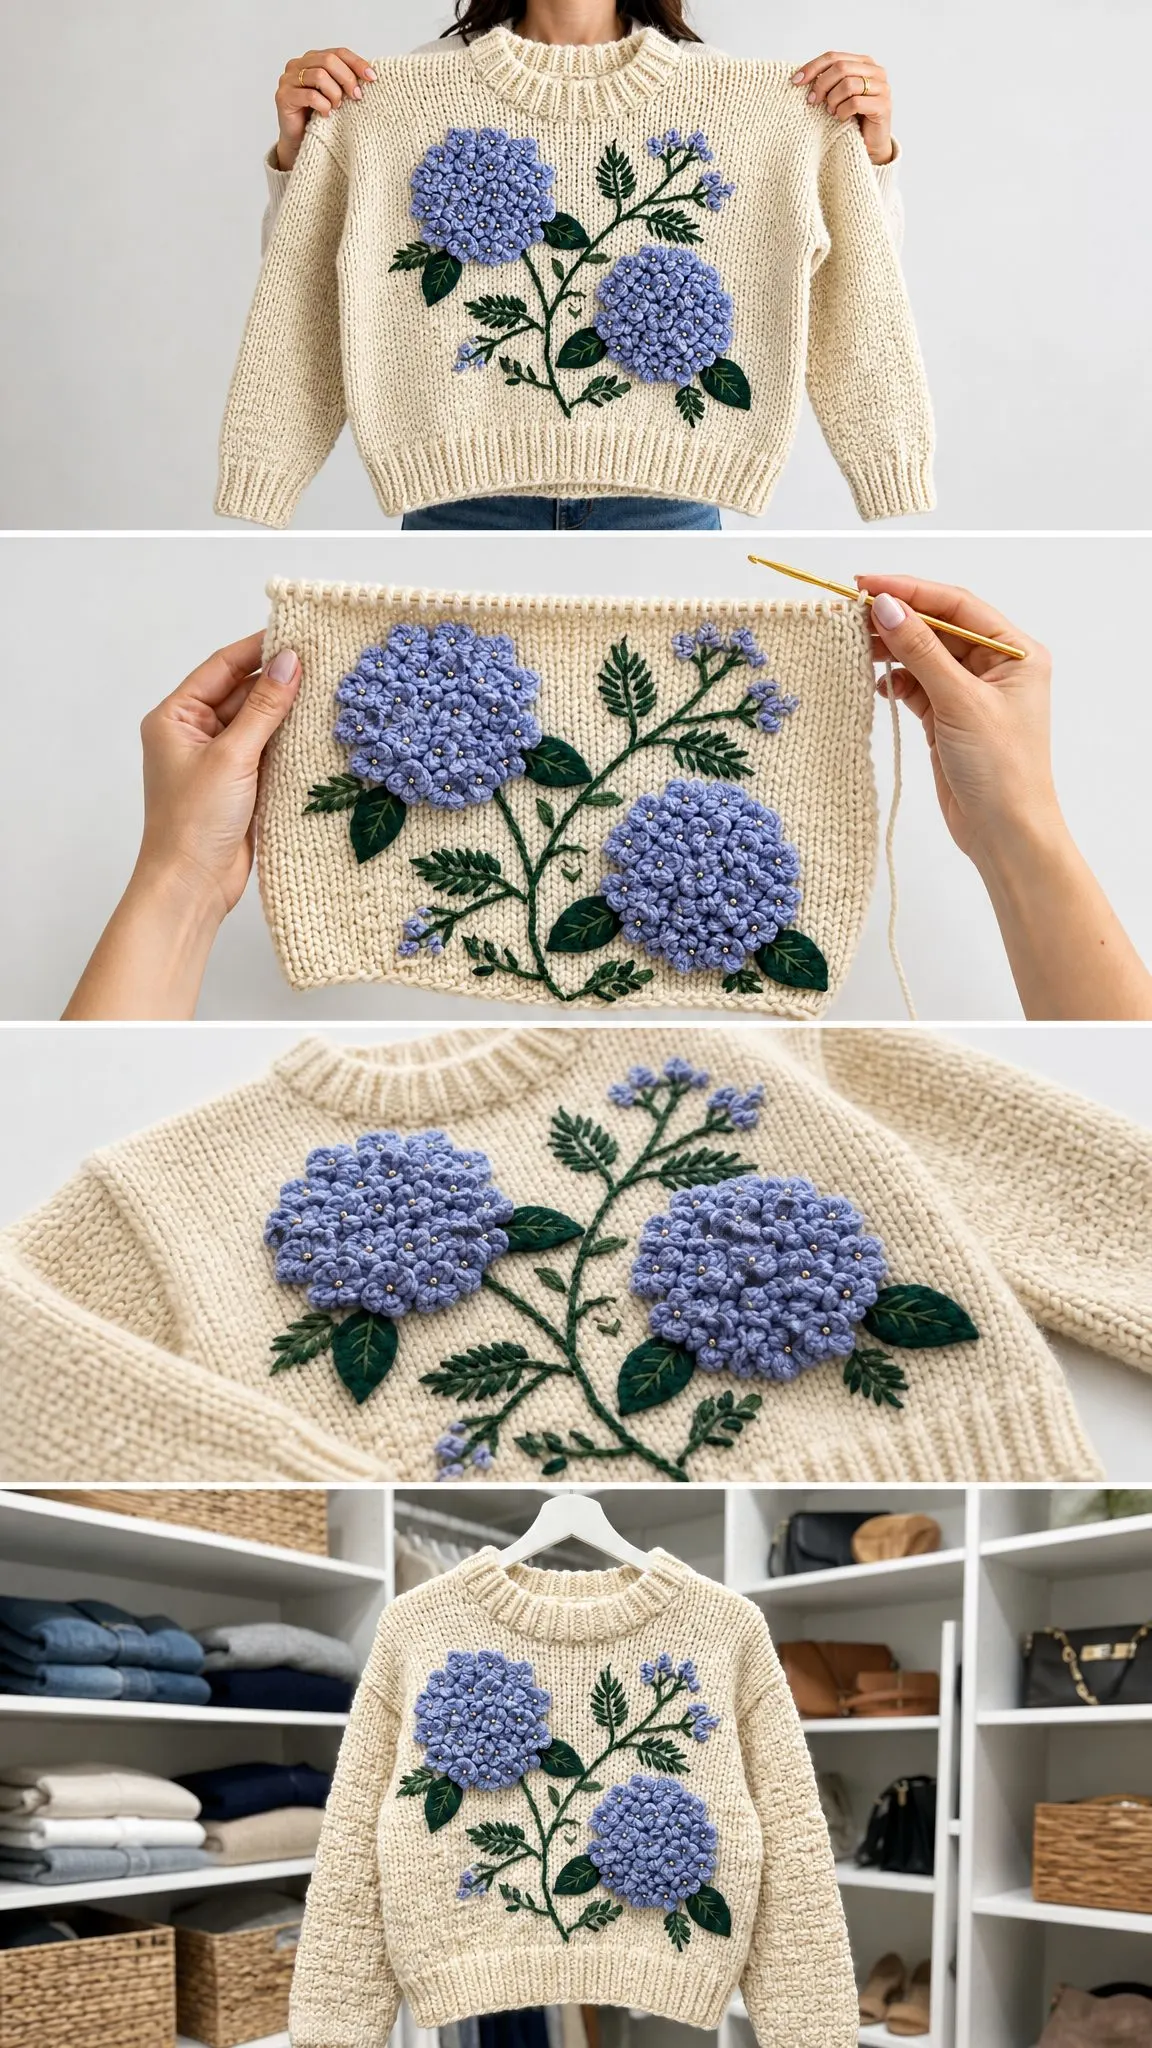
This design recreates that soft, cropped closet-sweater silhouette we’ve all pinned a thousand times. The body features a chunky cream base with ribbed trims at the neckline, hem, and cuffs. But the real showstopper? Those raised periwinkle hydrangea clusters across the front. We’re talking 41 individual mini flowers arranged into lush, rounded heads with embroidered stems and crocheted leaves winding between them.
The sweater is constructed in separate flat pieces for clean sizing control, then seamed and embellished. This approach gives you better control over your measurements and makes the whole process feel more manageable than working a sweater in the round.
Skill level: Intermediate. You should be comfortable with garment pieces, seaming, post-making adjustments, surface crochet, embroidery placement, and sewing small motifs securely. If you’ve made a basic sweater before and want to level up with applique work, this is your project.
Time estimate: 18 to 24 hours, depending on your motif speed and finishing experience.
Finished Measurements
Before you dive in, let’s talk sizing. This pattern is designed as a relaxed S/M crop with drop shoulders:
| Measurement | Finished Size |
|---|---|
| Chest circumference | 42 in / 106.5 cm |
| Body width flat | 21 in / 53.5 cm |
| Body length including hem | 17.5 in / 44.5 cm |
| Armhole depth | 8 in / 20.5 cm |
| Upper sleeve circumference | 16.3 in / 41.5 cm |
| Neck opening before collar | approx. 20 in / 51 cm around |
The design includes approximately 4 to 8 inches (10 to 20 cm) of positive ease at the chest. For a closer or roomier fit, check out the customization notes in the materials section below.
Materials You’ll Need
Gather these supplies before you start:
| Item | Details |
|---|---|
| Main yarn | Bulky weight 5, soft wool/acrylic blend, cream: 760 yd / 695 m |
| Flower yarn | Bulky or doubled worsted, periwinkle: 95 yd / 87 m |
| Leaf/stem yarn | Worsted or doubled DK, deep green: 70 yd / 64 m |
| Accent | Small amount of gold or pale yellow for flower centers |
| Hooks | 6.5 mm (K) for body, 5.5 mm (I) for ribbing and motifs, or sizes needed for gauge |
| Tools | Locking markers, tapestry needle, pins, tape measure, blocking mats, scissors |
Yarn Suggestions
Looking for specific recommendations? Here are some great options:
Substitution note: Choose a bulky yarn that produces a firm but flexible fabric. If your yarn is airy or slippery, drop a hook size for the body and keep the applique dense.
Gauge
Getting your gauge right is essential for a sweater that actually fits.
Main stitch gauge: 12 center single crochet stitches (also called waistcoat stitch) and 12 rows = 4 in / 10 cm after light blocking.
Ribbing gauge: 12 sc-blo rows = 4 in / 10 cm across the rib.
Swatch and match both stitch and row gauge before starting. All garment measurements are built from this gauge, so taking the time upfront saves frustration later.
Size Customization Tips
Want to adjust the fit? Here’s how:
Abbreviations and Stitch Guide
Let’s break down every stitch you’ll use:
| Abbreviation | US Term |
|---|---|
| ch | chain |
| sl st | slip stitch |
| sc | single crochet |
| sc-blo | single crochet through back loop only |
| csc | center single crochet, also called waistcoat stitch |
| inc | 2 sc in the same stitch |
| dec | single crochet 2 stitches together |
| RS / WS | right side / wrong side |
| st(s) | stitch(es) |
Special Stitches Explained
Center single crochet (csc): This is also called the waistcoat stitch, and it creates that gorgeous knit-look texture. Insert your hook into the center V of the stitch below (not under the top loops like a regular sc). Yarn over, pull up a loop, yarn over, pull through both loops. Work loosely enough that the hook can enter the V without forcing. If you’re struggling, try going up a hook size.
Ribbing sc-blo: Insert your hook through the back loop only of the next stitch, yarn over, pull up a loop, yarn over, pull through both loops. This creates those stretchy vertical ribs you see on the neckline, hem, and cuffs.
Mini hydrangea flower: Make a magic ring. Round 1: ch 1, work 5 sc in ring, join. Round 2: [ch 2, 2 dc in next sc, ch 2, sl st in same sc] 5 times. Fasten off, leaving a sewing tail. Add a small gold knot to the center.
Leaf: Ch 9. Sl st in 2nd ch, sc, hdc, dc, dc, hdc, sc, sl st. Ch 1, rotate, work back down the other side: sl st, sc, hdc, dc, dc, hdc, sc, sl st. Fasten off.
UK terminology note: This pattern uses US terms. US sc = UK dc. US dc in the mini flower = UK tr.
Main Sweater Pieces
Bottom Ribbing (Make 2)
| Row | Instruction | Count |
|---|---|---|
| 1 | Ch 9. Sc in 2nd ch from hook and each ch across. Turn. | 8 sc |
| 2-63 | Ch 1, sc-blo in each st across. Turn. Piece measures approx. 21 in / 53.5 cm along rib edge. | 8 sc |
Front Panel
| Rows | Instruction | Count |
|---|---|---|
| Setup | With RS facing, work 63 sc evenly along one long edge of first ribbing strip. Turn. | 63 sc |
| 1-34 | Ch 1, csc in each st across. Turn. Checkpoint: body above rib measures approx. 11.3 in / 28.5 cm. | 63 csc |
| 35 | Ch 1, csc 20, leave center 23 sts unworked, attach a second ball and csc last 20 sts. | 20 + 20 |
| 36-42 | Work each shoulder separately: ch 1, csc across 20 sts. Turn. Fasten off after Row 42. | 20 each shoulder |
Back Panel
| Rows | Instruction | Count |
|---|---|---|
| Setup | With RS facing, work 63 sc evenly along one long edge of second ribbing strip. Turn. | 63 sc |
| 1-42 | Ch 1, csc in each st across. Turn. Fasten off after Row 42. | 63 csc |
Body checkpoint: Each panel should measure approx. 21 in / 53.5 cm wide and 16.5 to 17.5 in / 42 to 44.5 cm tall including lower rib before collar.
Sleeves and Assembly
Sleeve Cuff Ribbing (Make 2)
| Row | Instruction | Count |
|---|---|---|
| 1 | Ch 9. Sc in 2nd ch from hook and each ch across. Turn. | 8 sc |
| 2-25 | Ch 1, sc-blo in each st across. Turn. Seam short ends to make a cuff ring. | 8 sc |
Sleeve Body (Make 2 Flat Sleeves)
| Rows | Instruction | Count |
|---|---|---|
| Setup | With seam at underside, work 25 sc evenly along the cuff edge. Turn. | 25 sc |
| 1 | Ch 1, csc in each st. Turn. | 25 csc |
| 2 | Ch 1, csc in first st, [inc, csc in next st] 12 times. Turn. | 37 csc |
| 3-5 | Ch 1, csc in each st across. Turn. | 37 csc |
| 6, 10, 14, 18, 22, 26 | Ch 1, inc in first st, csc across to last st, inc in last st. Turn. | 39, 41, 43, 45, 47, 49 |
| 7-9, 11-13, 15-17, 19-21, 23-25 | Ch 1, csc in each st across. Turn. | same as previous row |
| 27-42 | Ch 1, csc in each st across. Fasten off after Row 42. | 49 csc |
Assembly Instructions
Now comes the satisfying part. Putting it all together.
1. Join shoulder seams: Seam front and back shoulder pieces together for 20 sts at each side. The center neckline remains open.
2. Mark armholes: Mark 24 rows down from each shoulder on both front and back. This creates an 8 in / 20.5 cm armhole depth.
3. Attach sleeves: Sew sleeve tops to the armholes, easing 49 sleeve stitches into approximately 48 body row-ends.
4. Sew side seams: Sew sleeve and side seams together. Leave the lower rib relaxed and do not pull the seam tight.
Collar
| Round | Instruction | Count |
|---|---|---|
| 1 | With 5.5 mm hook, pick up 64 sc evenly around neckline: 23 front, 21 back, 10 at each side curve/shoulder. Join. | 64 sc |
| 2-6 | Ch 1, sc-blo in each st around, join. Fasten off after Round 6. | 64 sc |
Hydrangea Applique
This is where the magic happens. Those stunning dimensional flowers that make this sweater a true statement piece.
Front Placement Map
Lay the finished front flat. Pin a rising green stem from lower center toward the upper right chest, then add a branching stem toward the upper left chest. Keep all floral work within the center 17 in / 43 cm of the front and above the lower rib.
Large left head: 19 mini flowers, approx. 4.5 in / 11.5 cm wide, centered 4 in / 10 cm below left shoulder seam and 5 in / 12.5 cm from left edge.
Lower right head: 16 mini flowers, approx. 4 in / 10 cm wide, centered 6 in / 15 cm above lower rib and 5.5 in / 14 cm from right edge.
Buds: Make 6 mini flowers for two small sprays on the upper right and lower left branches.
Motifs to Make
| Piece | Quantity | Placement |
|---|---|---|
| Mini hydrangea flowers | 41 total | 19 left head, 16 right head, 6 buds |
| Leaves | 7 total | 2 near left head, 3 around right head, 2 along central stem |
| Stems | as needed | Surface chain stitch or embroidered chain stitch in green |
| Centers | 41 knots | One small French knot or sewn knot in each flower center |
Attaching the Applique
1. Steam-block the front lightly before pinning. Do not flatten the flower petals.
2. Work stems first with surface crochet or backstitch embroidery.
3. Sew leaves along the stems using the long yarn tails. Tack leaf tips so they stay flat.
4. Cluster flowers close enough that their petals touch. Sew through the flower center and one petal edge for security.
5. Add gold center knots last. Weave ends on the inside of the sweater.
Left-handed note: Left-handed makers may mirror the floral placement horizontally. Work the same stitch instructions. For applique, pin stems first and place the larger flower head on the side that sits most naturally on your front panel.
Finishing, Blocking, and Care
Finishing Checklist
Blocking
Block the sweater flat to the finished measurements. Use light steam for acrylic blends and wet block only if your yarn label allows it. Keep the applique dimensional by steaming around the flowers rather than pressing over them.
Care Instructions
Hand wash in cool water or use a delicate cycle if your yarn allows machine washing. Place in a mesh bag, reshape flat, and dry flat. Do not hang while wet. Store folded to protect the ribbed neckline and applique.
Troubleshooting Common Issues
| Issue | Fix |
|---|---|
| Fabric feels stiff | Use a larger body hook or loosen csc tension. The hook must enter the center V easily. |
| Body is too narrow | Add stitches in pairs before starting. Add 6 stitches for approx. 2 in / 5 cm to the chest circumference. |
| Sleeve top too wide | Stop sleeve increases at 47 sts or seam with a slightly deeper armhole. |
| Collar ripples | Pick up fewer neckline stitches, use a smaller hook, or skip the final round. |
| Flowers look sparse | Add 3 to 5 extra mini flowers around the outer edge of each head. |
Final Thoughts on the Periwinkle Hydrangea Sweater Crochet Pattern
Making your own statement sweater feels incredibly satisfying. Every time you slip this on, you’ll remember the hours spent creating those tiny flowers, arranging them just so, and watching this piece come together under your hands. The chunky knit-look fabric, the stretchy ribbed trims, the dimensional hydrangeas with their gold centers. It’s wearable art you made yourself.
This pattern requires patience, especially with those 41 mini flowers. But trust me, when you see them clustered together into those lush rounded heads, you’ll understand why every single one was worth it. Take your time with the applique placement. Step back often. Adjust until it feels right.
Thank you so much for choosing this pattern for your next project. I truly hope you love making it as much as I loved designing it. If you create your own Periwinkle Hydrangea Closet Sweater, I would absolutely love to see it! Tag me on Instagram or share a photo in my Facebook group.
If this pattern caught your eye and you want to come back to it later, go ahead and pin it to your favorite Pinterest board. And please drop a comment below if you make one. I love seeing your versions and hearing about any tweaks you made along the way. Happy hooking!
Want a Quick & Easy Printable Version?
Get a clean, beautifully formatted PDF of this pattern — easy to follow step by step, ready to print or save on any device. No scrolling, no distractions, just the pattern.
Get the Printable PDF →You Might Also Like
- Ocean Blue Ombre Crochet Platform Wedge Sandals Pattern
- Dusty Rose Floral Lace Bucket Bag Free Crochet Pattern
- Ocean Breeze Ombre Braided Purse Free Crochet Pattern
- Midnight Silver Lace Bucket Bag Free Crochet Pattern