
When your hands crave something both purposeful and beautiful, the crochet granny square answers with its signature mix of structure and openwork charm. In this article, you will discover the materials, stitches, and styling ideas that bring this beloved motif to life in soft lavender and cream.
The Granny Square
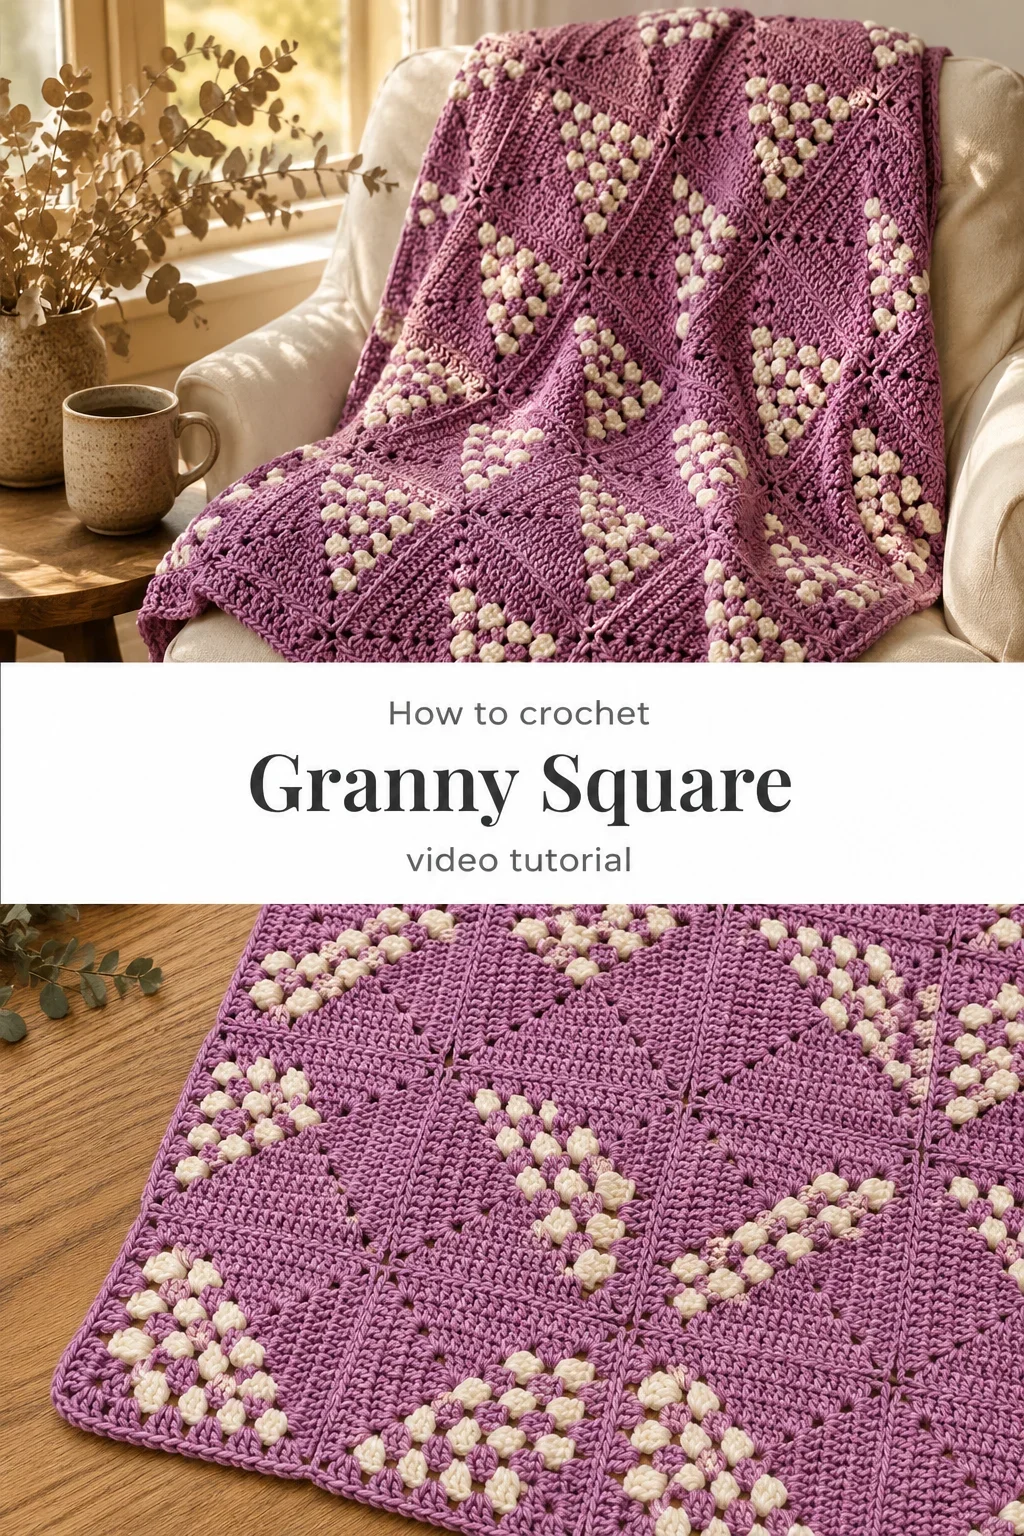
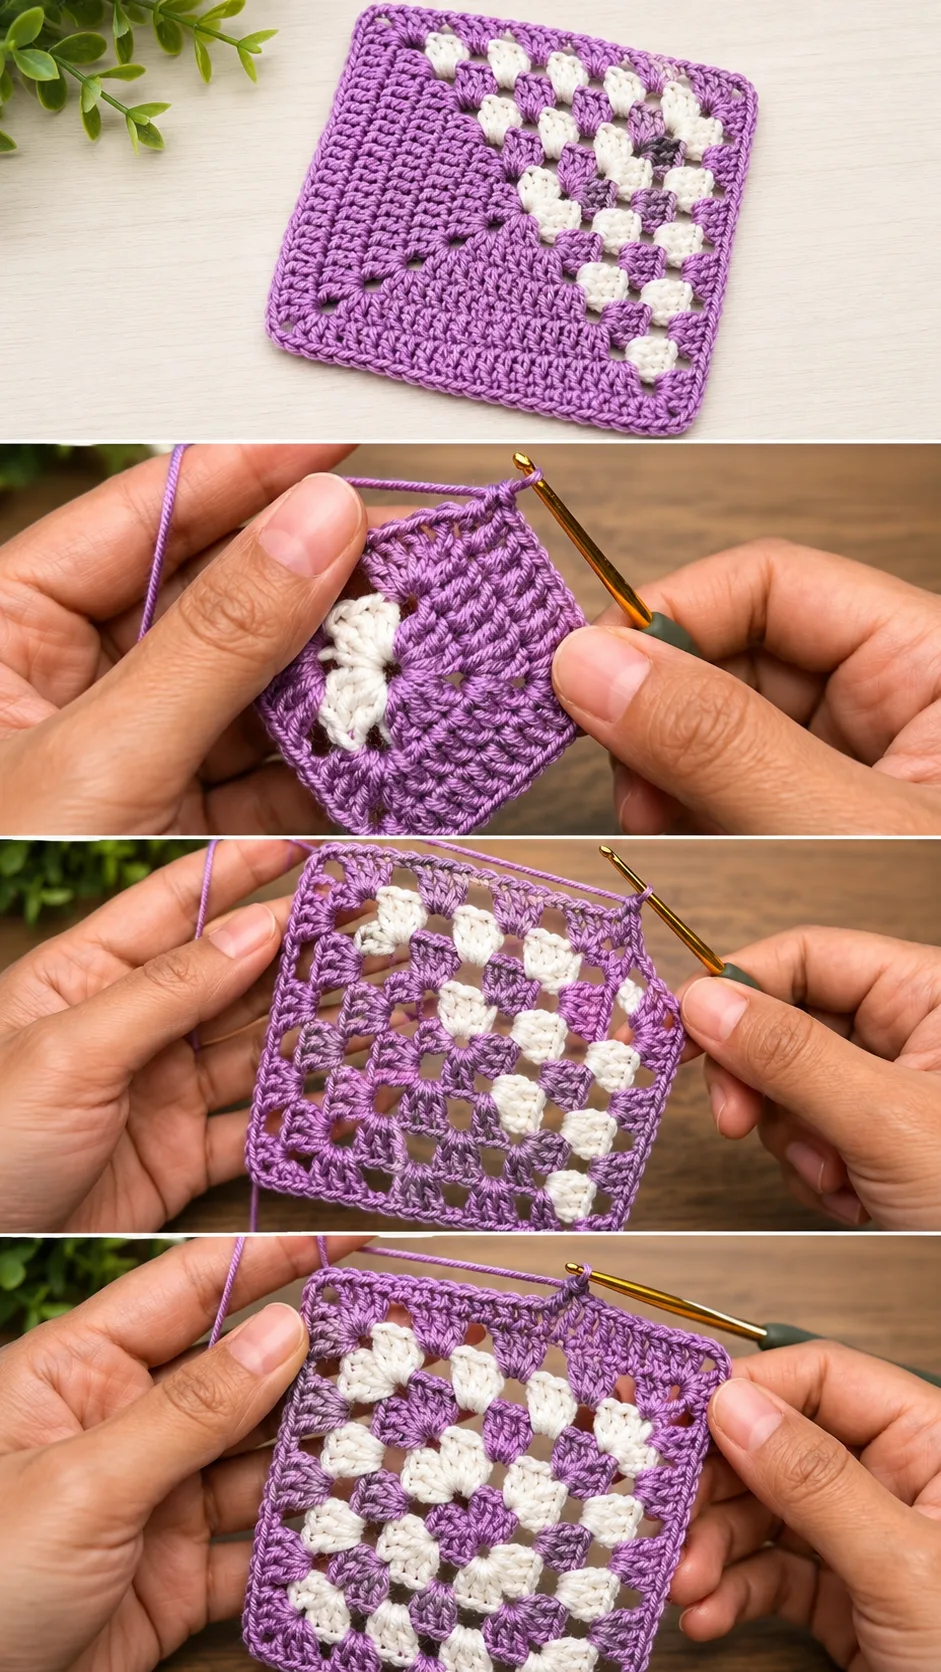
The crochet granny square is one of those motifs that feels like a small, self-contained world in the palm of your hand. Looking at the purple and cream version shown in the reference images, you can see how the dense, waffle-textured border gives way to an airy grid of DC clusters, each white bobble sitting inside its little opening like a pearl set in lace. It is graphic without being cold, handmade without being rustic, and it carries a quiet nostalgia that modern color choices like mauve and cream can completely reframe. This motif suits the crafter who wants to slow down and make something that feels considered.
Granny Square Related Posts:
- Crochet Wooden Handle Bag: A Gorgeous Handmade Accessory
- Crochet Decorative Tassels: A Colorful Handmade Accent
- Crochet Chunky Beanie: A Warm and Timeless Classic
- Crochet Open Halter Top: A Breezy Summer Essential
The two-tone palette here, a warm lilac purple paired with soft white, is an invitation to play. You could swap it for sage and oatmeal for an earthy feel, or go bold with terracotta and mustard for something that reads more maximalist. Because each crochet granny square is worked independently, changing colors between squares when joining multiples is effortless and endlessly satisfying.
Materials and Tools
For a square that replicates the weight and drape visible in these images, reach for a DK weight or light worsted weight yarn in a smooth cotton or cotton-blend fiber. Cotton gives that clean stitch definition that makes the DC clusters pop and keeps the openwork sections crisp rather than droopy. A 4mm crochet hook is ideal for DK weight, giving you a firm but not stiff fabric with just enough flexibility. Keep a yarn needle nearby for weaving in the color-change ends, which are plentiful and worth tucking in neatly as you go.
Stitch by Stitch
This motif draws on a focused set of stitches that are approachable even for newer crocheters.
BULLET:CH (Chain) The foundational chain forms the initial ring and the spaces between cluster groups that give the square its open, latticed quality.
BULLET:SC (Single Crochet) Used along the outer border rounds, the SC creates the dense, structured frame that squares up the motif and gives it those clean, firm edges.
BULLET:DC (Double Crochet) The backbone of the interior design, DC stitches are grouped into clusters that form the diagonal lines radiating from the center outward.
BULLET:SL ST (Slip Stitch) Used to join rounds and to travel across the work without adding height, the slip stitch keeps transitions invisible and tidy.
Working the DC clusters in repeated groups creates a meditative rhythm that quickly becomes muscle memory, letting your mind settle while your hands stay active and engaged.
Construction
The crochet granny square is worked in the round from the center outward, with each round building on the last to expand the motif symmetrically. The white yarn is introduced in the early interior rounds to form those distinctive bobble clusters, then the purple takes over completely for the dense SC border rounds that frame the finished square. Because every round is self-contained, mistakes are easy to spot and easy to frog back without losing the whole piece, which makes this a genuinely forgiving project for intermediate beginners. To customise the size, simply add more SC border rounds in the main color until your square reaches the dimensions you need.
Wearing Your Granny Square
A single finished crochet granny square makes a beautiful coaster or pot holder right away, but join a series of them and you have the building blocks for a market bag, a cushion cover, or even a lightweight throw blanket. The purple and cream colorway photographed here would look beautiful assembled into a boho tote or a patchwork cardigan worn over a linen dress in warmer months. Finishing a set of squares and watching them grow into something larger is one of the most rewarding moments in crochet.
Keeping Your Granny Squares Fresh and Flat
Cotton and cotton-blend yarns respond beautifully to wet blocking, which is the best way to coax your squares into perfect geometry before joining them. Soak each finished square in cool water, gently press out the excess, then pin it to your blocking mat to the correct dimensions and allow it to dry completely flat. For ongoing care, machine wash on a gentle cool cycle inside a mesh bag, then reshape and lay flat to dry rather than hanging, which can distort the square over time. Store finished projects folded rather than rolled to preserve the blocked edges.
Every crochet granny square you complete is a small act of patience and creativity that belongs entirely to you, and that is something worth celebrating with every stitch. Save this post to your Pinterest boards and share your finished squares with the hashtag so the community can admire what you have made.
Follow us on Pinterest and subscribe to the Newsletter so you don’t miss a thing!
Tutorial and photos of this granny square by: Knitting time🧶by Dina.