
A crochet lace doily is built from the center outward in concentric rounds of open lacework, its scalloped border framing every surface it touches like a hand-pressed flower. This single pattern unlocks a world of possibilities: table accents, framed textile art, coasters, ornamental jar toppers, gift embellishments, and the foundation for larger joined motif projects.
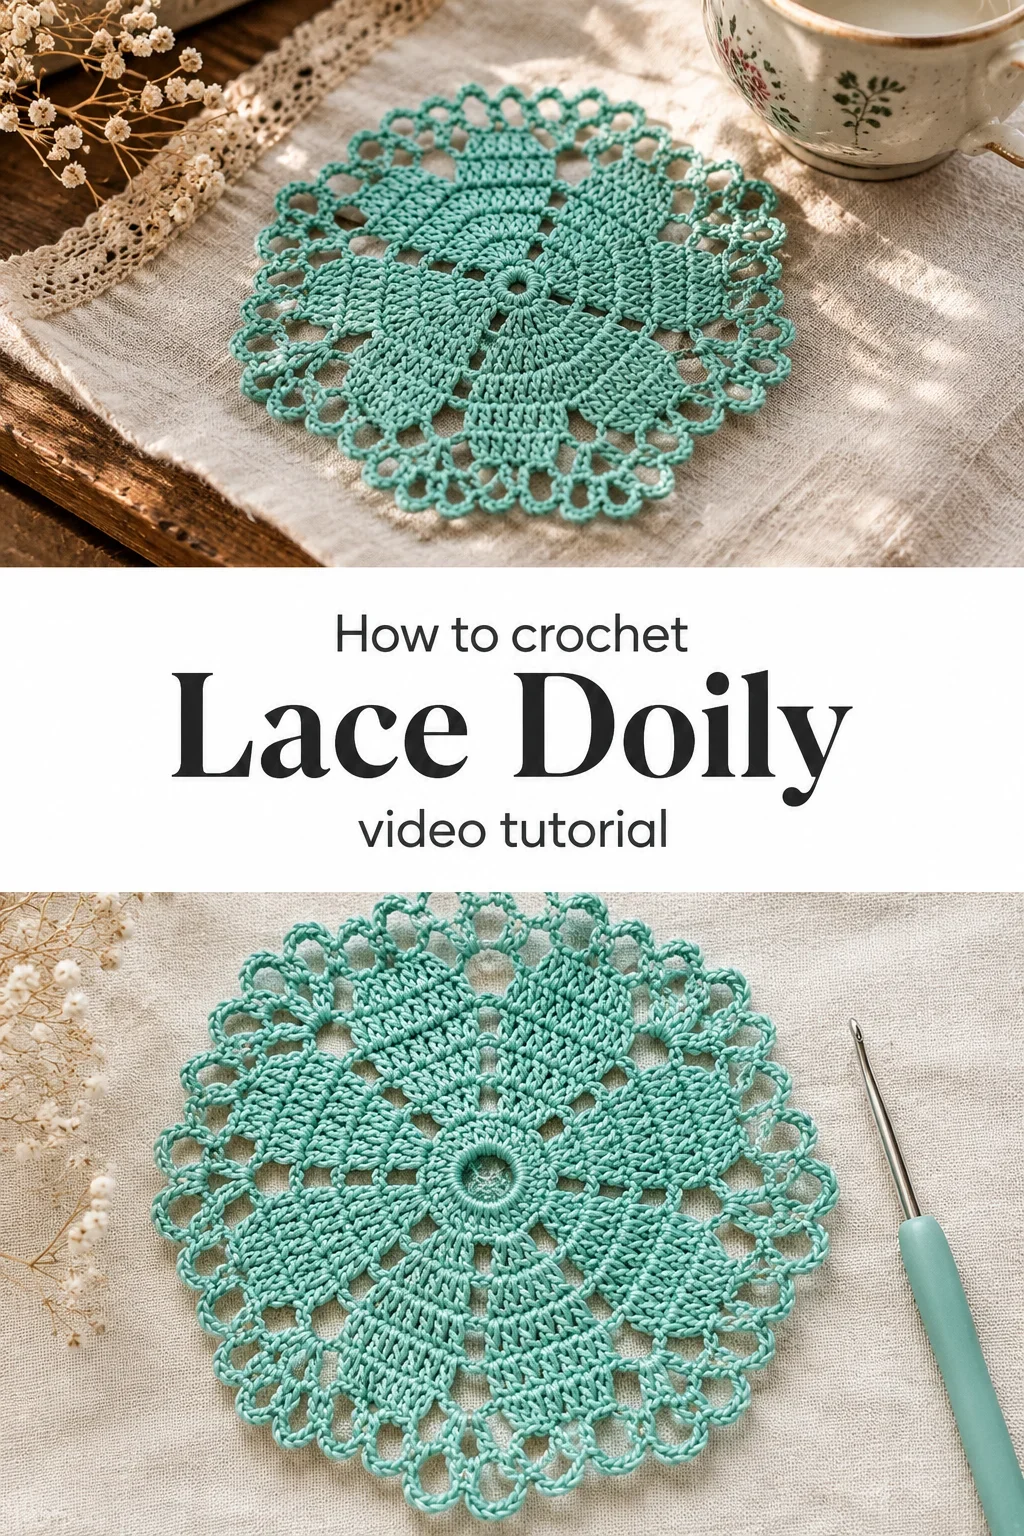
The Lace Doily
A crochet lace doily is one of those rare objects that feels both airy yet structured, light enough to drape across your fingers like a veil but firm enough to hold its circular form without support. It belongs to anyone who loves handmade things that carry weight beyond their size, whether you are decorating a windowsill, dressing a dinner table, or gifting something made with genuine care. Each round radiates outward from a tight central ring, growing in visual complexity as the lacework opens into fans and arches. The finished piece has a meditative softness to it, a quiet beauty that asks to be noticed slowly.
Lace Doily Related Posts:
- Crochet Comfort Socks: A Cozy Handmade Essential
- Crochet Net Bag: A Chic and Breezy Summer Staple
- Crochet Animal Phone Pouch: A Playful Daily Companion
- Crochet Textured Blanket: A Splendid Timeless Classic
The teal shade used in the video tutorial photographs like a dream, but this pattern lives equally well in ivory, blush, dusty sage, or warm ecru. A single color always reads as the most elegant choice with lace, letting the openwork speak for itself rather than competing with a tonal shift. If you want something with a little personality, a soft variegated fingering yarn in muted tones can give the rounds a watercolor quality that feels entirely unique.
Materials and Tools
To recreate this crochet lace doily as shown in the tutorial, you will want a fingering weight or crochet thread yarn, specifically a size 10 cotton crochet thread, which gives the lacework its crisp definition and holds the scalloped border without drooping. Cotton is the fiber of choice here because it has no stretch, meaning your rounds stay even and your open spaces remain truly open rather than closing in on themselves as the piece is handled. A 1.5mm to 1.75mm steel crochet hook is the right tool for this weight of thread, giving you control over the tight center rounds while still allowing the outer arches to form freely. Keep a yarn needle nearby for weaving in your starting tail, as a clean center is the first thing the eye travels to when a doily is laid flat.
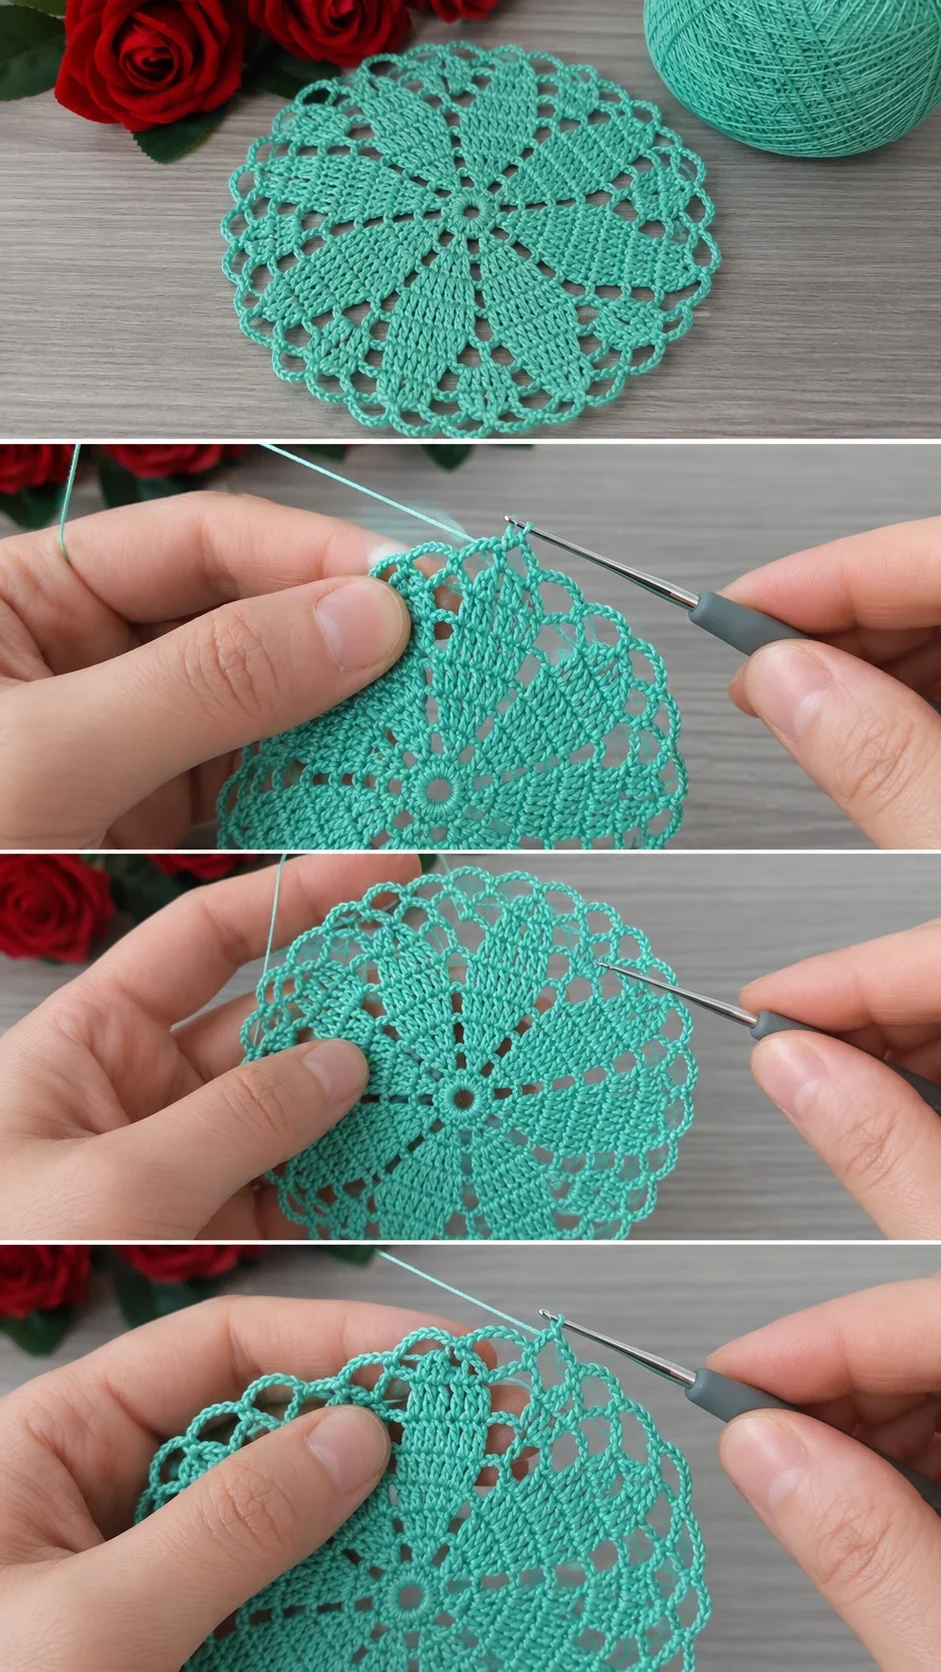
Stitch by Stitch
This pattern draws from a small but expressive collection of crochet stitches that layer together to form the lace.
BULLET:CH (Chain Stitch) The foundational stitch used to start each round and to build the open arch spaces between clusters throughout the lacework.
BULLET:SC (Single Crochet) A short, firm stitch used primarily at joining points and within the inner rounds to keep the center tight and stable.
BULLET:DC (Double Crochet) The workhorse of this design, forming the fan clusters and upright columns that give the doily its structural radiance.
BULLET:2dc(tog) (Two Double Crochets Together) A gentle decrease stitch that draws two DC stitches into a single top, visible in the tutorial and used to shape and close sections of the lace neatly.
Once you settle into the repeating pattern of chain arches and DC clusters, the work finds a meditative rhythm that makes each round feel like a small reward. The openness of the lace means you can always see where you are going, which makes this far less intimidating than it looks.
Construction
This crochet lace doily is worked entirely in the round, beginning with a magic ring or a small chain loop at the center and expanding outward through a series of rounds that increase in stitch count and structural complexity. The early rounds are denser, building the solid heart of the piece before the pattern opens into the fan and arch sections that define its lace character. Because each round is self-contained and the increases are built into the repeat, this construction method is genuinely forgiving for confident beginners, and the video tutorial walks through each round clearly so you can follow along without needing a written pattern. For a larger doily, simply continue the arch and fan repeat for additional rounds before working the scalloped border close.
Wearing Your Lace Doily
A finished crochet lace doily laid under a candle, a potted succulent, or a single stem in a glass bottle immediately shifts the feeling of a surface from ordinary to considered. Framed behind glass with a linen backing, it becomes wall art that rivals anything sold in a boutique home shop. Made in multiples and joined at their borders, these doilies become a table runner that will genuinely stop guests mid-conversation.
Blocking, Washing, and Storing Your Doily
Because this doily is worked in cotton thread, wet blocking is the most effective way to open the lacework fully and set the scalloped border into its final shape. Soak the finished piece in cool water, press out the excess gently without wringing, then pin it to a foam mat using rust-proof pins, stretching each arch and scallop point to its natural position before leaving it to dry completely. For ongoing care, hand wash in cool water with a gentle soap and reshape by hand each time, as machine washing will distort the open sections over time. Store flat or rolled loosely in acid-free tissue if you are tucking it away, which prevents the cotton fibers from creasing at fold lines.
Every crochet lace doily you finish is a small proof that patience and a little thread can produce something genuinely worth keeping. The full video tutorial is linked for you to follow round by round, so gather your thread, pick up your hook, and let the lacework grow. If you make one, share it on Pinterest and tag your work so others can find their way to this pattern too.
Follow us on Pinterest and subscribe to the Newsletter so you don’t miss a thing!
Tutorial and photos of this lace doily by: Knitting Love 💗.