
A free video tutorial is available to guide you through every round of this Crochet Star Granny Square, so you can follow along at your own pace with complete confidence. The way a bold geometric star blooms outward from a tight center ring, reaching its pointed tips into crisp white borders, is genuinely one of the most satisfying shapes in all of granny square crochet!
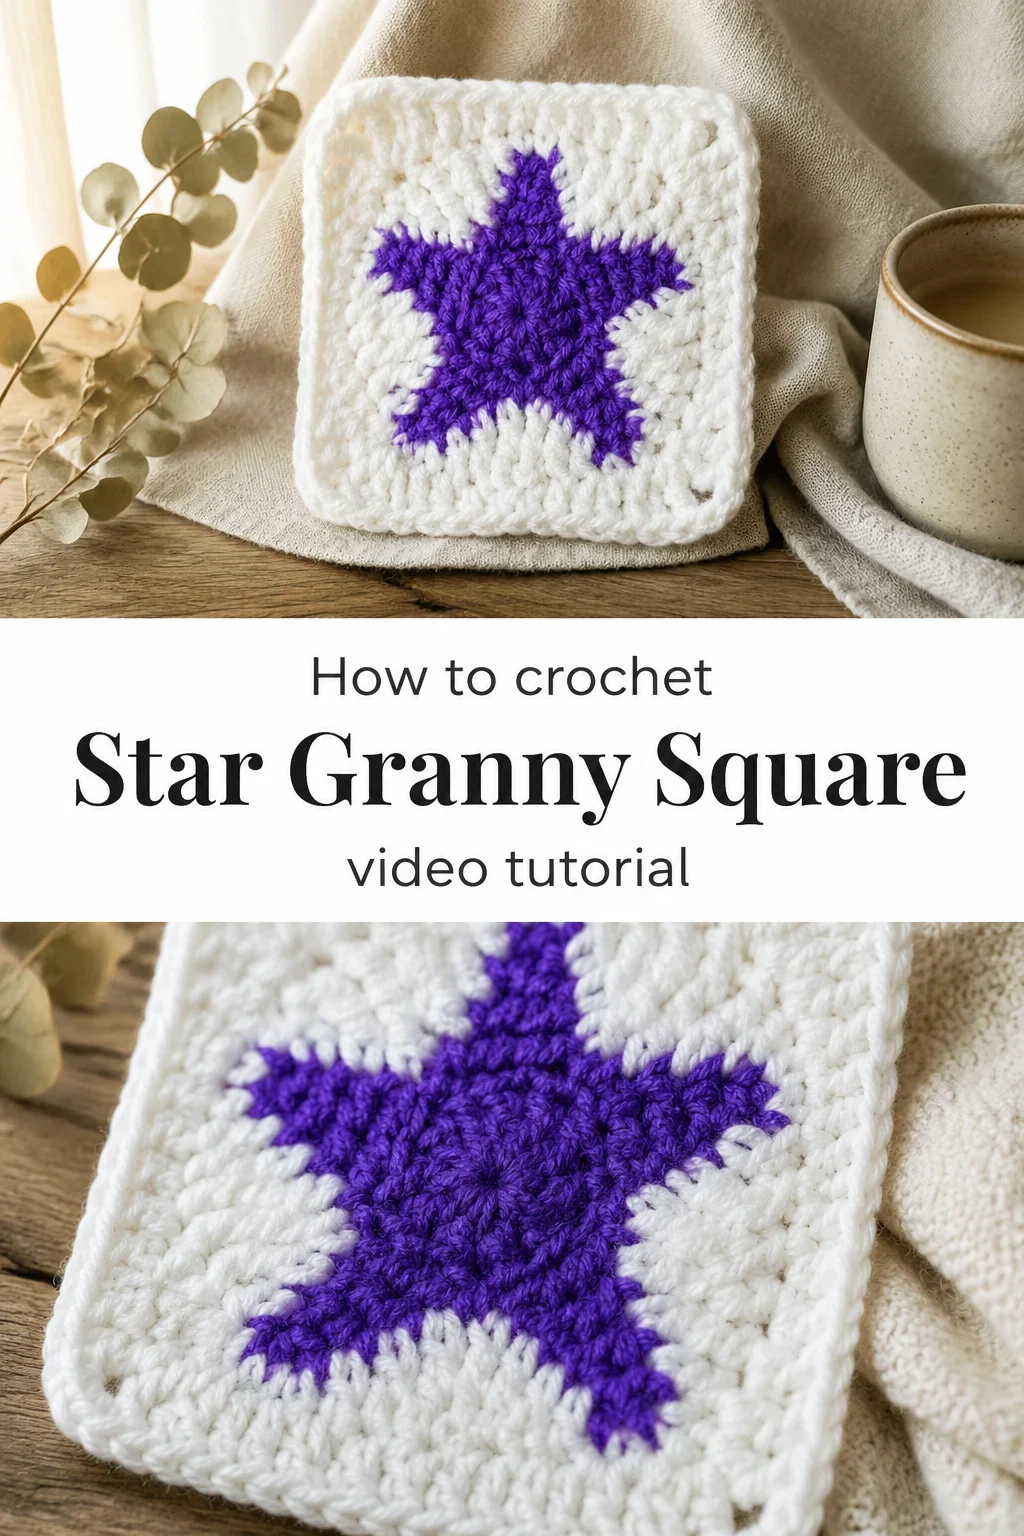
The Star Granny Square
The Crochet Star Granny Square carries that rare quality of feeling both graphic and handmade at once, like something you might find pressed between the pages of a vintage pattern book yet completely fresh when worked in modern colors. Its six-pointed form radiates from a dense center in the contrast color, softening as white stitches fill in around it to create a shape that is airy yet structured. This square is for the maker who wants their work to say something, to hold a little geometry and a little warmth in the same breath. Whether you are new to color-work granny squares or simply looking for a motif with more personality than the classic, this one rewards you generously.
Granny Square Related Posts:
- Crochet Old Money Cardigan: A Timeless Elegant Classic
- Crochet Batwing Sweater: A Chic and Timeless Classic
- Crochet Boho Poncho: A Chic and Timeless Wrap
- Crochet Mini Bunny Plushie: A Sweet and Charming Keepsake
A deep violet against bright white is the combination shown in the tutorial, and it reads boldly from across a room with a confidence that softer palettes simply cannot match. You could equally work the star in teal for a coastal, sea-glass feeling, as seen in the comparison swatch, or try terracotta against cream for something warmer and more autumnal. The two-color construction means your stash yarn becomes a design decision, and even oddments of worsted weight in unexpected pairings tend to look intentional and considered.
Materials and Tools
The Crochet Star Granny Square works beautifully in worsted weight yarn, which gives the star motif enough body to hold its pointed shape without pulling or distorting at the tips. A smooth acrylic or a wool-acrylic blend in worsted weight is ideal for beginners because it slides evenly and shows stitch definition clearly, letting the star geometry read as crisply as it should. You will want a 5mm crochet hook, which pairs naturally with worsted weight and produces a fabric that is firm enough to be structural while still having a pleasing softness when held. A blunt tapestry needle for weaving in your two yarn ends is the only other tool you truly need to finish this square neatly.
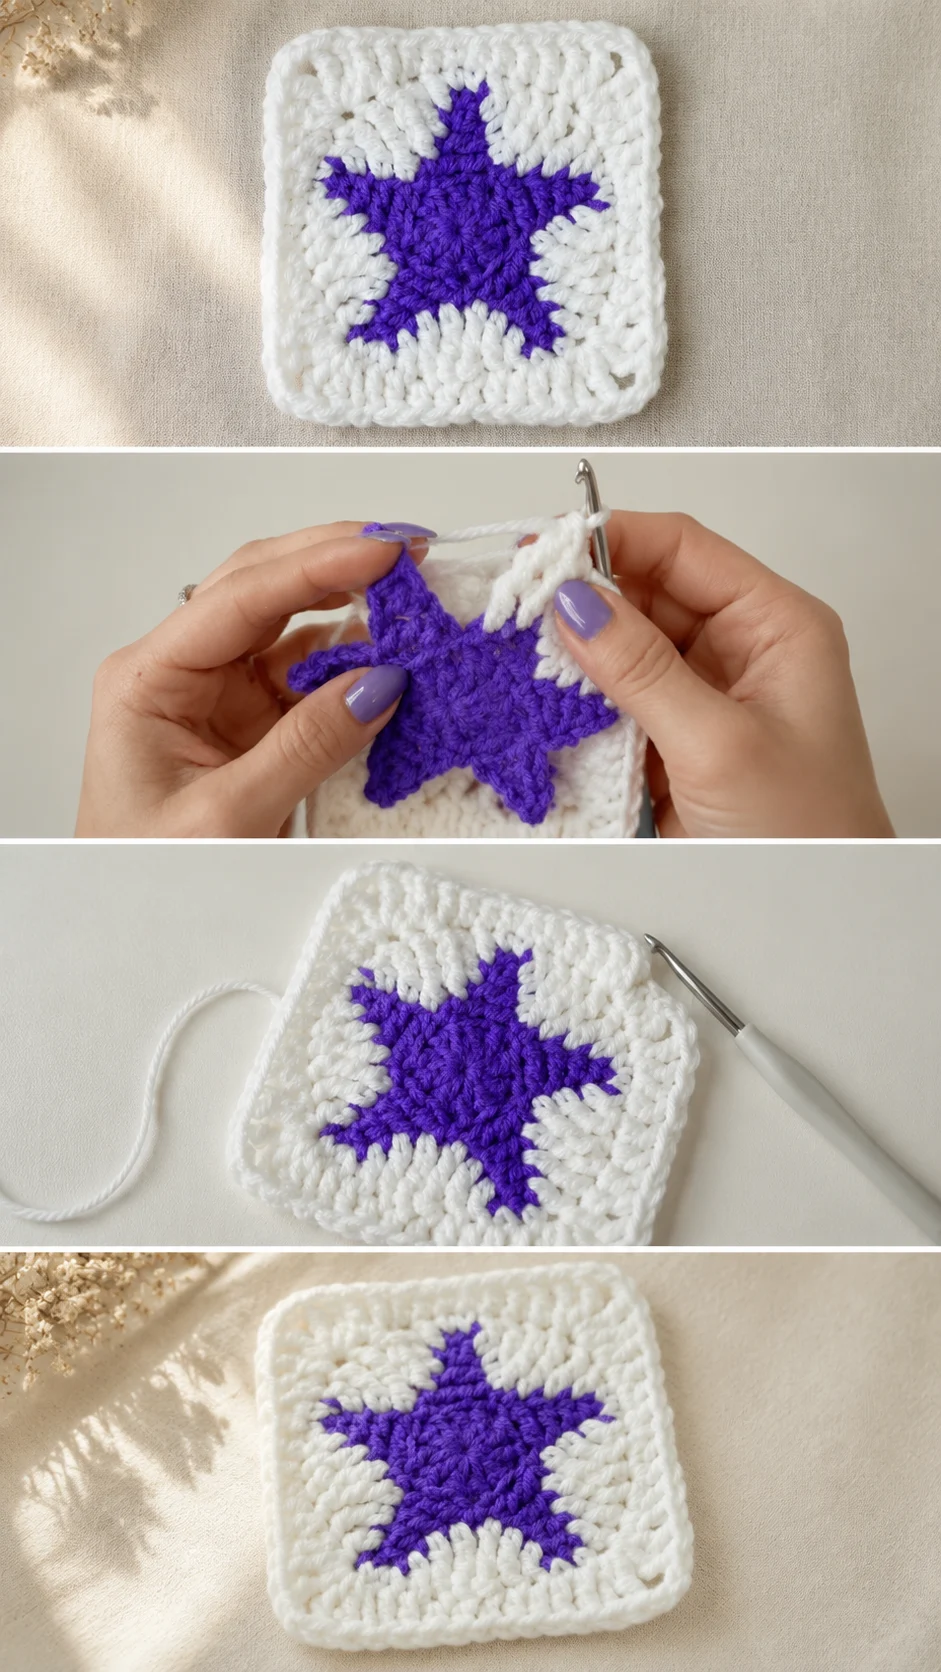
Stitch by Stitch
This motif draws on a small, accessible vocabulary of crochet stitches that combine to build the star’s distinctive spiked silhouette.
BULLET:SC (Single Crochet) The tightest and most grounding of the stitches used here, SC creates the firm fabric at the star’s inner points and helps define the transition between colors.
BULLET:DC (Double Crochet) The workhorse of the square, DC builds height quickly and forms the open, slightly lofty quality of the white border rounds.
BULLET:CH (Chain) Used to create the foundational ring at the center and to bridge between stitch clusters as the rounds grow outward.
BULLET:SL ST (Slip Stitch) Joins each round cleanly and moves the yarn into position without adding height, keeping the edges of the star precise and tidy.
There is a meditative rhythm to working the repeating sections of this square, particularly once the star points are established and your hands begin to anticipate each cluster before your eyes find it.
Construction
The Crochet Star Granny Square is worked entirely in the round, beginning with a magic ring or a small chain ring at the center from which the star’s six points grow outward in the contrast color. Once the star motif is complete, the white yarn is joined and the surrounding rounds are worked into the spaces created by the star tips, gradually squaring off the circular motif into its final grid-friendly shape. The full step-by-step construction is covered in the video tutorial, which walks through the color change moments and the corner formations in real time so nothing feels ambiguous. If you want to personalise your square, try working the final border round in a third accent color for a stained-glass effect that makes each motif feel unique.
Wearing Your Star Granny Square
A single Crochet Star Granny Square makes a striking patch or pocket accent on a denim jacket or tote bag, appliquéd with a few whip stitches around its border. Join multiples together into a lap blanket, a pillow cover, or a wall hanging and the repeating stars create a pattern that feels both folkloric and modern at the same time. Finishing even one square gives you that particular satisfaction of holding something complete in your hands, which tends to make the next one feel inevitable.
Keeping Your Star Granny Squares Fresh and Flat
Blocking your finished Crochet Star Granny Square makes a noticeable difference to how crisply the star points sit and how squarely the corners behave, so it is worth the few extra minutes. For acrylic yarns, wet blocking or steam blocking with a pressing cloth works well, gently coaxing each point outward and pinning the corners square until dry. If you are working in wool or a wool blend, a cool hand wash followed by laying the square flat to dry on a towel will keep the fibers happy and the colors vivid. Store finished squares flat or rolled rather than folded to prevent crease lines forming across the center of the motif.
Every square you finish is a small, real act of making something where there was nothing, and that is always worth celebrating. Save this article to your crochet Pinterest board so you can find the tutorial whenever you are ready to cast on your next star.
Follow us on Pinterest and subscribe to the Newsletter so you don’t miss a thing!
Tutorial and photos of this star granny square by: VivCrochets.