
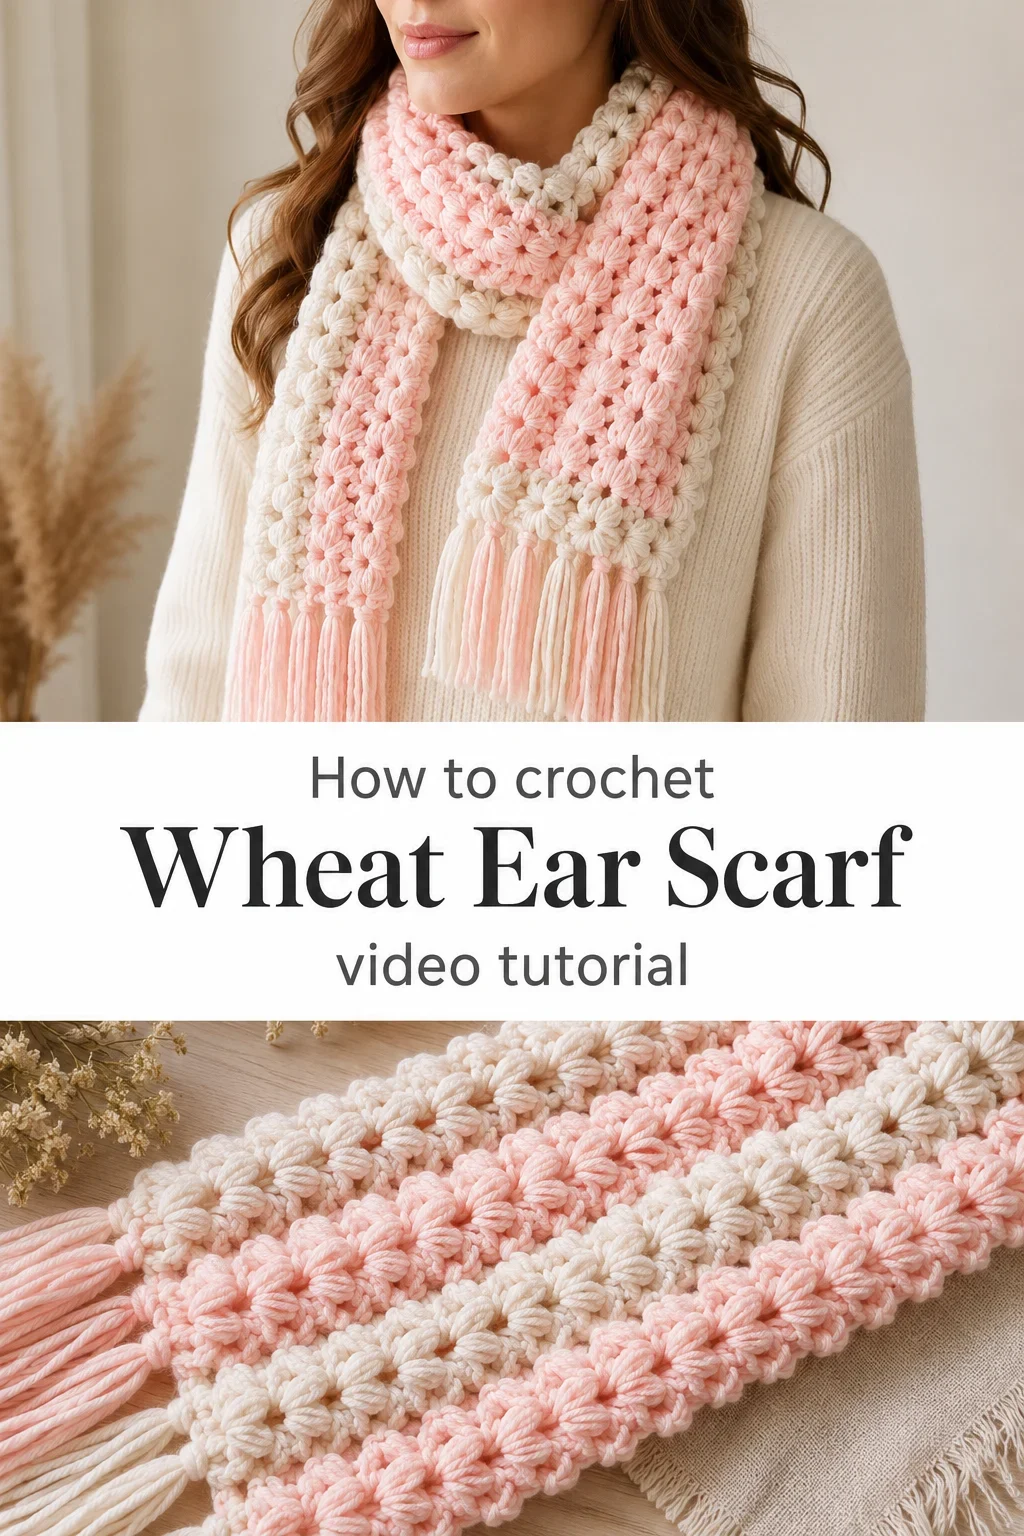
Learn to crochet the Crochet Wheat Ear Scarf and you will have a piece that wraps around you like the softest morning in late October. Wear it loose over a chunky knit, knot it at the collar of a wool coat, or drape it as a light shawl on cooler evenings.
The Wheat Ear Scarf
The Crochet Wheat Ear Scarf is one of those pieces that stops people mid-conversation, fingers reaching out instinctively to touch it. Each cluster of stitches blooms into a small, rounded shape that reads like gathered grain, airy yet structured, soft yet holding its form with quiet confidence. It is the kind of scarf that feels handmade in the best possible sense, carrying visible warmth and intention in every row. This pattern suits anyone who loves texture they can see and feel, whether you are new to crochet clusters or you have been working them for years.
Ear Scarf Related Posts:
- Crochet Lace Motif Table Runner: A Timeless Elegant Classic
- Crochet Textured Blanket: A Timeless and Luxurious Wrap
- Crochet Strawberry Tote Bag: A Sweet Summer Essential
- Crochet Zigzag Blanket: A Bold and Vibrant Treasure
The colour palette shown in the tutorial leans into a dreamy blush-and-cream combination, where soft peachy pink and warm ivory trade places in gentle striped waves, creating a gradient effect that feels both nostalgic and completely wearable right now. You could just as easily swap those tones for a deep sage and oatmeal pairing, or go bold with terracotta and rust for an autumn-forward look. The width of the scarf is generous enough to style in multiple ways, which makes the colour choice feel low-stakes and genuinely fun.
Materials and Tools
For the Crochet Wheat Ear Scarf, you will want to reach for a worsted weight yarn, which gives the wheat ear clusters their satisfying plumpness and helps the texture read clearly from a distance. The tutorial uses a smooth, slightly mercerized yarn in two colours, and a blend with some cotton or acrylic content works beautifully here because it holds the stitch definition without adding too much weight around the neck. A 5mm crochet hook is the sweet spot for this project, giving you enough drape to keep the scarf fluid while still letting those clusters sit up and show themselves. Keep a yarn needle nearby for weaving in colour-change ends as you go, which will save you a great deal of time at the finishing stage.
Stitch by Stitch
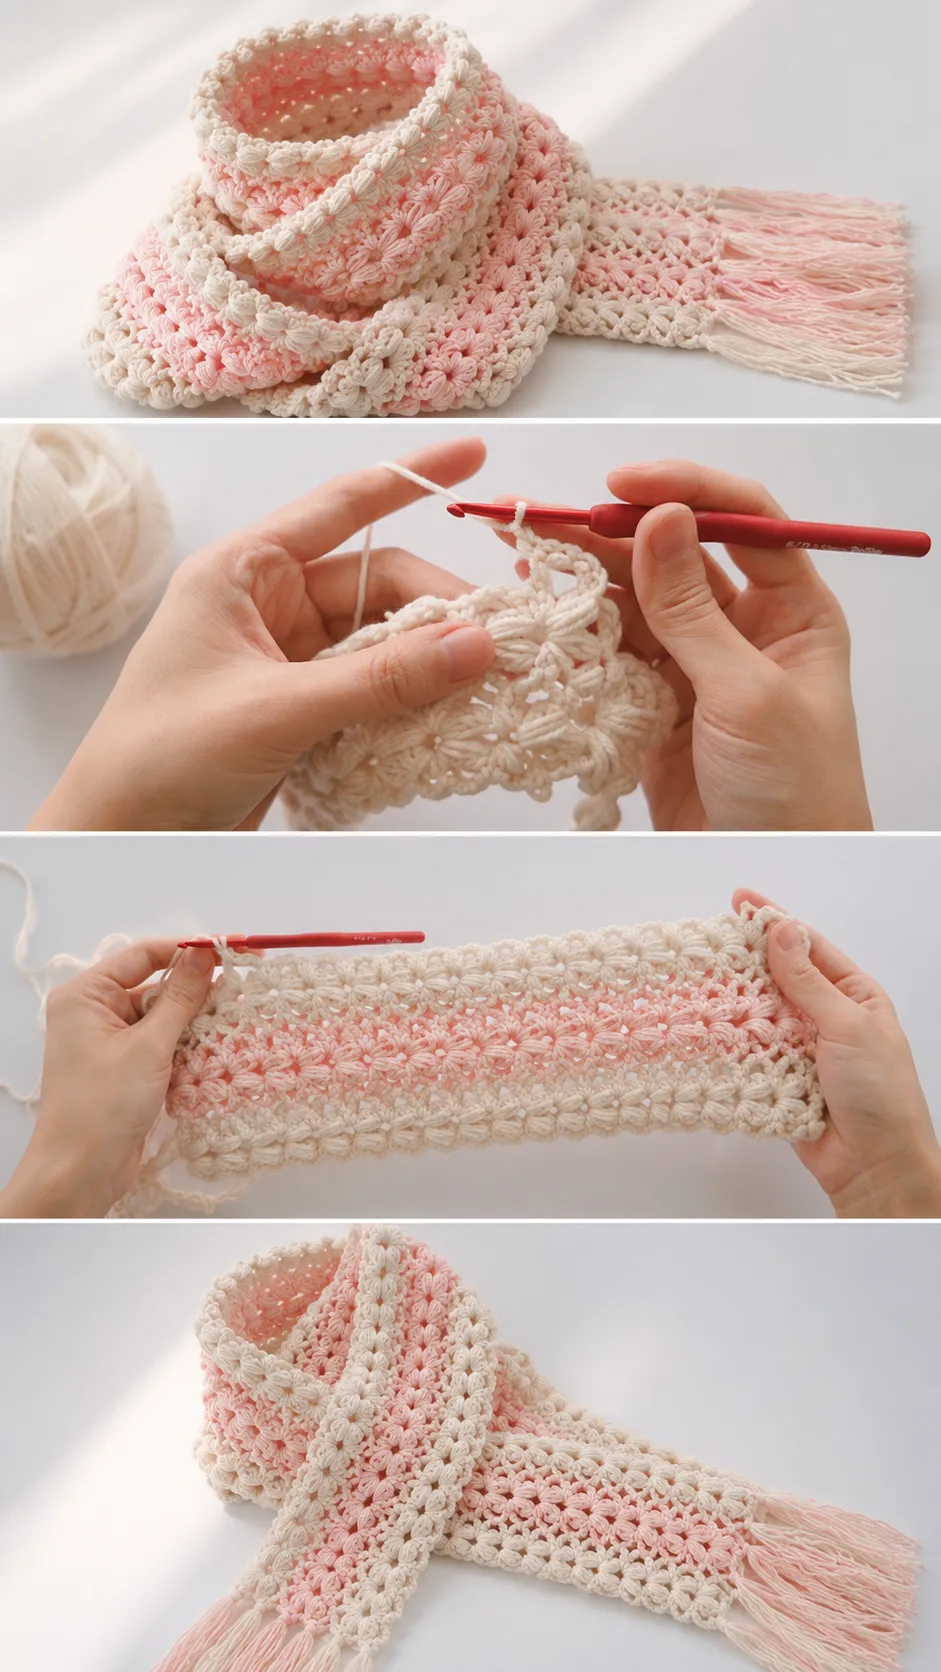
The Crochet Wheat Ear Scarf is built on a small family of stitches that work in close conversation with one another.
BULLET:CH (Chain) The foundation chain sets the width of your scarf, and getting a relaxed, even tension here will make everything that follows much smoother.
BULLET:SC (Single Crochet) Used at the edges and between cluster groups, the SC acts as an anchor stitch that keeps the fabric from spreading unevenly.
BULLET:DC (Double Crochet) The double crochet forms the structural backbone of each wheat ear cluster, worked in groups to create those signature rounded petal shapes.
BULLET:YO (Yarn Over) The yarn over is the repeated motion that builds each DC and gives the clusters their looped, gathered fullness.
Once you settle into the rhythm of cluster, chain, anchor, cluster, the work begins to feel almost meditative, your hands finding the pattern before your eyes need to confirm it. That repetitive rhythm is a large part of why this scarf is so satisfying to make over long evenings.
Construction
The scarf is worked flat in long rows, building width from your foundation chain before you grow the length stitch by stitch, cluster by cluster. Colour changes happen at the beginning of rows and are simple to manage even if you are new to working with two yarns, since you are only ever carrying one colour at a time. The full step-by-step technique is explained clearly in the video tutorial by 小师妹手作, which walks you through each row in close-up detail so you can follow along at your own pace and pause whenever you need to. To customise the length, simply continue working rows until the scarf reaches your preferred measurement before adding the fringe at each end.
Wearing Your Wheat Ear Scarf
The finished Crochet Wheat Ear Scarf is wide enough to fold in half and loop loosely at the throat for a cosy, bundled look that pairs effortlessly with a long camel overcoat. It also drapes beautifully when worn long and open over a chunky ribbed sweater, the textured surface catching the light as you move. If you are making one as a gift, the blush and cream palette photographs so well that the recipient will want to wear it the moment they unwrap it.
Washing and Storing Your Wheat Ear Scarf
Once your scarf is finished, a gentle hand wash in cool water with a mild wool or delicate soap will keep the fibres looking their best wash after wash. Press out the excess water by rolling the scarf in a clean towel rather than wringing, then lay it flat on a blocking mat to dry so the clusters keep their shape and the edges stay straight. If you used an acrylic or acrylic-blend yarn, a light steam block from a few centimetres above the surface will relax the stitches beautifully without flattening the texture. Store it folded loosely in a breathable cotton bag during warmer months to keep it fresh and ready for the next cool season.
Every scarf you finish is proof that slow, intentional making produces something the world genuinely cannot mass-produce, and this one carries that truth in every looped cluster. If you make your own Crochet Wheat Ear Scarf, share a photo on Pinterest and tag it so other makers can find the pattern and feel inspired to pick up their hook.
Follow us on Pinterest and subscribe to the Newsletter so you don’t miss a thing!
Tutorial and photos of this wheat ear scarf by: 小师妹手作.