
I found this pattern tucked away in my "someday projects" folder, and I finally sat down to bring it to life. The Lavender Daisy Backpack started as a sketch on a napkin during a rainy afternoon at my favorite coffee shop. I kept thinking about those cheerful granny square daisies I learned as a teenager and wondered what would happen if I turned them into something practical and wearable. Twelve daisy squares later, this sweet little pack was born. It feels like carrying a tiny garden on your back, and every time I wear it, someone stops to ask where I got it.
Get the Ad-Free PDF Pattern
You can find the free pattern below, or you can purchase the ad-free printable PDF from my shop.
Get the Printable PDF →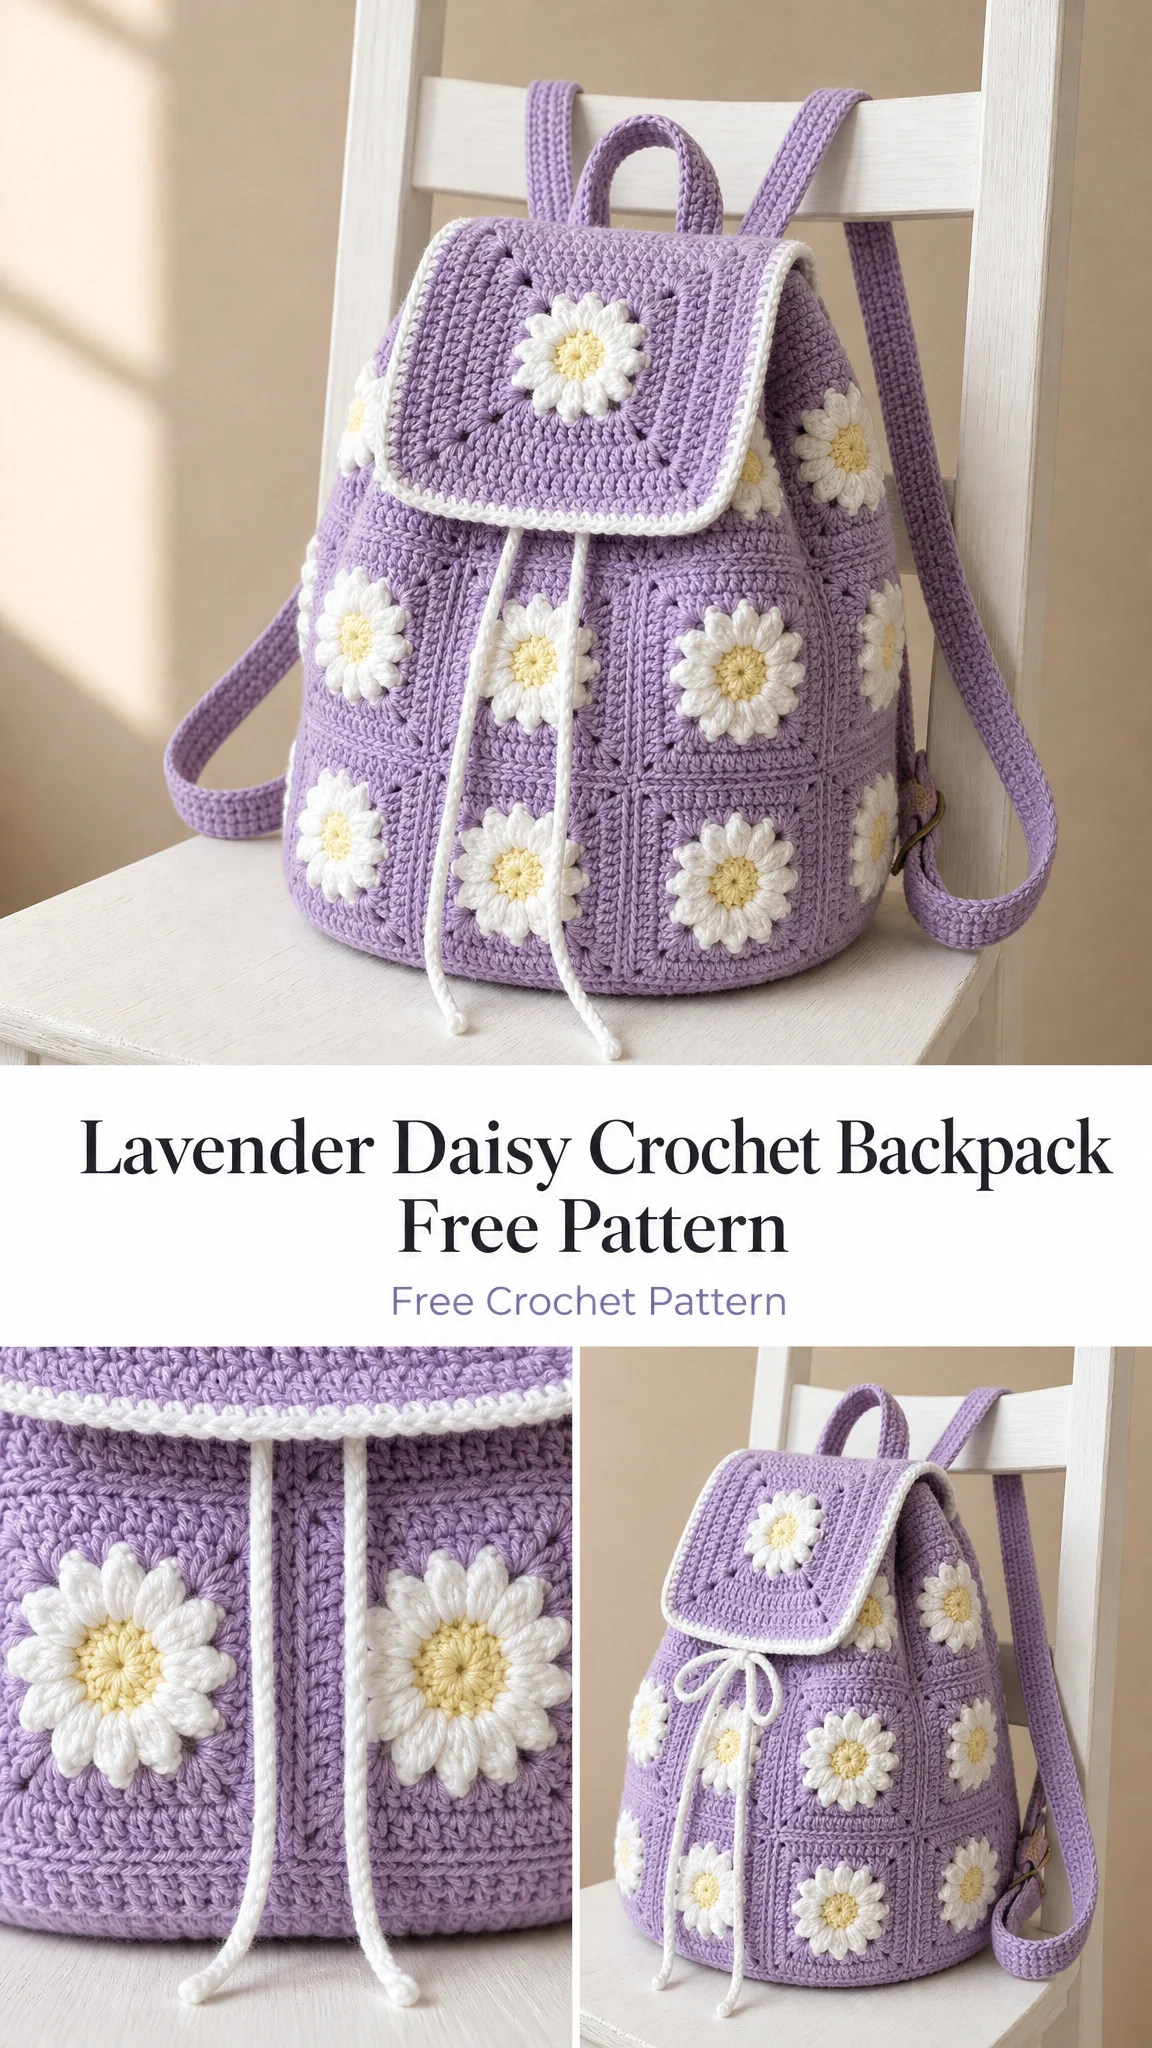
This pattern is perfect for intermediate crocheters or adventurous beginners ready to tackle their first bag project. You will learn how to create beautiful daisy granny squares, join them into a structured body, and add all the finishing touches that make this backpack both functional and adorable.
What Makes This Daisy Backpack Special
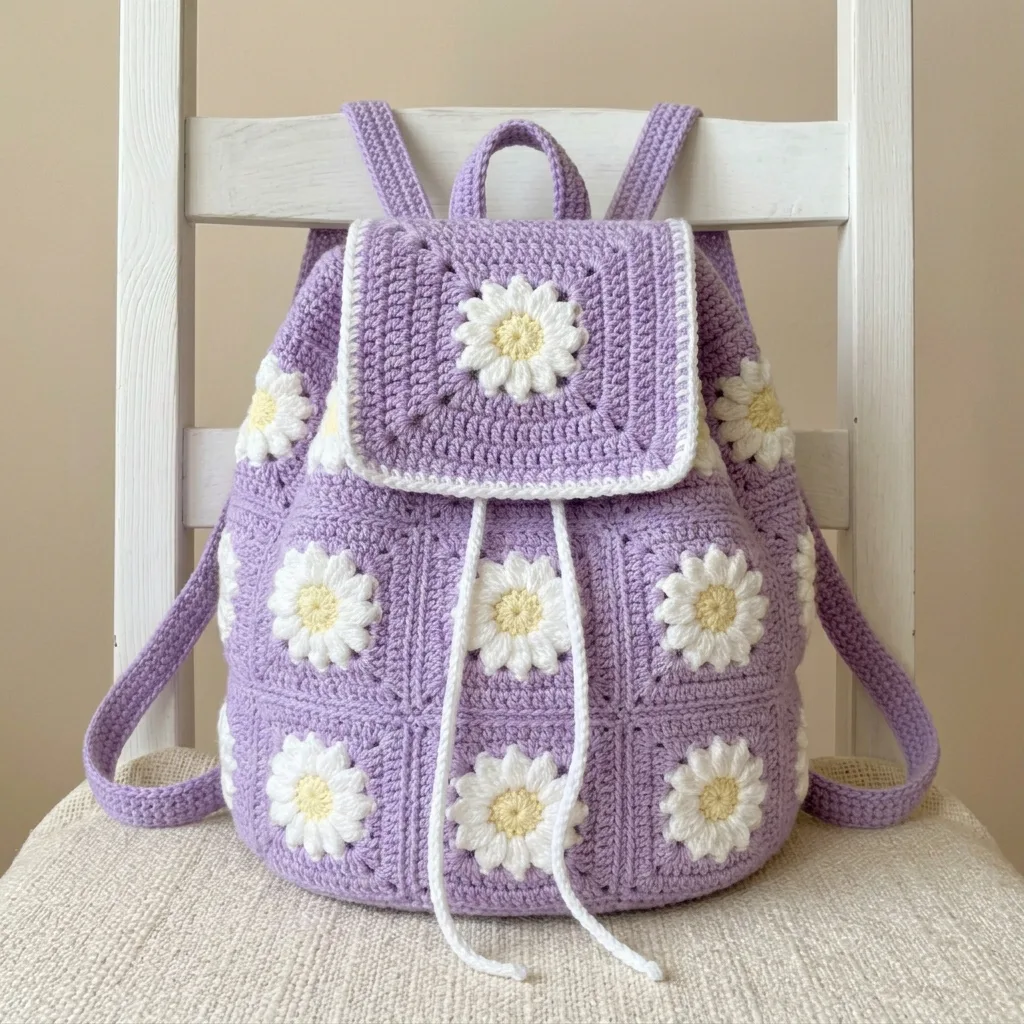
The Lavender Daisy Crochet Backpack combines classic granny square technique with modern bag construction. Each square features a sunny yellow center surrounded by plump white petals, all framed in soft lavender. The result is a cozy mini pack that measures approximately 28 × 26 × 12 cm (11 × 10¼ × 4¾ inches) when finished.
What I love most about this design is how the construction breaks down into manageable pieces. You will make 13 daisy squares total, then join them together, add a rounded base, create a top band with drawstring eyelets, and attach the straps and handle. It sounds like a lot, but each step builds naturally on the one before.
The drawstring closure keeps your belongings secure while the fold-over flap adds an extra layer of charm. Two adjustable straps and a top loop handle give you carrying options for any adventure.
Materials You Will Need
Yarn (Worsted Weight #4)
This project uses approximately 540 yards (495 meters) total. A cotton or cotton-blend yarn works best because it gives crisp stitch definition for the daisies and helps the bag hold its shape.
Recommended Yarn Options:
Hook and Notions
A note on yarn substitution: Cotton and cotton-blend yarns keep the bag structured. Soft acrylic works too but tends to be floppier and stretches with weight. If you use acrylic, go down one hook size for a firmer fabric.
Gauge Information
One finished daisy granny square should measure 8.5 to 9 cm (3⅜ to 3½ inches) square after light blocking, using a 4.0 mm hook and worsted weight yarn.
In double crochet (dc): 16 dc × 8 rows = 10 cm (4 inches).
Gauge is not critical for fit, but it determines your final size and yarn usage. If your fabric feels loose or floppy, go down a hook size. A firmer fabric holds its shape better for a bag.
Want a taller backpack? Work the body 6 squares around × 3 rows tall (18 squares total) and lengthen the straps accordingly.
Abbreviations and Special Stitches
This pattern uses US crochet terms. Here are all the abbreviations you will encounter:
Special Stitches Explained:
Magic Ring (MR): This creates an adjustable loop that closes completely with no hole in the center. If you are new to magic rings, you can substitute ch 4 and sl st to form a ring instead.
Petal: This is worked as (ch 2, 2 dc, ch 2, sl st) all in one stitch. It creates one rounded daisy petal.
sc2tog: Insert hook into next stitch, yarn over, pull up a loop. Insert hook into following stitch, yarn over, pull up a loop. You now have 3 loops on your hook. Yarn over and pull through all 3 loops at once. This decreases your stitch count by one.
For left-handed crocheters: This pattern is written for right-handed crochet. Work every round and row in the mirror image. Your stitches will travel clockwise instead of counter-clockwise. All stitch counts and shaping remain identical.
Part 1: Daisy Granny Square (Make 13)
You will need 12 squares for the body and 1 for the flap. Each square has a yellow center, white petals, and a lavender frame.
Center and Petals
Round 1 (Yellow): MR, ch 1, 8 sc into ring, sl st to first sc to join. Pull the ring tight to close the center hole. Fasten off yellow. (8 sc)
Round 2 (White): Join white yarn in any sc. Work a petal in each of the 8 sc as follows: *(ch 2, 2 dc, ch 2, sl st) all in the same sc. This makes one petal. Sl st in next sc.* Repeat from * around the entire circle. Join and fasten off white. (8 petals)
Tip: Keep your petals loose and plump. Do not pull the stitches too tight. A gentle steam after finishing helps the petals sit up beautifully.
Lavender Frame
Round 3 (Lavender): Fold the petals toward you so you can see the Round 1 stitches behind them. Working behind the petals into the Round 1 sc stitches, join lavender in any sc. Ch 3 (this counts as dc), dc in same sc, ch 1. *(2 dc, ch 1) in next sc.* Repeat from * around into each of the 8 sc. Join to top of ch 3. (8 two-dc groups, 8 ch-1 spaces)
How to work behind the petals: Insert your hook into the same stitch each petal sits on, coming from the back of the work. The petals will pop forward and the frame hides neatly behind them.
Squaring the Daisy
Round 4 (Lavender): Sl st into first ch-1 sp. Ch 3, (2 dc, ch 2, 3 dc) in same sp. This is your first corner. Ch 1, 3 dc in next sp, ch 1. This is your first side. *(3 dc, ch 2, 3 dc) in next sp for corner. Ch 1, 3 dc in next sp, ch 1 for side.* Repeat from * 2 more times. Join to top of ch 3. (4 corners, 4 sides)
Round 5 (Lavender): Sl st to any corner ch-2 sp. Ch 3, (2 dc, ch 2, 3 dc) in same corner. *Ch 1, 3 dc in next ch-1 sp, ch 1, 3 dc in next ch-1 sp, ch 1, (3 dc, ch 2, 3 dc) in next corner.* Repeat from * around, ending the last repeat before the first corner. Join. Fasten off lavender. (2 side groups per edge)
Blocking your squares: Pin each finished square to 8.5 to 9 cm (3⅜ to 3½ inches) and steam or wet-block. Square, even squares make seaming much easier and give the finished bag a professional look.
Weave in your yellow and white ends as you complete each square. You can leave a long lavender tail on the body squares if you prefer to seam with it.
Repeat until you have 13 daisy squares total.
Part 2: Assemble the Body
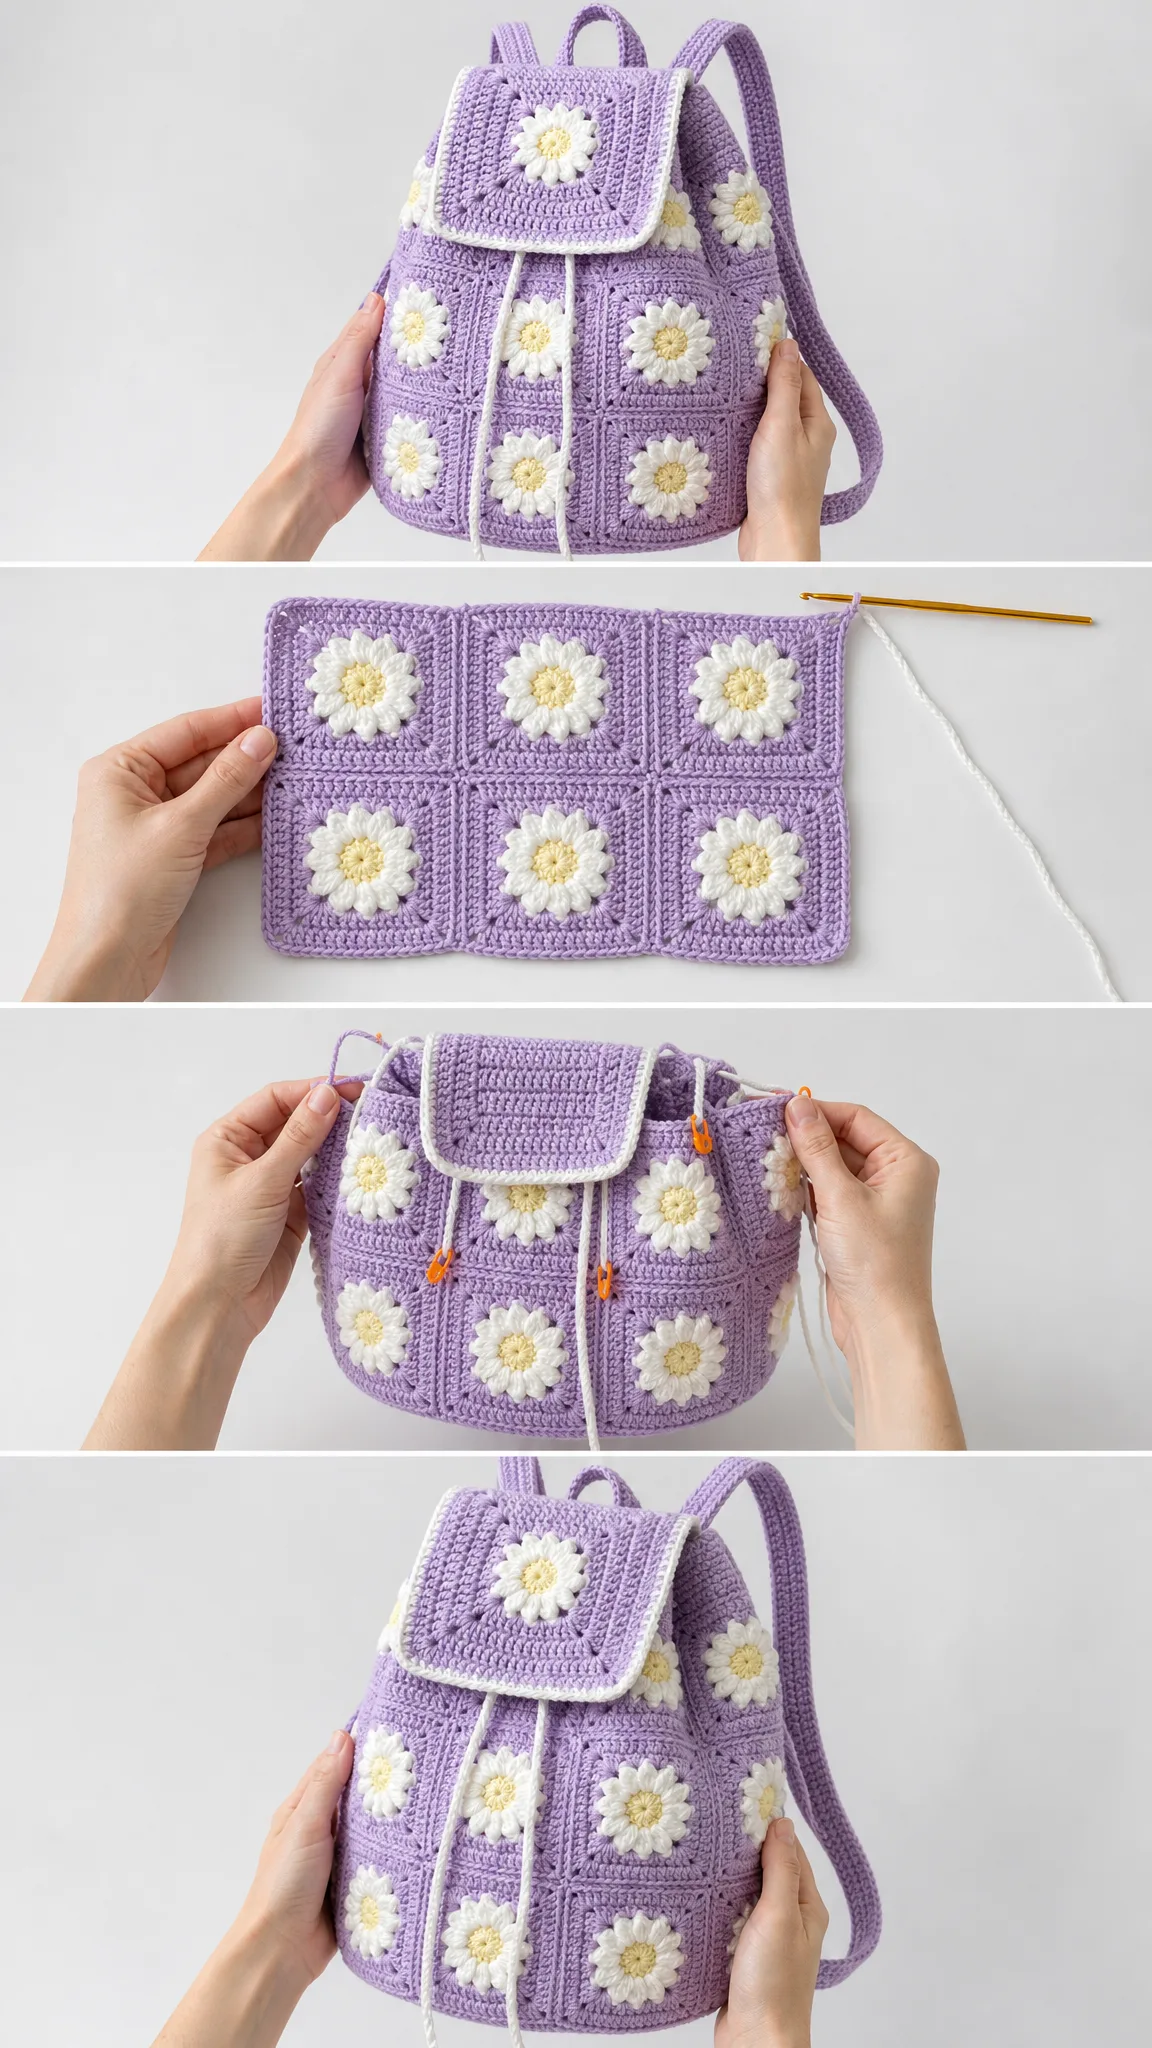
This step uses 12 of your daisy squares. Join them with a whip stitch or slip stitch seam, whichever you prefer. Keep all daisies facing the same direction with the right side up.
Step 1: Lay out 12 squares in a panel that is 6 squares wide × 2 squares tall.
Step 2: Seam the squares together in rows first, then seam the two rows to each other. You now have one large rectangle.
Step 3: Fold the rectangle so the two short ends (the 2-square-tall edges) meet. Seam them together to form a tube that is 6 squares around and 2 squares tall.
Orientation note: The seamed short ends become one side of the bag. The front of your backpack shows 3 daisy squares across, just like in the photos.
Seaming tips: Match your stitches carefully, going stitch-for-stitch. Seam through the back loops only for a flat, almost invisible join. Work on a flat surface and pin corners first to keep everything aligned.
Part 3: Rounded Base
The base is worked in lavender, in joined rounds, directly onto the bottom opening of the tube. This gathers the bottom into a soft rounded shape.
Round 1: Join lavender to the bottom edge of the tube. Ch 1, sc evenly all the way around the opening, ending with a stitch count that is a multiple of 6 (approximately 72 to 90 sc). Join to first sc.
Round 2: Ch 1, sc in each st around. Join.
Round 3: Ch 1, *sc in next stitches, sc2tog.* Repeat from * around to decrease 6 stitches evenly. Join.
Rounds 4 and beyond: Repeat the decrease round, working one fewer sc between decreases each round. Continue until approximately 12 stitches remain. The base will cup into a rounded bottom.
Closing: Cut yarn leaving a 25 cm (10 inch) tail. Thread the tail through the remaining stitches, pull tight to close the hole, and secure on the inside.
For a firmer base: Work the early rounds in back loops only, or place a cut-to-size felt circle inside before closing.
Part 4: Top Band and Eyelets
This section creates the drawstring closure. Work in lavender onto the top opening of the tube.
Round 1: Join lavender to the top edge. Ch 1, sc evenly around, ending with a stitch count that is a multiple of 3 (approximately 72 sc). Join.
Round 2: Ch 1, sc in each st around. Join.
Round 3 (Eyelet Round): Ch 3 (counts as dc), dc in next st. *Ch 1, skip 1 st, dc in next 2 sts.* Repeat from * around, ending ch 1, skip last st. Join to top of ch 3. The ch-1 spaces are your drawstring holes.
Round 4: Ch 1, sc in each dc and 1 sc in each ch-1 sp around. Join.
Rounds 5 and 6: Ch 1, sc in each st around. Join. Fasten off after Round 6.
Count check: You should have an even number of eyelets spaced evenly around the top. The drawstring will weave in and out through these holes.
Part 5: The Flap
Use your 13th daisy square for the flap. You will add a tidy white edge around it.
Edge (White): Join white yarn to any corner of the square. Ch 1, sc evenly around all four sides, working 2 sc in each corner ch-2 sp to keep it lying flat. Join. Fasten off and weave in ends.
For softly rounded corners: At the two lower corners of the flap (the corners that will hang down when attached), work (sc, ch 1, sc) instead of 2 sc. This creates the gently rounded shape shown in the photos.
Set the flap aside for now. You will attach it during final assembly so it folds down over the front of the bag with the daisy centered.
Tip: Give the finished flap a light press so it drapes smoothly over the front opening.
Part 6: Straps, Handle, and Drawstring Cord
Backpack Straps (Make 2 in Lavender)
Row 1: Ch 7. Sc in 2nd ch from hook and in each ch across. Ch 1, turn. (6 sc)
Rows 2 and beyond: Sc in each st across. Ch 1, turn. Repeat until the strap measures 70 to 80 cm (28 to 31 inches). Fasten off, leaving a long tail for sewing.
For ribbed, sturdier straps: Work each row in back loops only. This creates a stretch-resistant ribbed strap that will not sag under weight.
Top Handle (Make 1 in Lavender)
Work the same as the straps: Ch 7, sc 6 per row, until the piece measures approximately 14 cm (5½ inches) long. Fasten off. When folded into a loop, this creates the approximately 5 cm (2 inch) top handle.
Drawstring (White, approximately 95 cm / 37 inches)
Option 1 (Crochet cord): Ch until you reach approximately 95 cm, then sc back along the entire chain. Fasten off for a flat cord.
Option 2 (Braided cord): Braid 3 strands of white yarn to the desired length and knot the ends.
Add a small knot or mini-tassel at each end so the drawstring cannot slip back through the eyelets.
Part 7: Final Assembly
This is where everything comes together. Take your time with these steps, especially when attaching the straps. They carry all the weight of the bag.
Step 1 (Drawstring): Weave your drawstring in and out through the eyelet round. Even up the ends at the front. The bag cinches closed when you pull the cord.
Step 2 (Straps): Sew the top end of each strap to the upper back panel, just below the top band. Space them like typical backpack straps. Sew the bottom end of each strap to the lower back near the base. Reinforce each attachment point with extra stitches.
Step 3 (Top Handle): Fold the handle piece into a loop and sew it centered at the back top, between the two strap tops. Reinforce well.
Step 4 (Flap): Sew the top edge of the flap to the back top of the bag, centered, so it folds over the front. Stitch securely along the entire top edge.
Step 5 (Finishing): Weave in all remaining ends and give the bag a final light block.
Strength reminder: Straps and handle carry all the weight. Go over each attachment point two or three times and knot off securely on the inside.
Care Instructions for Your Finished Backpack
Your Lavender Daisy Backpack deserves a little TLC to keep it looking beautiful:
Quick Checklist Before You Finish
Before you declare your backpack complete, double-check these items:
Tips for Success
New to granny squares? Make your very first daisy square slowly and block it. Once one feels comfortable, the other eleven fly by quickly.
Seaming taking forever? Put on your favorite podcast or show. Seaming goes faster when you are not watching it.
Concerned about durability? Using cotton yarn and working at a firm gauge creates a bag that holds up to real use. The back loops only seaming method also adds strength.
Want to customize? Try different color combinations. Sunflower yellow with cream petals on sage green looks stunning. Or go bold with hot pink frames around white and yellow centers.
I hope you love making this Lavender Daisy Crochet Backpack as much as I loved designing it. There is something so satisfying about watching those little daisies bloom one by one, then seeing them come together into a functional bag you can actually use. If you make one, I would absolutely love to see it! Tag me on Instagram or share a photo in the comments below. And if you want to come back to this pattern later, go ahead and save it to your Pinterest boards so it is there when you are ready to start stitching. Happy crocheting!
Want a Quick & Easy Printable Version?
Get a clean, beautifully formatted PDF of this pattern — easy to follow step by step, ready to print or save on any device. No scrolling, no distractions, just the pattern.
Get the Printable PDF →You Might Also Like
- Ocean Blue Ripple Moon Clutch with Gold Tassel Free Crochet Pattern
- Lavender Purple Drawstring Bucket Bag Free Crochet Pattern
- Terracotta Mesh Crochet Flared Sleeve Shrug Pattern
- Sage Green Mesh Tie Cardigan Free Crochet Pattern