
Last summer, my sister called me in a panic. Her best friend’s baby shower was three weeks away, and she wanted to give something handmade, something that would make everyone gasp when the wrapping paper came off. I stayed up way too late that night sketching ideas, and this dress set was born from a coffee-fueled burst of creativity.
Get the Ad-Free PDF Pattern
You can find the free pattern below, or you can purchase the ad-free printable PDF from my shop.
Get the Printable PDF →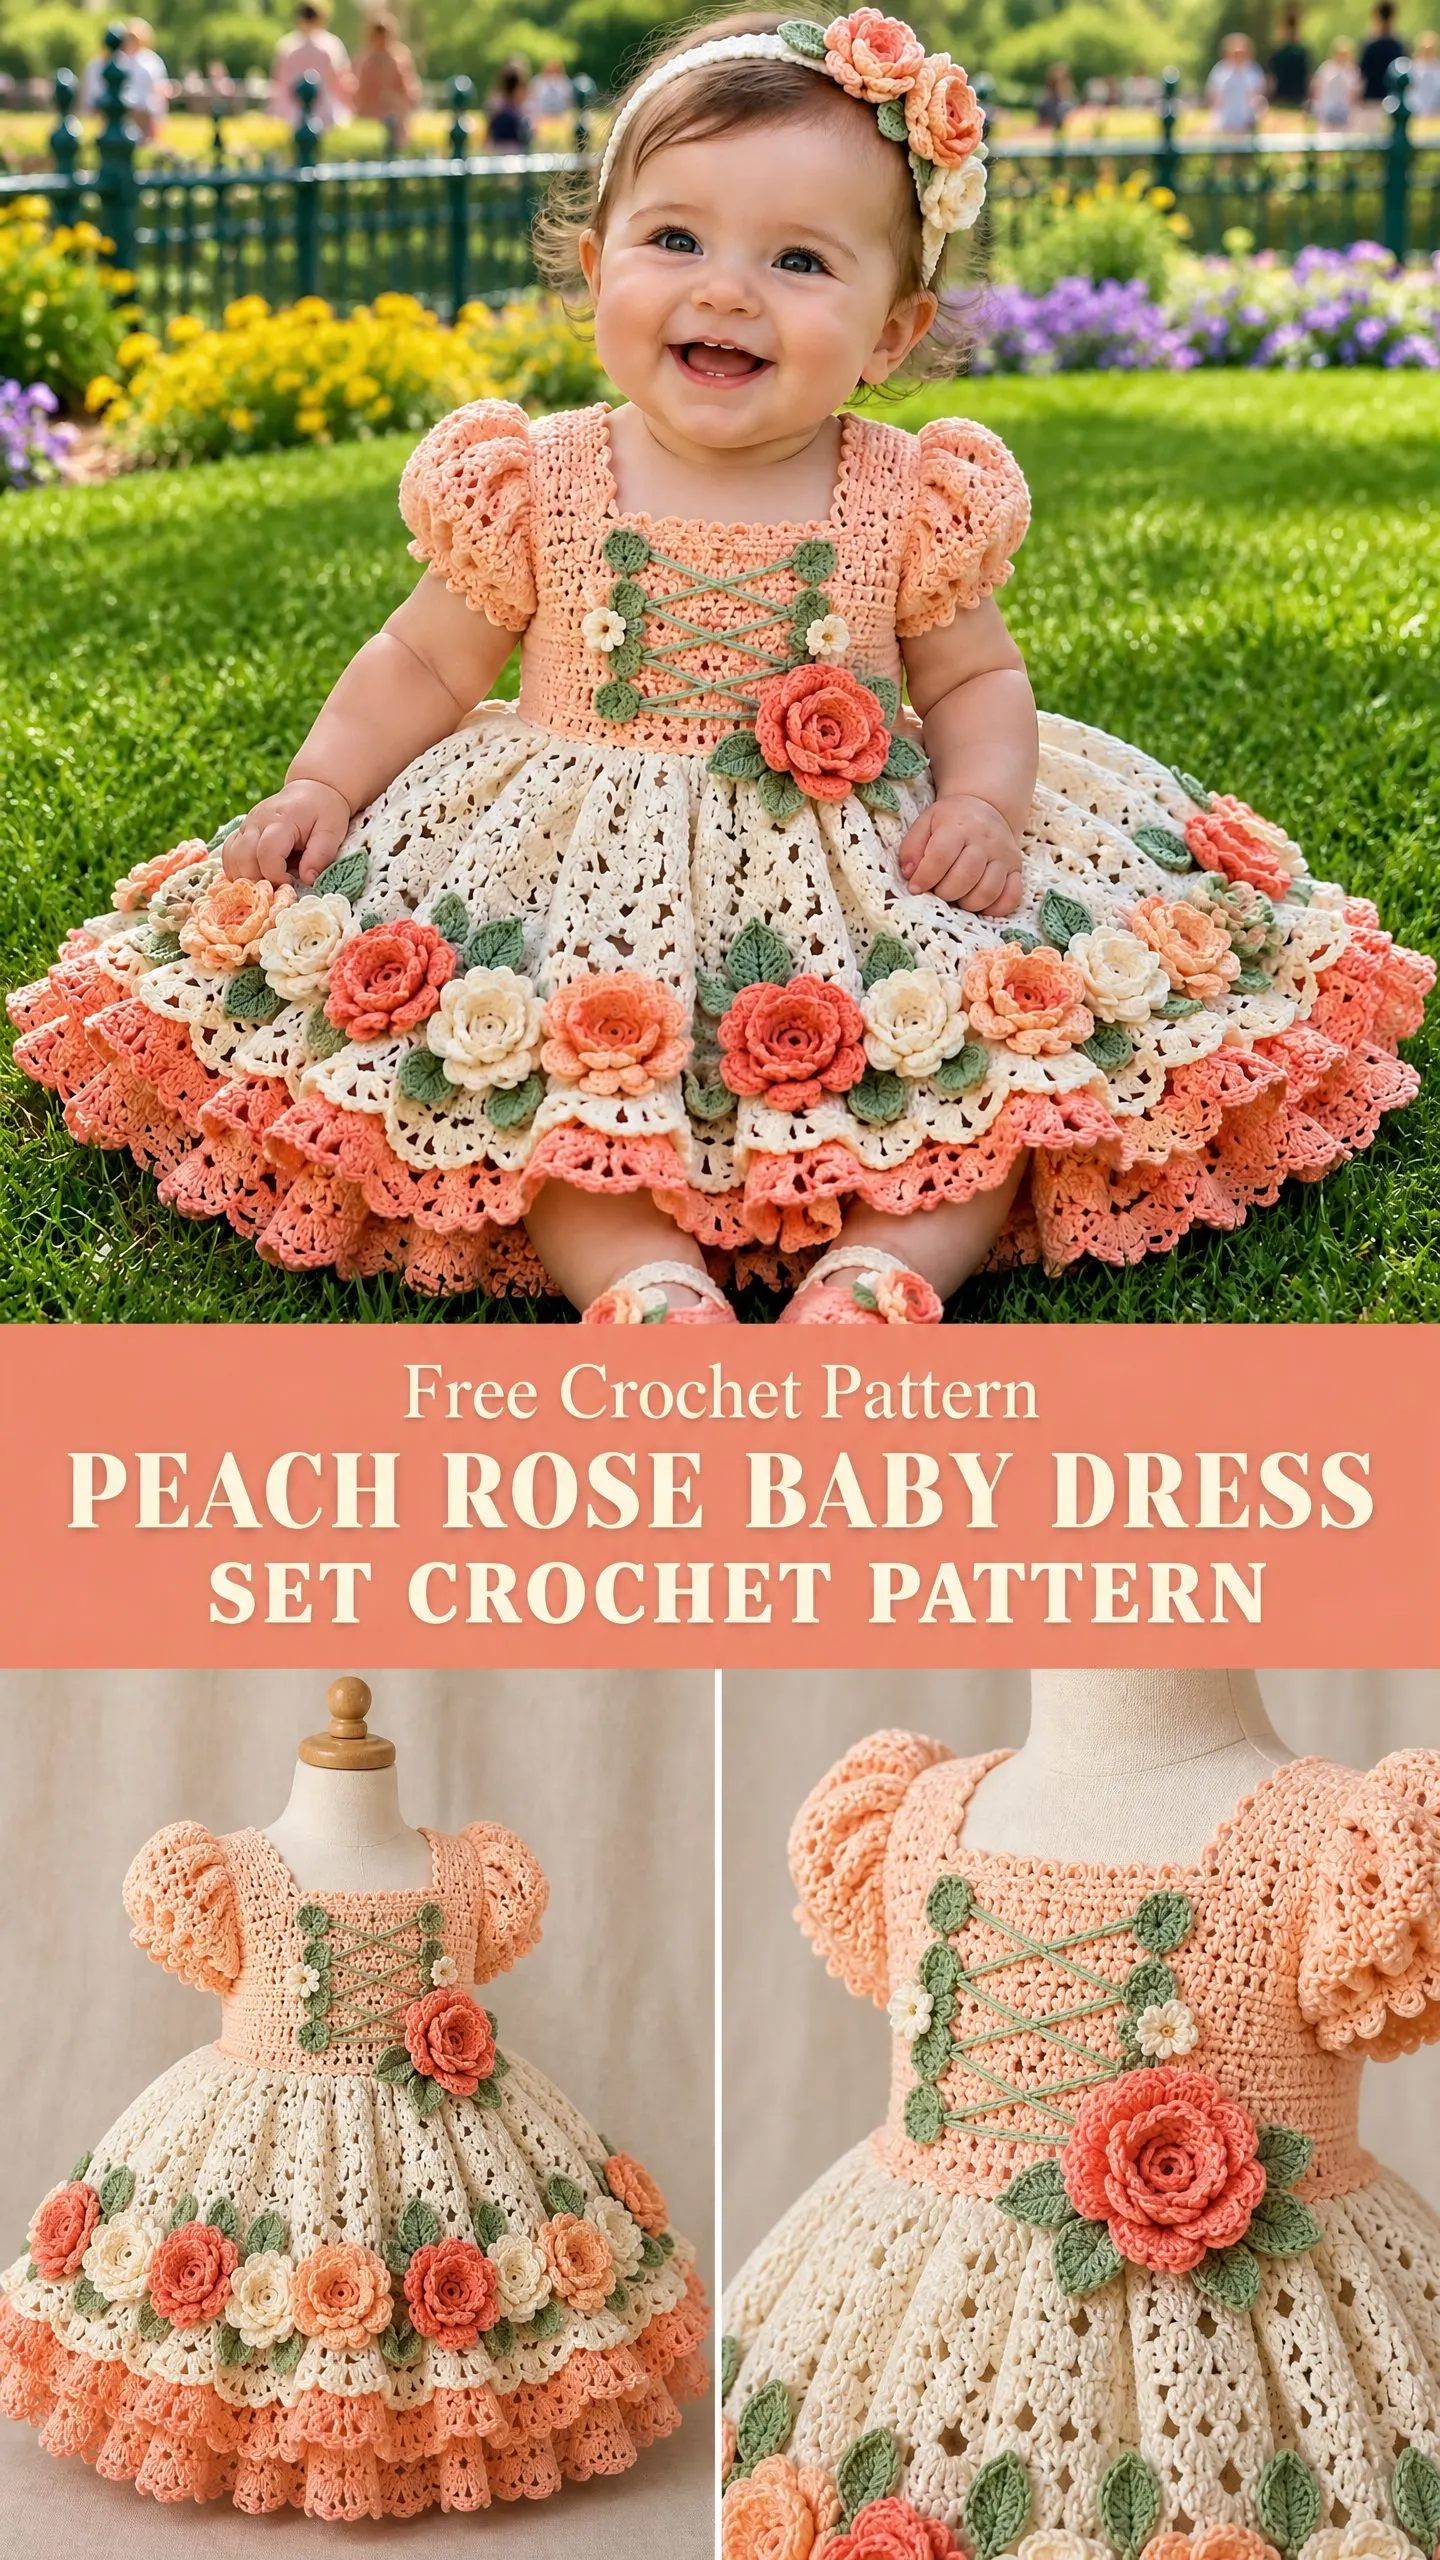
The moment I finished the last rose and held up the completed set, I actually teared up a little. It was exactly what I had pictured: romantic, vintage-inspired, and absolutely showstopping. My sister’s friend cried happy tears when she opened it, and honestly, that reaction made every single stitch worth it.
Now I’m sharing this pattern with you, complete with the matching headband and booties that turn this into a true heirloom gift. Fair warning: this one takes time and patience, but the results speak for themselves.
Overview: What You’re Making
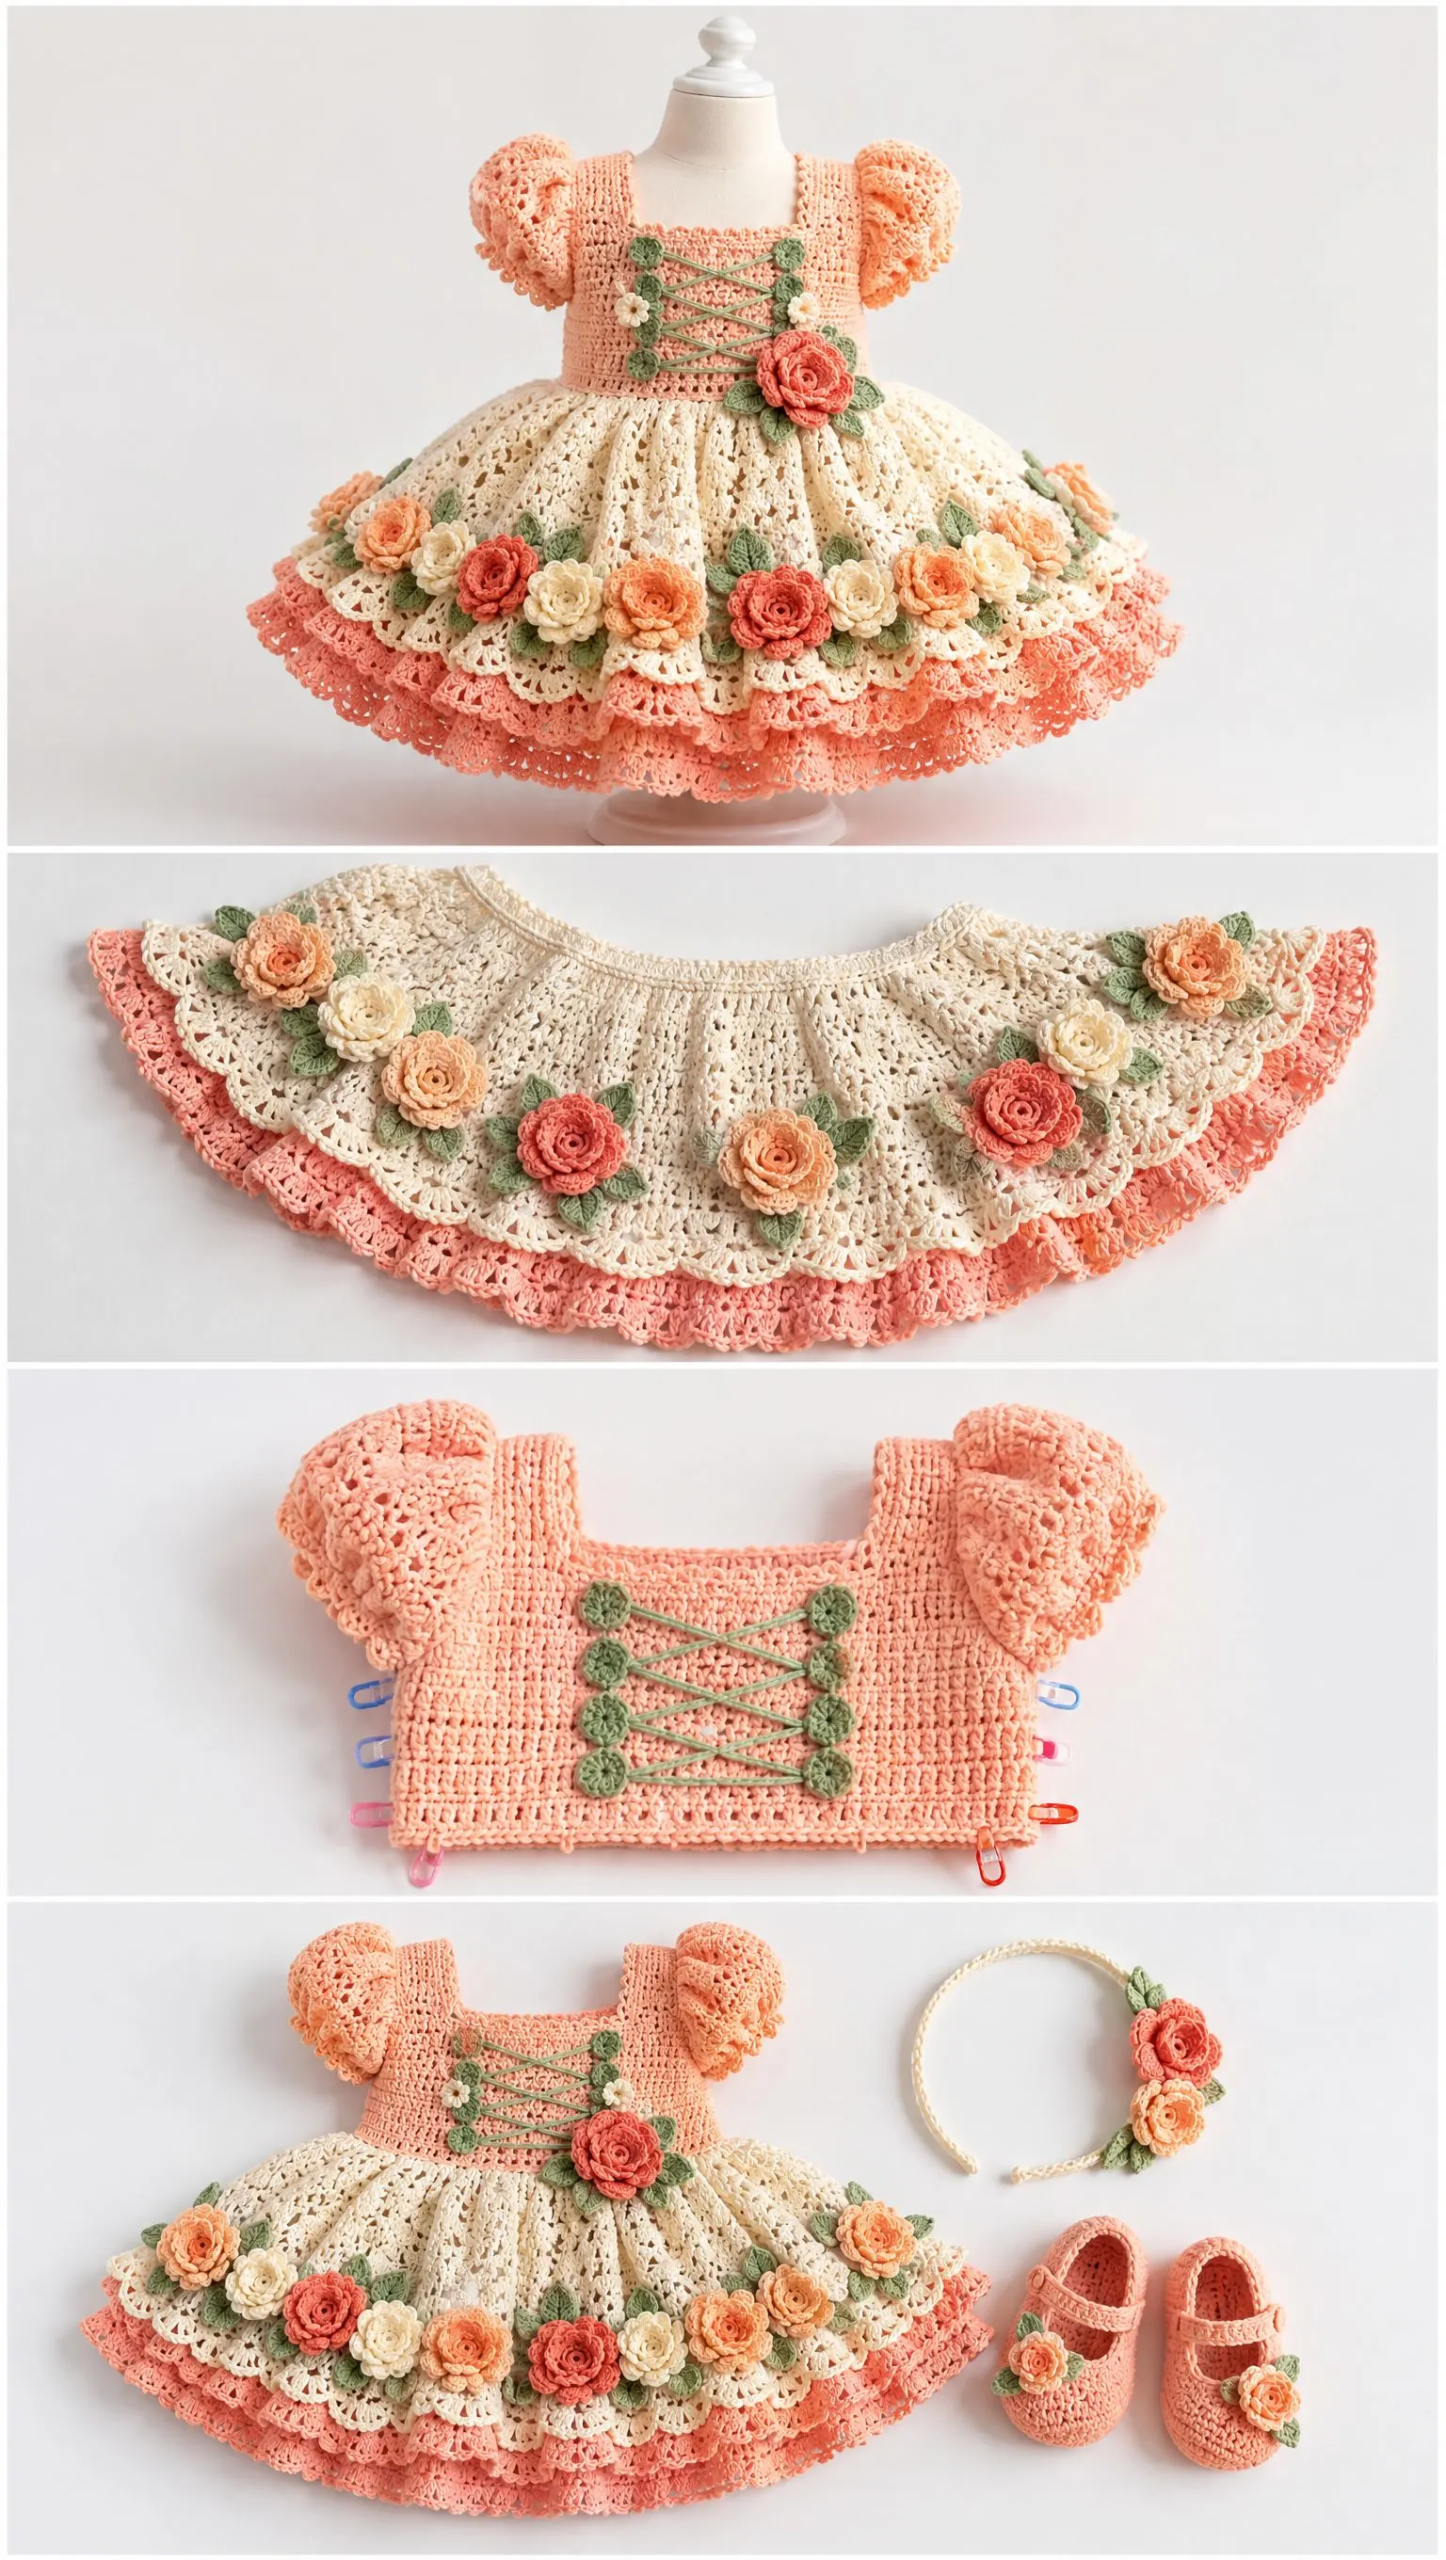
This Peach Rose Baby Dress Set is a floral heirloom crochet ensemble sized for babies approximately 6 to 12 months old. The complete set includes a dress with a square neckline, puff sleeves, a fitted peach bodice, mint crisscross lace detail, an ivory eyelet skirt, deep peach layered ruffles, and a continuous raised rose-and-leaf floral border near the hem. You’ll also make a matching floral headband and adorable peach booties.
This pattern is rated intermediate, so you should be comfortable with basic stitches and shaping before diving in. If you’ve made garments before and you’re ready for a challenge, this project will reward your skills beautifully.
Materials You’ll Need
Gathering your supplies before you start will make this project flow smoothly. Here’s everything the pattern calls for:
Yarn (DK weight cotton):
Tools:
DK weight cotton is perfect for baby garments because it’s lightweight, breathable, and holds up well to washing. Look for soft cotton blends that won’t irritate delicate skin.
Abbreviations and Stitch Definitions
Before we begin, let’s go over every stitch abbreviation you’ll encounter. I’m defining each one so you never have to guess.
ch = chain: Wrap yarn over hook and pull through the loop on your hook. This creates the foundation for most crochet projects.
sc = single crochet: Insert hook into stitch, yarn over, pull up a loop (2 loops on hook), yarn over, pull through both loops. This creates a short, dense stitch.
hdc = half double crochet: Yarn over, insert hook into stitch, yarn over, pull up a loop (3 loops on hook), yarn over, pull through all 3 loops. Slightly taller than single crochet with a bit more drape.
dc = double crochet: Yarn over, insert hook into stitch, yarn over, pull up a loop (3 loops on hook), yarn over, pull through 2 loops, yarn over, pull through remaining 2 loops. This creates a taller stitch that works up quickly.
sl st = slip stitch: Insert hook into stitch, yarn over, pull through both the stitch and the loop on your hook in one motion. Used for joining and moving across stitches.
inc = increase: Work two stitches into the same stitch to add width.
dec = decrease: Work two stitches together to reduce width.
sk = skip: Pass over the indicated stitch without working into it.
The Dress Pattern
Bodice
The bodice forms the fitted upper portion of the dress with a distinctive square neckline.
Round 1: Chain enough stitches to fit comfortably around the chest. Join to form a rectangle neckline opening. Work hdc (half double crochet) evenly around.
Rounds 2 through 8: Continue hdc rows, increasing slightly at corners to create a square neckline and fitted shape. Add a front opening if desired for easier dressing.
The square neckline gives this dress its vintage charm. Take your time shaping the corners, and use stitch markers to keep track of your increase points.
Sleeves
The puff sleeves add romantic volume without overwhelming a tiny frame.
Attach peach yarn at the arm openings.
Round 1: Work sc (single crochet) evenly around the sleeve opening.
Rounds 2 through 5: Increase around the top section to create puff volume.
Finish with a scalloped edge using (sc, ch 2, sc) repeats.
The scalloped edge gives the sleeves a delicate, finished look. Don’t skip this step, as it really elevates the entire design.
Mint Lace Detail
This decorative element creates the charming crisscross pattern on the bodice front.
Create two vertical mint leaf bands on the bodice.
Make crisscross ties:
This detail mimics the look of a corset lacing and adds visual interest to the bodice. It’s purely decorative but makes a big impact.
Skirt
The ivory eyelet skirt provides beautiful contrast against the peach bodice.
Attach ivory yarn at the waist.
Round 1: Work dc (double crochet) evenly around the waist.
Round 2: Create eyelet spaces using (dc, ch 1, skip stitch).
Rounds 3 through 12: Repeat the eyelet lace pattern while increasing evenly for a full flare.
The eyelet pattern creates those lovely little holes you see in the finished piece. It allows the peach underskirt to peek through, adding dimension to the design.
Peach Underskirt Ruffle
This layer adds fullness and that gorgeous peach pop of color at the hem.
Attach peach yarn beneath the ivory skirt.
Work several rounds of shell stitches: (5 dc in same stitch, skip next stitch, sl st). Repeat around.
Add additional ruffle rows for fullness.
The shell stitch creates natural scallops that give ruffles their wavy, romantic appearance. More rows equal more drama, so add as many as you like.
Rose Floral Border
This is where the magic happens. The continuous floral border transforms a pretty dress into something truly extraordinary.
To create individual crochet roses:
Make roses in coral, cream, and apricot colors for variety.
To create sage leaves:
Sew flowers and leaves continuously around the skirt hem.
Take your time with the roses. Each one is a mini project, but seeing them all arranged together is incredibly satisfying.
Waist Rose
Create one larger coral rose using a longer chain strip and attach it at the center waist.
This focal point draws the eye and ties the whole design together. Make it slightly bigger than your hem roses so it stands out.
Headband Pattern
The matching headband completes the look perfectly.
Round 1: Chain to fit baby head circumference.
Rounds 2 through 5: Work hdc rounds.
Attach peach and cream roses with sage leaves to one side.
Measure carefully before starting. Baby heads vary quite a bit, so checking the circumference ensures a comfortable fit.
Booties Pattern
These tiny shoes are almost too cute to handle.
Make two matching booties.
Sole:
Round 1: Chain an oval foundation.
Rounds 2 through 4: Increase around ends to create an oval shape.
Upper:
Work hdc rounds upward. Decrease at the toe section.
Add cream strap:
Chain a small band and attach with a decorative button.
Finish each bootie with a small peach rose.
The rose on each bootie echoes the dress design and makes the set feel cohesive.
Finishing Instructions
Proper finishing makes the difference between homemade and handcrafted.
Blocking means dampening your finished piece and shaping it to the correct dimensions as it dries. For this dress, focus on opening up the eyelet sections and smoothing the ruffles.
Customization Ideas
Once you’ve mastered the basic pattern, try these variations:
The size adjustment is particularly useful. Simply add or subtract rounds to fit babies from newborn through 18 months.
Tips for Success
Work in good lighting. The multiple colors and detailed stitchwork require you to see clearly. Natural daylight is best.
Count your stitches. Especially on the skirt rounds, losing track of your stitch count will throw off the eyelet pattern.
Make the roses in batches. I found it helpful to make all my roses in one sitting, then all my leaves, then attach everything at once.
Take breaks. This is not a weekend project. Give yourself several weeks and enjoy the process.
Check your gauge. Before starting the bodice, make a small swatch to ensure your tension matches the pattern requirements. Baby garments need to fit properly.
Why This Pattern Makes a Perfect Gift
Handmade baby gifts carry emotional weight that store-bought items simply can’t match. When you present this dress set, you’re giving hours of your time, your skill, and your love wrapped up in yarn.
This set photographs beautifully for milestone pictures, christenings, or special occasions. The neutral peachy tones and classic design mean it won’t look dated in photos years from now.
If you’re making this for your own little one, consider it a future heirloom. Properly cared for, cotton crochet lasts for generations.
Final Thoughts on the Peach Rose Baby Dress Set Crochet Pattern
This project asks a lot of you. It requires patience, attention to detail, and a willingness to make dozens of tiny roses. But the finished result is genuinely stunning, the kind of piece that makes people ask, "You MADE that?"
I hope you love creating this set as much as I did. The process taught me so much about construction, color combining, and adding dimensional elements to garments.
Thank you so much for choosing this pattern. I would absolutely love to see your finished dress sets, so please tag me on Instagram or share in my Facebook group when yours is complete. Seeing your creations honestly makes my whole week.
If this pattern caught your eye, go ahead and save it to your Pinterest boards so you can find it when you’re ready to start. And please drop a comment below if you make this set. I’d love to hear which color combination you chose!
Want a Quick & Easy Printable Version?
Get a clean, beautifully formatted PDF of this pattern — easy to follow step by step, ready to print or save on any device. No scrolling, no distractions, just the pattern.
Get the Printable PDF →You Might Also Like
- Ocean Breeze Mesh Cropped Hoodie Free Crochet Pattern
- Terracotta Rust Textured Clutch Bag Free Crochet Pattern
- Ocean Blue Floral Lace Top Free Crochet Pattern
- Dusty Rose Romantic Crochet Lace Dress Free Pattern