
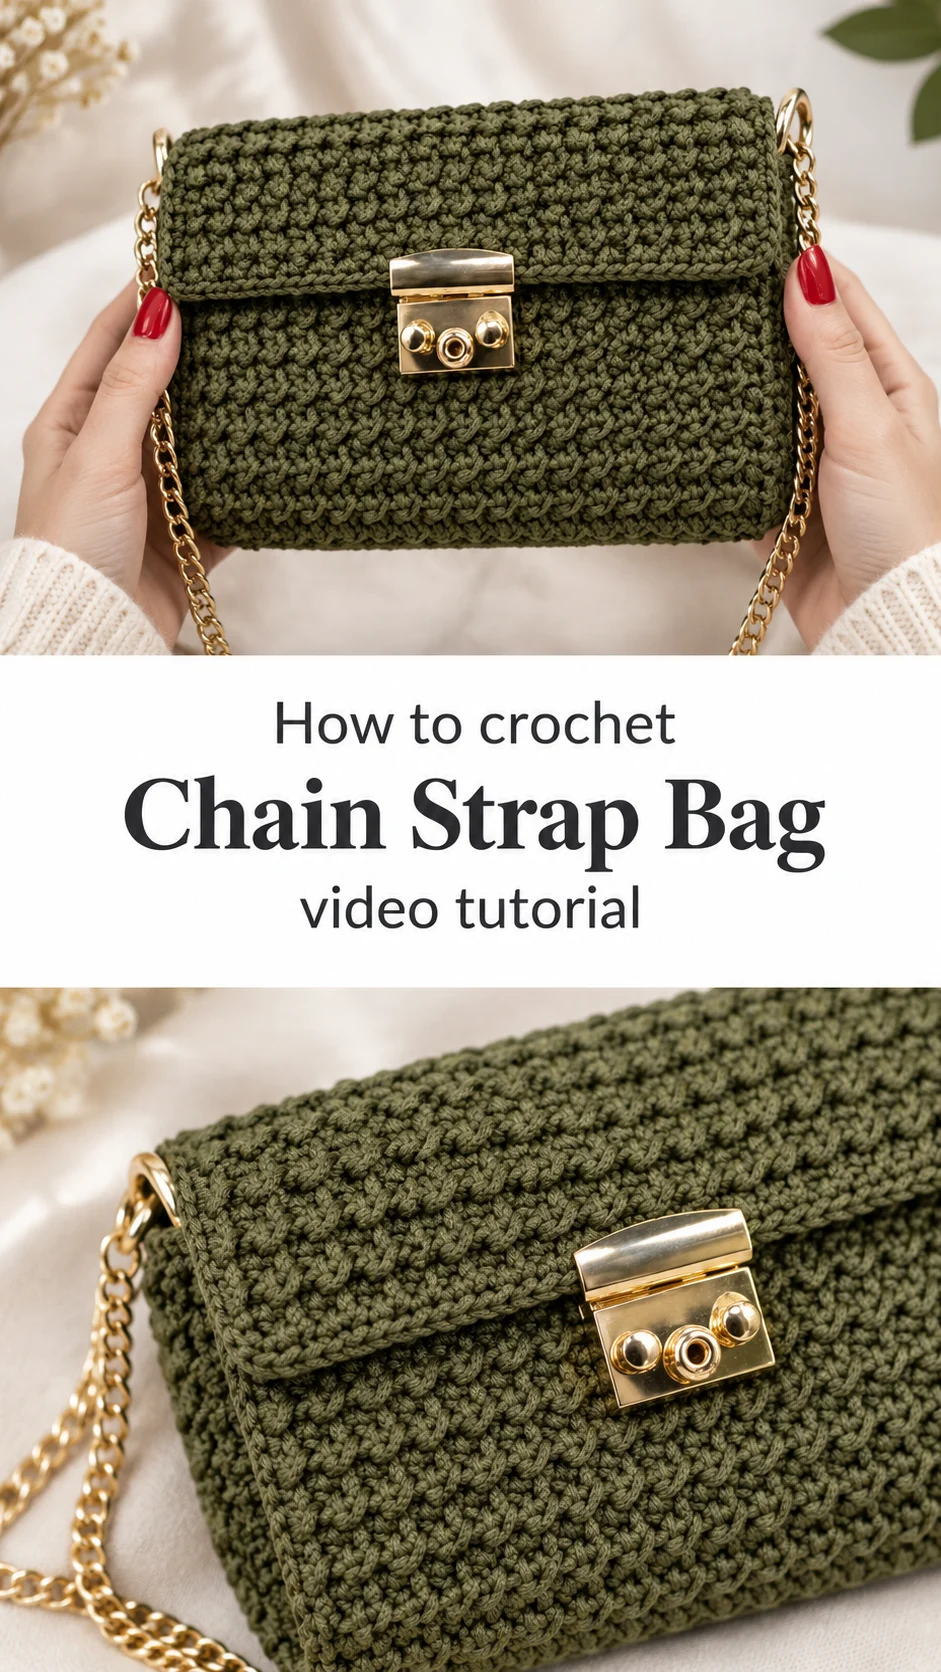
A crochet chain strap bag in deep olive green brings a polished, boutique look to handmade fashion, with a dense textured body, a firm gold clasp and a shape that holds itself upright.
The Crochet Chain Strap Bag
This crochet chain strap bag is a small, structured shoulder bag with a fold-over flap and a metal push-lock at the centre. The body is worked in a dense, raised stitch texture that looks almost woven, and the colour is a rich olive green that reads as neutral and expensive at once. Gold hardware sits against the dark yarn like jewellery. The shape is a compact rectangle with crisp edges, wide enough for a phone, a wallet and a lipstick. Slim D-rings at the sides carry a detachable strap. It looks at home with a coat in autumn and a linen dress in summer. Nothing about it says beginner project, which is exactly the appeal.
The bag also suits the maker who wants a gift that feels considered. A piece like this is easy to personalise through colour and hardware, and it teaches how to build a crochet fabric that behaves like a real bag panel rather than a floppy pouch.
Strap Bag Related Posts:
- Crochet Granny Square Blanket: A Warm Timeless Classic
- Crochet Granny Square Bag: A Charming Vintage Accessory
- Crochet Lace Socks: A Delicate and Timeless Treasure
- Crochet Ribbed Cowl: A Warm and Cozy Neck Essential
Materials
For a crochet chain strap bag like this one, choose a smooth, round, slightly glossy cord or polyester-blend yarn in a deep colour such as olive, bottle green or chocolate. The stitches in the photos are small and tightly packed, which points to a yarn of moderate thickness worked on a hook a little smaller than the label recommends, often somewhere around 2.5 to 3.5 mm as a general range. A tight tension is what gives the fabric its stand-up body, so do not skip a swatch. You will also need a push-lock clasp in gold or brass tone, two D-rings or swivel hooks for the strap attachment, and a chain or leather strap in a matching metal. A lining is optional but worth the effort: a firm fabric, or even a stiff interfacing layer, keeps the bag square and protects keys and coins from snagging the stitches. Add a tapestry needle, stitch markers and sharp scissors.
Understanding the Structure
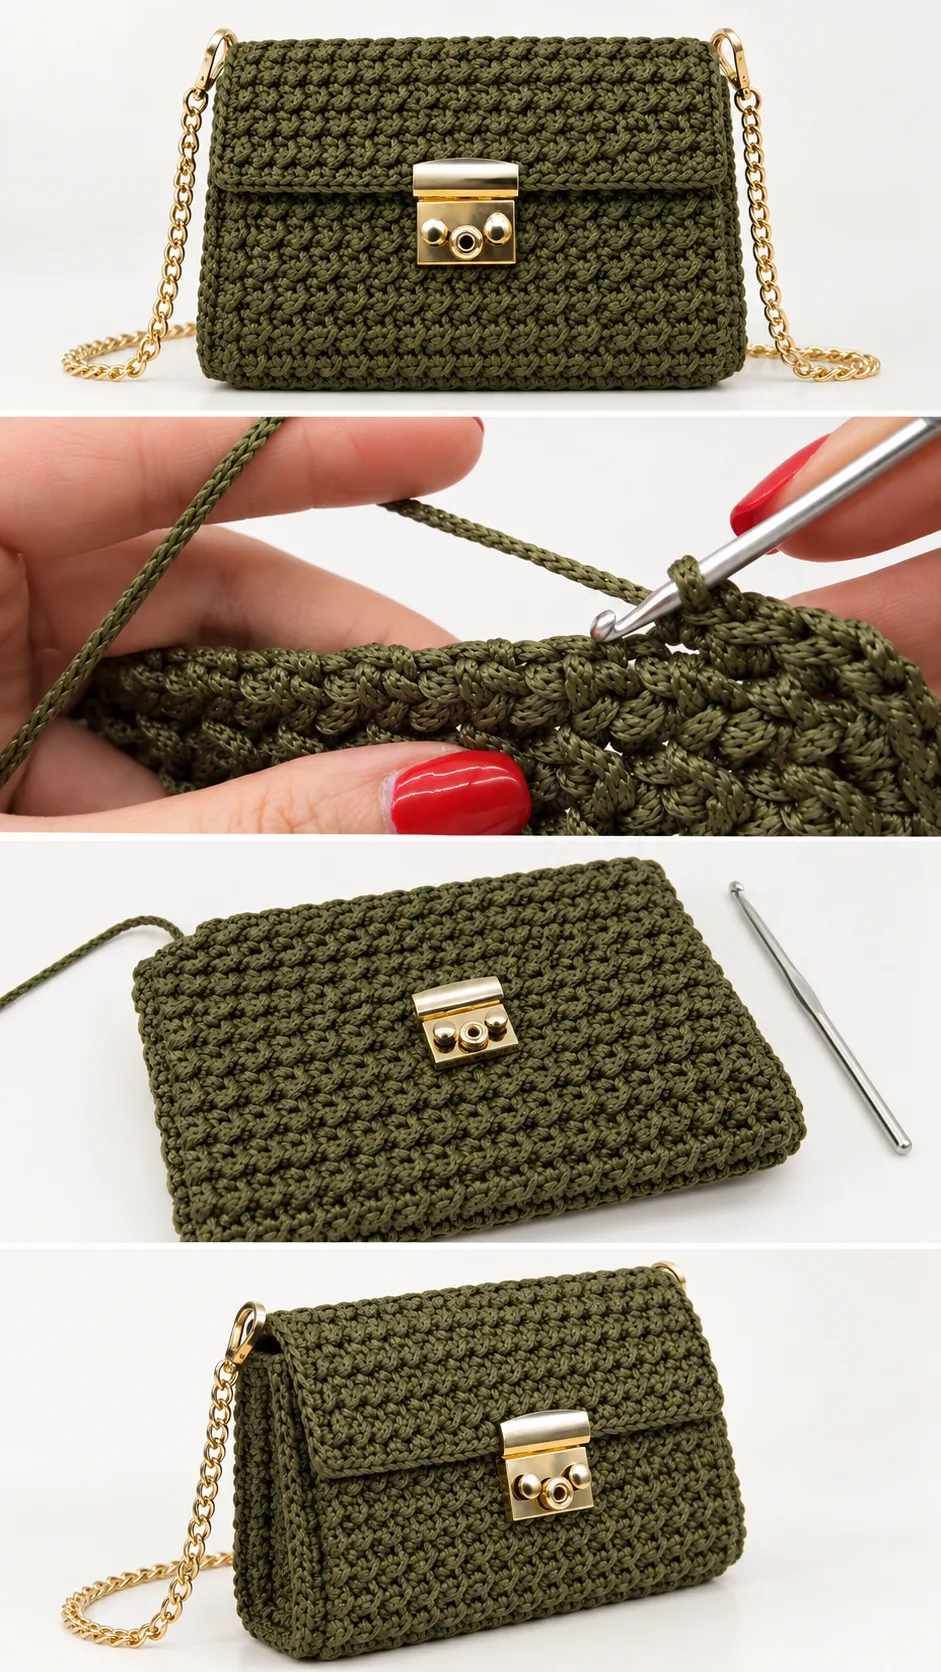
The bag is built from a few simple parts: a front and back panel, a flap that continues from the back, side edges that give it a little depth, and the hardware. The finished piece looks like a clean rectangle, so most of the work is keeping both panels identical in width and height.
The flap appears to be worked as an extension of the back, then folded over the front so the male half of the lock lines up with the plate on the body. Because the flap is part of the same fabric, it shares the same texture and edging. That continuity is what makes the bag look manufactured rather than assembled.
Edges are finished with a neat line of tight stitching that frames the whole outline, visible along the top of the flap. This border does real work. It stabilises the sides, hides the turning rows and gives the bag its crisp silhouette.
Watch the video closely at the moment the panels are joined. Pause where the side edges meet the base, because the way the corners are handled decides whether the bag sits flat or bulges.
Best Stitches for Strength
The texture on this bag is a raised, slanted stitch pattern that creates small diagonal ridges. It looks like a close cousin of waistcoat or moss-style fabrics, where stitches are worked into unusual places so that each row leans on the one below. The result is thick, springy and almost gap-free.
That density matters for a bag. Open stitches stretch under the weight of a phone and wallet, and the shape sags within a week. A tightly worked textured stitch resists that pull, especially when the hook is smaller than the yarn suggests.
If your fabric feels floppy, drop a hook size and rework the swatch until it stands on its own edge. If it feels like a board and the hook strains to enter each stitch, go up slightly. The right fabric has a little give but springs back.
A glossy cord shows every uneven stitch, so keep the yarn tension steady and avoid pulling the working loop too tight at the start of a row. A slightly relaxed first stitch prevents the sides from pinching inward.
The Clasp: The Detail That Defines the Bag
The push-lock is the signature feature. A rectangular gold plate sits at the centre of the flap, and a matching plate with two pegs and a keyhole-style opening is fixed to the front panel. When the flap closes, the peg locks into place with a satisfying press.
Fitting this hardware well takes patience. Mark the positions with removable markers before you commit, and check that the flap lines up with the body when folded. The two parts must sit at exactly the same horizontal centre, or the closure looks crooked.
The pegs on the plate pass through the crochet fabric, so they need a stitch gap wide enough to slide through without distorting the surrounding stitches. Work with a blunt tapestry needle or a small tool to open a space rather than forcing the metal through. Splitting the yarn weakens the fabric exactly where it carries stress.
If the lock feels loose, place a small square of stiff felt or a patch of fabric behind the plate, between the crochet and the metal back. It spreads the load and stops the yarn from pulling out of shape.
Handles and Hardware
The strap hangs from small D-rings fixed at the top corners of the body. They look anchored into the side edges, so the finishing at that point must be reinforced. A few extra rounds of tight stitching around the ring, or a folded tab of crochet that wraps it, prevents the metal from tearing through the fabric over time.
For the strap itself, you have three good options. A gold chain gives the glamorous look of the original and stays light. A leather or faux-leather strap adds comfort for longer wear. A crocheted strap in the same cord matches the body but may stretch, so work it tight or reinforce it with a core.
Match the metal tone throughout. Gold-tone lock, gold-tone rings and gold-tone chain look intentional, while mixing silver and brass tends to look accidental against a deep green.
Choose swivel clasps rather than fixed rings if you want the bag to convert from shoulder bag to clutch. Detach the strap, tuck it inside and the same piece changes character.
Lining the Bag
A lining is not visible from outside, but it changes how the bag behaves. Crochet has gaps, however small, and items inside can poke through or snag. A simple cotton or satin lining stitched by hand to the inside edge solves this.
Cut the lining slightly smaller than the crochet panels so it sits snugly without wrinkling. Add a thin layer of interfacing if you want the bag to feel firmer, particularly in the base. The flap can be lined too, which makes the underside look as neat as the outside.
If sewing is not your strength, a stiff felt or craft foam insert slipped between the layers gives structure without any stitching. It is less refined but works well for a first attempt.
How to Style a Crochet Chain Strap Bag
In olive green, the bag works as a neutral. It pairs naturally with camel coats, cream knits and denim, and it picks up the green in tartan or botanical prints. The gold hardware ties in with simple jewellery.
For evenings, wear it crossbody over a black dress and let the chain fall in a shallow curve. For daytime, shorten the strap and carry it on the shoulder with a white shirt and wide-leg trousers. As a clutch, fold the strap inside and hold it under the arm.
Other colours change the mood. Black or navy leans formal, ivory feels bridal, and burgundy suits autumn. Whichever you choose, keep the hardware finish the same across the whole piece.
Tips for a Neat Finish
Weave in every end along the inside of the stitches, running the needle in two directions so the tail cannot work loose. Glossy cord is slippery, so a tiny dab of fabric glue on the last tail adds security.
If the edges ripple, the border is too loose or the stitch count differs between panels. Count carefully and keep the edging stitches evenly spaced. If the flap curls upward, press it gently under a damp cloth and let it dry flat with a weight on top.
If the finished bag feels too soft, slide a cardboard or plastic canvas base into the bottom, covered by the lining. It gives the bag a flat floor and a more tailored look. Before sewing anything permanent, hold the pieces up to check proportions, and use the video to compare corner shapes.
A Handmade Bag Worth Carrying
This crochet chain strap bag proves that handmade can look refined. The dense texture, the olive colour and the gold clasp turn a simple rectangle into something you will reach for every day.
Three things decide the result: a tight, even tension, careful placement of the lock, and a reinforced strap attachment. Get those right and the rest is steady, enjoyable work.
Take your time, and pause the video wherever the hardware goes on.
Video tutorial for the crochet chain strap bag by its original creator, linked below.
VIDEO
Follow us on Pinterest and subscribe to the Newsletter so you don’t miss a thing!
Tutorial and photos of this chain strap bag by: Cathérine Crochet.