
A crochet bikini bottom in crisp white cotton, with a high-cut leg and little side ties, is the kind of small project that feels like a big win once the summer sun hits it.
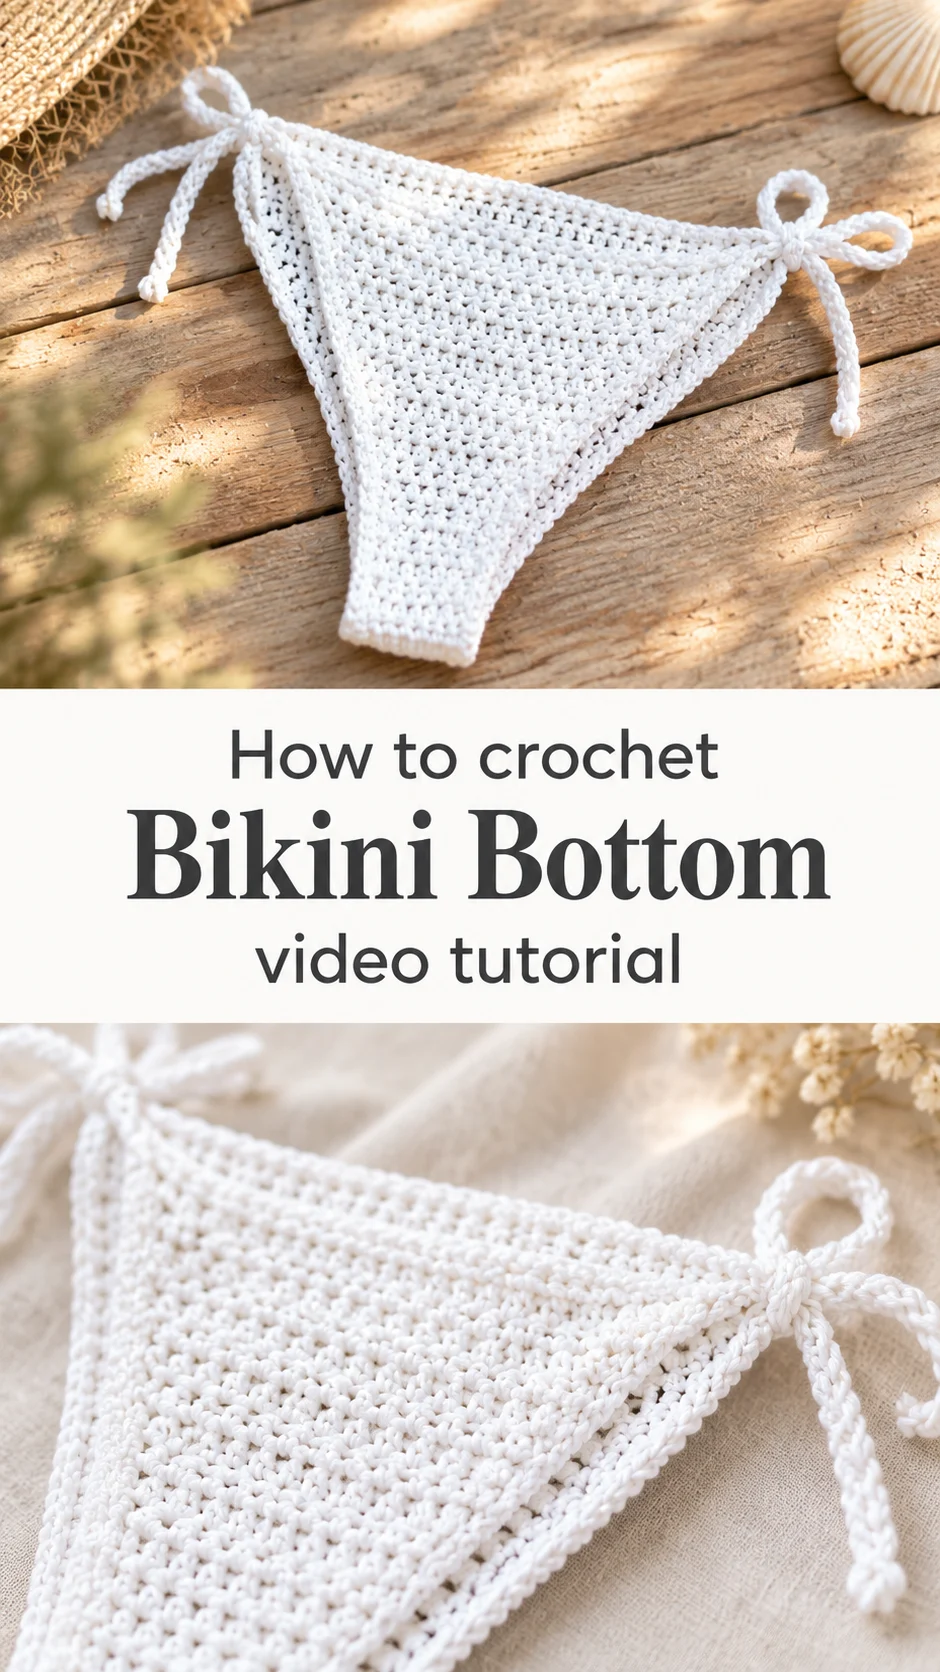
The Crochet Bikini Bottom
This crochet bikini bottom is a simple, flat-lying triangle of fabric that narrows into a gusset and flares back out at the hips. It is worked in bright white, in a close, even stitch that looks firm along the front and slightly open in the side panels. The leg line is cut high, which gives the shape a classic retro feel. Two slim tie cords sit at the hips, finished with small loops that knot into a bow. There is no hardware, no lining and no fuss. It is one piece of fabric that does one job well. Wear it at the beach, by the pool or layered under a sheer cover-up on a hot afternoon.
Because the tie sides are adjustable, the bottom forgives small changes in size. That makes it a friendly gift for a friend whose measurements you only half know. It also builds a useful skill: shaping a garment by widening and narrowing a single piece of fabric. Once you understand how this one grows and shrinks, other small wearables feel less intimidating.
Bikini Bottom Related Posts:
- Crochet Baby Blanket: A Timeless Nursery Essential
- Crochet Area Rug: A Bold and Timeless Home Accent
- Crochet Lace Collar: A Delicate Statement Piece
- Crochet Square Motif: A Bold and Timeless Classic
Materials
A smooth, mercerized cotton in a sport or DK weight suits this piece best, because the fabric in the photos looks matte, tidy and slightly structured rather than fuzzy. Cotton holds its stitch definition, handles water without stretching wildly and dries quickly, which matters for swimwear. Avoid pure acrylic, which can feel warm against the skin and tends to sag once wet. A hook around 3 to 4 mm is a sensible starting range for a yarn of this weight, though your own swatch should decide, since a firm fabric needs a hook that feels slightly small for the yarn. Keep a tapestry needle for weaving ends, a pair of sharp scissors and a few stitch markers to flag the centre and the places where the shape changes. A soft tape measure is helpful for checking the hip and the rise before you commit to the full piece. If you want a fully opaque result, consider a cotton lining cut from a swimsuit lining scrap, hand sewn inside the gusset.
Understanding the Shape
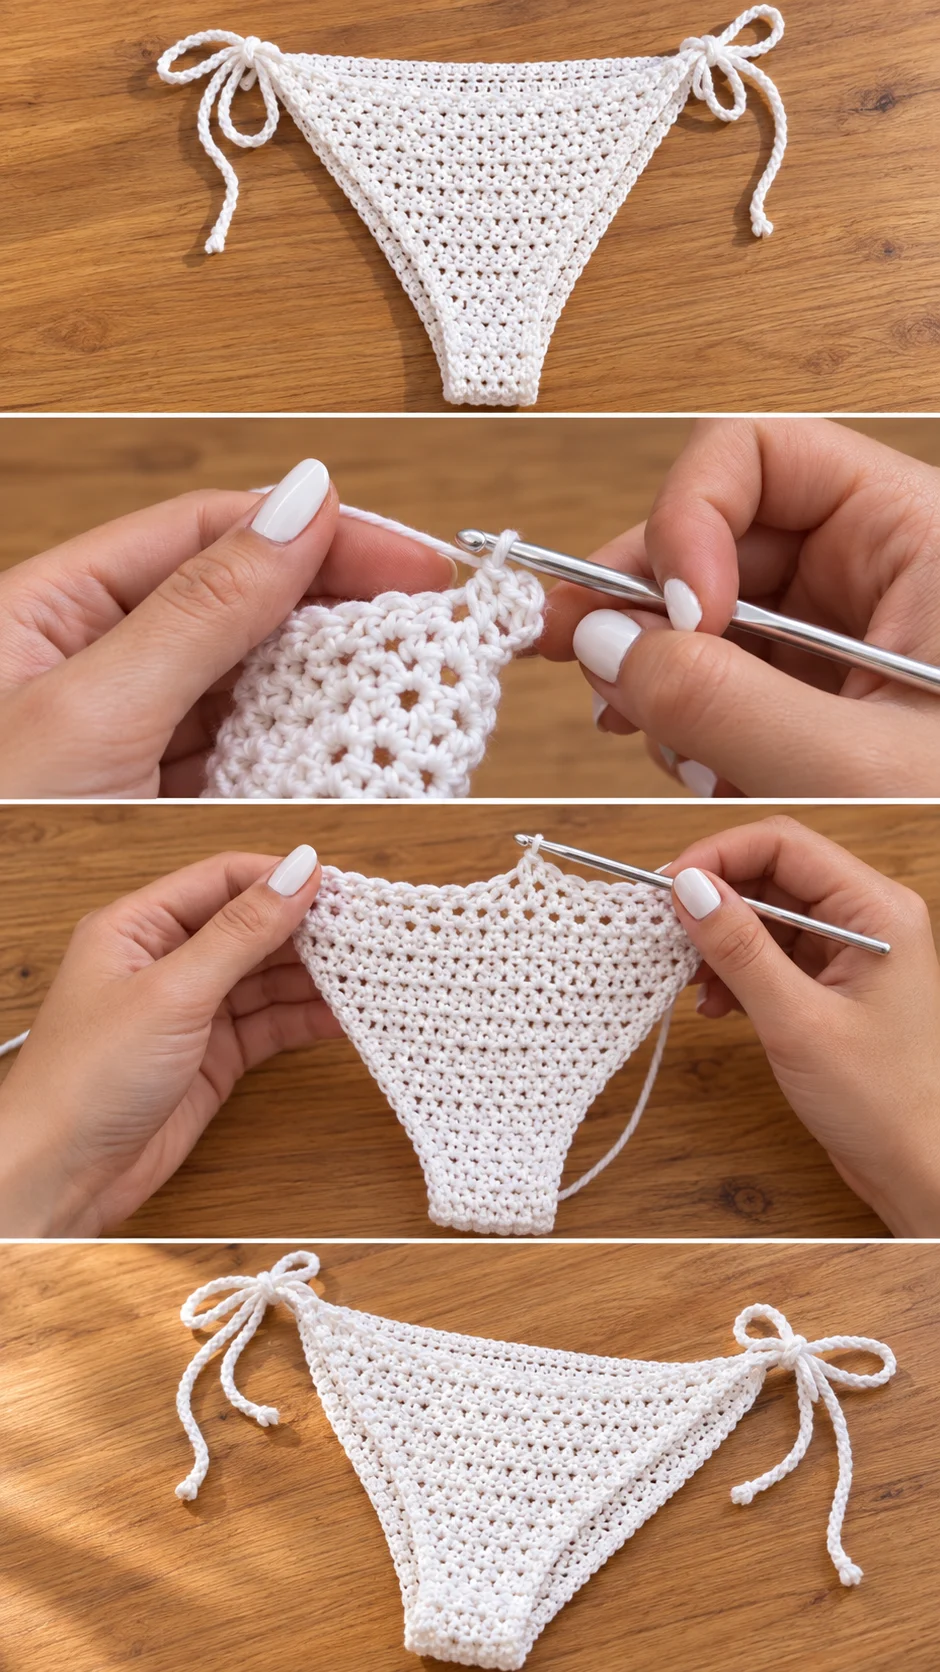
The bottom is built as a single piece that starts narrow and grows. The wide back panel and the front triangle are joined by a narrow centre strip, which forms the gusset between the legs. Everything is worked flat, and the shaping happens at the edges rather than through seams. This is why the finished piece looks so clean from the side.
The video shows where the fabric widens and where it narrows. Pause at those moments and look at how the edge stitches sit, because the increases and decreases in this style are usually placed at the very ends of the rows. If they drift inward, the leg openings turn wavy.
The narrow gusset deserves patience. It is only a few stitches wide, so any tension slip shows immediately as a pucker. Work it a little looser than the rest, and test the length against your body before moving on. A gusset that is too short pulls the whole bottom upward and makes the leg line uncomfortable.
Stitch Texture and Fabric Feel
Up close, the fabric looks like a tight, textured stitch with small gaps appearing at regular intervals, giving it a light, slightly airy quality while still covering well. The front panel looks denser, and the sides show the little holes more openly. That mix keeps the piece breathable without turning it see-through.
Tension controls everything here. If the fabric feels stiff like a coaster, go up half a hook size on the next swatch. If you can see your hand clearly through it when held up to light, go down half a size instead. Swimwear should hug the body without digging in, so aim for a fabric that springs back when gently pulled.
Wet cotton stretches, sometimes more than you expect. A bottom that feels perfect when dry may sit a little looser after a swim. Make the piece slightly snug rather than slightly generous, and let the ties do the final adjusting.
Side Ties: The Detail That Makes It Adjustable
The signature detail is the pair of narrow cords at each hip. Each one ends in a small loop, so the tie can be knotted in a bow or simply threaded and tied flat. The cords look like simple chained strands, which keeps them light and flexible.
Length is the choice you control. Short ties give a tidy, minimal look, while longer ones let you tighten the bottom a lot and leave dramatic tails. Think about how you plan to wear it. If you want it to sit lower on the hip, make the cords longer so they can wrap around comfortably.
Attach them securely. The ties take the strain every time you pull the bow tight, so weave the starting end back through several stitches rather than a single one. If a cord slips loose after a wash, re-anchor it with a few passes of the needle through the edge.
How to Style a Crochet Bikini Bottom
In the photos the bottom is paired with a matching white off-the-shoulder crop top in a lace-like mesh with tiny picot details, and the pair reads as a coordinated set. Wearing the same white cotton on top and bottom keeps the look clean and sunny, and a round crocheted shoulder bag in cream and tan completes a beach-day outfit.
For a different mood, try it with a loose linen shirt knotted at the waist, so the white lines peek out at the hips. A long sarong in a bold print also looks striking against the plain white, as the bikini quietly steps back. For a poolside evening, layer a sheer maxi skirt over it and leave the ties visible.
White is lovely but unforgiving, so consider the colour carefully. Sand, coral and soft sage give you a similar crisp cotton look with more coverage when wet. Whatever the colour, wear a lining or a skin-tone insert if you want full opacity in the water.
Tips for a Neat Finish
Weave in ends along the edge in two directions so they cannot work loose. If a tail pokes through to the right side, tug the fabric gently sideways and it will often slip back. Always trim after weaving, never before.
If the leg edges ripple, the cause is usually too many stitches along the border or an uneven tension. Pull out the last row and work it slightly looser, or skip a stitch at the worst spots. If the fabric curls at the corners, a light steam press with a damp cloth encourages it to lie flat.
If the finished bottom turns out a little small, do not force it. Cotton relaxes with wear, and a gentle wet block over a towel can add a small amount of width. If it is too big, tighten the ties and consider adding a row of firm edging to take up the slack.
Caring for Your Swimwear
Rinse the bottom in cool, fresh water after wearing it in salt or chlorine, because both can weaken cotton over time. Wash by hand with a mild soap, and avoid wringing, which distorts the stitches. Press the water out in a towel instead.
Dry it flat, shaped by hand, away from direct sun. Hanging a wet cotton garment stretches it downward under its own weight. Store it flat or loosely folded in a breathable bag so the cords do not tangle.
A Simple Handmade Summer Piece
This crochet bikini bottom is a small, well-shaped project built from one flat piece, a narrow gusset and two slim ties. What decides whether it turns out well is the yarn, the tension, the patient gusset and secure side cords. Take your time with each and the result will look polished and feel comfortable.
Pause the video at the shaping moments, replay the gusset and keep the swatch nearby. Then tie the bow and head for the water.
Video tutorial for this crochet bikini bottom by Krystal Everdeen, linked below.
Watch the video tutorial here: Crochet Bikini Bottom tutorial by Krystal Everdeen
Follow us on Pinterest and subscribe to the Newsletter so you don’t miss a thing!
Tutorial and photos of this bikini bottom by: Krystal Everdeen.