
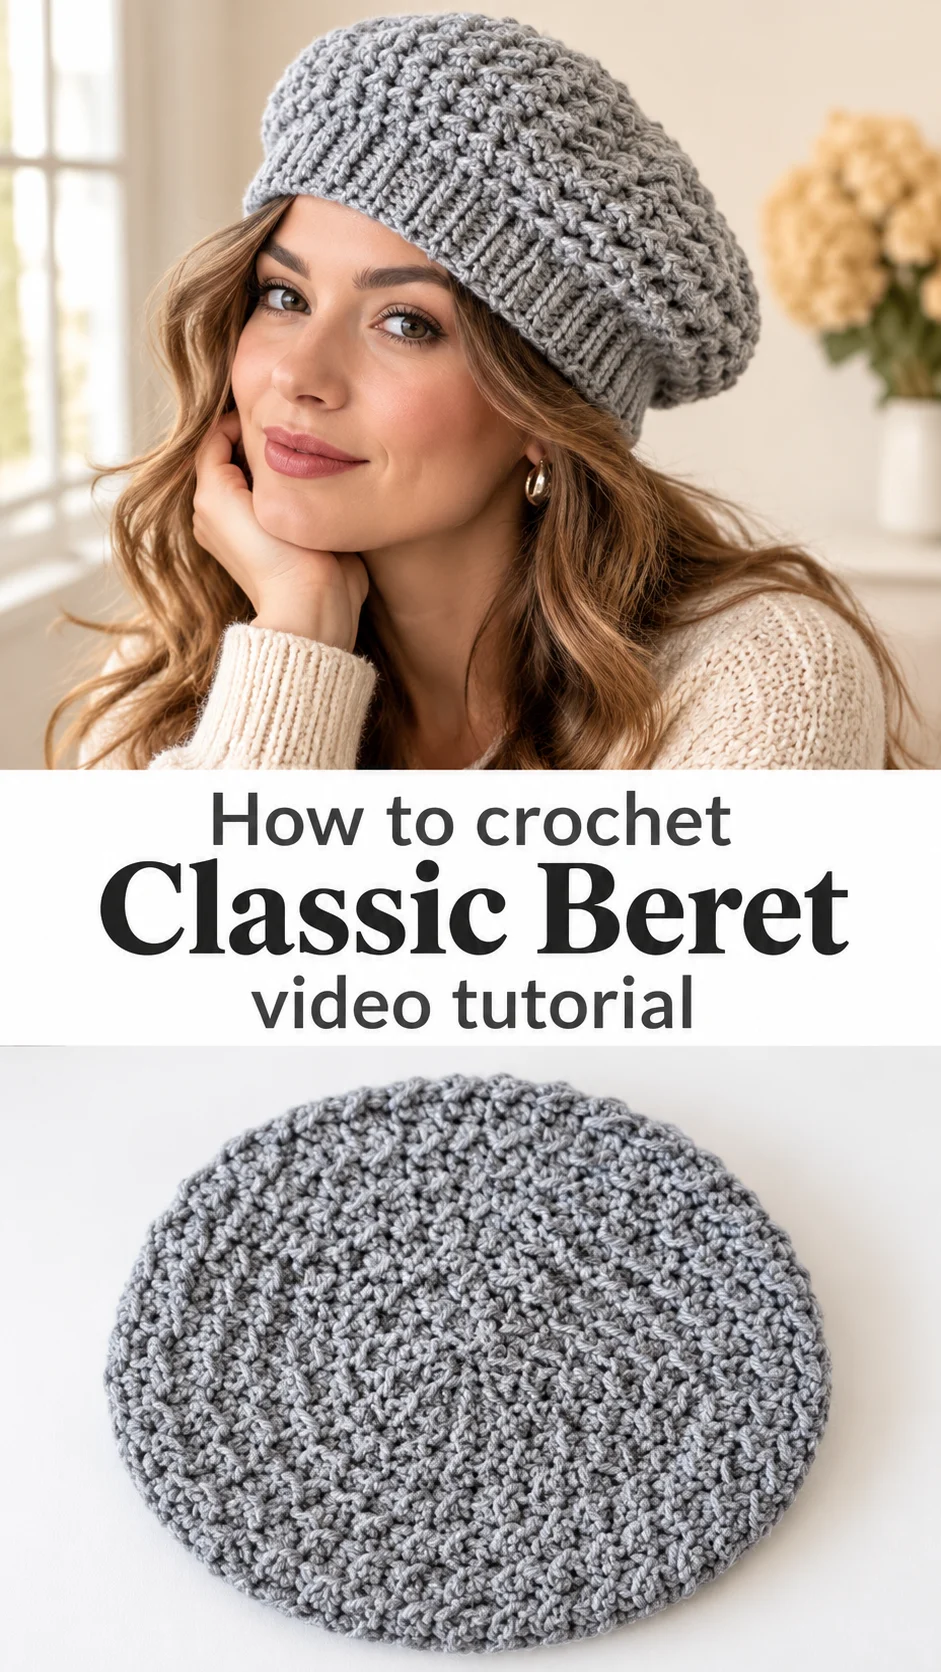
A crochet classic beret sits softly on the head with a gently slouched crown and a snug ribbed band, and its grey textured fabric looks far more intricate than it feels to work.
The Crochet Classic Beret
The crochet classic beret is a round, flat-topped hat that starts at the centre of the crown and grows outward in a wide disc. That disc is the heart of the design. It is worked in a slanted, woven-looking stitch that gives the fabric small diagonal ridges, a bit like tweed. A ribbed brim is added at the edge, and it pulls the wide crown in so the hat hugs the head. The result is a relaxed, slightly slouchy shape in soft heathered grey. It suits mild autumn mornings, city walks, and any outfit that needs a quiet finishing touch. The texture does the decorating, so no trims or pompoms are needed. Simple. Polished. Easy to wear.
Few hats are as forgiving as a beret. It skips the tall crown of a beanie and the fuss of a brim, and it flatters most face shapes. It also makes a thoughtful gift, because the slouch allows a little give in sizing. Along the way, you practise working in a spiral, shaping a flat circle, and building a ribbed band. Each is a skill that carries over to other hats.
Classic Beret Related Posts:
- Crochet Mini Bag Ornament: A Charming Festive Accent
- Crochet Fur Tote Bag: A Chic Winter Essential
- Crochet Granny Square: A Charming Timeless Classic
- Crochet Peplum Cardigan: A Timeless Autumn Essential
Materials
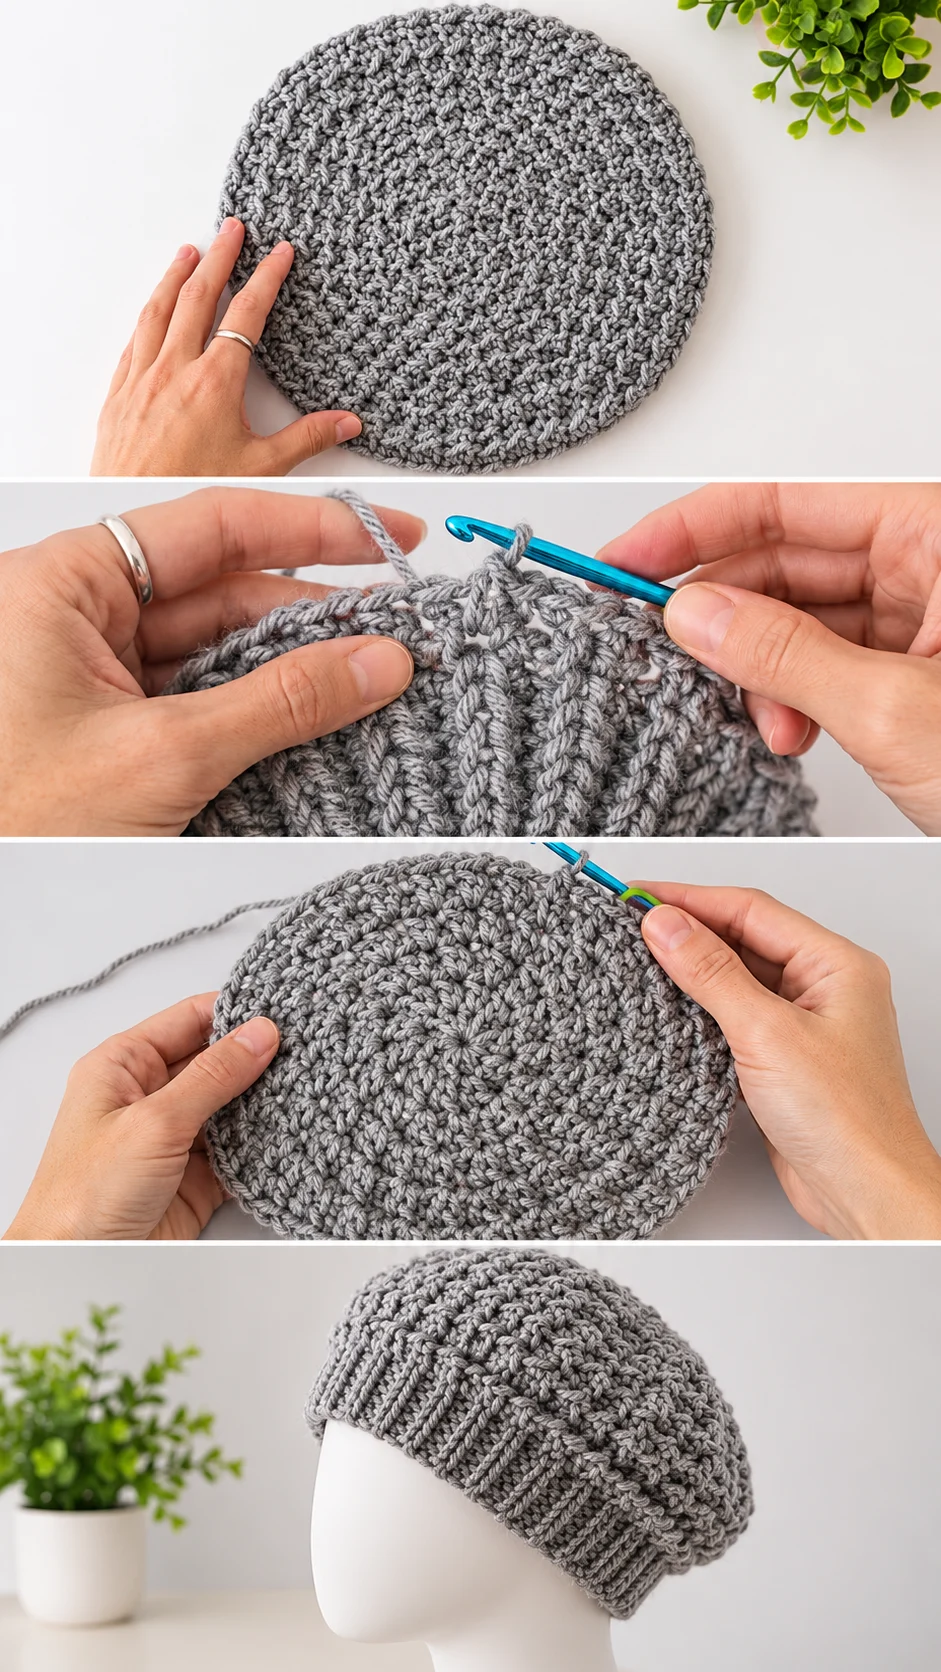
For a crochet classic beret you need a smooth, mid-weight yarn, a crochet hook that suits it, a stitch marker, a yarn needle, and scissors. The hat in the photos looks like it is worked in a round-plied acrylic or wool blend in heathered grey, with stitches that read as medium weight. A yarn like that shows the slanted texture clearly, because each strand stays defined instead of blurring into fuzz. A hook in the 5 to 6 mm range is a sensible starting point for this kind of yarn, though your own swatch should decide. A contrasting stitch marker, like the bright green one visible in the work, is worth having. It tracks the start of each round in a spiral, and without it you will lose your place quickly. Pick a yarn with some stretch if you can, because the ribbed band relies on it to grip the head.
Understanding the Construction
The beret is made in one piece, from the top down. You begin at the centre and work in continuous rounds, adding stitches regularly so the fabric spreads into a flat circle. The disc in the photos is wide and lies perfectly flat, which tells you the increases were spaced evenly.
Once the circle reaches its full width, the shaping reverses. The outer edge is gathered inward toward the head size, and that step gives the beret its soft, rounded slouch. Then the ribbed band is worked, with its vertical lines running up the brim.
Because the crown is a spiral, there are no seams to sew and no joins to hide. That keeps the finish clean and saves time. If the disc starts to ruffle at the edge, you have added too many stitches too quickly. If it bowls up like a cup, you have added too few. Lay the work flat every few rounds and adjust before it goes too far.
The Slanted Stitch Texture
The texture is the signature of this hat. Look closely and you will see small slanted stitches sitting in neat diagonal rows, with a dense, almost woven look between them. It is a close cousin of the waistcoat or moss-style fabrics, and it makes a firm, warm cloth.
That density has a practical benefit. A tight, textured fabric blocks the wind better than an open one, and it hides small tension wobbles. A slightly uneven stitch disappears into the pattern.
The stitch can feel awkward at first, because the hook enters in a less obvious place than in basic crochet. Watch the hand position in the video, and pause when the hook goes into the stitch. Replaying that moment a few times will save you from ripping out rounds.
Keep your tension relaxed. If the fabric turns stiff as cardboard, go up a hook size. If the stitches look gappy and the pattern loses its definition, go down half a size. A swatch before you start answers this in minutes.
Choosing the Best Yarn for a Slouchy Beret
Yarn decides how the beret behaves. A wool blend gives warmth, bounce and a soft halo that looks lovely with the stitch texture. It does need gentler washing. A smooth acrylic is easier to care for and shows the diagonal ridges crisply, though it can feel less breathable. A cotton blend suits warmer weather, but a pure cotton beret may slump, since cotton has little spring.
Avoid very fuzzy or heavily brushed yarns. They hide the slanted stitches, and the whole point of this hat is the pattern you can see. Avoid slippery, glossy yarns too, as they can make the ribbing sag after a few wears.
The grey in the photos is a soft, heathered stone, and it works with almost everything. If you want something with more personality, try deep burgundy, mustard, forest green or dusty rose. Solid colours show the texture best. A strongly variegated yarn would fight the stitch pattern.
The Ribbed Brim: The Detail That Holds It All Together
The brim is where the beret becomes a hat. Its vertical ribs run upward in tidy columns and have a knitted look, even though they are crocheted. The ribbing draws in the wide crown and keeps it from sliding off.
Ribbing like this needs stretch, so work it a little looser than feels natural and keep an eye on the width. If the band comes out too tight, the hat will perch on top of the head and leave a mark. If it is too loose, the beret will slip back as you walk.
Try the hat on a few rounds before the end of the band. A beret should sit snug at the brow and ease gently over the crown. Adjust the length while you can still add or remove a round.
How to Style a Crochet Classic Beret
In the photos the beret sits slightly tilted back on the head, with the slouch falling toward one side. That is the easiest way to wear it. Push it back a little for a relaxed look, or pull it forward for a more classic, Parisian line.
For daily wear, pair it with a camel wool coat and a thin scarf in a matching tone. The grey fabric sits calmly next to warm neutrals. Over a denim jacket, it adds a softer, casual finish for spring.
For something dressier, wear it with a black turtleneck and tailored trousers. The tactile texture keeps the outfit from looking severe. A beret in a deep colour also looks sharp over a long, loose hairstyle or tucked back with a low bun.
Tips for a Neat Finish
Weave in the ends carefully, running the tail through several stitches in two directions. The dense texture hides ends well, but ribbing stretches, so a loose tail can work its way out.
Block the crown lightly. Dampen the flat disc, ease it into a smooth circle, and let it dry. This evens out the slanted stitches and relaxes any tension in the spiral. If the edge ripples, a gentle pull while damp usually settles it.
If the beret ends up too small, block it over a dinner plate, which stretches the crown into a wider slouch. If it ends up too big, the ribbed band can be worked again a few rounds shorter. Always mark the start of the round, and count your stitches at a few checkpoints, because a missed increase is hard to spot later in this texture.
Caring for Your Beret
Wash by hand in cool water with a mild soap, then press out the water in a towel without wringing. Wringing distorts the ribbing. Dry it flat, shaped over a bowl or a plate so the crown keeps its round form. Hanging a wet beret would stretch it. Store it flat or stuffed lightly with tissue so the slouch does not crease.
A Soft Handmade Classic
The crochet classic beret is a round, textured hat with a ribbed band and a gentle slouch. Four things decide how well it turns out: a smooth yarn that shows the stitch, an even spread of increases in the crown, a stretchy brim worked at the right tension, and a light block at the end.
Follow the video closely, pause on the slanted stitch, and check the fit as you go. Then wear it your way.
Follow us on Pinterest and subscribe to the Newsletter so you don’t miss a thing!
Tutorial and photos of this classic beret by: Vasilya Knits – Вяжем крючком.